
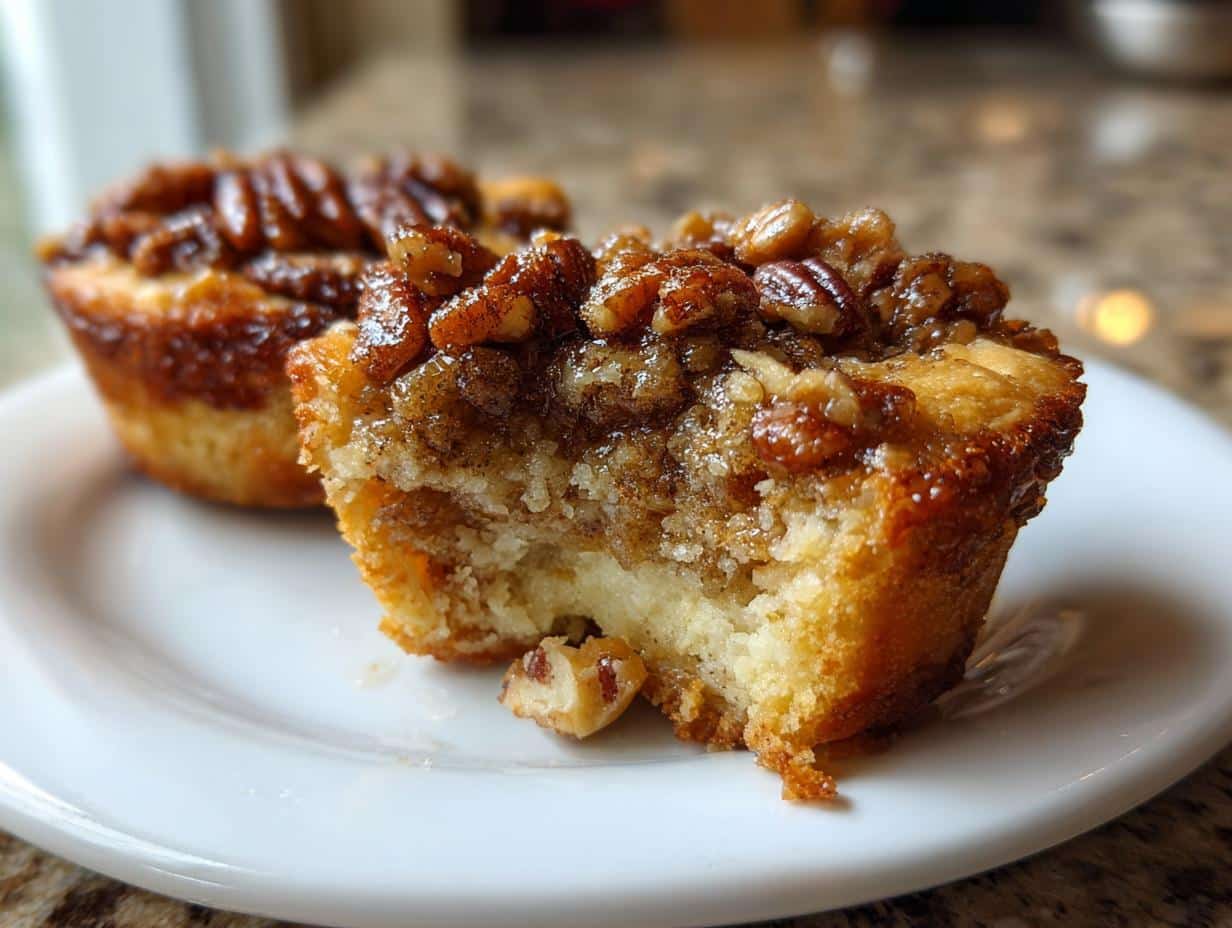
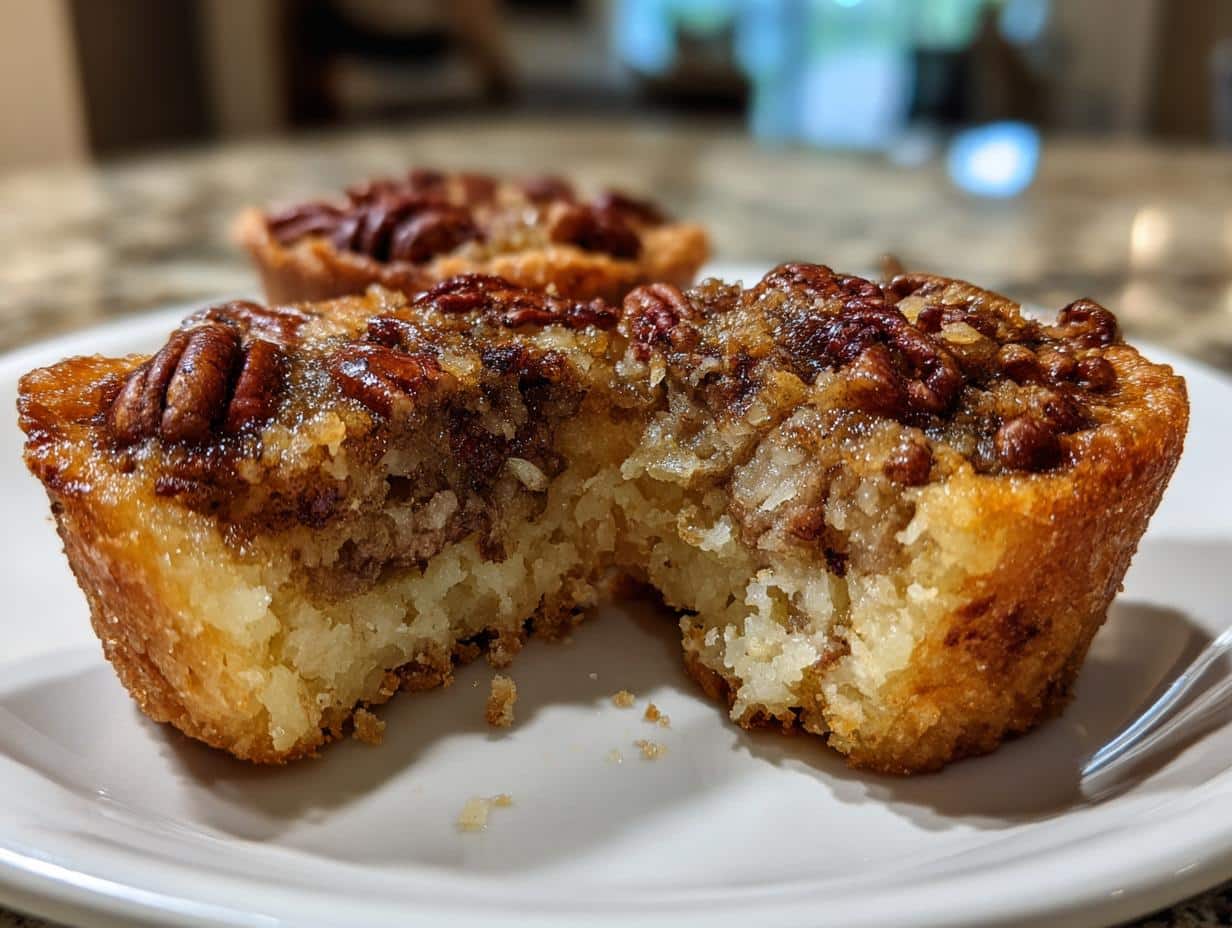
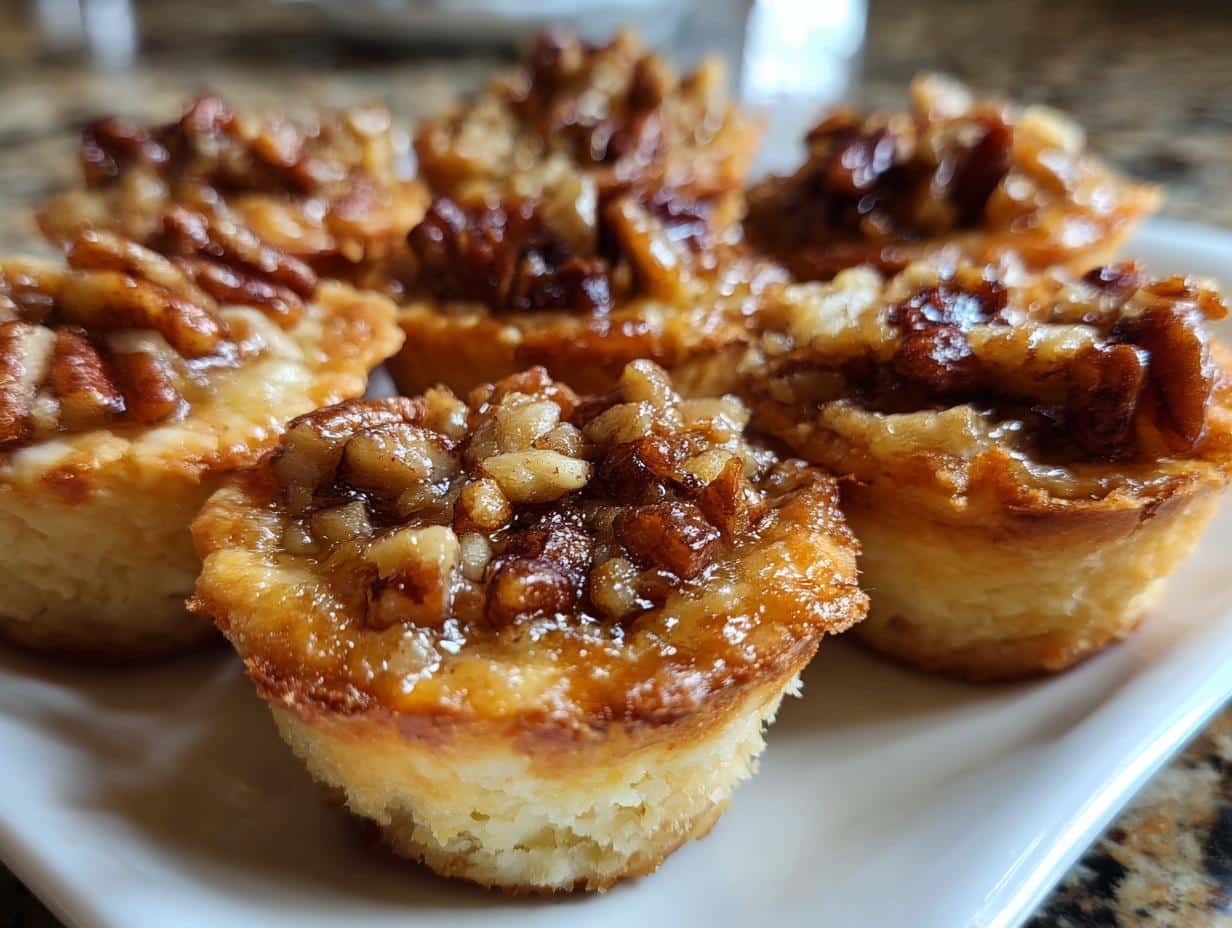
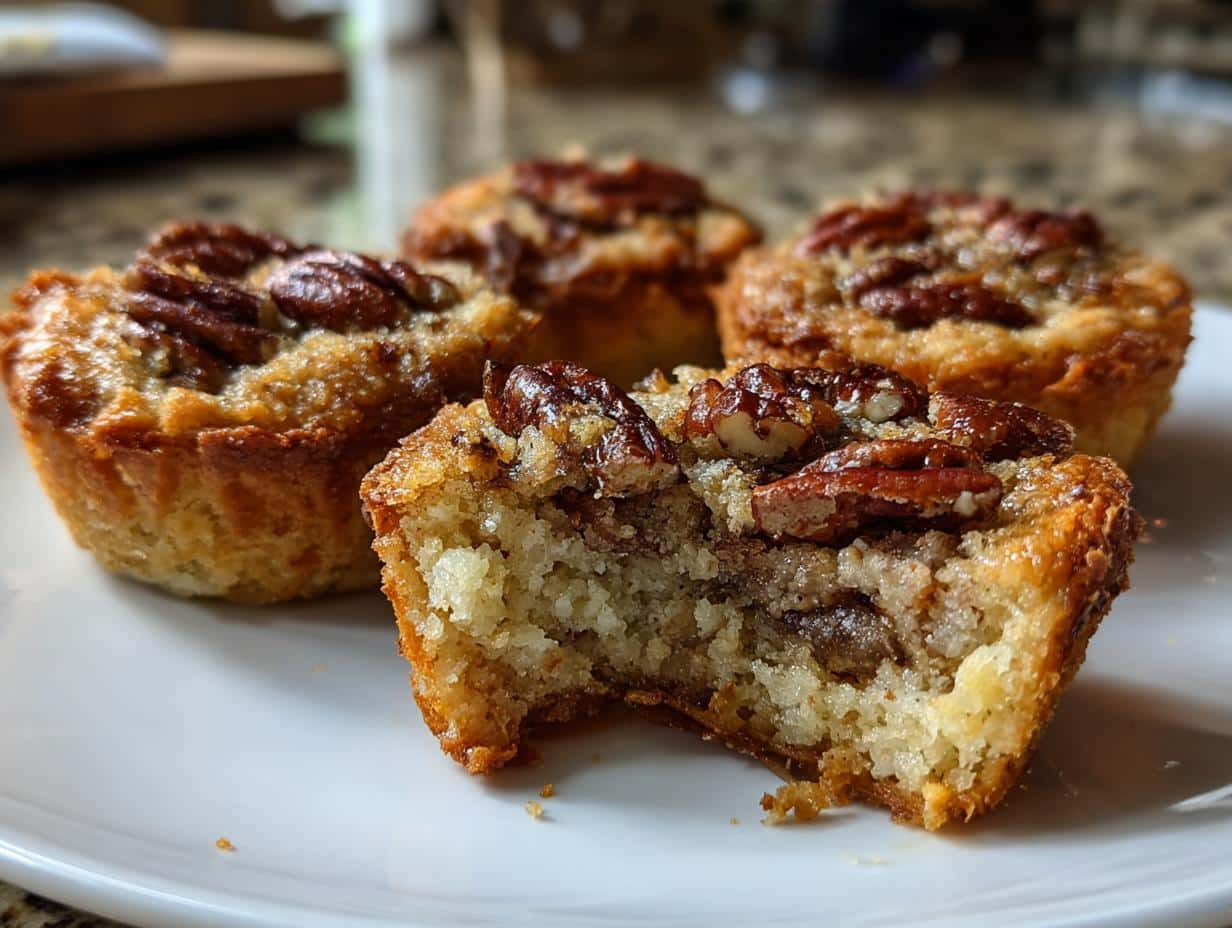
Oh, pecan tassies! Just the name makes me smile. These little gems take me right back to chilly Seattle evenings, wrapping up holiday gifts with a warm mug of cocoa and a plate of these irresistible treats beside me. Every year, without fail, I whip up a batch (or three!) for friends, family, and, let’s be honest, for myself too. They’re like tiny, perfect mini pecan pies, but even easier to manage and oh-so-delightful to pop in your mouth. This pecan tassies recipe isn’t just about baking; it’s about creating those little moments of comfort and joy. With their delicate, tender cream cheese crust and that perfectly sweet, nutty filling, they’re truly a dream come true for any home cook who loves a simple, yet utterly special dessert. Trust me, you’re going to love making (and eating!) these.
Why You’ll Love This Pecan Tassies Recipe
Honestly, what’s not to love about these little bites of heaven? This isn’t just any old pecan tassies recipe; it’s *the* recipe that’ll have everyone asking for seconds (and the recipe!). I just know you’re going to adore them because:
- They’re ridiculously easy: Seriously, if you can cream butter, you can make these. No fuss, no drama, just pure baking joy. Hello, easy pecan tassies!
- That perfect flavor balance: The slightly tangy cream cheese crust just melts into the rich, sweet, and nutty pecan filling. It’s like a party in your mouth!
- Ideal for anything: Whether it’s a fancy holiday spread, a casual potluck, or just a treat for your family on a Tuesday, these fit right in. They look incredibly impressive but are secretly so simple!
- Bite-sized bliss: Who doesn’t love a dessert you can just pop in? Perfect for portion control (or, let’s be real, for eating five without feeling guilty!).
Essential Ingredients for Your Pecan Tassies
Alright, let’s talk ingredients! You know, for me, good baking starts with good components, and these pecan tassies are no exception. You don’t need anything fancy, just solid pantry staples. Here’s exactly what you’ll need to make these delicious little bites:
- For the dreamy, tender crust:
- 1 (3-ounce) package cream cheese, softened (and I mean *softened* – trust me!)
- 1/2 cup (1 stick) unsalted butter, also wonderfully softened
- 1 cup all-purpose flour
- For that perfectly sweet, nutty filling:
- 1 large egg (a happy, room-temp one if you have it!)
- 1/2 cup packed light brown sugar (the dark stuff for extra richness, yum!)
- 1 tablespoon unsalted butter, melted
- 1 teaspoon vanilla extract (the good stuff, please!)
- 1/8 teaspoon salt (just a pinch to make all those flavors sing)
- 2/3 cup chopped pecans (gotta have those pecans, right?!)

Step-by-Step Guide: How to Make Pecan Tassies
Okay, friends, this is where the magic really happens! Don’t you just love how a few simple ingredients transform into something utterly delicious? Follow these steps, and you’ll have perfect little mini pecan pies every single time. It’s truly easier than you think, I promise!
Preparing the Cream Cheese Crust for Pecan Tassies
First things first, let’s get that amazing crust started. In a medium bowl, you’ll want to take your softened cream cheese and butter and beat them together until they’re super smooth and creamy. Then, gradually add in your flour, mixing just until a soft dough forms. **Don’t overmix it**, okay? That’s the secret to a tender cream cheese pecan tassies crust! Cover that beautiful dough and pop it in the fridge for at least 30 minutes. Chilling is key for easy handling!
Crafting the Sweet Pecan Filling for Pecan Tassies
While your dough is chilling, let’s make that glorious filling! Grab a separate small bowl and whisk together your egg, brown sugar, melted butter, vanilla extract, and salt. Give it a good whisk until everything is wonderfully combined. Then, stir in those chopped pecans. Just look at that rich, nutty mixture – it’s already tempting, right?
Baking Your Delicious Pecan Tassies to Perfection
Time to bake! Preheat your oven to 350°F (175°C). Lightly grease two mini muffin tins – we’re aiming for 24 glorious tassies. Divide your chilled dough into 24 equal pieces. Press each piece into the bottom and up the sides of the muffin cups. Now, simply spoon that luscious pecan filling evenly into each little crust. Bake them for about 20-25 minutes, or until the crusts are a lovely light golden brown and the filling looks nice and set. Let them cool in the tins for a few minutes before gently removing them to a wire rack to cool completely. Patience is a virtue here; they’ll firm up as they cool!
Tips for the Best Pecan Tassies Recipe
Okay, so you’ve got the recipe down, but I’ve picked up a few little tricks over the years that just push these pecan tassies from “really good” to “OMG, I need another one!” These are my trusty secrets to getting that perfect result every single time.
- Temperature is everything! Seriously, for that crust, make sure your cream cheese and butter are truly softened. Not melted, just soft enough to easily blend. It makes all the difference for a smooth, tender dough.
- Don’t skip the chill time: I know, I know, waiting is the hardest part. But chilling the dough for at least 30 minutes makes it so much easier to work with and helps the crust hold its shape beautifully. Trust the process!
- Grease those tins properly: Nothing is sadder than a broken tassie! A light greasing of your mini muffin tins goes a long way. You want those little beauties to pop out easily.
- Don’t overmix the crust: Once the flour is just combined, stop! Overmixing develops the gluten too much, and you’ll end up with a tough crust, not the delicate one we’re aiming for.
- My personal “unfussy” tip: Don’t obsess over making each dough ball perfectly uniform. Part of the charm of homemade is that they’re a little rustic. Just aim for roughly equal, press ’em in, and let their unique shapes shine! It’s all about enjoying the process, right?
Variations for Your Pecan Tassies
Once you’ve mastered this classic pecan tassies recipe (and believe me, you will!), you might want to play around a bit and make them your own! That’s the fun of baking, right? Here are a few ways I love to switch things up, especially for holiday pecan tassies or just a little something different:
- Nutty Swaps: Not a pecan purist? Try chopped walnuts, almonds, or even a mix! Each nut brings its own unique flavor to the party.
- A Hint of Spice: For a warmer, cozier vibe, add a tiny pinch of cinnamon or a dash of nutmeg to the filling. It’s especially lovely during the cooler months!
- Citrus Zest: Sometimes I’ll add a little orange or lemon zest to the crust dough. It just brightens everything up and adds a lovely subtle fragrance.
- Chocolate Drizzle: Feeling a little decadent? A light drizzle of melted chocolate over the cooled tassies takes them to a whole new level.
- Boozy Bliss: For an adult twist, substitute a teaspoon of bourbon or rum for some of the vanilla extract in the filling. Just like my pecan pie bars, it adds such a wonderful depth of flavor!
Storage and Reheating Your Pecan Tassies
Okay, so you’ve baked a batch of these glorious pecan tassies, and maybe, just maybe, there are a few left over. Good for you for having that kind of self-control! Now, you want to keep them tasting fresh and amazing, right? Here’s how I store mine.
For short-term storage, they’re perfectly happy in an airtight container at room temperature for a day or two. But if you want them to last longer (or if your kitchen gets warm!), pop them in the fridge. They’ll stay fresh and delicious for up to about 5 days there. Just let them come to room temperature before serving, or give them a quick little zap in the microwave for 10-15 seconds if you like them just a tiny bit warm and gooey!
And guess what? These little treasures freeze beautifully! Arrange them in a single layer on a baking sheet, freeze until solid, then transfer them to a freezer-safe bag or container. They’ll keep for up to 3 months. When you’re ready for a treat, just thaw them at room temperature. Easy peasy!
Common Questions About This Pecan Tassies Recipe
I hear you! When you’re making something new, especially something as precious as these pecan tassies, you’ve always got a few questions bubbling up. That’s totally normal! Here are some common ones I get, and my best answers to help you out:
Can I make these pecan tassie cookies ahead of time?
Absolutely, yes! They’re actually fantastic for making ahead, which is why they’re such a hit for holidays. You can bake them completely and store them in an airtight container at room temperature for a couple of days, or in the fridge for up to 5 days. You can also freeze the baked tassies for up to 3 months. Just thaw them at room temp before serving. So convenient!
Do I have to use a mini muffin tin for these?
For this recipe, a mini muffin tin really is best! It gives you those perfect, bite-sized pecan tartlets that are easy to pick up and eat. You *could* try a regular muffin tin, but you’d need to adjust the baking time (it would be longer!) and the yield would be much lower. Plus, the crust-to-filling ratio would be a bit off. Stick to the minis for the true tassie experience!
My crust is breaking when I press it into the muffin tin, any tips?
Ah, that can happen! Usually, it means your dough might be a little *too* cold, or you’re trying to work with pieces that are too small. Let the dough sit out for just 5-10 minutes after chilling to soften slightly. If it’s still breaking, try rolling out small sections of the dough on a lightly floured surface and then gently pressing them into the cups. Don’t worry, even if they’re not perfectly smooth, they’ll bake up beautifully!
Can I make pecan tassies without corn syrup?
Yes, you absolutely can! This very recipe is for pecan tassies without corn syrup. We use brown sugar for that lovely caramel-y sweetness, which gives you beautiful results without needing any corn syrup. So, no need to worry about that ingredient here!
Nutritional Information for This Pecan Tassies Recipe
Just a quick heads-up on the nutritional side of things! While I provide estimates, please remember that these numbers are just that—estimates. The actual nutritional content can totally vary based on the specific brands of ingredients you use and how precise your measurements are. So, take it with a pinch of salt (the good kind, of course!).
Share Your Pecan Tassies Creations!
Well, there you have it, my friends! Your very own batch of these incredible pecan tassies. I truly hope you love making them as much as I do. Now, here’s my absolute favorite part: I’d *adore* seeing your creations! Please, please, please leave a comment below and tell me how they turned out. Did you try a fun variation? Share your thoughts! And if you snap a picture (which I know you will!), tag me on social media. Happy baking, everyone!
Print
Classic Pecan Tassies
- Total Time: 1 hr 15 min
- Yield: 24 tassies 1x
- Diet: Vegetarian
Description
These bite-sized pecan tassies feature a tender cream cheese crust and a sweet, nutty filling. They are perfect for holidays or any special occasion.
Ingredients
- 1 (3-ounce) package cream cheese, softened
- 1/2 cup (1 stick) unsalted butter, softened
- 1 cup all-purpose flour
- 1 large egg
- 1/2 cup packed light brown sugar
- 1 tablespoon unsalted butter, melted
- 1 teaspoon vanilla extract
- 1/8 teaspoon salt
- 2/3 cup chopped pecans
Instructions
- In a medium bowl, beat the softened cream cheese and butter until smooth. Gradually add the flour, mixing until a soft dough forms. Do not overmix. Cover and refrigerate for at least 30 minutes.
- Preheat your oven to 350°F (175°C). Lightly grease two mini muffin tins (24 cups total).
- Divide the chilled dough into 24 equal pieces. Press each piece into the bottom and up the sides of the mini muffin cups.
- In a separate small bowl, whisk together the egg, brown sugar, melted butter, vanilla extract, and salt until combined. Stir in the chopped pecans.
- Spoon the pecan filling evenly into each prepared crust.
- Bake for 20-25 minutes, or until the crusts are lightly golden and the filling is set.
- Let the pecan tassies cool in the muffin tins for a few minutes before carefully removing them to a wire rack to cool completely.
Notes
- Ensure cream cheese and butter are softened for a smooth dough.
- Do not overmix the crust dough to keep it tender.
- The filling will firm up as the tassies cool.
- Prep Time: 20 min
- Cook Time: 25 min
- Category: Dessert
- Method: Baking
- Cuisine: American
Nutrition
- Serving Size: 1 tassie
- Calories: 150
- Sugar: 12g
- Sodium: 50mg
- Fat: 10g
- Saturated Fat: 5g
- Unsaturated Fat: 4g
- Trans Fat: 0g
- Carbohydrates: 15g
- Fiber: 1g
- Protein: 2g
- Cholesterol: 30mg