 Skip to content
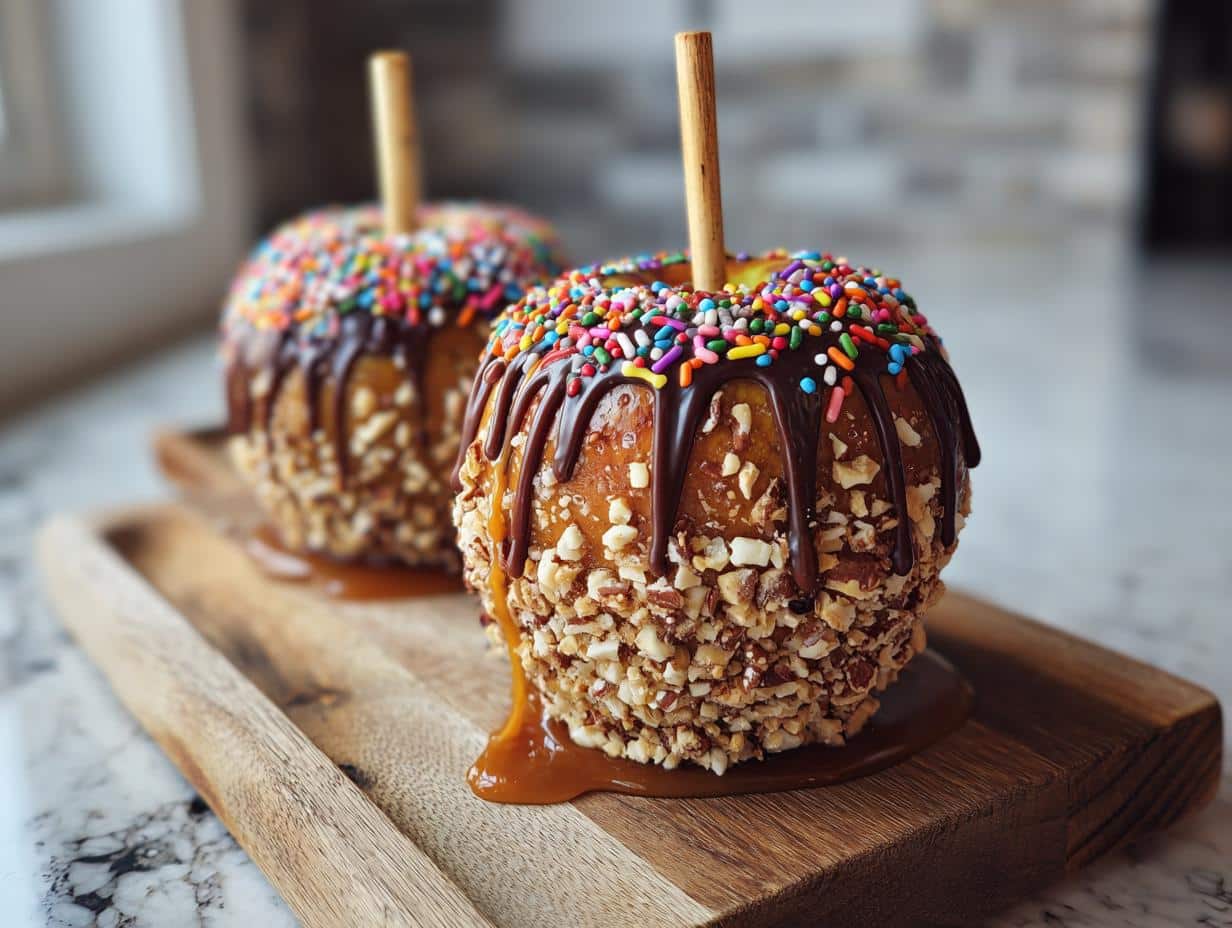
Oh, fall! It’s my absolute favorite time of year, and honestly, nothing says autumn to me quite like the sweet, comforting taste of caramel apples. But forget those sticky, messy ones you get at the fair. We’re talking about creating a showstopper – a caramel apple board that looks as incredible as it tastes! It’s super easy to put together, and everyone absolutely raves about how pretty it is and how they can pick exactly what they want. It’s really my kind of party food, you know? Simple, joyful, and made with love.
Why You’ll Love This Caramel Apple Board
This isn’t just another dessert; it’s an experience! You’ll love it because:
- It’s incredibly quick to assemble – seriously, you can whip this up in minutes!
- It’s highly customizable, letting everyone create their dream caramel apple.
- It’s just plain beautiful and makes any fall gathering feel extra special.
- It’s a total crowd-pleaser that’s perfect for parties, holidays, or just a cozy night in.
My Grandmother’s Kitchen & The Magic of Apples
I swear, the smell of apples baking or simmering always takes me right back to my grandmother’s kitchen in Asheville. She always had a big basket of apples on her counter, and she’d let me help pick the perfect ones. We’d make applesauce, apple pie, and sometimes, just slice them up with a little cinnamon. It was always so simple, but so full of love. This caramel apple board feels like that – just a bit more dressed up for a party, but still holding onto that pure joy of fresh apples and sweet treats.
Assembling Your Perfect Caramel Apple Board
Okay, so putting this whole thing together is honestly the fun part! It’s like building a beautiful edible masterpiece. We’re not just throwing things on a board; we’re arranging it so it looks absolutely stunning and is super easy for everyone to grab what they want. Think of it as creating a little autumn wonderland right on your counter. It all comes together pretty quickly once you have your apples and toppings ready to go.
Selecting the Best Apples for Your Caramel Apple Board
When you’re picking out apples for this, you want ones that hold up well and taste great dipped. My go-to’s are Honeycrisp because they’re so crisp and sweet, but Gala and Fuji are fantastic too. They’re firm, so they won’t get mushy, and their natural sweetness is just perfect with the caramel. You want apples that are nice and round, too – they just look prettier on the board!
Preparing Your Caramel Apple Board Toppings
This is where you can really let your creativity shine! You’ll want to get all your toppings ready and put them in little bowls. I usually go for chopped pecans or walnuts, a mix of colorful sprinkles – the jimmies and nonpareils are always a hit – some mini chocolate chips, maybe some shredded coconut, and even some crunchy crushed pretzels for a sweet and salty combo. Just chop up your nuts, make sure your sprinkles are easy to grab, and have everything measured out so it’s ready to go.
The Art of Dipping and Decorating Apples
Now for the main event! Make sure your apples are totally dry after washing them, or the caramel won’t stick. Pop a stick firmly into the stem end of each apple. Then, you’ll dip the apple about halfway into the caramel sauce. Give it a gentle swirl and lift it up, letting any extra caramel drip back into the bowl – you don’t want globs! Immediately, while the caramel is still warm and gooey, roll the dipped part into your chosen toppings. You can press them gently to help them stick. If you’re feeling fancy, a little drizzle of melted chocolate over the top or a sprinkle of flaky sea salt is just divine!
Essential Ingredients for Your Caramel Apple Board
Alright, let’s talk about what you’ll need to make this happen! It’s pretty straightforward, and honestly, you probably have a lot of this stuff already. First, you’ll need about 6 to 8 medium-sized apples. I really love using Honeycrisp, Gala, or Fuji because they’re nice and firm, but any good crisp apple will do. Make sure they’re washed and super dry! Then, you’ll need about a cup of caramel sauce – I usually grab a good quality store-bought one, but homemade is amazing too if you’re feeling ambitious. For the fun stuff, have about half a cup each of chopped nuts (pecans are my favorite!), sprinkles in a few fun colors, mini chocolate chips, and maybe some shredded coconut or crushed pretzels. Oh, and don’t forget those popsicle sticks or skewers for holding them!
Step-by-Step Guide to Creating Your Caramel Apple Board
Alright, let’s get this party started! Building your caramel apple board is really more about assembly than actual cooking, which makes it super fun and not at all intimidating. It’s all about getting your ducks in a row so you can create something beautiful and delicious without any fuss. Just follow these easy steps, and you’ll have a stunning dessert that people will be talking about!
Step 1: Apple Preparation
First things first, we need to get those apples ready. Give them a good wash and then, this is important, make sure they are completely dry. Seriously, pat them down really well with a paper towel. Then, firmly push a popsicle stick or a skewer into the stem end of each apple. Make sure it’s in there good and snug so it doesn’t wiggle loose later!
Step 2: Topping Organization
Now, let’s get all those yummy toppings ready to go. Grab a bunch of little bowls or ramekins – whatever you have on hand! – and fill each one with a different topping. We’re talking chopped nuts, sprinkles, chocolate chips, coconut, pretzels… the works! Having them all prepped and in their own little bowls makes the dipping and decorating process so much smoother and way less messy.
Step 3: Caramel Dipping Technique
This is where the magic happens! Pour your caramel sauce into a shallow bowl or a sturdy ramekin. It shouldn’t be too deep, just enough to get a good dip. Take one of your prepared apples and dip the top half into the caramel. Give it a little swirl to coat it nicely, then lift it straight up. Let any extra caramel drip back into the bowl. You want a nice, even coating, not a big ol’ glob hanging off!
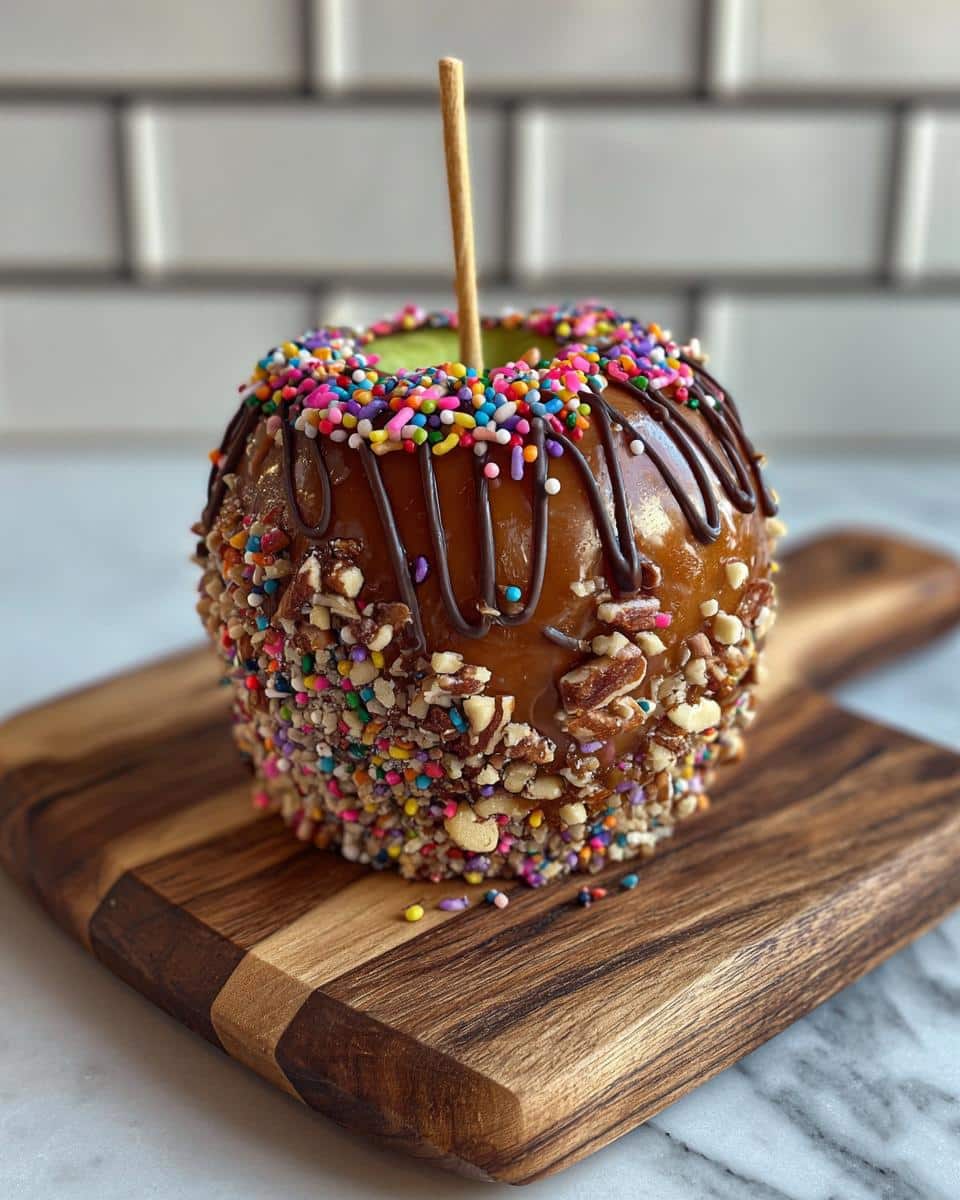
Step 4: Applying Toppings and Finishing Touches
As soon as you lift the apple out of the caramel, while it’s still nice and gooey, immediately roll the caramel-covered part into your toppings. You can do this right over the bowl of toppings, or just sprinkle them on generously. Gently press the toppings so they stick well. If you’re feeling extra fancy, now’s the time to grab some melted chocolate and drizzle it over the caramel, or add a little pinch of flaky sea salt – it’s seriously divine!
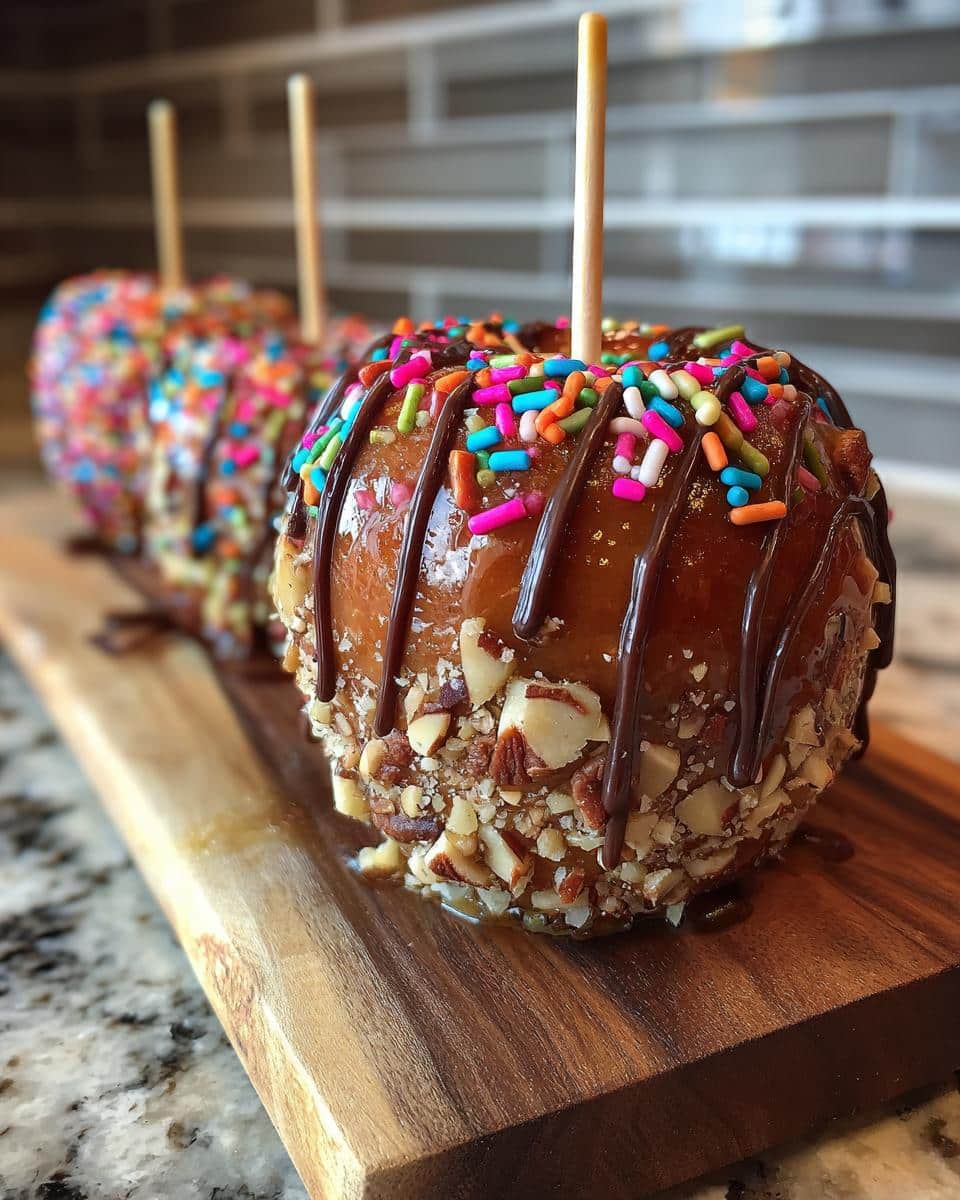
Step 5: Board Arrangement
Time to make it look pretty! Grab your favorite serving board – a nice wooden one or a marble slab looks gorgeous. Arrange your beautifully decorated caramel apples on the board. You can place them standing up, or if you want them to be super stable, you can pop them into little glasses or jars with the sticks sticking out. Then, artfully arrange your topping bowls around the apples. This way, your guests can easily grab more of their favorite toppings and customize their own apples!
Step 6: Serving Your Caramel Apple Board
And there you have it! Your stunning caramel apple board is ready to wow your guests. It’s best served right away while the caramel is still perfectly soft and the apples are crisp. If you need to make it a little ahead of time, you can chill the decorated apples on the board for a bit, but try not to leave them out too long, or the caramel might get a bit too firm. Enjoy watching everyone dig in!
Tips for a Stunning Caramel Apple Board
Making a caramel apple board that looks as amazing as it tastes is all about a few little tricks. Trust me, these tips will take your board from good to absolutely gorgeous!
- Apple Dryness is Key: I can’t stress this enough – make sure those apples are bone dry before you dip them. The caramel just won’t stick to a wet apple, and you’ll end up with a sad, drippy mess.
- Topping Variety is Everything: Don’t be shy with the toppings! Offering a good mix of textures and flavors, like crunchy nuts, sweet sprinkles, and maybe even something salty like crushed pretzels, really makes it special.
- Presentation Matters: Think about how you arrange everything. You want it to look inviting and fun, like a little edible party on a platter.
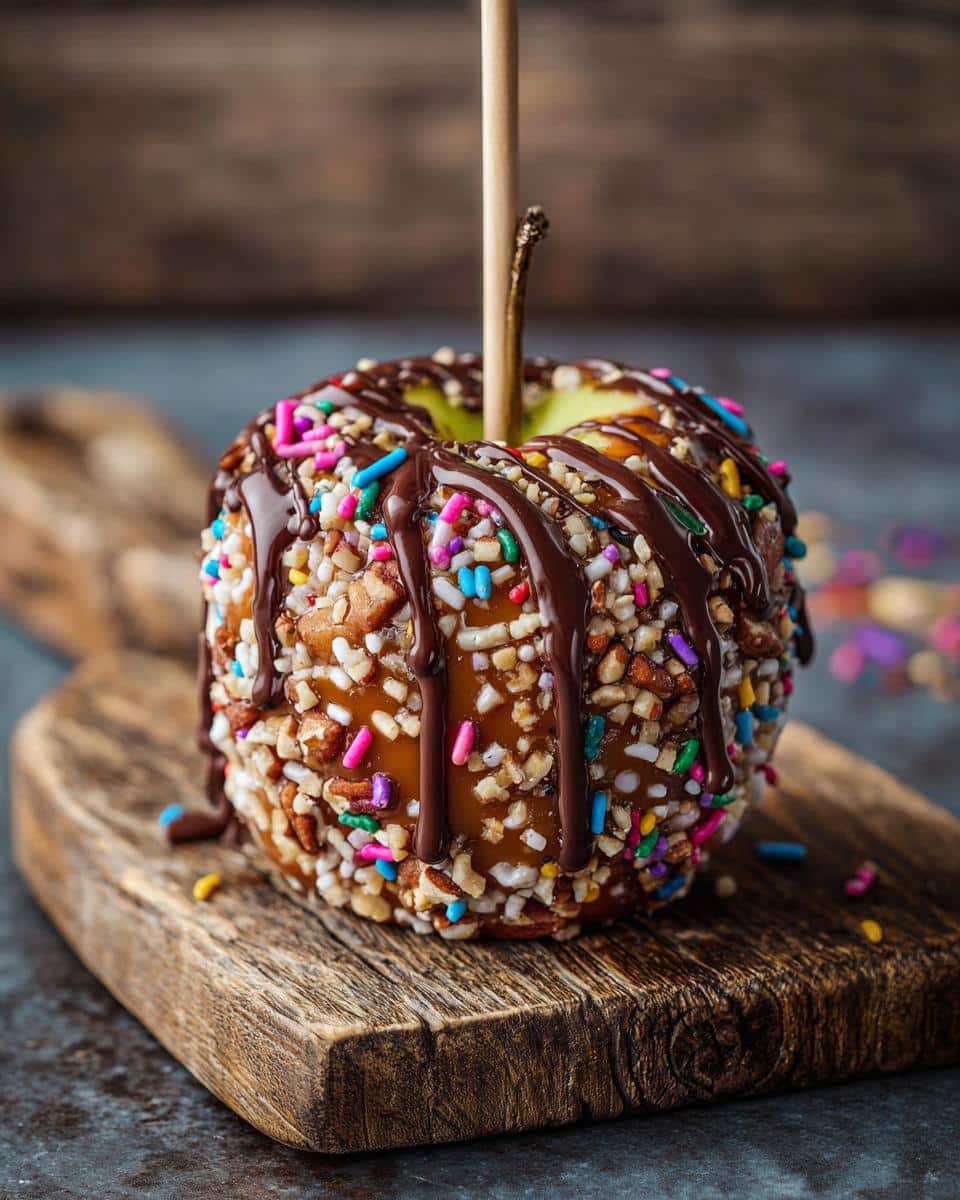
Maximizing Flavor with Caramel Apple Toppings
The toppings aren’t just for looks, oh no! They totally change the flavor game. Crunchy pecans or walnuts add a lovely nuttiness that pairs perfectly with the sweet caramel and crisp apple. Mini chocolate chips melt just a little against the warm caramel, and a sprinkle of sea salt on top? Pure magic. It really balances out all that sweetness and makes each bite exciting!
Creative Presentation Ideas for Your Caramel Apple Board
To make your board truly Instagram-worthy, think about height and color. Arrange the apples in a visually pleasing way – maybe a circle, or staggered rows. If you’re worried about them rolling around, popping the sticks into small jars or glasses is a genius trick that adds a bit of height and keeps them upright. Scatter your topping bowls artfully around the apples, and maybe even add a few decorative fall leaves or sprigs of rosemary for that extra festive touch!
Frequently Asked Questions About Caramel Apple Boards
Got questions about whipping up your own caramel apple board? I’ve got answers!
Can I make the caramel apple board ahead of time?
You can definitely prep some elements ahead of time, which is great for parties! Wash and dry your apples, and insert the sticks a day in advance. Store them in the fridge, maybe in a large bag or container so they don’t roll around. Prepare your toppings and put them in their bowls too. However, I’d recommend dipping the apples in caramel and adding the toppings just a few hours before serving. Caramel can get a little firm if refrigerated for too long, and the toppings might get a bit soggy if they sit too long. It’s best to do the final decorating closer to when you’ll serve them for the freshest taste and best texture!
What are the best apples for dipping?
Honestly, the best apples for dipping are the crisp, firm ones! They hold their shape beautifully and give you that satisfying crunch against the soft caramel. My absolute favorites are Honeycrisp, Fuji, and Gala. They’re naturally sweet and don’t get mushy like some softer apple varieties can. Just make sure they’re nice and dry before you start dipping – that’s super important for getting that caramel to stick!
How do I prevent the caramel from sliding off?
The biggest secret is making sure your apples are completely, totally dry. I mean it – pat them down really, really well with paper towels after washing. If there’s even a little bit of moisture, the caramel just won’t adhere properly. Also, when you dip, give the apple a good swirl to coat it, then lift it straight up and let any excess caramel drip back into the bowl for a few seconds. Don’t shake it too much! You want a nice, even layer that will set up nicely once you add your toppings.
Nutritional Information Disclaimer
Just a heads-up, the nutritional info for this caramel apple board can really change depending on the exact apples, caramel sauce, and toppings you use. Since everyone gets to customize their own, it’s hard to give exact numbers. So, think of this as a delicious treat rather than a strictly measured meal!
Print
Stunning Caramel Apple Board in 5 Easy Steps
- Total Time: 20 minutes
- Yield: 6-8 servings 1x
- Diet: Vegetarian
Description
Create a stunning and delicious caramel apple board, perfect for fall gatherings and parties. This guide offers creative presentation ideas and topping suggestions for a memorable dessert experience.
Ingredients
- 6–8 medium apples (e.g., Honeycrisp, Gala, Fuji)
- 1 cup caramel sauce (store-bought or homemade)
- 1/2 cup chopped nuts (pecans, walnuts, peanuts)
- 1/2 cup sprinkles (various colors and shapes)
- 1/4 cup mini chocolate chips
- 1/4 cup shredded coconut
- 1/4 cup crushed pretzels
- Optional: Drizzle of melted chocolate (dark, milk, or white), flaky sea salt
Instructions
- Wash and dry the apples thoroughly. Insert a popsicle stick or skewer into the stem end of each apple.
- Prepare your toppings by placing them in separate small bowls.
- Pour the caramel sauce into a shallow bowl or ramekin.
- Arrange the caramel apples on the board, leaving space for the toppings.
- Dip the top half of each apple into the caramel sauce, allowing excess to drip off.
- Immediately roll the caramel-dipped portion in your desired toppings, or drizzle with melted chocolate and sprinkle with sea salt.
- Place the decorated apples back onto the board.
- Arrange the bowls of toppings around the caramel apples for guests to customize their own.
- Serve immediately or chill until ready to serve.
Notes
- Choose a variety of apple types for different textures and flavors.
- Ensure apples are completely dry before dipping for best caramel adhesion.
- Offer a variety of toppings to cater to different preferences.
- For a more stable board, you can place the apples in small jars or glasses.
- Consider adding other complementary items like cheese cubes or crackers for a savory contrast.
- Prep Time: 20 minutes
- Cook Time: 0 minutes
- Category: Dessert
- Method: Assembly
- Cuisine: American
Nutrition
- Serving Size: 1 apple with toppings