
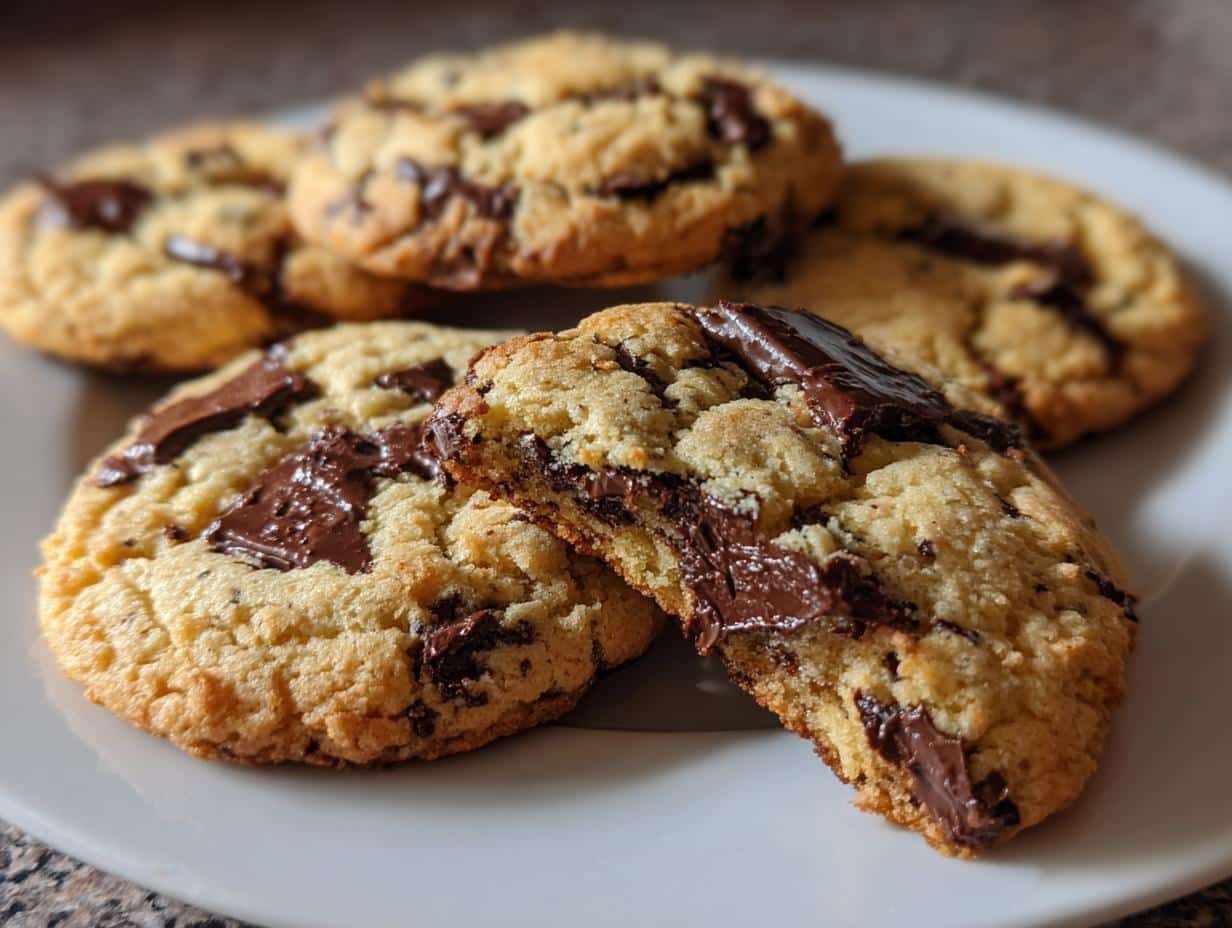
Oh, hello there! If you’re anything like me, you’ve probably scrolled through Pinterest and just *stopped* when you saw them: those perfectly baked, golden-brown chocolate chip cookies, maybe with a little sprinkle of sea salt on top, looking absolutely divine. That’s what we call the chocolate chip cookies aesthetic, and honestly, it just makes my heart sing! It’s more than just a cookie; it’s a little moment of joy, a perfect bite that’s almost too pretty to eat. I remember as a kid, my grandma’s cookies always looked so inviting, always had that perfect crinkle and gooey center. That’s the magic I aim for, and I’m so excited to share how we can get that beautiful look right in your own kitchen.
The Allure of Aesthetic Chocolate Chip Cookies
It’s no wonder the term chocolate chip cookies aesthetic is everywhere, right? We’re all drawn to those gorgeous shots of cookies that just look *perfect*. It’s about more than just taste; it’s the whole package! Think about it: the way the light hits those melty chocolate chips, the little crinkles on top, the perfectly golden-brown edges. It’s a whole vibe! This is where food styling and photography really come in, turning a simple cookie into a work of art. It’s why we search for pretty chocolate chip cookies and aesthetically pleasing cookies – we want that inspiration to make our own baking just as beautiful. As someone who loves making food look as good as it tastes, I can tell you it’s all in the details!
Why You’ll Love This Chocolate Chip Cookies Aesthetic
- Visually Stunning: These cookies are designed to look absolutely gorgeous, perfect for your social media or just to impress your friends.
- Easy to Make: Even with the focus on aesthetics, this recipe is totally manageable for home bakers.
- Perfect for Sharing: Whether it’s a special occasion or just a Tuesday, these cookies are made to be shared and admired.
- Inspiring for Bakers: Get ready to feel inspired to experiment with your own food styling and photography!
Crafting Beautiful Chocolate Chip Cookies: Essential Ingredients
You know, the secret to those show-stopping cookies really starts with the ingredients. It’s not just about throwing everything together; it’s about choosing things that give you that beautiful texture and color. For that extra special look and taste, I absolutely adore using brown butter. It gives these cookies such a lovely nutty depth and a gorgeous golden hue that screams brown butter chocolate chip cookie aesthetic. And trust me, the quality of your chocolate chips can make a huge difference too – think chunky, melty goodness!
Butter: The Foundation of Flavor and Texture
We need 1 cup (2 sticks) unsalted butter, softened. If you’re feeling fancy, browning this butter first is totally worth it for that amazing flavor and color!
Sugars for Sweetness and Shine
For that perfect chew and crisp edge, we’ll use 3/4 cup granulated sugar and 3/4 cup packed brown sugar. That brown sugar is key for moisture and that lovely caramel note!
Eggs and Vanilla: Binding and Aroma
Just 2 large eggs to bind it all together, and 1 teaspoon vanilla extract for that classic sweet aroma. Simple, but oh-so-important!
Flour, Leavening, and Salt: The Structure
We need 2 1/4 cups all-purpose flour for the base, plus 1 teaspoon baking soda to help them rise just right, and 1/2 teaspoon salt to balance all that sweetness.
Chocolate Chips: The Star of the Show
Load them up! We’re using 2 cups chocolate chips. Feel free to mix it up – semi-sweet, dark, milk, or even chunks!
Mastering the Chocolate Chip Cookie Aesthetic: Step-by-Step Instructions
Alright, let’s get down to business and make these cookies look as incredible as they taste! It’s all about a gentle hand and paying attention to the little things. We’re aiming for that perfect, drool-worthy look that makes everyone want to grab one (or five!).
Preparing Your Dough for the Perfect Look
So, we’ve got our beautiful dough. Now, the key is to be gentle! After you stir in those chocolate chips, don’t go crazy mixing. Just fold them in until they’re nicely distributed. Overmixing can make your cookies tough, and we want tender, chewy perfection. If you’ve got the time, chilling the dough for about 30 minutes is a game-changer for the aesthetic. It helps the cookies spread less and stay a bit thicker, giving you that lovely, substantial look. Plus, it really deepens that brown butter flavor if you went that route!
Baking for Visual Perfection
Preheat that oven to 375°F (190°C). We want it nice and hot! Spoon rounded tablespoons of that gorgeous dough onto ungreased baking sheets. Give them a little space because they will spread. Now, here’s the visual magic: bake them for about 9 to 11 minutes. You’re looking for those edges to be a beautiful golden brown, but the center should still look a little soft and underdone. That’s exactly what you want for that irresistible gooey center and that perfect chocolate chip cookies aesthetic. Ovens can be a little wild, so keep an eye on them!
Cooling and Styling for the Ultimate Aesthetic
Once they’re out of the oven, resist the urge to move them right away! Let them hang out on the baking sheet for a couple of minutes. This is crucial for them to set up just enough so they don’t fall apart. Then, carefully transfer them to a wire rack to cool completely. This is where the styling really happens! Arrange them artfully on a nice plate or board. Maybe add a few extra chocolate chips on top of a warm cookie so they look melty, or a tiny sprinkle of flaky sea salt. For that Pinterest-perfect shot, think about a chocolate chip cookies flat lay with some pretty props – maybe a vintage rolling pin or a sprig of rosemary. Good lighting is your best friend for capturing that amazing chocolate chip cookie photography!
Tips for an Unforgettable Chocolate Chip Cookie Aesthetic
Okay, so we’ve got the baking part down, but let’s really push that chocolate chip cookies aesthetic to the next level! Sometimes it’s the little things that make all the difference, you know? I’ve learned over the years that thinking about the final look *while* you’re baking can really elevate your cookies. It’s all about those extra touches that make them pop and give you those amazing chocolate chip cookie baking ideas. I’m always looking for the best chocolate chip cookie aesthetic myself, and I’ve found a few tricks that really work wonders!
Elevating Your Chocolate Chip Cookie Aesthetic with Flavor
For that extra bit of sparkle and a flavor boost that really makes your chocolate chip cookies aesthetic sing, try adding a sprinkle of flaky sea salt right on top of the dough before it goes into the oven. It’s just a tiny thing, but wow, does it make a difference visually and taste-wise! Also, don’t be afraid to mix up your chocolate chips. Using a combination of dark and milk chocolate, or even some chocolate chunks, gives you more visual interest and a richer flavor profile. It’s these little flavor tweaks that also contribute to that overall beautiful cookie look.
The Art of Chocolate Chip Cookie Photography
Now for the fun part – capturing that perfect shot! For a truly amazing chocolate chip cookies flat lay, think about your background. Natural light is your absolute best friend here; try to shoot near a window. Arrange your cookies casually, maybe with a few scattered chocolate chips around, or a nice mug of coffee. Consider your angles – sometimes shooting straight down for a flat lay is stunning, other times a slight angle showing the texture works wonders. Props can really add to the story, too – maybe a pretty tea towel, some fresh flowers, or even just a whisk. It’s all about creating a scene that makes people *feel* the deliciousness!
Frequently Asked Questions About Chocolate Chip Cookies Aesthetic
Got questions about getting that perfect cookie look? I totally get it! It’s those little details that make all the difference for that gorgeous chocolate chip cookies aesthetic we’re all chasing. Think magazine-worthy cookies! For perfectly round ones, try using a cookie scoop or even a tablespoon to get uniform balls of dough. If your cookies are spreading too much, it usually means your butter was too soft, or maybe you didn’t chill the dough long enough. Chilling is a big one for controlling spread and getting that thicker, more substantial cookie that looks so inviting. For that amazing crinkly top, make sure you’re not overbaking – pull them out when the edges are golden but the center still looks a little soft. It’s all about that balance for the best chocolate chip cookie aesthetic!
Ingredient Notes and Substitutions for Your Aesthetic
When we’re going for that perfect cookie look, the ingredients really matter! For the butter, if you can’t get it softened perfectly, you can even give it a quick zap in the microwave – just 10 seconds at a time, very carefully! If you’re out of all-purpose flour, you *could* try a good quality gluten-free blend, but make sure it’s a 1:1 type so it bakes up similarly. It might change the texture just a touch, but visually it should still be lovely. And for those chocolate chips, don’t be afraid to mix and match! Using a combo of dark chocolate chunks and semi-sweet chips gives such a beautiful, varied look with lovely pools of melted chocolate. It really ups that chocolate chip cookies aesthetic!
Storage and Reheating for Lasting Aesthetic Appeal
To keep your beautiful cookies looking and tasting their best, storing them properly is key to maintaining that lovely chocolate chip cookies aesthetic. Once they’re completely cool – and I mean *completely* cool, so they don’t steam up – pop them into an airtight container. You can layer them with parchment paper if you’re worried about them sticking together, especially if they’re still a little soft in the middle. They’ll stay wonderfully chewy and delicious for about 3-4 days this way. If you want to reheat one for that freshly-baked warm-and-gooey feel, just pop it in a toaster oven or a regular oven at a low temperature, maybe around 300°F (150°C), for just a few minutes until it’s warm through. This little trick brings back that perfect meltiness without making them look sad and dried out, keeping that lovely cookie appeal!
Understanding the Nutritional Value of Your Aesthetic Cookies
While we’re all here for the gorgeous looks and delicious taste, it’s good to have an idea of what’s in these beauties! On average, one of these lovely cookies packs about 200-250 calories. You’re looking at around 12-15g of fat, with about half of that being saturated, roughly 25-30g of carbs, and a couple of grams of protein. Remember, these are just estimates, and the exact numbers can change depending on the specific chocolate chips and butter you use!
Print
Amazing chocolate chip cookies aesthetic 12 ways
- Total Time: 25 minutes
- Yield: Approximately 24 cookies 1x
- Diet: Vegetarian
Description
Visually appealing chocolate chip cookies, perfect for inspiring your baking and food styling.
Ingredients
- 1 cup (2 sticks) unsalted butter, softened
- 3/4 cup granulated sugar
- 3/4 cup packed brown sugar
- 2 large eggs
- 1 teaspoon vanilla extract
- 2 1/4 cups all-purpose flour
- 1 teaspoon baking soda
- 1/2 teaspoon salt
- 2 cups chocolate chips
Instructions
- Preheat oven to 375°F (190°C).
- Cream together softened butter, granulated sugar, and brown sugar until light and fluffy.
- Beat in eggs one at a time, then stir in vanilla extract.
- In a separate bowl, whisk together flour, baking soda, and salt.
- Gradually add the dry ingredients to the wet ingredients, mixing until just combined.
- Stir in the chocolate chips.
- Drop rounded tablespoons of dough onto ungreased baking sheets.
- Bake for 9-11 minutes, or until golden brown around the edges and still slightly soft in the center.
- Let cookies cool on the baking sheets for a few minutes before transferring them to wire racks to cool completely.
Notes
- For a richer flavor, use brown butter instead of softened butter.
- Chill the dough for at least 30 minutes before baking for thicker cookies.
- Experiment with different types of chocolate chips for varied flavors and textures.
- Consider adding a sprinkle of sea salt on top of the cookies before baking for an enhanced taste.
- Prep Time: 15 minutes
- Cook Time: 10 minutes
- Category: Dessert
- Method: Baking
- Cuisine: American
Nutrition
- Serving Size: 1 cookie
- Calories: Approx. 200-250 kcal
- Sugar: Approx. 15-20g
- Sodium: Approx. 75-100mg
- Fat: Approx. 12-15g
- Saturated Fat: Approx. 7-9g
- Unsaturated Fat: Varies
- Trans Fat: 0g
- Carbohydrates: Approx. 25-30g
- Fiber: Approx. 1-2g
- Protein: Approx. 2-3g
- Cholesterol: Approx. 30-40mg