 Skip to content

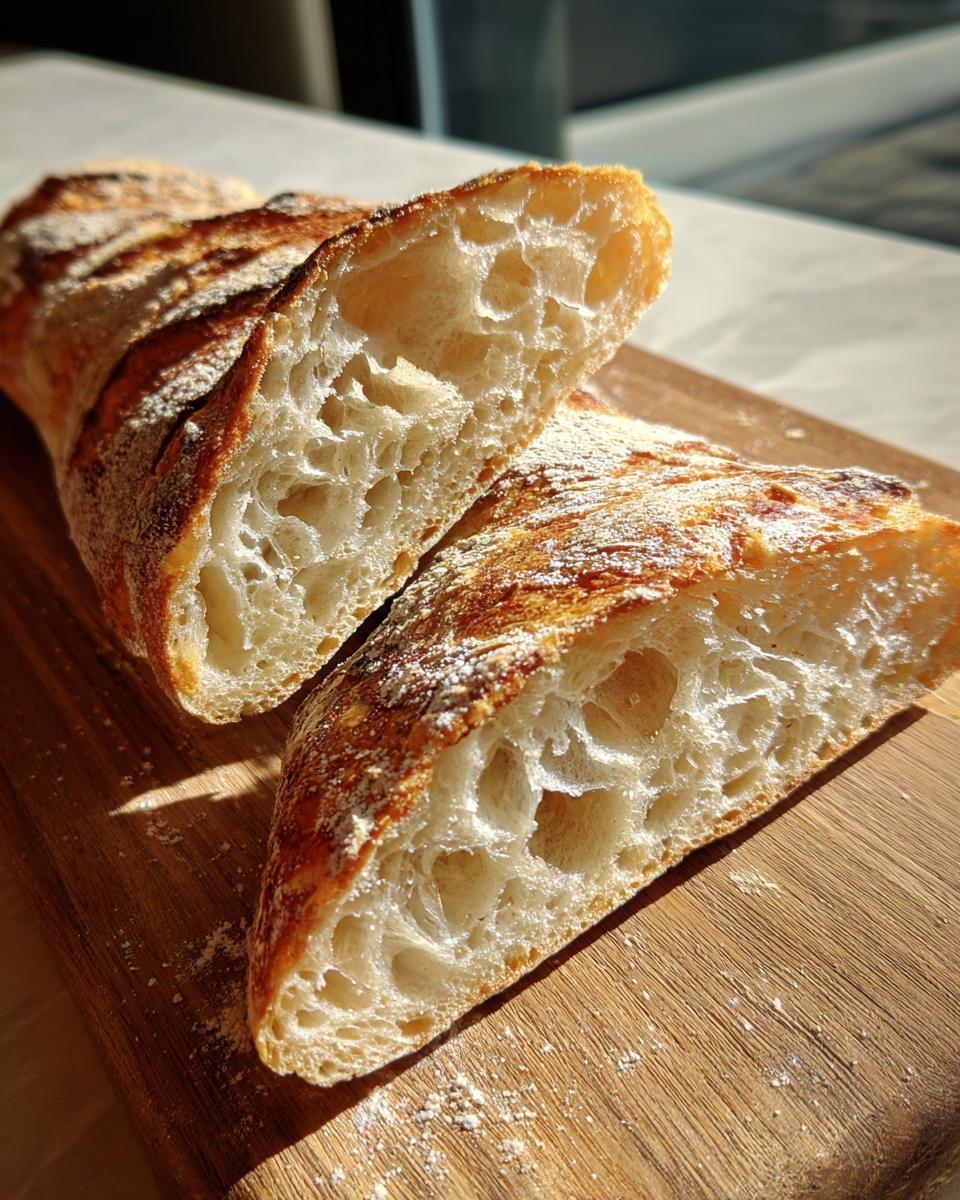
Oh, there’s truly nothing quite like the smell of fresh bread baking, is there? For me, it’s one of those quiet kitchen rituals that just fills the whole house with pure comfort. And a perfectly baked Classic French Baguette? Forget about it! That moment you pull it from the oven, with its crackly, golden crust and that promise of a soft, airy interior… it’s just magic. As Lisa Raymond, I love bringing you unfussy meals, and this Classic French Baguette Recipe: Easy Steps for Homemade Bread Delight totally fits my philosophy. It’s all about the simple joy of creating something truly special from scratch. Don’t let the fancy name fool you – this recipe is surprisingly approachable and incredibly rewarding!
Why You’ll Love This Classic French Baguette Recipe
Honestly, what’s not to love? This Classic French Baguette recipe isn’t just about making bread; it’s about making a memory! You’re going to fall head over heels for it, trust me. Here’s why this recipe will become your new favorite:
- It’s surprisingly easy! Don’t let the fancy name scare you. We’re talking simple steps that even a beginner can master.
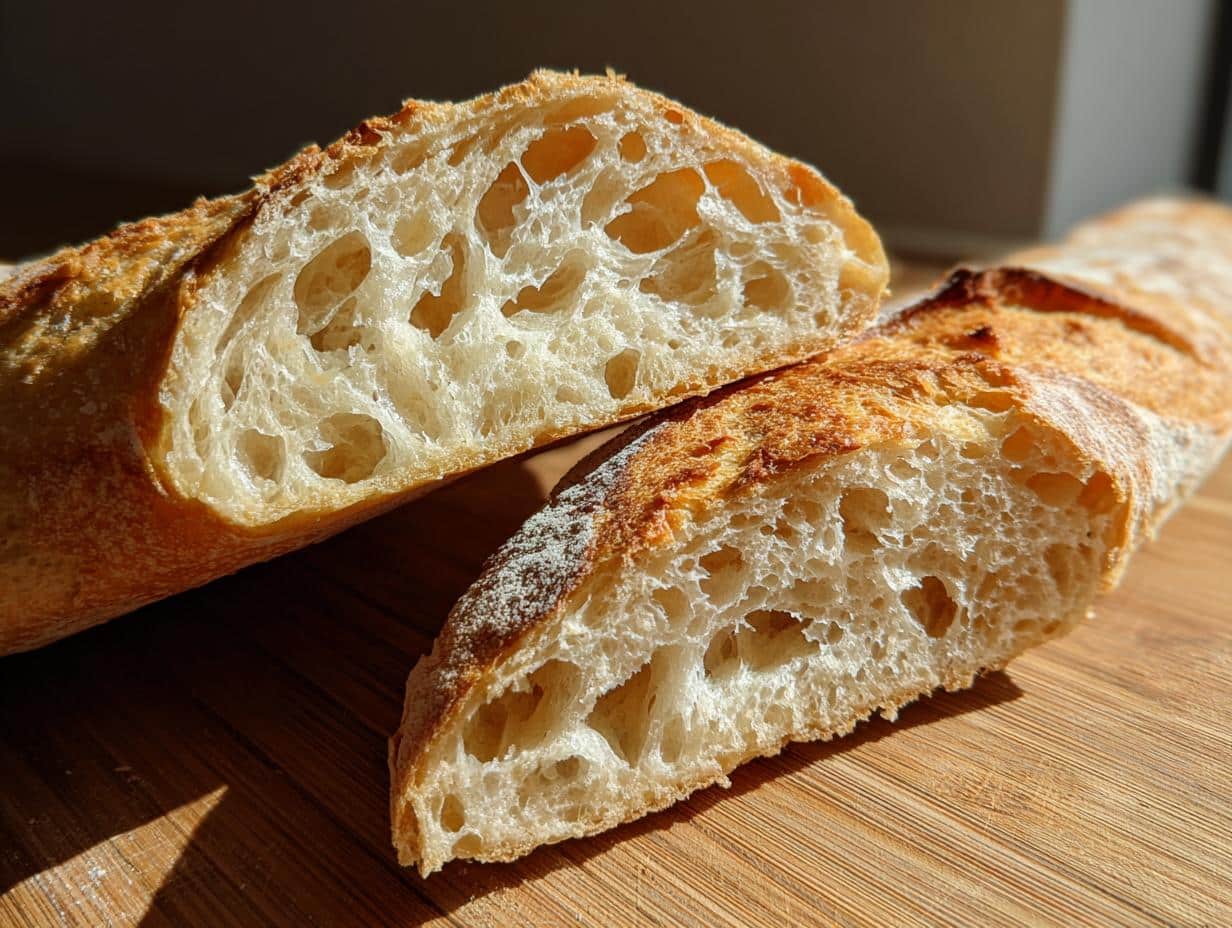
- Authentic taste, right at home. You’ll get that classic, tangy flavor and chewy texture you usually only find in a French bakery.
- That incredible aroma. Your kitchen will smell absolutely divine, instantly making everything feel cozy and wonderful.
- The joy of homemade bread. There’s just something incredibly satisfying about pulling a warm, crusty baguette out of your own oven. Pure bliss!
Essential Ingredients for Your Classic French Baguette
Alright, let’s talk ingredients for our Classic French Baguette! You don’t need a crazy long list for this, which I love. It’s all about a few simple, good-quality items coming together to make something magical. Here’s what you’ll need to gather from your pantry:
- 300 grams (about 2 ½ cups) of good quality all-purpose flour
- 210 grams (¾ cup plus 2 tablespoons) of warm water – think bathwater warm, not hot!
- 6 grams (1 teaspoon) of fine sea salt
- 3 grams (1 teaspoon) of instant yeast – super important for that lovely rise!
Equipment for Baking the Perfect Classic French Baguette
So, you’ve got your ingredients ready. Now, onto the tools! You don’t need a professional bakery setup for this Classic French Baguette, but having the right gear really does make a difference. These are the things I rely on every time to get that perfect crust and airy crumb:
- Large mixing bowl: You’ll need plenty of space for the dough to mix and grow!
- Kitchen scale: Trust me on this one, baking bread is a science, and a scale gives you accurate measurements for the best results.
- Dough scraper: This little tool is a lifesaver for handling sticky dough and for dividing it cleanly.
- Couche or parchment paper: A couche is a special linen cloth that supports your shaped baguettes as they proof, keeping their shape. If you don’t have one, floured parchment paper works great!
- Baking stone or steel: This is key for getting that amazing, crispy crust, holding and radiating heat evenly.
- Sharp knife or lame: A lame (pronounced “lahm”) is a fancy baker’s blade, but any super sharp knife will do for scoring the tops of your baguettes before baking. It helps them expand beautifully in the oven!
How to Prepare Your Classic French Baguette: Easy Steps
Okay, it’s time for the fun part! This is where we turn those simple ingredients into a beautiful loaf of bread. Don’t be intimidated by the steps; I’m here to guide you through every single one. We’re going to build flavor and strength into this dough, then shape it into gorgeous baguettes that’ll make you feel like a true baker. Follow along, and remember: bread making is an art, but it’s also wonderfully forgiving!
Mixing the Dough for Your Classic French Baguette
First things first, grab that big mixing bowl! Combine your flour, warm water, salt, and instant yeast. Now, just mix until everything comes together. You’re not looking for a perfectly smooth dough here, just a “shaggy” mess. Once it’s all combined, cover the bowl with plastic wrap or a damp towel and let it rest for a good 30 minutes. This gives the flour time to fully hydrate, which is super important!
Developing Flavor with Stretch and Folds
This is where the magic really starts to happen! After that first rest, it’s time for our first round of “stretch and folds.” Gently grab one side of the dough, stretch it up high, and fold it over to the center. Rotate your bowl a quarter turn and repeat this 3-4 more times until all sides have had a turn. You’ll do this whole process three times total, with a 30-minute rest between each session. This technique builds strength and elasticity in the dough without needing to knead it like crazy!
After your final stretch and fold, cover the bowl tightly and pop it in the fridge for at least 12 hours, or even up to 24. This long, cold fermentation is crucial for developing incredible flavor in your Classic French Baguette, so don’t skip it!
Shaping the Classic French Baguette
The next day, pull your dough out of the fridge and let it hang out at room temperature for about an hour. Now, gently divide that beautiful, bubbly dough into two equal pieces. For shaping, you want to be gentle but firm. Flatten each piece into a rough rectangle, then fold the top edge down to the center and press to seal. Repeat with the bottom edge, then fold the dough in half lengthwise and seal that seam really well. Finally, gently roll the dough with your palms to lengthen it into that classic baguette shape. You want to create tension on the outside. Place your shaped baguettes, seam-side up, on your floured couche or parchment paper. Cover them up and let them proof for 45-60 minutes, until they look puffy and happy.
Baking Your Homemade Bread Delight
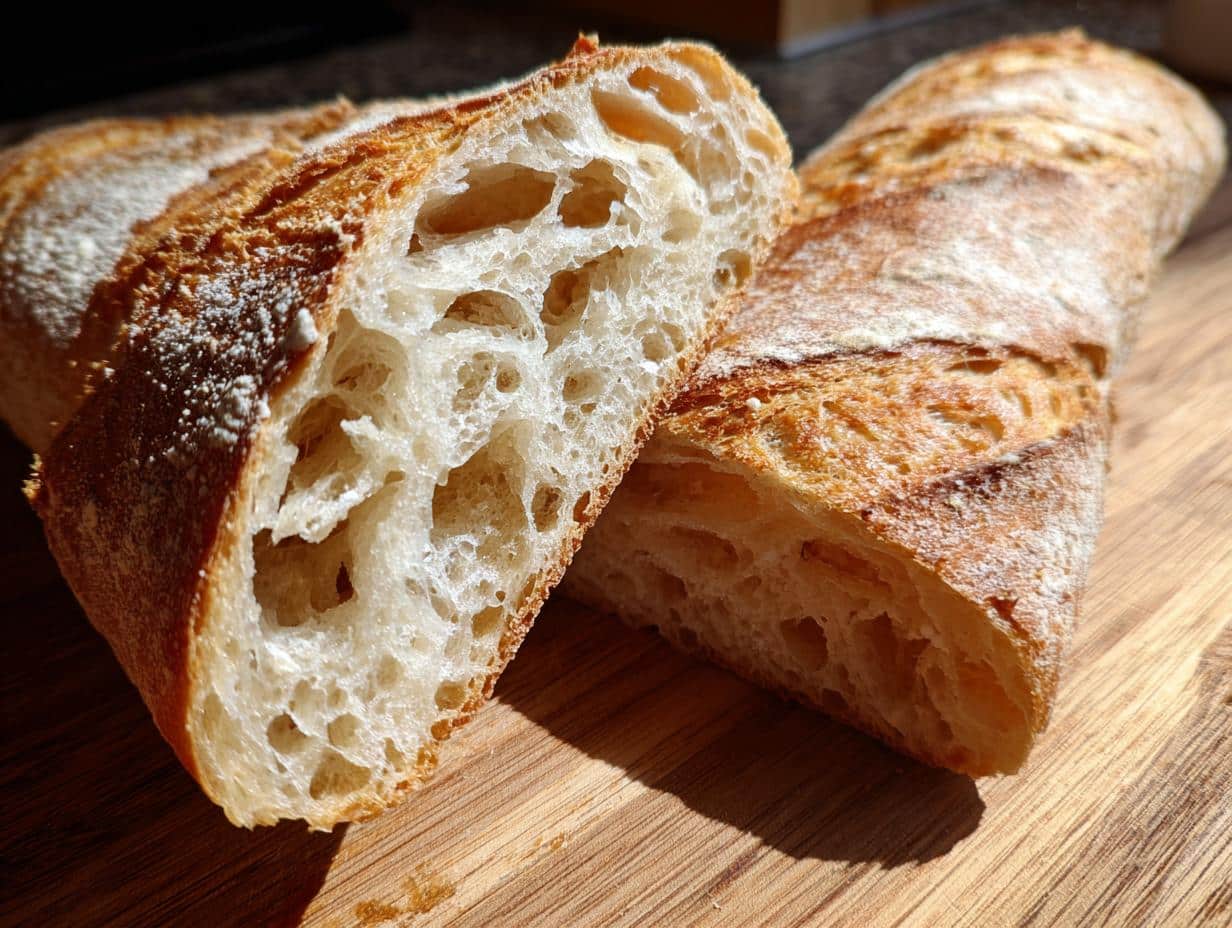
While your baguettes are proofing, it’s oven time! Preheat your oven to a scorching 230°C (450°F) with your baking stone or steel inside. And here’s my favorite trick for that super crispy crust: place a pan of hot water at the bottom of the oven. This creates steam! Once your baguettes are proofed, carefully transfer them to the hot stone. Grab your sharp knife or lame and quickly score the tops with a few diagonal slashes; this helps them expand beautifully. Bake for 20-25 minutes. They should be golden brown and gloriously crusty. Once they’re done, let them cool on a wire rack – I know it’s hard, but resist the urge to cut into them immediately! This is how you get perfect homemade bread.
Tips for Success with Your Classic French Baguette
Alright, you amazing bakers, you’re so close to baguette bliss! Here are my top tips for making sure your Classic French Baguette turns out absolutely perfect every single time. These are the little things that make a big difference, trust me:
- Get a kitchen scale, seriously! I know I harped on it in the equipment section, but using a scale for your flour and water measurements is crucial for breadmaking. Cups can vary wildly, and precision here means a much better chance of success.
- Don’t overmix the dough. When you’re just combining ingredients, stop as soon as a shaggy dough forms. Overmixing can lead to a tough baguette, and we want light and airy!
- Listen to your dough. It’s a living thing! If it feels too stiff, a tiny splash more water (we’re talking drops!) can help. If it’s too sticky, a tiny dusting of flour. Learn to feel its texture when you’re doing those stretch and folds.
- Create that steam. That pan of hot water in the oven isn’t just for show! It’s what gives your baguette that gorgeous, crackly, thin crust. Don’t skip it!
- Know your oven. Every oven is a little different. Keep an eye on your baguettes, especially towards the end of the baking time. They should be deeply golden brown. If you find your oven runs hot or cold, don’t be afraid to adjust the temperature or baking time a bit.
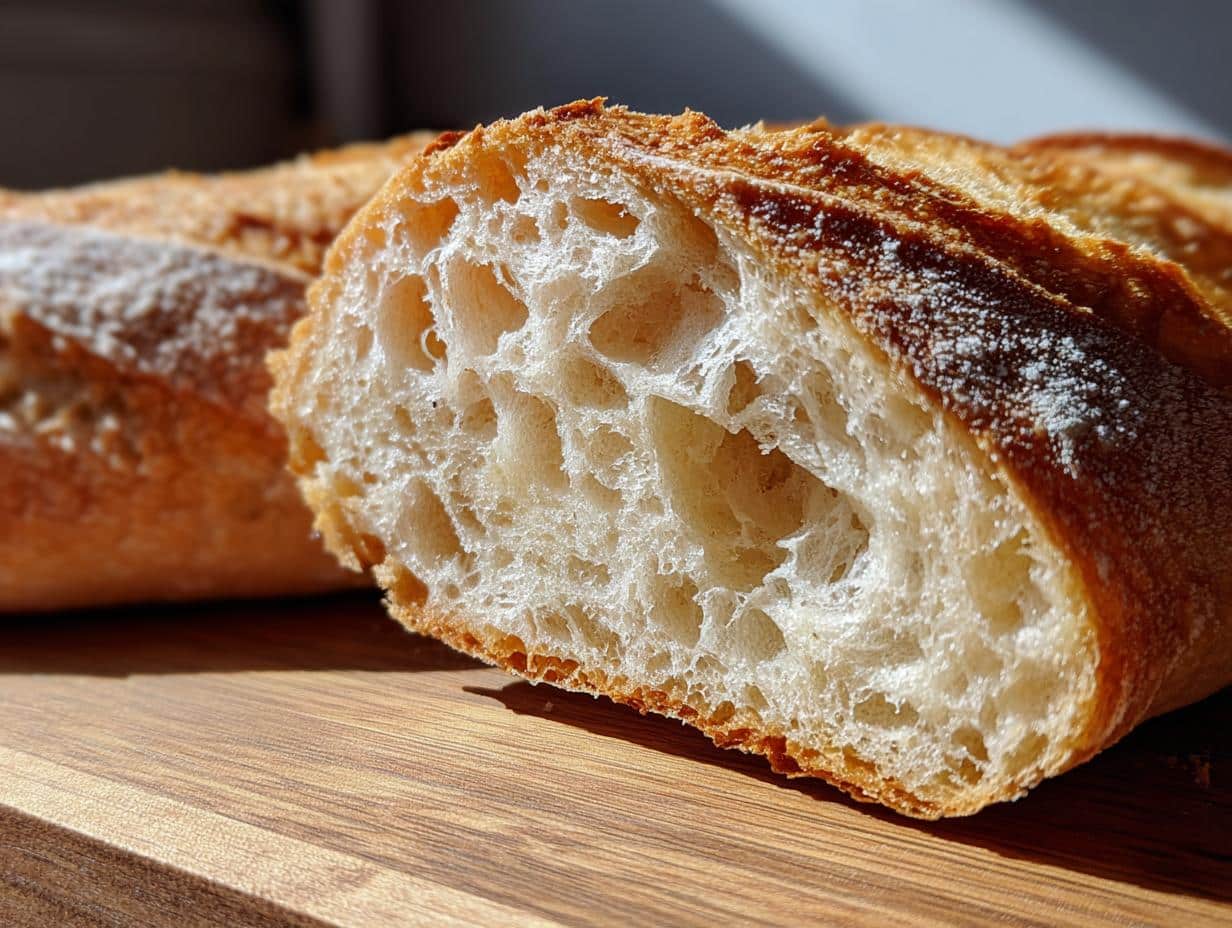
- Patience is a virtue, especially with proofing. Don’t rush the proofing stage. Your baguettes should look puffy, but not overly gassy – poke it gently; if it springs back slowly, it’s ready! Under-proofed or over-proofed dough won’t give you that open crumb.
- Don’t cut it hot! I know, I know, the smell is intoxicating! But letting your homemade bread cool on a wire rack allows the internal structure to set. Cutting it too soon can make it gummy inside, and we definitely don’t want that!
Classic French Baguette: Frequently Asked Questions
Okay, I get it! When you’re making something new, especially a Classic French Baguette, questions always pop up. Don’t worry, I’ve got you covered with some of the most common things people ask. Think of me as your personal baking hotline!
Can I make this Classic French Baguette in advance?
Absolutely! That’s one of the best parts about this recipe, actually. The long, cold fermentation in the fridge (for at least 12, up to 24 hours) is essential for flavor development. So, you can mix the dough the day before, let it chill, and then finish up the baking the next morning. It makes fresh homemade bread totally doable for a weekend breakfast!
How do I get a crispy crust on my homemade bread?
Ah, the holy grail of baguettes! The secret weapon here is STEAM. That pan of hot water you put at the bottom of the oven? Crucial! It creates steam during the initial bake, which keeps the crust soft so the bread can expand fully. Then, as the steam dissipates, the crust gets gorgeously crispy. Also, super high heat (230°C/450°F) helps a lot, so preheat your oven and baking stone really well!
What if my Classic French Baguette doesn’t rise?
Oh, the dreaded flat baguette! Usually, if your Classic French Baguette isn’t rising, it comes down to a couple of things. First, check your yeast. Is it fresh and active? Expired yeast won’t do much. Second, temperature is key. If your kitchen is too cold, your dough might just be moving super slowly. Try to find a warm spot for proofing, or give it more time than the recipe suggests. And make sure your water for mixing wasn’t too hot, as that can kill the yeast!
Serving Suggestions for Your Homemade Baguette
You’ve done it! You’ve baked a gorgeous, crusty, homemade baguette. Now, what’s next? The best part – enjoying every single bite! Honestly, a warm slice of this bread with just a pat of good butter is heaven, but here are some of my favorite ways to truly celebrate your baking triumph:
- Soup’s best friend: There’s nothing better than dipping a piece of crusty baguette into a rich bowl of tomato soup or a hearty stew. It’s comfort food at its finest!
- The ultimate cheese board companion: Your baguette is the perfect vehicle for all sorts of cheeses, olives, and cured meats. Lay out a spread and watch it disappear.
- Spread the love: Serve it alongside a delicious homemade spinach artichoke dip, some garlicky hummus, or even just a good quality olive oil for dipping.
- Elegant appetizers: Slice it thinly, toast it lightly, and top with bruschetta or tapenade for a simple yet impressive starter.
- Just plain toast! A slice toasted with butter and jam for breakfast? Yes, please!
Storing and Reheating Your Classic French Baguette
Okay, so you’ve got some glorious leftover baguette – first off, amazing willpower if you haven’t devoured it all! To keep your homemade bread tasting fantastic, proper storage is key. For just a day or two, simply wrap it tightly in a clean kitchen towel at room temperature. Don’t put it in the fridge; that’ll dry it out! If you want to keep it longer, wrap it in foil and then pop it in a freezer bag, and it’ll happily last for a couple of months.
When you’re ready to enjoy that crispy goodness again, don’t just microwave it! For refrigerated or room-temp baguette, a quick 5-10 minutes in a 180°C (350°F) oven will bring back that amazing crust. If it’s frozen, let it thaw slightly, then wrap it in foil and bake for about 15-20 minutes, unwrapping for the last 5 to crisp it up. You’ll be amazed at how close it gets to freshly baked!
Nutritional Information Disclaimer
Just a little heads-up about the nutritional info for this Classic French Baguette! While I do my best to give you a general idea, please remember that all nutritional values are estimates. Things like the specific brands you use or slight variations in your measurements can totally change the final numbers. So, take it all with a grain of salt (pun intended!) and enjoy your homemade bread!
Print
Classic French Baguette
- Total Time: 14 hours 25 min
- Yield: 2 baguettes 1x
- Diet: Vegetarian
Description
This recipe guides you through making classic French baguettes at home. It focuses on simple steps for a traditional bread.
Ingredients
- 300g (2 ½ cups) all-purpose flour
- 210g (¾ cup + 2 tbsp) warm water
- 6g (1 tsp) salt
- 3g (1 tsp) instant yeast
Instructions
- In a large bowl, combine flour, warm water, salt, and instant yeast. Mix until a shaggy dough forms.
- Cover the bowl and let the dough rest for 30 minutes.
- Perform a series of stretch and folds. Gently stretch one side of the dough up and fold it over to the center. Rotate the bowl and repeat this process 3-4 times until all sides are folded.
- Cover and let rest for another 30 minutes. Repeat the stretch and fold process two more times, with 30-minute rests in between.
- After the final rest, cover the bowl and refrigerate the dough for at least 12 hours, or up to 24 hours.
- The next day, remove the dough from the refrigerator and let it come to room temperature for about 1 hour.
- Gently divide the dough into two equal pieces.
- Shape each piece into a baguette. Gently flatten the dough into a rectangle. Fold the top edge down to the center and press to seal. Repeat with the bottom edge, then fold the dough in half lengthwise and seal the seam. Gently roll to lengthen.
- Place the shaped baguettes on a floured couche or parchment paper, seam-side up. Cover and let proof for 45-60 minutes, or until puffy.
- Preheat your oven to 230°C (450°F) with a baking stone or steel inside. Place a pan with hot water at the bottom of the oven for steam.
- Carefully transfer the baguettes to the hot baking stone. Score the tops of the baguettes with a sharp knife or lame.
- Bake for 20-25 minutes, or until golden brown and crusty.
- Let the baguettes cool on a wire rack before slicing and serving.
Notes
- Use a kitchen scale for accurate ingredient measurements.
- Do not overwork the dough during mixing or folding.
- Adjust baking time based on your oven.
- Prep Time: 2 hours
- Cook Time: 25 min
- Category: Bread
- Method: Baking
- Cuisine: French
Nutrition
- Serving Size: 1/2 baguette
- Calories: 350
- Sugar: 1
- Sodium: 700
- Fat: 1
- Saturated Fat: 0
- Unsaturated Fat: 0
- Trans Fat: 0
- Carbohydrates: 75
- Fiber: 3
- Protein: 12
- Cholesterol: 0