 Skip to content

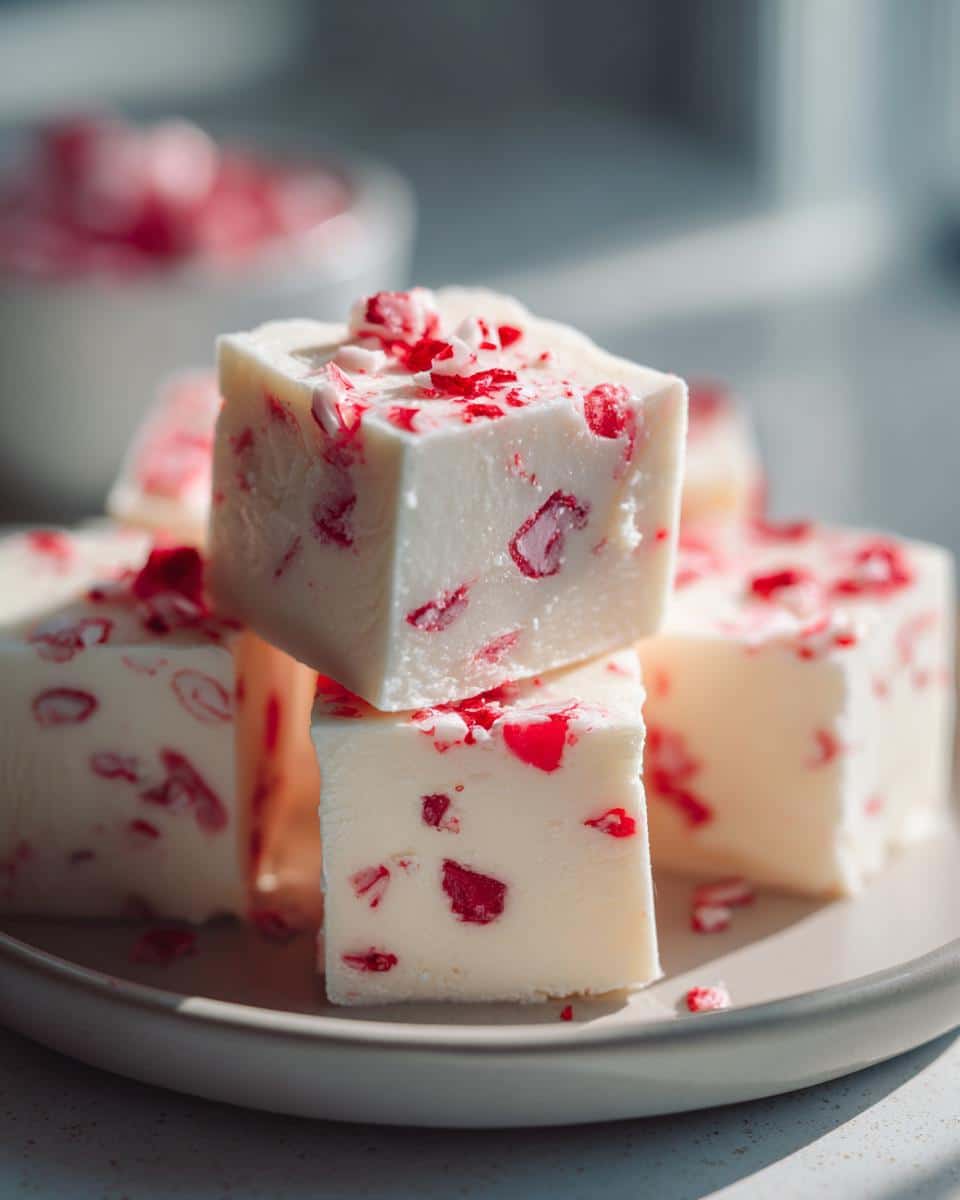
Hey there, fellow home cooks! Lisa here, and wow, do I have a treat for you today. You know how much I love those quiet kitchen rituals, especially when they lead to something truly special, but still completely unfussy? Well, get ready, because this
classic peppermint fudge
recipe perfectly embodies that. There’s just something magical about whipping up homemade goodies for the holidays or a thoughtful little gift, isn’t there? This isn’t one of those overly complicated recipes that leaves you stressed out. Oh no, this is the good stuff – traditional, comforting, and seriously simple to pull together. You’re going to absolutely adore how easy it is to create this beloved confection right in your own kitchen.
Why You’ll Love This Classic Peppermint Fudge Recipe
Okay, so why should this classic peppermint fudge be next on your baking list? Trust me, this isn’t just any old fudge; it’s practically a hug in square form! Here’s why I think you’ll fall head over heels for it:
- Seriously Easy: Forget fuss and fancy techniques! This recipe keeps things delightfully simple, so you can whip up a batch without any stress.
- Pure Holiday Magic: The peppermint just screams “festive,” making it perfect for gifting, parties, or just enjoying by the fire.
- Creamy Dreamy Texture: Every bite is smooth, rich, and utterly melt-in-your-mouth. It’s exactly what you want in a homemade fudge.
- A Classic for a Reason: This recipe really highlights why old-fashioned peppermint fudge is a timeless favorite. It’s just *good*.
Essential Ingredients for Classic Peppermint Fudge
Alright, friends, let’s talk ingredients! This isn’t one of those recipes where you need a bunch of wacky, hard-to-find stuff. Nope, for this
classic peppermint fudge
, we’re sticking to the basics, the things you probably already have or can grab super easily at any grocery store. But, and this is important, precise measurements really do make a difference here for that perfect, creamy texture. So, grab your measuring cups and spoons!
- 3 cups granulated sugar: Just your regular white sugar, nothing fancy.
- 1 ½ sticks (12 tablespoons) unsalted butter: Make sure it’s unsalted; we want to control the saltiness ourselves!
- ⅔ cup evaporated milk: This is key for that smooth, rich consistency! Don’t swap it for regular milk.
- 12 ounces white chocolate chips or chopped white chocolate: Quality matters here for the best flavor.
- 1 jar (7 ounces) marshmallow crème: That sticky, sweet goodness helps make our fudge wonderfully soft.
- 1 teaspoon peppermint extract: This is where the magic happens! Get a good quality one for true peppermint flavor.
- ½ cup crushed candy canes, plus extra for garnish: You’ll want some crushed up nice and fine to fold in, and then a little extra for sprinkling on top – makes it look so festive!
Crafting Your Classic Peppermint Fudge: Step-by-Step Instructions
Okay, you’ve got your ingredients all lined up, your festive spirit is high… now let’s get to the fun part: making this incredible
classic peppermint fudge
! Don’t be intimidated; we’re going to go through this step-by-step, just like we’re cooking together in my kitchen. You’ll be amazed at how quickly it comes together!
- Get Your Pan Ready: First things first, grab a 9×13-inch baking pan. Line it with parchment paper, making sure to leave a little overhang on the sides – that’s our little trick for easy lifting later! Give it a quick spray with some non-stick cooking spray. This makes sure your gorgeous fudge pops right out.
- The Sweet Boil: In a nice, big, heavy-bottomed saucepan (this is important for even heating!), combine your sugar, butter, and evaporated milk. Now, turn that heat to medium and bring this mixture to a full, rolling boil. You know, when it’s bubbling all over, not just around the edges. You *have* to stir constantly here to make sure nothing sticks or scorches. Once it’s boiling, set a timer for 5 minutes and keep stirring occasionally during that time.
- Melt the White Chocolate Magic: Take the saucepan off the heat immediately after those 5 minutes. Stir in your white chocolate chips. Keep stirring until every single chip is melted and the whole mixture is beautifully smooth. It should look perfectly dreamy!
- Fold in the Fluff & Flavor: Next, add in that fluffy marshmallow crème and your peppermint extract. Stir it all together until it’s completely smooth and well combined. You’ll notice how thick and lovely it becomes!
- Add the Candy Crunch: Gently, gently! Fold in your crushed candy canes. This is where it really starts to feel like holiday
peppermint fudge
. Don’t overmix here, just get them evenly distributed.
- Pour and Smooth: This part goes fast! Pour the fudge quickly into your prepared baking pan. Work quickly to spread it evenly with a spatula.
- Garnish Time!: If you’re feeling extra fancy (and why not?), sprinkle some more crushed candy canes on top right now. Press them in just a little so they stick.
- Cool Down Time: Now for the hardest part – waiting! Let the fudge cool completely at room temperature. Honestly, it’s even better if you pop it in the fridge for at least 2 hours, or until it’s super firm. Patience, my friend, is a virtue here!
- Cut and Serve: Once it’s firm, use that parchment paper overhang to lift the whole block of fudge out of the pan. Then, use a sharp knife to cut it into beautiful 1-inch squares.
- Store It Up: Keep your delicious
homemade peppermint fudge
in an airtight container. It’ll last happily at room temperature for up to two weeks, or even longer in the fridge if you can keep your hands off it!
Tips for Perfecting Your Classic Peppermint Fudge
Making
classic peppermint fudge
is pretty straightforward, but a few little tips from my kitchen can really make yours stand out and ensure it turns out perfectly every single time. Trust me on these – they make all the difference!
- Candy Thermometer is Your Friend: While not strictly essential, if you’re nervous about the boil, a candy thermometer can be a huge comfort. It ensures your mixture hits that perfect temperature, which is key for the right consistency.
- Measure Precisely: Baking is a science, and fudge is no exception! Use proper measuring cups and spoons, leveling off ingredients like sugar and making sure your butter is measured accurately. Don’t eyeball it if you want perfect
creamy peppermint fudge
!
- Don’t Rush the Cooling: I know, I know, it’s tempting to dig in, but letting the fudge cool *completely* is vital. Whether at room temperature or in the fridge, giving it ample time to firm up prevents it from being too sticky or crumbly. Patience pays off here!
Variations of Classic Peppermint Fudge
Love this
classic peppermint fudge
but want to shake things up just a little? That’s the beauty of home cooking – it’s your kitchen, your rules! While I adore the traditional white chocolate version, here are a few fun twists you can try to keep things exciting or just suit your own taste buds. It’s all about making it *your* perfect treat!
- Dark Chocolate Peppermint Dreams: For all you dark chocolate lovers, simply swap out the white chocolate chips for your favorite dark chocolate chips or chopped dark chocolate. You’ll get a richer, deeper flavor that pairs amazingly with the bright peppermint. It’s a sophisticated twist on fudge!
- Peppermint Bark Fudge: Want to really lean into that peppermint bark vibe? After you pour the fudge into the pan and before it sets, drizzle some melted dark chocolate over the top, then swirl it with a knife. Sprinkle with extra candy canes!
- Nutty Surprises: If you’re feeling adventurous, a handful of chopped pecans or walnuts folded in with the candy canes adds a lovely textural contrast. Just make sure your guests don’t have nut allergies!
Storing and Serving Your Classic Peppermint Fudge
So, you’ve made a magnificent batch of
classic peppermint fudge
– hooray! Now, let’s talk about keeping it fresh so you can enjoy every single creamy bite, and how to best show it off. Luckily, this is pretty straightforward, and it’s perfect for making ahead of time for parties or gifting!
- At Room Temperature: Your delicious fudge will be perfectly happy in an airtight container on your counter for up to 2 weeks. Just make sure it’s away from direct sunlight or heat, because nobody wants melty fudge!
- In the Refrigerator: For even longer freshness, pop that airtight container of fudge into the fridge. It’ll stay good for about 3-4 weeks this way. Just remember to let it come to almost room temperature before serving for the best texture and flavor.
- Serving: Cut into small, manageable squares. This rich treat is best enjoyed a piece at a time! It’s perfect with your afternoon coffee or as a sweet ending to a holiday meal.
Frequently Asked Questions About Classic Peppermint Fudge
Okay, I know you might have a few questions bubbling up about this
classic peppermint fudge
recipe. Don’t worry, that’s totally normal! I’ve been making fudge for ages, and I’ve probably asked (or answered!) all these myself. Here are some common curiosities and my best advice for making sure your fudge is absolutely perfect.
Why isn’t my peppermint fudge setting up?
Ah, the dreaded unset fudge! This usually comes down to one of two things: either your sugar mixture didn’t boil long enough (it needs that full 5 minutes at a rolling boil!), or your ingredients weren’t measured exactly. Precision is key for fudge! Don’t eyeball it – grab those measuring cups. The good news is, sometimes if it’s just a little soft, chilling it for longer in the fridge can help.
Can I make this a no-bake peppermint fudge?
You bet! In fact, this recipe *is* essentially a
no bake peppermint fudge
, which is one of the reasons I love it so much! While there’s a boiling step involved, you’re not actually baking it in the oven. It’s all done on the stovetop, and then it sets beautifully in the fridge. Super simple, right?
How do I get that perfectly creamy peppermint fudge texture?
A few things contribute to that luscious,
creamy peppermint fudge
. First, starting with fresh, good quality white chocolate chips makes a difference. Second, don’t skimp on the stirring during the boil – it helps integrate everything. And finally, getting those measurements right (especially the evaporated milk and marshmallow crème) is critical for that smooth, melt-in-your-mouth consistency. Also, resist the urge to overmix once the white chocolate and marshmallow crème are added; just combine until smooth.
Can I use a different type of chocolate instead of white chocolate?
Absolutely! If you’re not a huge fan of white chocolate, or you just want a different flavor profile, you can definitely swap it out. Dark chocolate chips are fantastic with peppermint, giving it a rich, almost
peppermint bark fudge
feel. Semi-sweet would also work beautifully. Just keep the 12-ounce measurement the same!
Estimated Nutritional Information for Classic Peppermint Fudge
Just a quick heads-up about the nutritional info for this
classic peppermint fudge
! Remember, these numbers are estimates and can totally swing based on the specific brands you use for your sugar, chocolate, and butter. Think of it as a general guide, not a super strict science, okay? We’re all about enjoying our treats here, but it’s good to have an idea!
- Serving Size: 1 square
- Calories: 150
- Sugar: 25g
- Sodium: 30mg
- Fat: 7g
- Saturated Fat: 4g
- Unsaturated Fat: 2g
- Trans Fat: 0g
- Carbohydrates: 28g
- Fiber: 0g
- Protein: 1g
- Cholesterol: 10mg
Share Your Classic Peppermint Fudge Creations!
So, you’ve whipped up a batch of this amazing
classic peppermint fudge
, right? I’d absolutely LOVE to see it! Snap a pic, share it on your favorite social media, and don’t forget to tag me! Or, even better, come back here and leave a comment – tell me how it turned out and if you tried any fun variations. Happy fudging!
Print
Classic Peppermint Fudge
- Total Time: 2 hr 25 min
- Yield: 36 squares 1x
- Diet: Vegetarian
Description
This recipe makes traditional peppermint fudge. It is good for holiday baking or gifting. You will find clear instructions and common ingredients to make this confection.
Ingredients
- 3 cups granulated sugar
- 1 ½ sticks (12 tablespoons) unsalted butter
- ⅔ cup evaporated milk
- 12 ounces white chocolate chips or chopped white chocolate
- 1 jar (7 ounces) marshmallow crème
- 1 teaspoon peppermint extract
- ½ cup crushed candy canes, plus extra for garnish
Instructions
- Line a 9×13-inch baking pan with parchment paper, leaving an overhang on the sides. Spray lightly with non-stick cooking spray.
- In a large heavy-bottomed saucepan, combine the sugar, butter, and evaporated milk. Bring the mixture to a full rolling boil over medium heat, stirring constantly to prevent scorching. Continue boiling for 5 minutes, stirring occasionally.
- Remove the saucepan from the heat. Stir in the white chocolate chips until completely melted and smooth.
- Add the marshmallow crème and peppermint extract, stirring until well combined and smooth.
- Gently fold in the crushed candy canes.
- Pour the fudge quickly into the prepared baking pan, spreading it evenly.
- Sprinkle with additional crushed candy canes for garnish, if desired.
- Let the fudge cool completely at room temperature or refrigerate for at least 2 hours, or until firm.
- Once firm, use the parchment paper overhang to lift the fudge from the pan. Cut into 1-inch squares.
- Store in an airtight container at room temperature for up to 2 weeks, or in the refrigerator for longer freshness.
Notes
- For best results, use a candy thermometer to ensure the mixture reaches the correct temperature during boiling.
- You can substitute dark chocolate for white chocolate for a different flavor.
- Ensure all ingredients are measured accurately for proper consistency.
- Prep Time: 15 min
- Cook Time: 10 min
- Category: Dessert
- Method: No-Bake
- Cuisine: American
Nutrition
- Serving Size: 1 square
- Calories: 150
- Sugar: 25g
- Sodium: 30mg
- Fat: 7g
- Saturated Fat: 4g
- Unsaturated Fat: 2g
- Trans Fat: 0g
- Carbohydrates: 28g
- Fiber: 0g
- Protein: 1g
- Cholesterol: 10mg