 Skip to content

Okay, so you know how sometimes you have a little bit of mac and cheese left over from dinner, and it’s just sitting there in the fridge, looking sad? Well, my friends, I’m here to tell you that sad, cold mac and cheese is about to become a crispy, golden, absolutely irresistible sensation! I stumbled upon the magic of Crispy Mac & Cheese Waffles a few years back when I was trying to get creative with what was in my fridge (a common theme in my kitchen, let me tell you!). My boys went absolutely wild for them, and ever since, it’s been a go-to for turning a simple comfort food into something unexpectedly fun and utterly delicious. It’s truly a testament to how the best meals don’t have to be complicated, just made with a little bit of love and a good dose of ingenuity!
Why You’ll Love These Crispy Mac & Cheese Waffles
Oh my goodness, where do I even begin with why these Crispy Mac & Cheese Waffles are about to become your new favorite thing? Seriously, folks, they’re a game-changer! Here’s the lowdown on why you absolutely, positively need to try them:
- No More Sad Leftovers! This is my favorite part! You take yesterday’s delicious but maybe a little boring mac and cheese, and poof! It transforms into something totally new and exciting. It’s like culinary alchemy!
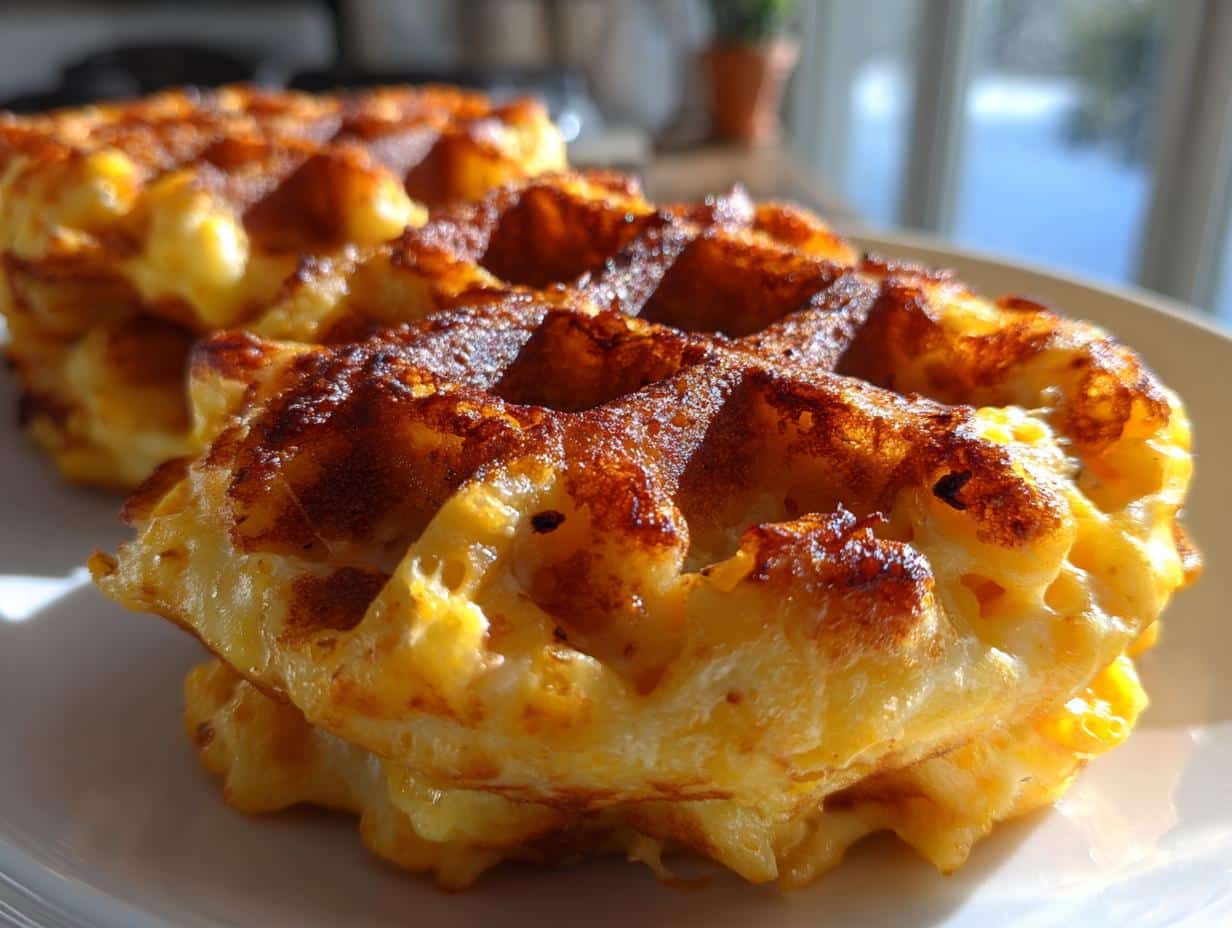
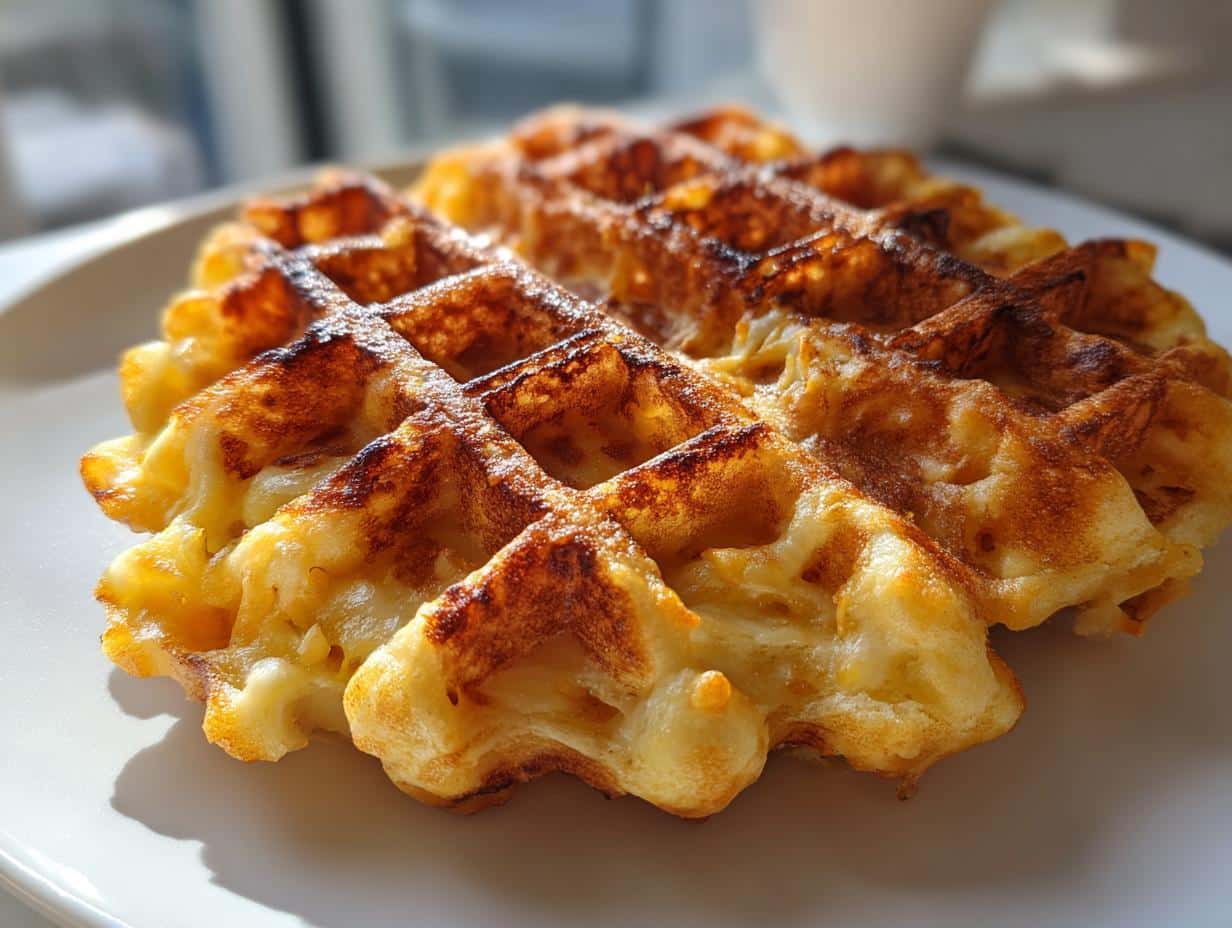
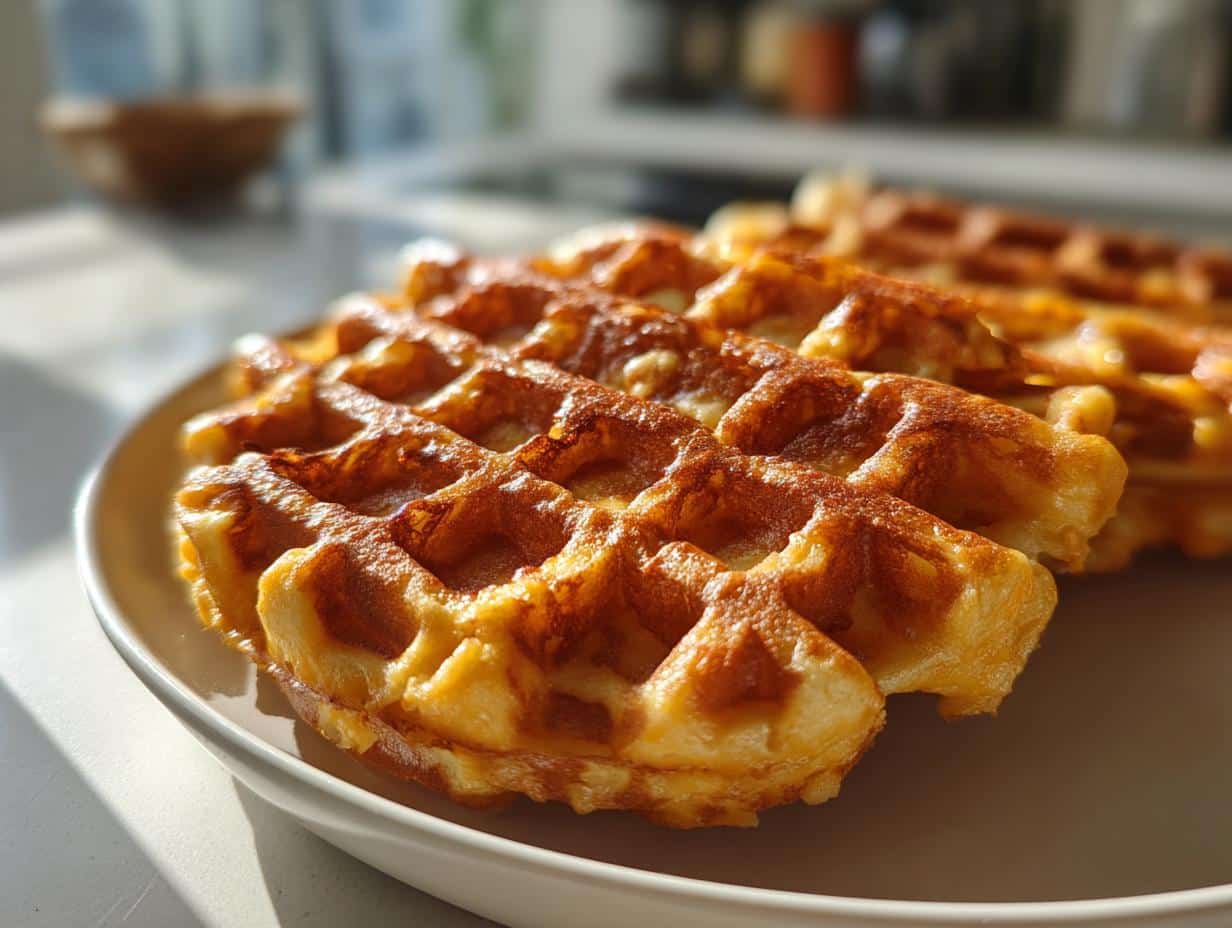
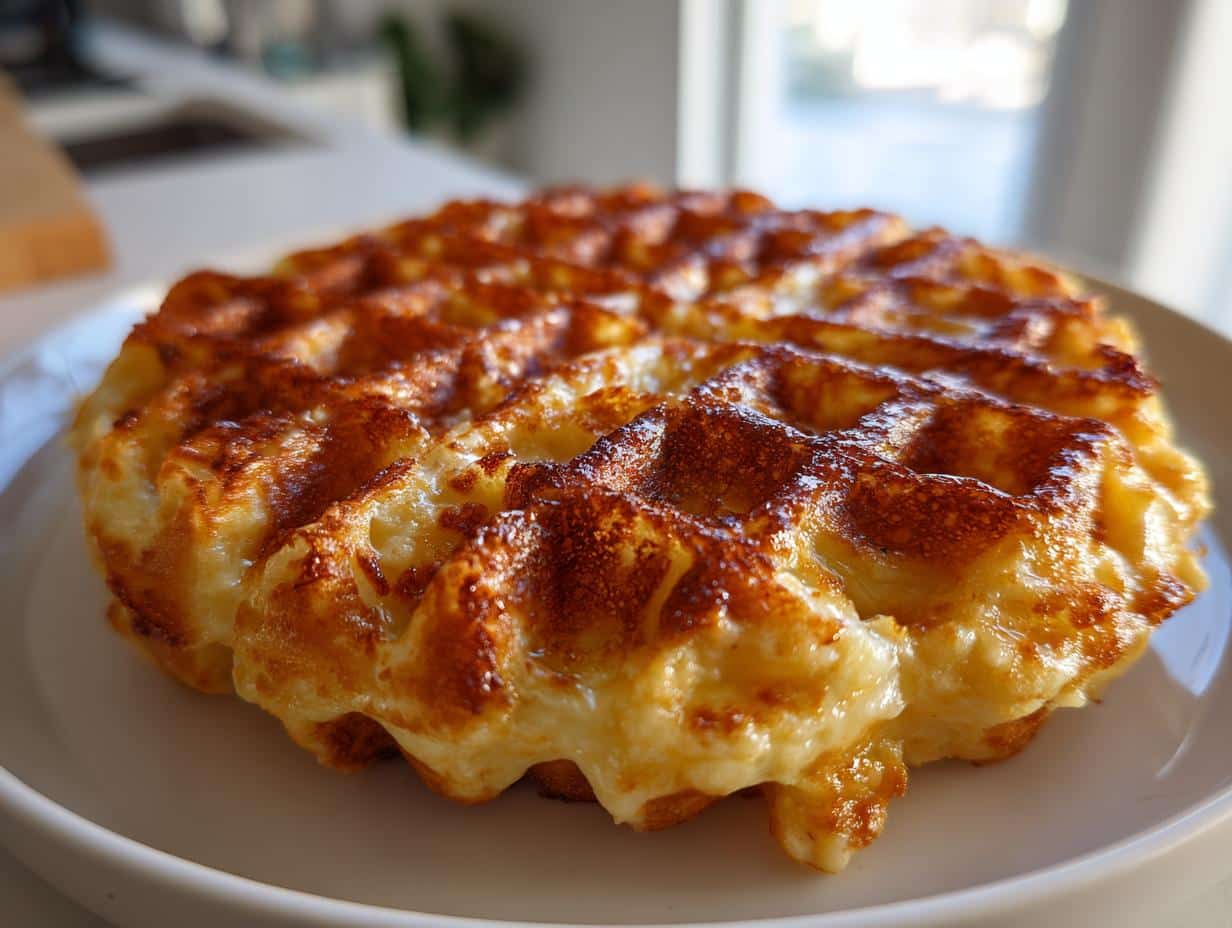
- Crazy Crispy Texture: Forget soft, gooey mac and cheese for a minute. The waffle iron works its magic, giving you this incredible golden-brown, crispy exterior with that perfectly melty, cheesy interior. It’s a texture party in your mouth!
- Super Simple to Make: Honestly, if you can plug in a waffle iron, you can make these. There are barely any steps, making it perfect for busy weeknights or lazy weekend mornings.
- Pure Comfort Food Bliss: It’s still all the cheesy, carb-y goodness you love, just elevated to a whole new level of awesome. Warning: highly addictive!
Ingredients for Delicious Crispy Mac & Cheese Waffles
Alright, let’s talk about the super simple stars of this show! You really don’t need much to turn out these amazing Crispy Mac & Cheese Waffles. Here’s what you’ll want to gather:
- 2 cups cooked macaroni and cheese, chilled: And when I say chilled, I mean *chilled*. This is KEY for getting that perfect crispness and for it holding its shape in the waffle iron.
- 1 tablespoon butter, melted: Just a little dab for brushing your waffle iron. It helps with the crispiness and keeps things from sticking.
That’s it! See? I told you it was simple. The magic truly lies in having that mac and cheese nice and cold.
Equipment Needed for Crispy Mac & Cheese Waffles
So, what do you need to get this crispy goodness going? Honestly, it’s pretty minimal! The star of the show, and really the only *essential* piece of equipment, is your trusty **waffle iron**. Any kind will do – classic, Belgian, whatever you’ve got! Beyond that, a simple *pastry brush* for the butter and a *spatula or fork* to carefully get those waffles out will be super helpful. Easy peasy!
How to Make Crispy Mac & Cheese Waffles: Step-by-Step Guide
Alright, my friends, get ready to turn some humble leftovers into a culinary masterpiece! Making these Crispy Mac & Cheese Waffles is ridiculously simple, but following these steps will ensure you get that perfect golden crispiness every single time. Trust me, it’s worth it!
- First things first, get that waffle iron HOT! You want it piping hot before any mac and cheese even thinks about touching it. So, plug it in and let it preheat while you do the next step. Most waffle irons will have a light that tells you when it’s ready, so keep an eye out for that!
- Brush with melted butter. Once your waffle iron is hot, take that melted butter and brush both the top and bottom plates. Don’t be shy here; this little coating helps with both crisping and making sure nothing sticks. It’s a key player in texture and easy release!
- Time for the mac! Now, grab your chilled macaroni and cheese. Spoon about half of it (for a standard waffle iron) onto the center of the preheated, buttered waffle iron. Don’t press it down too hard, but make sure it forms a nice, even layer. You don’t want to overfill it, or you’ll have cheese oozing out everywhere – and while tasty, it makes a mess!
- Close and cook! Gently close the lid of your waffle iron. Don’t clamp it shut forcefully, just let it do its thing. Cook for about 5-7 minutes. Now, this timing can vary a bit depending on your specific waffle iron and how crispy you like things. You’re looking for a beautiful golden-brown color and a super crispy exterior. Seriously, peek at it after 5 minutes and see!
- Carefully remove and repeat. Once it’s perfectly crispy, use a fork or a non-scratch spatula to carefully lift your Mac & Cheese Waffle out. It’ll be hot, so be gentle! Repeat the process with the remaining macaroni and cheese.
- Serve immediately! These are best devoured fresh off the waffle iron. The crispiness is at its peak then. Don’t wait!
Tips for Perfectly Crispy Mac & Cheese Waffles
Alright, so you’ve got the basic steps down, but if you really want to achieve that *next-level* crispy perfection that makes these Mac & Cheese Waffles sing, I’ve got a few secrets up my sleeve. These are the little things that make all the difference, so listen up!
- Don’t skimp on the chill time! I cannot stress this enough: your mac and cheese absolutely *must* be cold. Like, fridge-cold. If it’s too warm, it’ll just melt into a gooey mess and won’t get that incredible crispy crust. Think of it like a solid foundation!
- Preheat, preheat, preheat! Seriously, let your waffle iron get good and hot. If it’s not hot enough, you’ll steam the mac and cheese instead of crisping it. A well-heated surface is crucial for that golden, crunchy exterior.
- Butter those plates! A little melted butter (or even non-stick spray, if you’re in a pinch) on both sides of your waffle iron plates before each waffle goes a long way. It aids in browning, helps with easy release, and adds another layer of deliciousness.
- Resist the urge to overfill. I know, it’s tempting to cram in as much as you can, but trust me, less is more here. If you overfill, it squeezes out the sides, makes a huge mess, and often prevents the mac and cheese from cooking evenly. A scant scoop is usually perfect!
- My personal trick: Let it be! I know it’s hard, but once that lid is down, try not to peek for the first few minutes! Opening it too early lets out all the heat and steam, which slows down the crisping process. Let it work its magic undisturbed until you hear that glorious sizzling start to slow down. That’s usually my cue to check for doneness.
- Don’t be afraid of the dark! I like mine really, really golden brown, almost to the “I hope it’s not burnt” stage, but it usually isn’t! That deeper color means more crispiness and flavor, just like with these Crispy Air Fryer Pasta bites.
Serving Suggestions for Your Crispy Mac & Cheese Waffles
Okay, so you’ve made these glorious Crispy Mac & Cheese Waffles, and they smell absolutely incredible! Now, how should you serve them? While they’re perfectly delicious on their own (trust me, I’ve eaten many straight from the waffle iron!), here are some of my favorite ways to jazz them up and make them a little more special:
- Dip them! My absolute favorite way to serve these is with a little bowl of something dippable. Ketchup, ranch dressing, or even a fancy aioli would be fantastic.
- Add a kick! For a delightful sweet and savory experience, a drizzle of hot honey is surprisingly amazing! The spice cuts through the cheesiness in the best way.
- Breakfast for dinner vibes: Top them with a fried egg and a sprinkle of chives for a truly decadent brunch or dinner. Add some crispy bacon bits if you’re feeling extra!
- Make it a meal: Serve them alongside a simple green salad dressed with a vinaigrette to balance out the richness.
- Loaded Waffles: Why not treat them like loaded baked potatoes? A dollop of sour cream, some chopped green onions, and even some pulled pork or chili for a hearty meal. So good!
Common Questions About Crispy Mac & Cheese Waffles
Okay, so you’ve got questions about these amazing Crispy Mac & Cheese Waffles, and I’m here to answer them! It’s totally normal to wonder about the little details, especially when you’re turning a classic like creamy baked mac and cheese into something totally new. Let’s tackle some of the things I get asked most often:
Can I use freshly made mac and cheese for Crispy Mac & Cheese Waffles?
Oh, I totally get why you’d ask this! My gut reaction is usually a firm “no.” The single most important tip for getting those perfectly crispy mac & cheese waffles is to use *chilled* mac and cheese. If it’s warm or fresh, it tends to just melt into a gooey mess on your waffle iron and won’t hold its shape or get that amazing crispy crust. But, if you’re in a pinch and don’t have time to chill, you can try spreading it out on a baking sheet and popping it in the freezer for about 20-30 minutes to firm it up quickly. Just don’t skip the chilling!
What kind of waffle iron works best for these Crispy Mac & Cheese Waffles?
Honestly, you can make these wonders in almost any waffle iron! A classic thinner waffle iron will give you more surface crispness, which I really love. But a Belgian-style waffle iron with deeper pockets works beautifully too, giving you a thicker, chewier center with that amazing crispy shell. Just keep an eye on them; deeper pockets might need a minute or two longer to get truly golden and crispy. Don’t worry too much about having a fancy one; your basic waffle maker will do the job perfectly!
Nutritional Information for Crispy Mac & Cheese Waffles
Just a quick heads-up about the nutritional information for these Crispy Mac & Cheese Waffles: all values are really just estimates. They can change quite a bit depending on the brands you use for your mac and cheese ingredients, and how much you actually pile onto your waffle iron. So, please keep that in mind!
Share Your Crispy Mac & Cheese Waffles Experience!
Well, there you have it, folks! My absolute favorite way to turn humble leftovers into something truly spectacular. I just know you’re going to fall in love with these Crispy Mac & Cheese Waffles as much as I have. So, once you’ve whipped up a batch (or two, or three!), please come back and tell me all about it!
What did you serve them with? Did you get them super crispy? Share your photos with me on social media – I *love* seeing your kitchen creations! And if you wouldn’t mind, a quick rating or comment on the recipe would mean the world to me and help other home cooks discover this little gem. Happy waffling!
Print
Crispy Mac & Cheese Waffles
- Total Time: 20 min
- Yield: 2 waffles 1x
- Diet: Vegetarian
Description
This recipe turns leftover macaroni and cheese into crispy waffles. It is a simple and comforting dish.
Ingredients
- 2 cups cooked macaroni and cheese, chilled
- 1 tablespoon butter, melted
Instructions
- Preheat your waffle iron.
- Brush the waffle iron with melted butter.
- Spoon half of the chilled macaroni and cheese onto the waffle iron.
- Close the lid and cook for 5-7 minutes, or until golden brown and crispy.
- Carefully remove the waffle and repeat with the remaining macaroni and cheese.
- Serve immediately.
Notes
- Ensure the macaroni and cheese is cold for best results.
- Do not overfill the waffle iron.
- Adjust cooking time based on your waffle iron and desired crispiness.
- Prep Time: 5 min
- Cook Time: 15 min
- Category: Appetizer
- Method: Waffling
- Cuisine: American
Nutrition
- Serving Size: 1 waffle
- Calories: 400
- Sugar: 5g
- Sodium: 700mg
- Fat: 20g
- Saturated Fat: 12g
- Unsaturated Fat: 5g
- Trans Fat: 1g
- Carbohydrates: 40g
- Fiber: 2g
- Protein: 15g
- Cholesterol: 60mg