 Skip to content

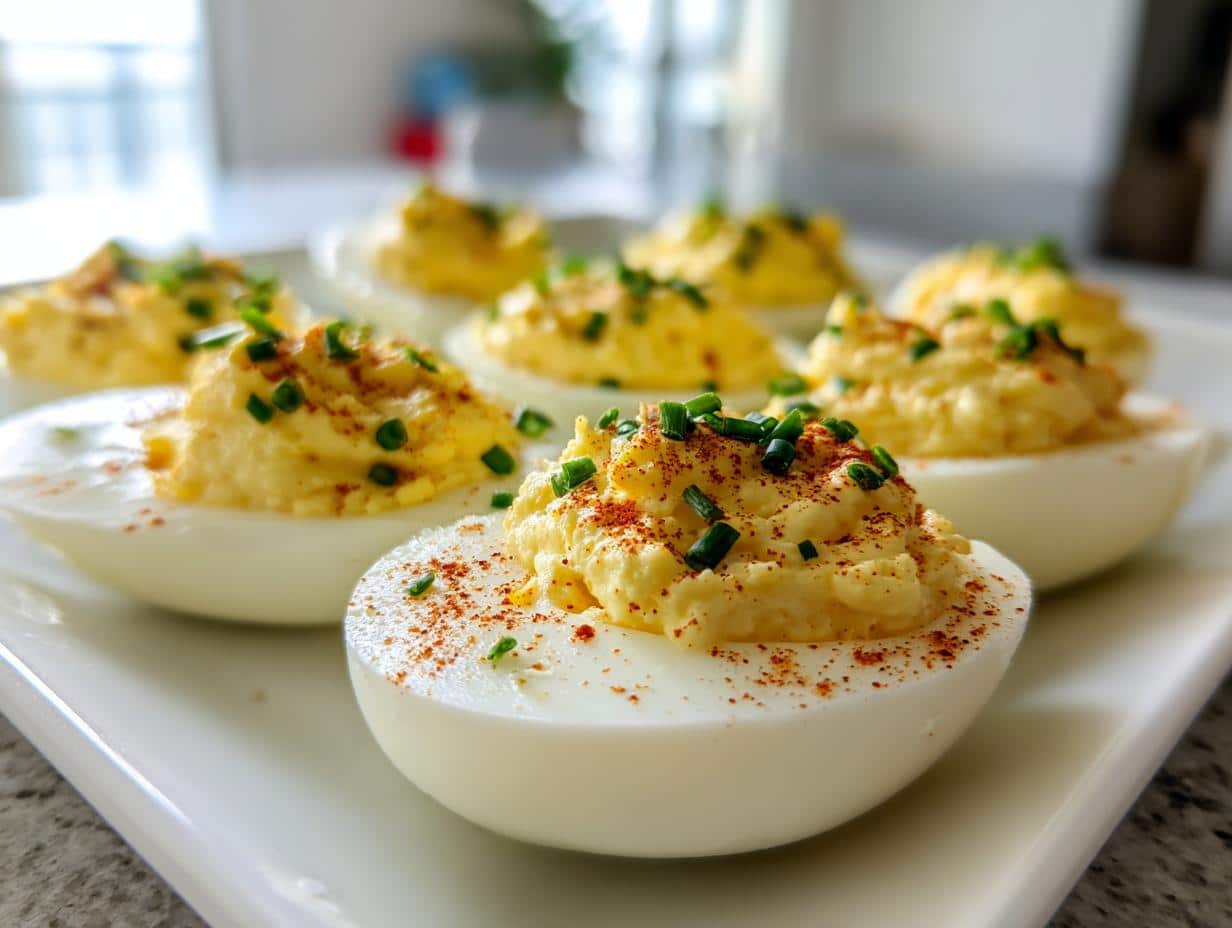
Oh, deviled eggs! Just saying the words brings a little smile to my face. For me, they’re not just an appetizer; they’re a bite-sized hug from my childhood. I always remember my dad meticulously piping the yolk mixture, a look of intense concentration on his face, right before a big family BBQ. There’s something so comforting and absolutely essential about a platter of creamy deviled eggs at any gathering, don’t you think? This isn’t just any old deviled eggs recipe; it’s my go-to, tried-and-true method for making those perfectly balanced, classic beauties that disappear faster than you can blink. It’s clear, it’s simple, and it’s absolutely perfect for any occasion.
Why You’ll Love This Deviled Eggs Recipe
Honestly, what’s not to love about a really good batch of deviled eggs? This isn’t just about feeding people; it’s about bringing joy in one perfect bite! I just know you’re going to adore this easy deviled eggs recipe, and here’s why:
- Seriously Simple: We’re talking basic ingredients and straightforward steps. No fuss, just deliciousness! You don’t need to be a Michelin-star chef to nail these.
- Classic Flavor, Every Time: This isn’t one of those over-the-top, trendy versions. It’s the tried-and-true, rich, tangy, perfectly balanced classic deviled eggs flavor that everyone craves.
- Party Perfection: Need an appetizer that disappears fast? This is it! They’re always a hit, whether it’s a backyard BBQ or a fancy holiday spread. They even make a great companion to something like an easy, crowd-pleasing dip!
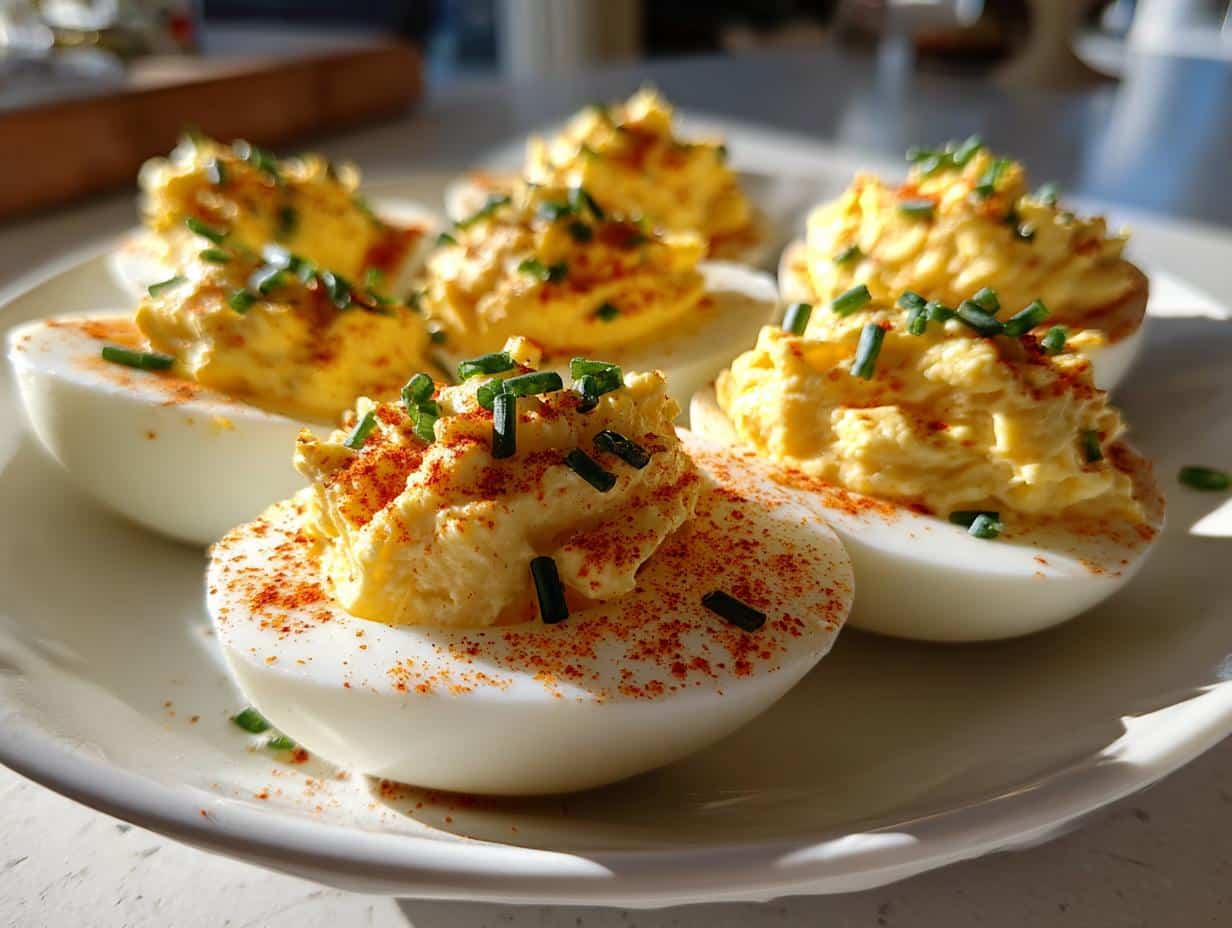
- Creamy Dreamy Texture: We’re aiming for that silky-smooth, melt-in-your-mouth yolk filling. It’s what makes a good deviled egg truly great, right?
Essential Ingredients for the Best Deviled Eggs
Okay, let’s talk ingredients! You really don’t need anything fancy to make these classic deviled eggs fantastic. The beauty is in the simplicity, honestly. Here’s what you’ll need to grab from your pantry and fridge to get started on these creamy, dreamy beauties:
- 6 large eggs (freshness matters, but “older” ones peel better, wink wink)
- 1/4 cup good quality mayonnaise (I don’t discriminate, but a brand you love works wonders!)
- 1 teaspoon Dijon mustard (that little kick is essential!)
- 1/2 teaspoon white vinegar (for a lovely touch of tang)
- Salt to taste (don’t be shy, season as you go!)
- Freshly ground black pepper to taste (because everything is better with fresh pepper)
- Paprika, for garnish (the sprinkle of color that says “Eat me!”)
- Fresh chives, chopped, for garnish (optional, but it adds a little herby freshness, trust me)
How to Prepare Your Classic Deviled Eggs
Alright, strap in! This is where the magic happens and we turn simple eggs into those irresistible deviled egg masterpieces. Don’t be intimidated; it’s super straightforward, and I’m going to walk you through it just like I would if we were cooking together in my kitchen. Let’s get cracking!
- The Perfect Hard-Boil: First things first, get those eggs into a saucepan. Make sure they’re in a single layer so they cook evenly. Now, cover them with cold water – I usually go about an inch above the eggs. Pop that pan on high heat and bring it to a rolling boil. As soon as it hits that boil, pull it off the heat *immediately*. Don’t let it keep bubbling away! Cover the pan with a lid and just let them hang out for 10-12 minutes. This method gives you perfectly cooked yolks without that weird green ring that no one wants.
- Cool Down, Peel Up: Once their sauna session is over, drain that hot water. Quickly fill the pan with ice water – this is crucial! It stops the cooking process right in its tracks and helps those shells loosen up. Once they’re cool enough to handle, gently peel them under cold running water. Trust me, it makes peeling a breeze. My secret for a great avocado toast with boiled eggs starts right here!
- Scoop and Separate: Carefully grab a knife and slice each egg in half lengthwise. You’ll want to gently scoop out those beautiful yellow yolks into a small bowl. Don’t worry if a little white comes with it, we’re all friends here! Arrange those pristine egg white halves on your serving platter.
- Mash & Mix: Now for the fun part! Grab a fork and mash those yolks until they’re nice and finely crumbled. Add in your mayonnaise, Dijon mustard, and that splash of white vinegar. Mix, mix, mix until it’s super smooth and creamy. No lumps allowed!
- Season to Perfection: Taste it! This is your moment to shine. Add salt and freshly ground black pepper until it’s just right for your palate. Remember, you can always add more, but you can’t take it away!
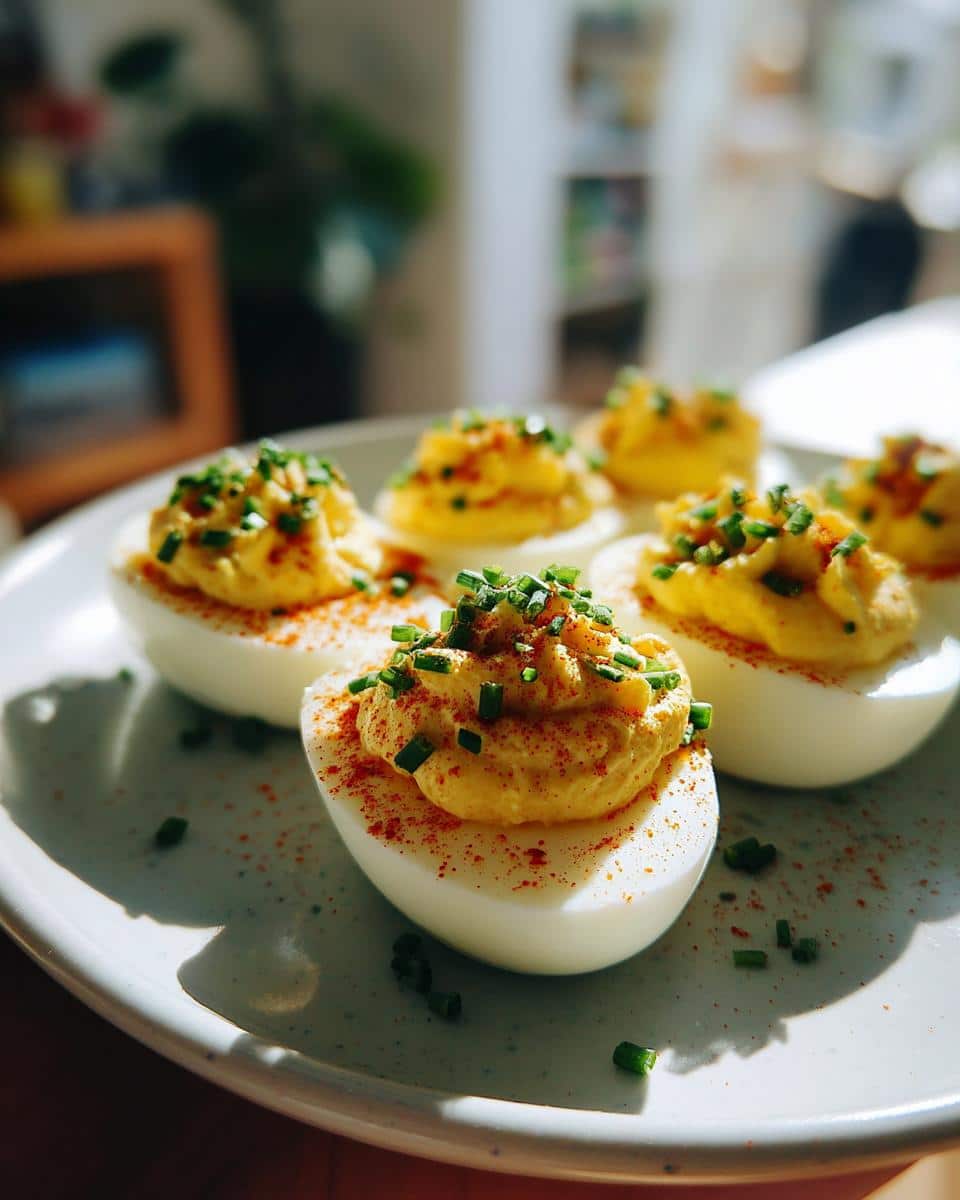
- Fill ‘Em Up: This is where it starts looking like a deviled egg! You can either spoon the yolk mixture back into the egg white halves (rustic charm, I love it!) or, for a fancier look, pop the mixture into a piping bag with a star tip. Garnish with a sprinkle of paprika for that classic pop of color, and if you’re feeling fancy, some chopped fresh chives.
- Chill Out: Seriously, don’t skip this step! Pop your finished deviled eggs into the fridge for at least 30 minutes before serving. It lets all those amazing flavors meld together and gets them nice and firm. Believe me, it’s worth the wait!
Tips for Perfect Deviled Eggs Every Time
Okay, you’ve got the basic steps down, but if you want to elevate your deviled eggs from “good” to “OMG, these are amazing!” I’ve got a few little secrets up my sleeve. These are the things that I’ve learned over countless batches, little “aha!” moments that make all the difference!
- Older Eggs are Your Friend for Peeling: This is a big one! Fresh eggs are notorious for being a pain to peel, often taking chunks of the white with them. If you can, grab a carton from the back of the fridge that’s a few days old. They peel like a dream!
- Don’t Rush the Cooling: That ice bath isn’t just for stopping the cooking. It also helps the egg whites contract, making them pull away from the shell. Give them a good, solid cool-down before attempting to peel. Patience here pays off!
- Creaminess is Key: For that velvety smooth filling, don’t be afraid to give your yolks a really good mash. No lumpy bits allowed! If you find it’s not quite as creamy as you’d like, a tiny splash of milk or even a bit more mayonnaise can help. Start small, though, you don’t want a runny filling.
- Taste, Taste, Taste! This is my number one rule for anything I cook! Always taste your yolk mixture before you fill the whites. Everyone’s palate is different. Does it need more salt? A little extra tang from the Dijon or vinegar? Adjust until it sings to you!
- My Personal “Aha!”: I used to think the texture was all about the mayo, but it’s actually the vinegar that brings out that certain “brightness” that balances the richness. Don’t skip it, even if it’s just a tiny bit! It makes the whole classic deviled eggs recipe pop!
Deviled Eggs Recipe Variations to Explore
Once you’ve mastered the classic deviled eggs recipe, the world of variations opens up, and oh my, is it fun to play around! This is where you can really get creative and tailor them to your mood or your guests. Think of the classic as your beautiful canvas, and now we’re just adding a little flair!
- Deviled Eggs with Bacon: Okay, come on, everything’s better with bacon, right? Cook up some crispy bacon, crumble it up, and mix a little into your yolk filling. Then, sprinkle some on top for an extra smoky crunch. Absolute game-changer, especially for spicy boiled eggs too!
- Southern Deviled Eggs: For a little Southern charm, try adding a tiny pinch of sugar to your filling, maybe a dash of pickle juice, and definitely a sweeter paprika on top. It gives them a lovely, subtle sweetness that’s just delightful.
- Healthy Deviled Eggs (ish!): If you’re looking to lighten things up a bit, you can swap out half the mayonnaise for plain Greek yogurt. You still get that creamy texture but with a little less fat. You might need to adjust the salt and vinegar a touch, though, as yogurt has its own tang.
- Spicy Kick: Want to add some heat? A tiny dash of hot sauce, a pinch of cayenne pepper, or even a finely minced jalapeño in the filling can give your deviled eggs a fantastic zesty punch!
- Fresh Herb Lovers: Besides chives, finely chopped dill or parsley can really brighten up the flavor profile. Mix them into the filling or sprinkle generously on top!
Common Questions About Deviled Eggs
Okay, I get it! Even though this classic deviled eggs recipe feels super straightforward to me now, I know sometimes questions pop up. Especially when you’re making them for a special occasion or you just want them absolutely perfect. So, let’s dive into some of the most common questions I get asked!
Can I make deviled eggs ahead of time for a party?
Absolutely, 100%! This is one of the best things about deviled eggs for entertaining. You can totally make them ahead. I usually suggest preparing the egg white halves and the yolk filling separately. Store the whites in an airtight container in the fridge, and cover the yolk mixture tightly in a separate bowl. Then, just before serving (or a couple of hours beforehand), pipe or spoon the filling into the whites. If you fill them too far in advance, sometimes the filling can dry out a little or the paprika can “bleed” into the white. But 24 hours ahead, storing everything separately, works like a charm for these party deviled eggs!
How do I get perfectly peeled hard-boiled eggs every single time?
This is the holy grail, isn’t it?! My biggest tip, as I mentioned, is to use eggs that are a few days old; fresher eggs tend to cling to their shells like nobody’s business. Beyond that, the rapid cooling in an ice bath right after cooking is your secret weapon. It helps the egg whites contract, making them pull away from the shell. Also, peeling them under cold running water can work wonders – it helps flush away tiny shell bits and keeps your fingers from tearing the whites. For my classic deviled eggs recipe, a smooth white shell is just as important as the creamy filling!
My deviled eggs aren’t as creamy as I’d like. What went wrong?
Hmm, usually this means the yolks weren’t mashed quite enough, or maybe you need a teeny bit more mayonnaise. Make sure those yolks are super finely crumbled before you add the wet ingredients. You can even push them through a fine-mesh sieve if you really want that ultra-smooth, creamy deviled eggs texture (though I usually just use a fork because, well, chaotic home cook!). If they still seem a bit stiff, add just a touch more mayo, a teaspoon at a time, until you hit that perfect creamy consistency. A tiny splash of milk works too!
Storing and Serving Your Deviled Eggs
So you’ve whipped up a batch of these glorious deviled eggs, and maybe you’ve got a few left over, or you’re planning for a big party (you rockstar, you!). Good news: storing them is pretty easy! If you have any leftover deviled eggs, pop them into an airtight container. I like to lay them in a single layer if possible, or gently stack them with a piece of parchment paper in between. They’ll stay fresh and delicious in the fridge for about 2-3 days. But honestly? They rarely last that long in my house!
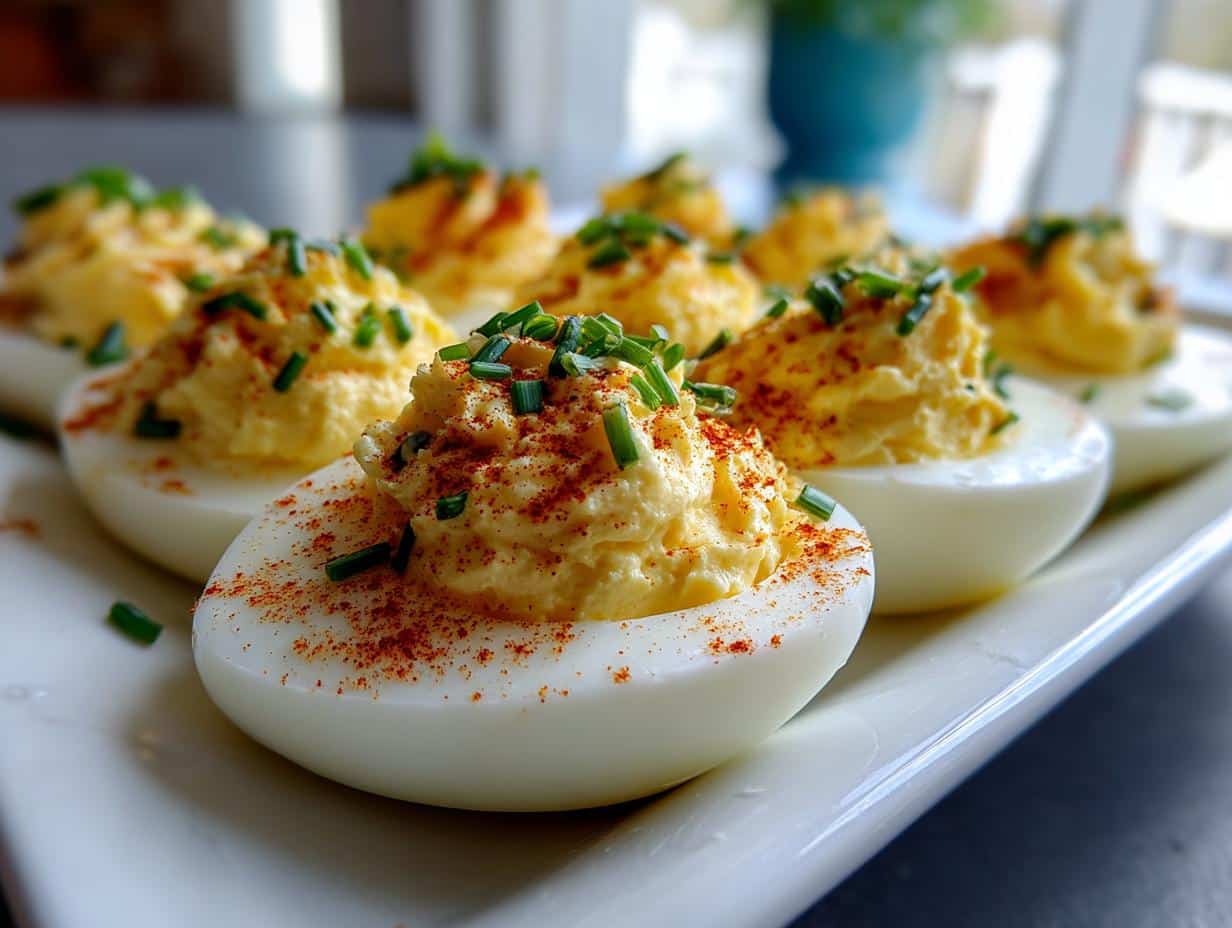
When it comes to serving, especially for party deviled eggs, a fancy platter really makes them shine. You can arrange them in neat rows, or create a fun pattern. And don’t forget that little sprinkle of paprika or chives right before guests arrive – it just makes them look so inviting and fresh. They’re always the first thing to disappear at any potluck, picnic, or family gathering. Happy devouring!
Nutritional Information
Just a quick heads-up! The nutritional information for this deviled eggs recipe is an estimate. It can vary quite a bit depending on the specific brands of mayonnaise, mustard, and even the size of your eggs. So, please take it as a general guide rather than exact science, okay?
Share Your Deviled Eggs Creations!
Okay, now that you’ve got the secret to making the best deviled eggs out there, I want to see them! Seriously, nothing makes me happier than seeing your kitchen triumphs. Did you stick to the classic deviled eggs recipe, or did you try one of the fun variations? Please, please, *please* leave a comment below and let me know how they turned out. Rate the recipe, tell me your favorite part, and if you snap a pic for Instagram, tag me! I can’t wait to hear about your deliciously creamy creations!
Print
Classic Deviled Eggs
- Total Time: 35 min
- Yield: 12 deviled egg halves 1x
- Diet: Vegetarian
Description
This recipe provides clear instructions for making classic deviled eggs, a popular appetizer for any occasion.
Ingredients
- 6 large eggs
- 1/4 cup mayonnaise
- 1 teaspoon Dijon mustard
- 1/2 teaspoon white vinegar
- Salt to taste
- Freshly ground black pepper to taste
- Paprika, for garnish
- Fresh chives, chopped, for garnish (optional)
Instructions
- Place eggs in a single layer in a saucepan and cover with cold water by about an inch. Bring to a boil over high heat, then immediately remove from heat, cover, and let stand for 10-12 minutes.
- Drain the hot water and fill the pan with ice water to cool the eggs quickly. Once cool, peel the eggs under cold running water.
- Carefully cut each egg in half lengthwise and gently scoop out the yolks into a small bowl. Place the egg white halves on a serving platter.
- Mash the egg yolks with a fork until they are finely crumbled. Add the mayonnaise, Dijon mustard, and white vinegar. Mix until smooth and creamy.
- Season with salt and pepper to taste.
- Spoon or pipe the yolk mixture back into the egg white halves. Garnish with a sprinkle of paprika and chopped fresh chives, if desired.
- Chill for at least 30 minutes before serving for best flavor.
Notes
- For easier peeling, use eggs that are a few days old.
- Adjust the amount of mayonnaise and mustard to your preference for creaminess and tang.
- For a smoother filling, you can use a food processor to blend the yolk mixture.
- Prep Time: 20 min
- Cook Time: 15 min
- Category: Appetizer
- Method: Boiling
- Cuisine: American
Nutrition
- Serving Size: 1 deviled egg half
- Calories: 60
- Sugar: 0.5g
- Sodium: 70mg
- Fat: 5g
- Saturated Fat: 1.5g
- Unsaturated Fat: 3g
- Trans Fat: 0g
- Carbohydrates: 0.5g
- Fiber: 0g
- Protein: 3g
- Cholesterol: 90mg