
Oh, The Peach Cobbler… it’s pure comfort food, y’all. It just screams “Southern kitchen” to me! When the peaches are ripe and juicy, there’s nothin’ better than a warm cobbler, right from the oven. My grandma used to make it every summer, and the smell alone takes me right back to her porch swing. Now, there are a million peach cobbler recipes out there, but trust me, this one’s special. I’ve streamlined it for those busy weeknights when you need a dessert but don’t wanna spend hours in the kitchen. This is a super simple, yet unbelievably delicious, version of *The Peach Cobbler* that’ll have everyone begging for seconds!

Why You’ll Love This The Peach Cobbler Recipe
Okay, so why *this* peach cobbler? I’m glad you asked! Here’s the lowdown:
- Super easy to throw together – even on a busy weeknight!
- Uses simple ingredients you probably already have.
- Tastes like a hug in a bowl—seriously comforting.
- The perfect balance of sweet, juicy peaches and golden, crispy topping.
Ingredients for The Peach Cobbler
Alright, let’s talk ingredients! This is where the magic starts. You don’t need a ton of fancy stuff for *The Peach Cobbler*, which is what I love about it. Here’s what you’ll need, and don’t worry if you’re off by a little…it’s gonna be great. Promise!
- 2 lbs peaches, peeled and sliced (fresh or frozen works – more on that later!).
- 2 large onions, sliced
- 1/4 cup (that’s half a stick!) of butter, melted.
- 1 teaspoon salt
- 1/2 teaspoon black pepper
- 1 cup all-purpose flour. Don’t go for anything fancy here.
- 1 teaspoon dried oregano
- 1 cup sugar (granulated).
- 1 cup milk (any kind, really!).
- 1 teaspoon baking powder.
How to Make The Peach Cobbler: Step-by-Step Instructions
Okay, friends, let’s get into the good stuff! This is how Grandma made it, and how I make it – simple, straightforward, and seriously delicious. Don’t worry, I’ll walk you through every single step. Ready? Let’s do this!
- First things first: Get that oven preheating to 400°F (200°C). Trust me, you don’t want to skip this step. A hot oven is key to that golden, bubbly top!
- Now, let’s get those peaches ready. If you’re using fresh peaches, you’ll want to peel and slice them. If you’re using frozen (totally fine!), just let them thaw a bit while the oven heats up. No need to be perfect with the slices, rustic is beautiful!
- In a large bowl, melt that butter. Now, some folks will tell you to use a fancy stand mixer for this recipe. Nah! Melted butter can get really hot so be careful when dealing with it.. A bowl and spoon is all you need for *The Peach Cobbler*. Once that’s done in a bowl, whisk together the flour, sugar, baking powder, and salt. Make sure you break up any lumps!
- Add the milk to the dry ingredients and stir until just combined. Don’t overmix! A few lumps are totally okay. We’re going for tender, not tough.
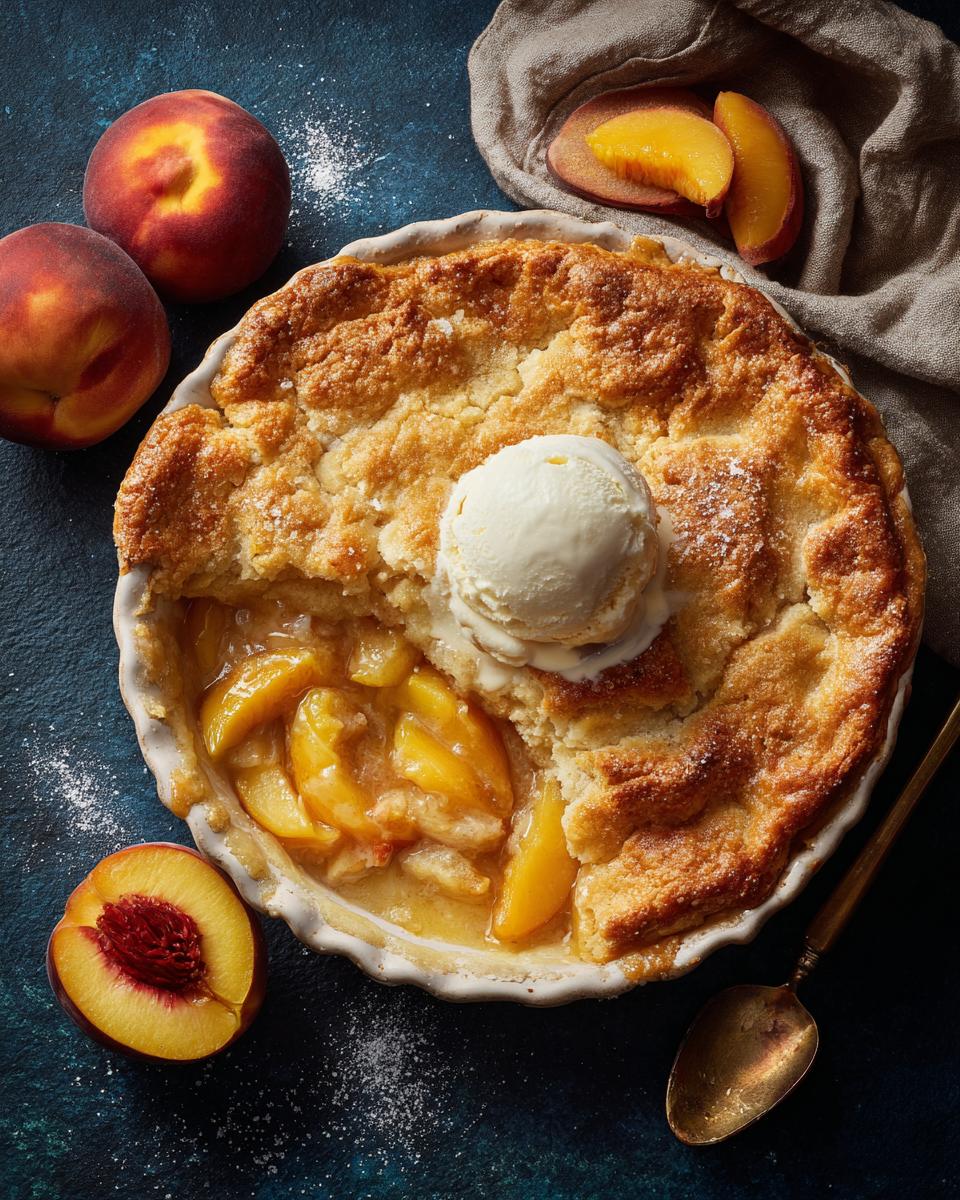
- Pour the batter into a baking dish. I usually use a 9×13 inch pan, but an 8×8 will work too, you might just need to bake it a bit longer to avoid it not being cooked thoroughly. Spread the peach slices evenly over the batter. My favorite part is layering that fresh peach on top.
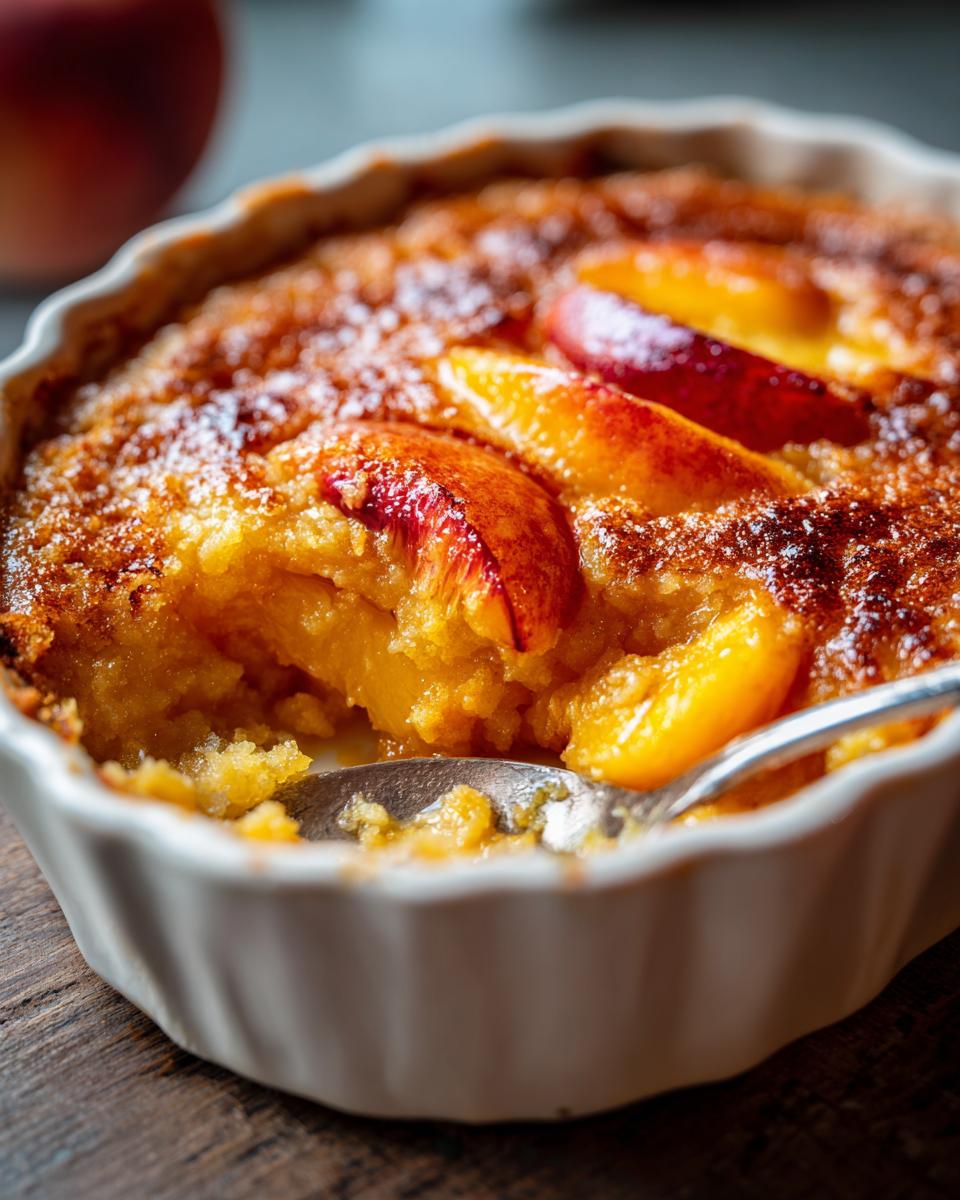
- Pop it in the preheated oven and bake for 45-50 minutes, or until the top is golden brown and bubbly. Keep an eye on it – ovens can be tricky, and you don’t want a burnt cobbler! The peaches should be nice and tender, and the topping should be cooked through.
- Let it cool for at least 15 minutes before serving. This will give the peaches a chance to settle and the topping to firm up a bit. Plus, it’ll save you from burning your tongue!
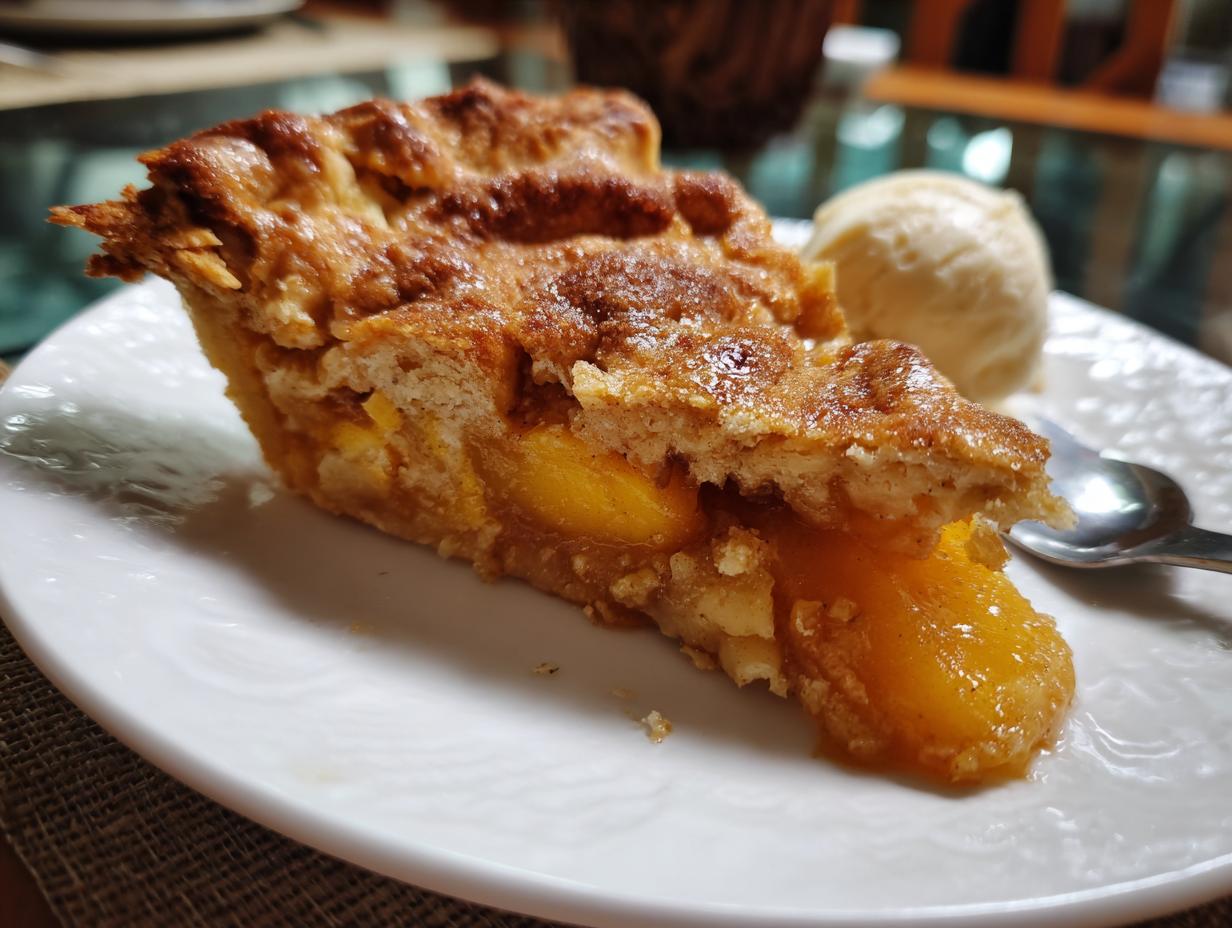
- Serve warm, with a scoop of vanilla ice cream or a dollop of whipped cream. Oh my goodness, *The Peach Cobbler*’s the best. Enjoy those great flavor profiles. You deserve it!
Tips for The Perfect Peach Cobbler
Want to take your peach cobbler from “good” to “OMG AMAZING”? Here’s a few of my tried-and-true secrets!
- Pick the right peaches! Ripe peaches are key. They should be fragrant and give just a little when you squeeze them. If they’re rock hard, they won’t have enough flavor, y’know?
- Don’t skimp on the butter! That melted butter in the batter is what makes the topping so tender and golden. Trust me, it’s worth it.
- Watch that baking time! Ovens vary, so start checking your cobbler around 40 minutes. You want the topping to be golden brown and the juices to be bubbly.
- Let it rest! I know it’s tempting to dig in right away but letting it cool for a bit helps the cobbler set up and keeps you from burning your mouth!
Variations on The Peach Cobbler Recipe
Okay, so you’ve got the classic peach cobbler down? Let’s get a little wild! There’s tons of ways to mix it up and make it your own. Here are a couple of my faves:
- Berry Beautiful: Swap out half the peaches for blueberries, raspberries, or blackberries. The mix of flavors is just divine! A little lemon zest takes it up another notch, too.
- Spice It Up: Add a pinch of cinnamon, nutmeg, or even a little ground ginger to the batter. Warm spices give it a cozy, autumnal vibe. You could try a dash of cloves, too! Don’t overdo it though.
Serving Suggestions for The Peach Cobbler
Alright, so you’ve got this amazing peach cobbler…now what? Well, honestly, it’s pretty perfect all on its own! But if you wanna take it to the next level there are a couple of fun options!
- A big ‘ol scoop of vanilla ice cream! The cold creaminess with the warm peaches? Oh, my stars!
- A dollop of whipped cream. Light, fluffy, and just sweet enough.
Really though, you can’t go wrong. Grab a spoon and dig in!
Storing and Reheating The Peach Cobbler
Okay, so you’ve *somehow* managed to not eat the entire *The Peach Cobbler* in one sitting? First of all, I’m impressed! Here’s how to keep those leftovers tasting just as good as the first time:
- Storing: Cover it tightly with foil or plastic wrap and pop it in the fridge. It’ll keep for about 3-4 days.
- Reheating: A quick zap in the microwave works! Or, for extra crispiness, warm it up in a skillet over low heat… but watch it, it burns quick!
Frequently Asked Questions About The Peach Cobbler
Got questions about making the perfect *The Peach Cobbler*? I got answers! Here’s a few of the most common things folks ask me:
Can I use frozen peaches?
Absolutely! Frozen peaches are a lifesaver when fresh ones aren’t in season. Just let them thaw a bit before using them, and drain off any excess juice. I actually sometimes prefer frozen for baking. They make a delicious easy dessert.
What’s the best way to prevent a soggy crust?
Ah, the dreaded soggy crust! First, don’t overmix the batter. Overmixing develops gluten, which can make the crust tough and… well, soggy. Second, make sure your oven is hot enough! A good 400°F (200°C) will help that topping crisp up beautifully. A little sugar sprinkled on top before baking can also work some magic!
Can I make this ahead of time?
You sure can! I often bake *The Peach Cobbler* a day ahead of time, especially if I’m having company. Let it cool completely, cover it tightly, and store it in the fridge. When you’re ready to serve, just warm it up in the oven or microwave. It’s actually pretty good cold, too! It also adds to easy meal prep!
Can I use a different fruit?
Why not? While it won’t be a true peach cobbler, it will still have the great taste and texture. I recommend using other fruit, like apples or blue berries. Give it a try and tell me what you think !
Nutritional Information Disclaimer for The Peach Cobbler
Okay, y’all, just a heads-up: the nutritional info for *The Peach Cobbler* is just an estimate. It can vary based on the exact ingredients (and brands!) you use, so don’t take it as gospel, okay?
Print
Crispy Oven Roasted Potatoes and Onions
- Total Time: 65 min
- Yield: 6 servings 1x
- Diet: Vegan
Description
Simple oven roasted potatoes and onions.
Ingredients
- 2 lbs potatoes, peeled and cubed
- 2 large onions, sliced
- 1/4 cup olive oil
- 1 teaspoon salt
- 1/2 teaspoon black pepper
- 1 teaspoon dried oregano
Instructions
- Preheat oven to 400°F (200°C).
- In a large bowl, combine potatoes, onions, olive oil, salt, pepper, and oregano.
- Spread the mixture in a single layer on a baking sheet.
- Roast for 45-50 minutes, or until potatoes are tender and golden brown, flipping halfway through.
- Serve hot.
Notes
- For extra crispiness, parboil the potatoes for 5 minutes before roasting.
- Prep Time: 15 min
- Cook Time: 50 min
- Category: Side Dish
- Method: Roasting
- Cuisine: Mediterranean
Nutrition
- Serving Size: 1 serving
- Calories: 250
- Sugar: 5g
- Sodium: 300mg
- Fat: 12g
- Saturated Fat: 2g
- Unsaturated Fat: 10g
- Trans Fat: 0g
- Carbohydrates: 35g
- Fiber: 4g
- Protein: 4g
- Cholesterol: 0mg