
Oh, the smell of freshly baked garlic bread rolls! It just fills the house with warmth, doesn’t it? Seriously, is there anything better than that comforting aroma wafting from the kitchen? I swear, a basket of these babies can elevate even a simple weeknight dinner into something kinda special.
Now, my grandma, bless her heart, she made the *best* garlic bread rolls. I remember being a little tyke, standing on a stool next to her, watching her knead the dough with those strong, loving hands. She always let me “help” by poking holes in the dough before adding the garlic butter. Of course, half the butter ended up on my face, but hey, those are some of my favorite memories!
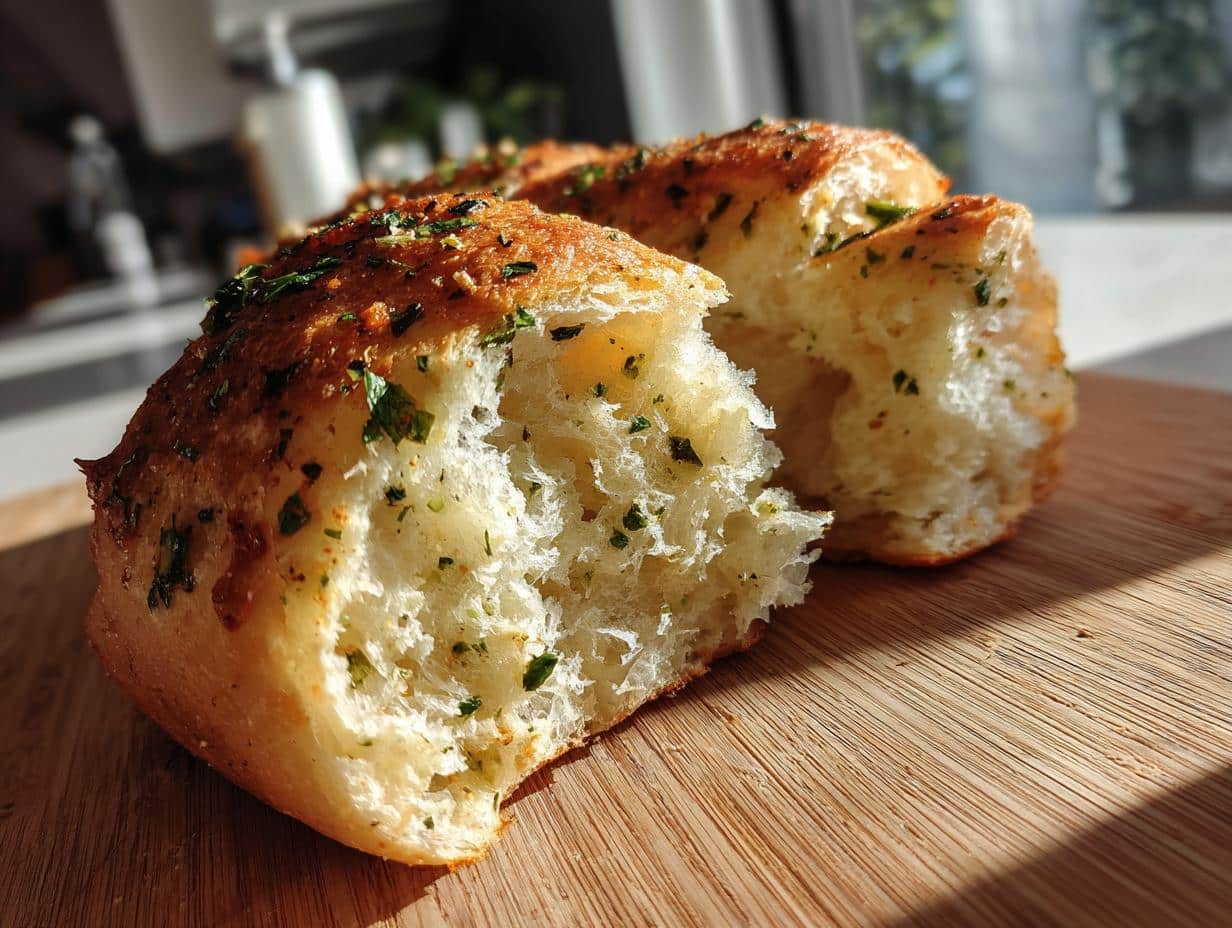
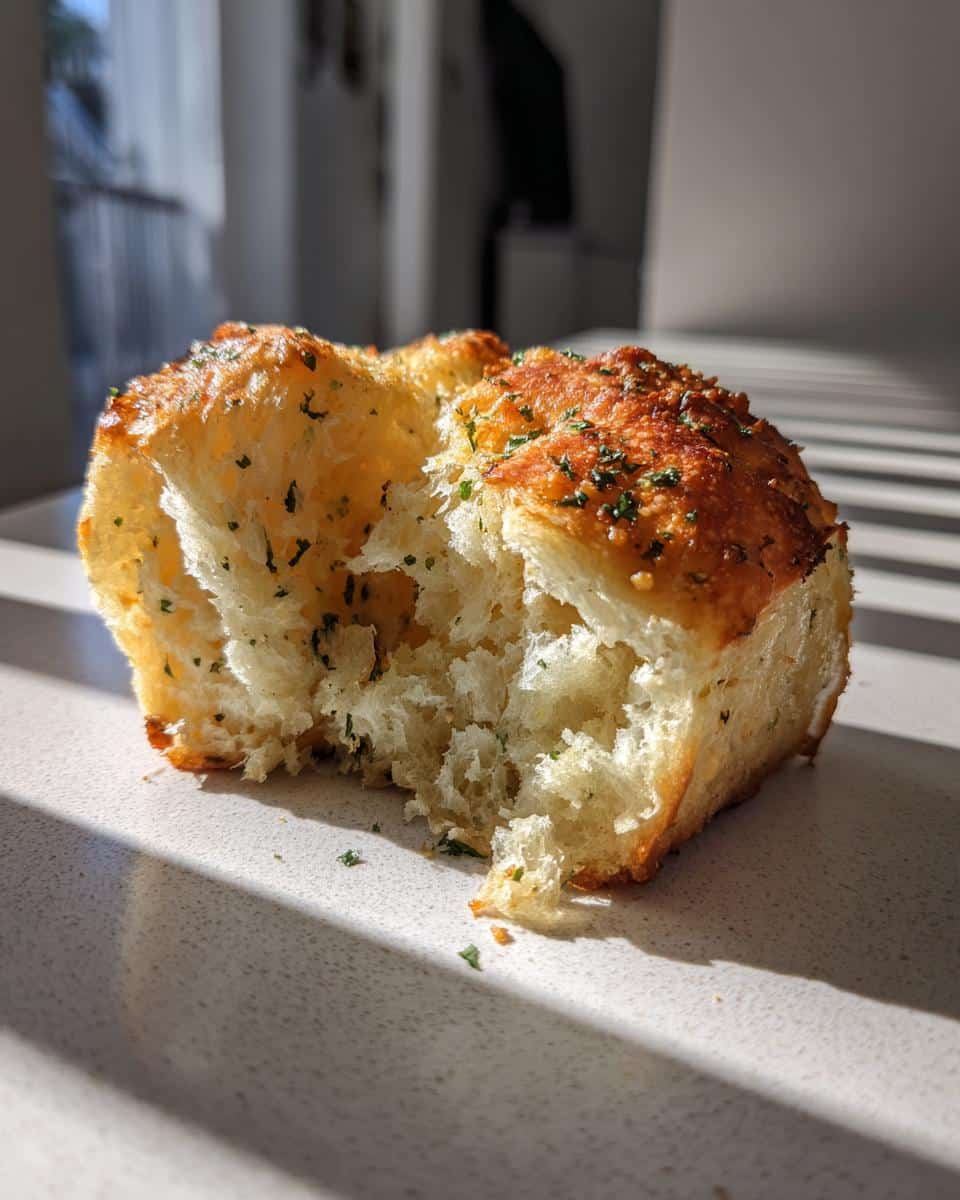
Grandma always said the secret was in the garlic – gotta use the real stuff, none of that powdered nonsense! And lots of butter, naturally. She never measured anything, just kinda threw it all in. I’ve spent years trying to recreate her magic, and I think I’ve finally cracked the code. These garlic bread rolls are soft, fluffy, and packed with that garlicky goodness that makes you wanna lick your fingers clean. They’re perfect alongside a big bowl of pasta, or just as a snack all on their own. Trust me, you’re gonna love ’em!
Why You’ll Love This Garlic Bread Rolls Recipe
Okay, so why *this* recipe? Well, let me tell ya, these garlic bread rolls are seriously amazing! But don’t just take my word for it. Here’s why you’re gonna be obsessed:
- Super easy to make – even if you’re a total beginner!
- Incredibly flavorful – that garlic butter is outta this world.
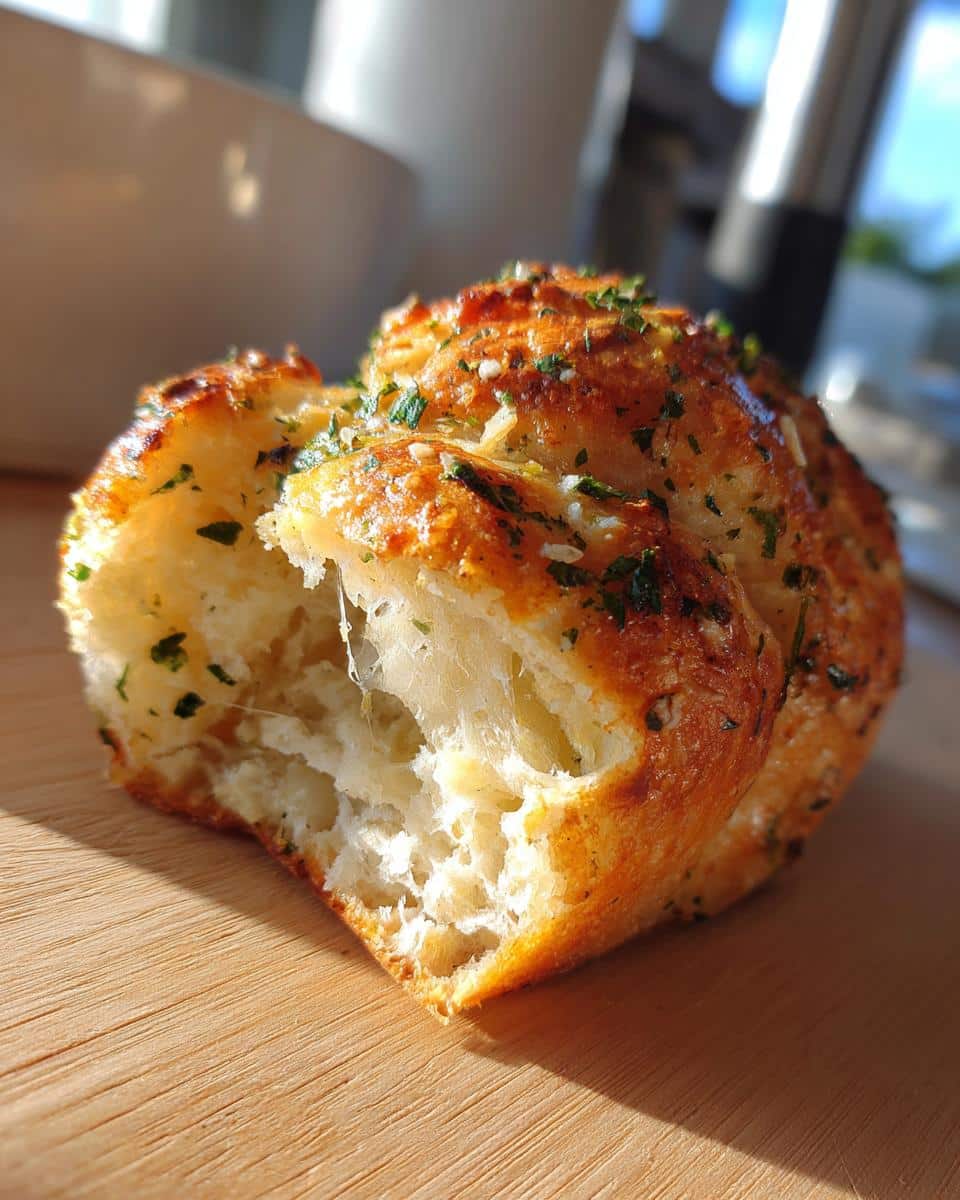
- Soft and fluffy texture – seriously, they melt in your mouth.
- Perfect for parties – everyone always raves about them!
- You can totally customize them – add cheese, herbs, whatever you like!
Seriously, what’s not to love?
The Secret to the Best Garlic Bread Rolls
Alright, let’s get down to brass tacks. What makes *these* garlic bread rolls so darn special? It’s all about quality, my friend! I’m talkin’ fresh, real ingredients and a few little tricks I’ve picked up over the years. Seriously, skimping on the garlic or using some weird butter substitute? Just don’t even go there! You gotta use fresh garlic – the pre-minced stuff just doesn’t have the same zing. And good butter? Oh, it makes all the difference! It adds a richness and flavor you just can’t beat. Trust me on this one!
Choosing the Right Flour for Your Garlic Bread Rolls
Okay, flour time! I usually go for all-purpose flour for these garlic bread rolls. It’s easy to find and works great, giving you that soft, fluffy texture we all crave. But, if you wanna get fancy, you *could* use bread flour. It’s got more protein, so it’ll make your rolls a little chewier. Honestly? I don’t usually bother. All-purpose does the trick just fine, and keeps things nice and simple, y’know?
The Importance of Proofing Your Garlic Bread Rolls Dough
Now, don’t skip the proofing! This is where the magic happens. Letting that dough rise properly is *key* to getting those light, airy garlic bread rolls we’re after. I like to put mine in a warm spot – near the stove, maybe, or in a slightly warmed oven (just make sure it’s *off*!). Aim for about an hour, or until it’s doubled in size. Don’t rush it! Patience is a virtue, especially when it comes to bread. You’ll thank me later!
Garlic Bread Rolls Ingredients
Alright, gather ’round, let’s talk ingredients! Here’s what you’ll need to whip up these amazing garlic bread rolls. Don’t worry, it’s mostly stuff you probably already have!
- 1 package (1/4 ounce) active dry yeast – the good stuff that makes it rise!
- 1/4 cup warm water (105-115°F) – not too hot, not too cold, Goldilocks!
- 1 cup warm milk (105-115°F) – same deal as the water.
- 1/4 cup granulated sugar – just a touch of sweetness.
- 1 teaspoon salt – gotta have it!
- 1/4 cup unsalted butter, melted – for richness!
- 1 large egg – binds it all together.
- 3 1/4 – 3 3/4 cups all-purpose flour – start with less, add more if needed.
- 1/2 cup unsalted butter, softened – for that glorious garlic butter!
- 4 cloves garlic, minced – don’t be shy!
- 1/4 cup chopped fresh parsley – for a pop of color and flavor.
How to Prepare Delicious Garlic Bread Rolls: Step-by-Step Instructions
Okay, now for the fun part! Let’s get our hands dirty and make some magic happen. Don’t worry, I’ll walk you through it step-by-step. Even if you’ve never baked bread before, I promise you can do this!
- First, you’ll want to dissolve the yeast. In a large bowl, mix that packet of active dry yeast with 1/4 cup of warm water. Let it sit for about 5 minutes until it gets all foamy and bubbly. That’s how you know it’s alive and ready to rock!
- Next, add the warm milk, sugar, salt, melted butter, and egg to the yeast mixture. Give it a good mix until everything’s combined.
- Now, gradually add 3 1/4 cups of flour. Mix it in until a soft dough forms. If it’s too sticky, add a little more flour, a tablespoon at a time. We’re aiming for a dough that’s soft but not glued to your hands, y’know?
- Time to knead! Turn the dough out onto a lightly floured surface and knead it for 5-7 minutes. It should become smooth and elastic. Don’t skip this step – it’s important!
- Pop the dough into a greased bowl, turning it to coat all sides. Cover the bowl with a clean cloth and let it rise in a warm place for 1-1.5 hours, or until it’s doubled in size. This is where patience comes in!
- Alright, punch down the dough to release the air. Turn it out onto a lightly floured surface and divide it into 12 equal pieces.
- Roll each piece into a rope and tie it into a knot. Kinda like tying a shoelace, but with dough! Place the knots on a greased baking sheet.
- In a small bowl, combine the softened butter, minced garlic, and parsley. Mix it all together until it’s a garlicky, buttery dream.
- Brush that glorious garlic butter mixture all over the rolls. Don’t be shy – the more, the merrier!
- Cover the rolls and let them rise for another 30 minutes. Almost there!
- Preheat your oven to 375°F (190°C).
- Bake the rolls for 15-20 minutes, or until they’re golden brown and beautiful.
- Serve ’em warm and watch them disappear!
Ingredient Notes and Substitutions for Garlic Bread Rolls
Okay, so let’s talk ingredient swaps! If you’re out of something, or just wanna try a different twist, here’s the lowdown. For a richer flavor, use salted butter, but cut back a tad on the added salt. Wanna make these dairy-free? Use your favorite plant-based milk and butter substitute – they work great! And hey, if you’re feeling fancy, a sprinkle of garlic powder *along* with the fresh garlic gives it an extra kick. Just sayin’!
Tips for Perfect Garlic Bread Rolls Every Time
Want garlic bread rolls that are *perfect* every single time? Of course, you do! Here are a few little secrets I’ve learned over the years:
- Don’t overheat the milk and water! Seriously, if it’s too hot, you’ll kill the yeast. Aim for that sweet spot, like a warm bath, not a jacuzzi!
- Knead that dough properly! It’s tempting to rush, but those 5-7 minutes of kneading are crucial for developing the gluten.
- Got a stand mixer? Use it! It makes kneading SO much easier. Just use the dough hook and let it do its thing.
- Make sure your yeast is active! If it doesn’t foam up when you mix it with warm water, toss it and get a new packet. Nobody wants flat, sad garlic bread rolls!
- Brush with garlic butter *after* baking for extra flavor. Yeah, I know, we already brush ’em before, but trust me, that extra layer of garlic butter after they come out of the oven? Game changer!
Frequently Asked Questions About Garlic Bread Rolls
Got questions? I’ve got answers! Here are some of the most common questions I get asked about these amazing garlic bread rolls:
- Can I freeze these? Absolutely! Just let them cool completely, then wrap them tightly in plastic wrap and foil. They’ll keep in the freezer for up to 2 months. When you’re ready to eat them, just thaw them out and reheat in the oven.
- How long will they last? If, by some miracle, you have leftovers, they’ll last for about 2 days at room temperature. Just store them in an airtight container. But honestly, they’re usually gone within the hour at my house!
- Can I use dried herbs? Sure, you can! If you don’t have fresh parsley, dried parsley will work in a pinch. Just use about half the amount, since dried herbs are more concentrated.
- Can I add cheese? Oh, you betcha! A sprinkle of parmesan cheese on top before baking takes these garlic bread rolls to a whole new level.
- What if my dough doesn’t rise? Uh oh! That usually means your yeast is dead. Make sure you’re using fresh yeast and that your water and milk aren’t too hot. If it still doesn’t rise, you might have to start over. Bummer, I know!
Nutritional Information for Garlic Bread Rolls
Alright, let’s talk numbers! Here’s the estimated nutritional info for one of these delicious garlic bread rolls. Keep in mind, it’s just an estimate, and it can vary depending on the exact ingredients you use and how big you make ’em!
- Calories: About 250
- Fat: Around 12 grams
- Protein: Roughly 5 grams
- Carbs: In the neighborhood of 30 grams
So, yeah, they’re not exactly health food. But hey, everything in moderation, right?
Rate This Garlic Bread Rolls Recipe
Okay, folks, I wanna know what you think! Did you try these garlic bread rolls? Leave a comment below and let me know how they turned out! And hey, if you loved ’em, give the recipe a rating! Don’t forget to share your photos and variations on social media – I can’t wait to see what you create!
Print
Unbelievable Garlic Bread Rolls: Grandma’s 1 Secret
- Total Time: 2 hours
- Yield: 12 rolls 1x
- Diet: Vegetarian
Description
Make delicious garlic bread rolls at home. This recipe is easy to follow and results in soft, flavorful rolls perfect as a side dish or appetizer.
Ingredients
- 1 package (1/4 ounce) active dry yeast
- 1/4 cup warm water (105-115°F)
- 1 cup warm milk (105-115°F)
- 1/4 cup sugar
- 1 teaspoon salt
- 1/4 cup butter, melted
- 1 large egg
- 3 1/4 – 3 3/4 cups all-purpose flour
- 1/2 cup butter, softened
- 4 cloves garlic, minced
- 1/4 cup chopped fresh parsley
Instructions
- In a large bowl, dissolve yeast in warm water. Add milk, sugar, salt, melted butter, and egg. Mix well.
- Gradually add 3 1/4 cups flour, mixing until a soft dough forms. If needed, add up to 1/2 cup more flour.
- Turn dough out onto a lightly floured surface and knead for 5-7 minutes, or until smooth and elastic.
- Place dough in a greased bowl, turning to coat all sides. Cover and let rise in a warm place for 1-1.5 hours, or until doubled in size.
- Punch down dough and turn it out onto a lightly floured surface. Divide dough into 12 equal pieces.
- Roll each piece into a rope and tie into a knot. Place rolls on a greased baking sheet.
- In a small bowl, combine softened butter, minced garlic, and parsley. Mix well.
- Brush garlic butter mixture over the rolls.
- Cover and let rise for 30 minutes.
- Preheat oven to 375°F (190°C).
- Bake for 15-20 minutes, or until golden brown.
- Serve warm and enjoy!
Notes
- For a richer flavor, use salted butter.
- Add parmesan cheese to the garlic butter mixture for garlic parmesan bread rolls.
- Store leftover rolls in an airtight container at room temperature for up to 2 days.
- Prep Time: 30 minutes
- Cook Time: 20 minutes
- Category: Bread
- Method: Baking
- Cuisine: American
Nutrition
- Serving Size: 1 roll
- Calories: 250
- Sugar: 5g
- Sodium: 250mg
- Fat: 12g
- Saturated Fat: 7g
- Unsaturated Fat: 4g
- Trans Fat: 0g
- Carbohydrates: 30g
- Fiber: 1g
- Protein: 5g
- Cholesterol: 40mg