
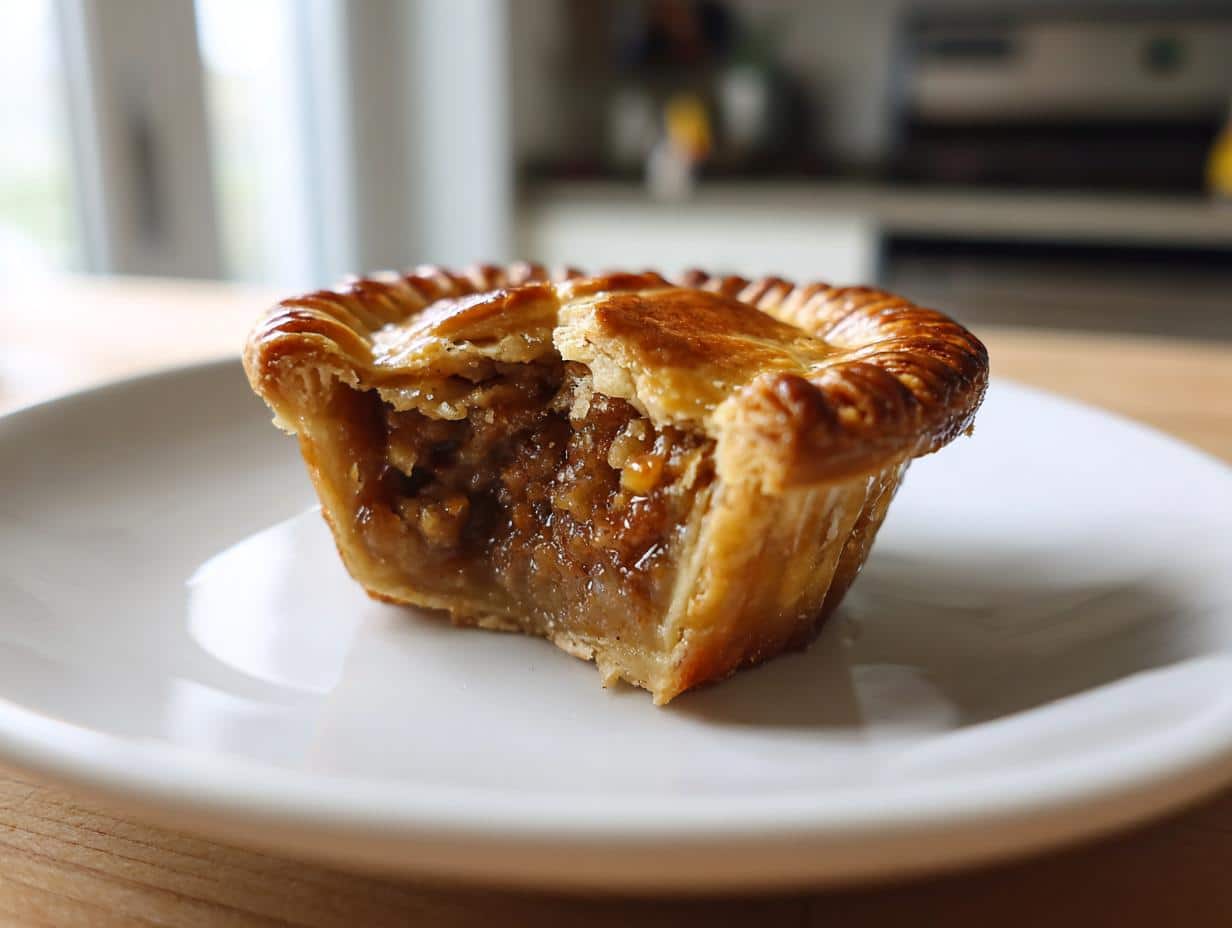
Oh, you guys! I remember the first time I tasted a real, honest-to-goodness tourtière at a winter festival up north. The flavors just stuck with me! But, finding a truly stellar gluten free mini tourtiere that actually tasted like the real deal? That was a mission! I love making dishes that bring people together, especially when dietary needs are in the mix. This recipe for individual-sized, savory, and gloriously gluten-free meat pies is my labor of love, and it makes those cozy, comforting meals accessible to everyone!
Why You’ll Love This Gluten Free Mini Tourtiere Recipe
Okay, so why should you whip up a batch of these little wonders? Trust me, there are so many reasons to adore these gluten free mini tourtiere bites! They’re total crowd-pleasers, whether you’re serving them up for a holiday party or just making a cozy dinner for yourself. Here’s why I think you’ll fall head over heels for them:
- No Gluten, All Flavor: My absolute top priority was making sure these tasted as good as, if not better than, the traditional version. You won’t even miss the gluten, I promise!
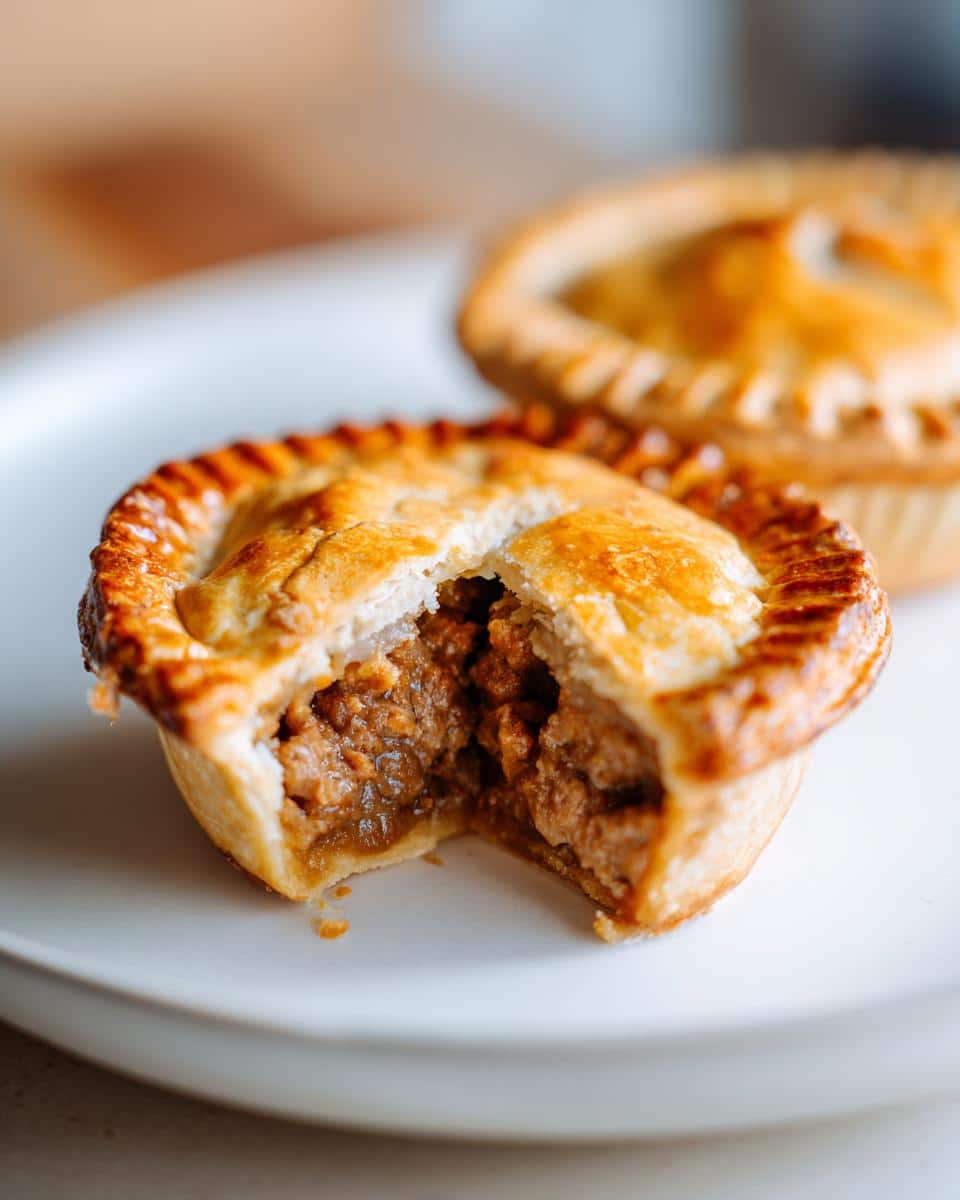
- Perfectly Portioned: The “mini” part is genius, isn’t it? They’re super cute, easy to serve, and ideal for appetizers or individual meals. No messy slicing required!
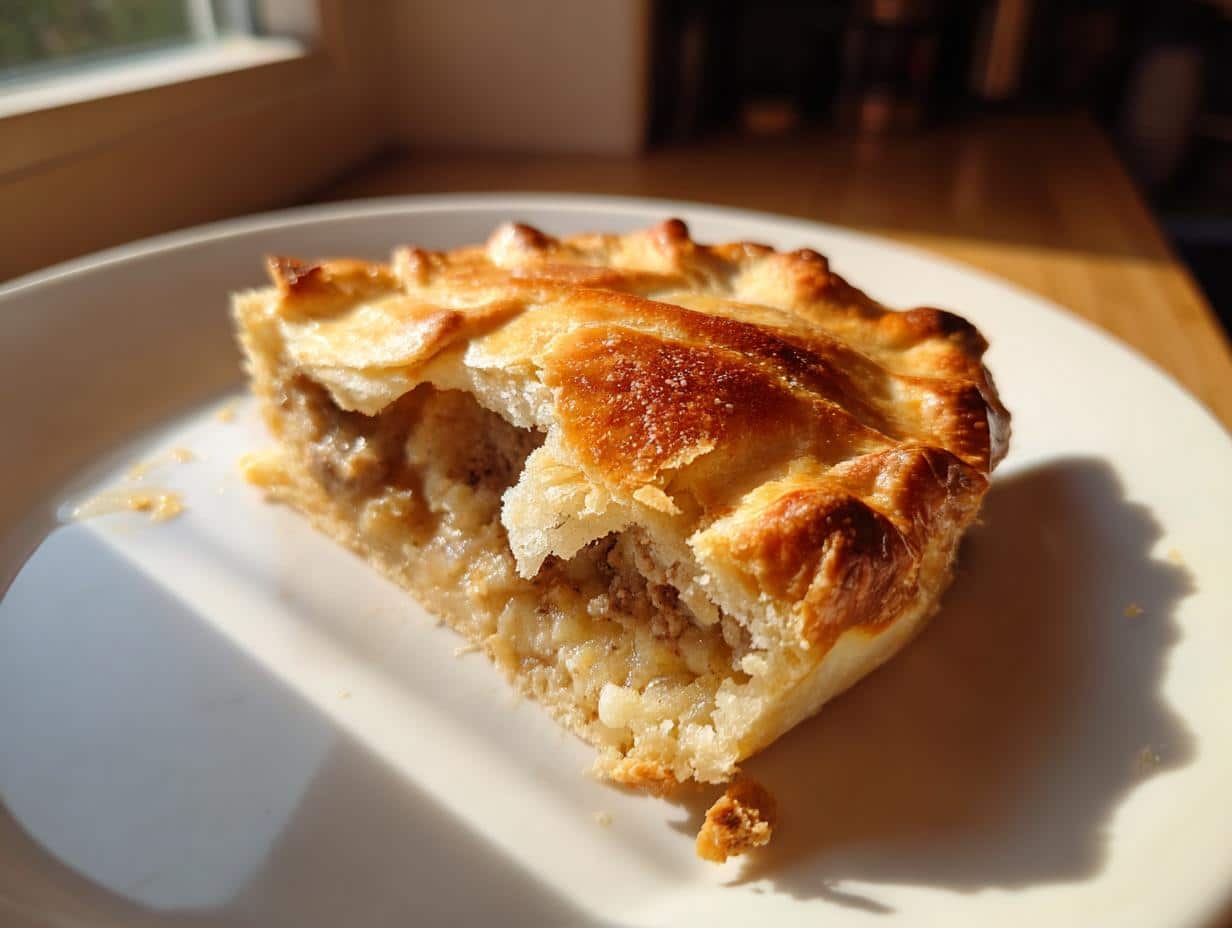
- Comfort Food, Elevated: This isn’t just any meat pie; it’s a hug in a flaky crust. Those warm spices and savory filling? Pure bliss.
- Great for Meal Prep: Make a big batch and freeze them! They reheat beautifully, giving you a delicious, fuss-free meal whenever you need it. Kind of like my mini turkey pot pies, but with a Québécois twist!
Essential Ingredients for Your Gluten Free Mini Tourtiere
Alright, let’s talk ingredients! Crafting these gluten-free mini tourtières means we need to be a little particular, especially with our flour, to get that dreamy, flaky crust. Don’t worry, though, it’s nothing too wild! I’ve grouped everything to make your kitchen prep super easy. Just make sure everything is ready and waiting before you start, especially that cold butter!
For the Flaky Gluten-Free Crust:
- 1 ¼ cups gluten-free all-purpose flour blend (with xanthan gum): This is your MVP! I always use a blend that already has xanthan gum in it because it’s crucial for giving gluten-free dough elasticity and structure. Without it, you’d have a crumbly mess, and nobody wants that!
- ½ teaspoon salt: Just a pinch to bring out all those lovely flavors.
- ½ cup cold unsalted butter, cubed: And I mean COLD! Pop it in the freezer for 10-15 minutes before you start. Cold butter is key for a truly flaky crust.
- ¼ cup ice water (approx.): Keep a little extra nearby, but you might not need it all. The colder, the better!
For the Savory Meat Filling:
- 1 tablespoon olive oil: For getting things started in the skillet.
- 1 lb ground pork (or a mix of pork and beef): I love pork for that traditional tourtière taste, but a 50/50 mix with ground beef gives it a really lovely richness!
- 1 small onion, finely chopped: The flavor base! Make sure it’s chopped nice and small so it melts into the filling.
- 1 clove garlic, minced: Don’t skip this, it adds so much depth.
- ½ cup beef broth: Gives us that wonderful savory liquid for simmering.
- 1 teaspoon dried savory (or thyme): Savory is traditional, but thyme works beautifully too if you can’t find it.
- ¼ teaspoon ground cloves: A little goes a long way, but it’s essential for that classic tourtière spice profile.
- ¼ teaspoon ground cinnamon: Trust me on this one! It blends so wonderfully with the cloves and meat.
- Salt to taste: Season as you go!
- Freshly ground black pepper to taste: Because everything’s better with fresh pepper!
Step-by-Step: Crafting Your Gluten Free Mini Tourtiere
Okay, now for the fun part! This is where we bring everything together and create those amazing gluten-free mini tourtières. Don’t let the steps seem intimidating; I’ve broken it all down so it’s super easy to follow. We’ll start with that beautiful crust, then tackle the aromatic filling, and finally, bring it all together for baking. Just take your time, and you’ll have perfect little pies in no time!
Preparing the Perfect Gluten Free Tourtiere Crust
First things first, that flaky pastry! In a big bowl, whisk together your gluten-free flour blend (remember that xanthan gum!) and salt. Now, for the butter: you want to cut it into the flour until it looks like coarse crumbs. I use a pastry blender, but your fingertips work great too – just don’t overwork it! Gradually add that ice water, literally a tablespoon at a time, mixing until the dough just comes together. You don’t want it sticky, but it should hold. Divide it into two discs, wrap ’em up in plastic, and let them chill in the fridge for at least 30 minutes. This is crucial for a tender, easy-to-handle crust!
Cooking the Flavorful Gluten Free Mini Tourtiere Filling
While your dough is chilling, let’s get that kitchen smelling incredible with our filling! Heat a tablespoon of olive oil in a large skillet over medium heat. Toss in your ground pork (or pork and beef mix) and cook it up, really breaking it apart with a spoon until it’s lovely and browned. Drain any extra fat—we want flavor, not grease! Next, add your finely chopped onion and garlic, and let them get nice and soft, about 5-7 minutes. Now for the magic: stir in your beef broth, savory (or thyme), ground cloves, and cinnamon. Bring that to a gentle simmer and let it cook down until most of the liquid has evaporated, about 10-15 minutes. You want the mixture moist, but definitely not soupy. Taste it, and season generously with salt and pepper. Then, let that filling cool completely. This is key to prevent a soggy crust later!
Assembling and Baking Your Gluten Free Mini Tourtiere
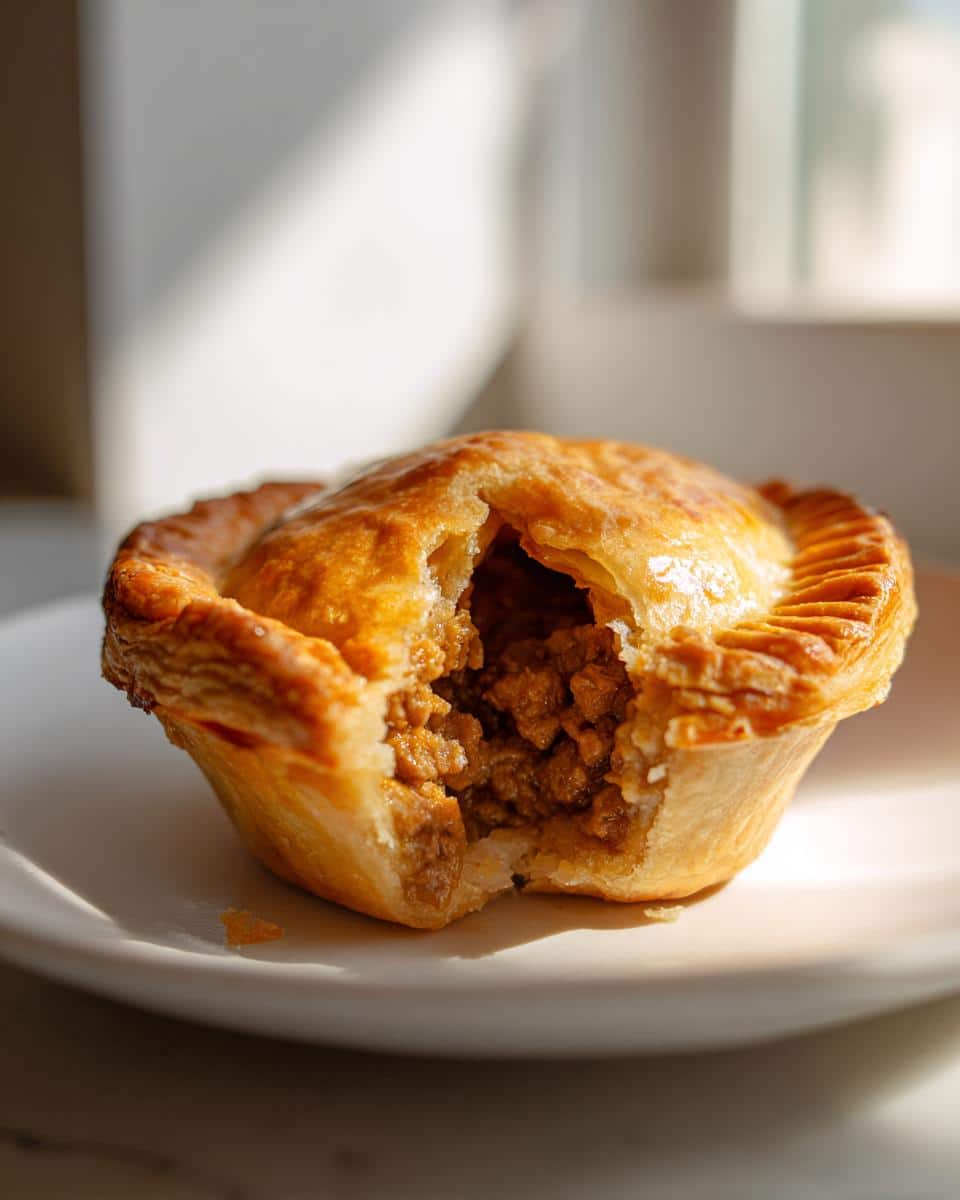
Oven time! Preheat it to 375°F (190°C). Grab one of your chilled dough discs and roll it out on a lightly floured (gluten-free flour, of course!) surface to about 1/8-inch thick. Use a 3-inch round cutter to make your circles—these are your bottom crusts. Gently press each circle into the cups of your mini muffin tin. Fill each little pastry cup with about 1-2 tablespoons of your cooled meat filling. Roll out your second disc of dough and cut out smaller circles for the top crusts. Place these over your filled pies, and gently press the edges to seal. You can even use a fork to crimp them for a pretty, sealed edge, kind of like my easy pizza appetizers, they need a good crimp too! Don’t forget to cut a small vent slit in the top of each mini pie so steam can escape. Bake for 25-30 minutes, or until those crusts are beautifully golden brown. Let them cool just a touch before digging in – they’ll be piping hot!

Tips for Success with Gluten Free Mini Tourtiere
Making gluten-free pastry can feel a little different than traditional dough, but don’t you worry! I’ve got a few tricks up my sleeve to help you nail these gluten free mini tourtiere every single time. These tips are all about making your life easier and ensuring your pies are as perfect as can be!
- Keep it Cold, Cold, Cold: When you’re making the crust, truly cold butter and ice water are your best friends. This helps create those lovely pockets of steam in the oven, leading to a super flaky pastry. If your kitchen is warm, you can even chill your flour and tools for a bit!
- Don’t Overwork the Dough: Gluten-free dough can get a bit gummy if overmixed. Mix just enough until it comes together, then stop. A little shaggy is okay!
- Chill is Your Friend (Again!): Always let your dough chill for at least 30 minutes. It makes it so much easier to roll out and prevents shrinking. If it gets too warm while you’re working, pop it back in the fridge for 10-15 minutes.
- Cool Filling, Happy Crust: This is a big one! Make sure your meat filling is completely cooled before you put it into the pastry. Warm filling will steam the bottom crust, making it soggy. I usually make my filling ahead of time and let it chill in the fridge.
- Gold is Good: Keep an eye on your mini tourtières in the oven. You want a beautiful golden-brown crust. If they’re browning too quickly, you can loosely tent them with foil, but usually, 25-30 minutes does the trick perfectly!
Make-Ahead and Freezer Tips for Gluten Free Mini Tourtiere
Life can get busy, right? Especially around the holidays! That’s why I adore recipes that let me get a head start, and these gluten free mini tourtiere are absolutely perfect for making ahead or even tucking away in the freezer. It’s like future-you sends present-you a delicious, savory hug! Just like with my favorite make-ahead casseroles, a little prep now saves a lot of stress later.
For Baked Mini Tourtières:
Once your mini tourtières are baked and cooled, you can store them in an airtight container in the fridge for up to 3-4 days. To freeze, let them cool completely, then arrange them in a single layer on a baking sheet and flash freeze until solid (about an hour). Transfer them to a freezer-safe bag or container and they’ll keep for up to 2-3 months. To reheat, just pop them from frozen into a 350°F (175°C) oven for about 15-20 minutes, or until warmed through and the crust is crisp again.
For Unbaked Mini Tourtières:
Want to bake them fresh? You can assemble the mini tourtières, without baking, and freeze them! Place the assembled (but unbaked) pies on a baking sheet and flash freeze until solid. Then, transfer to a freezer-safe bag. When you’re ready to bake, just place them (still frozen) in your muffin tin, give them an egg wash if you like for extra shine, and bake at 375°F (190°C) for about 35-40 minutes, or until golden brown and bubbly. A little extra time is all it takes!
Common Questions About Gluten Free Mini Tourtiere
Got questions about these adorable gluten free mini tourtiere? You’re not alone! It’s totally normal to wonder about ingredients, substitutions, or how to get that perfect crust with gluten-free baking. I’ve gathered some of the most common questions I hear, so let’s get you some answers!
Can I use a different meat for my gluten free mini tourtiere?
Absolutely! While I love the classic pork (or pork/beef mix) for these individual gluten free pot pies, you could totally experiment. Ground turkey or even a lean ground beef would work beautifully, just be mindful of fat content. You might need to adjust your cooking time a tiny bit or add extra broth if using a leaner meat to keep that savory filling moist.
What’s the best gluten free tourtiere crust blend to use?
Okay, this is *so* important for a good gluten free savoury tartlets experience! I always recommend using a good quality gluten-free all-purpose flour blend that already contains xanthan gum. It makes a world of difference for the texture and workability of the dough. Brands vary, so if you have a favorite for things like gluten-free mozzarella sticks, that’s probably a great starting point for your gluten free tourtiere crust too!
Nutritional Information for Gluten Free Mini Tourtiere
Just a quick note on nutrition! While I’ve included some estimated values, please remember that these are just that—estimates. The actual nutritional content of your gluten free mini tourtiere can totally vary depending on the specific brands of ingredients you use, how lean your meat is, and even how precise your measurements are. Think of it as a general guideline, not a strict rule!
Serve and Savor Your Gluten Free Mini Tourtiere
There you have it, folks! Your very own batch of absolutely delicious gluten free mini tourtiere. This recipe is a labor of love, and I truly hope you enjoy making (and eating!) them as much as I do. Don’t be shy—I'd absolutely love to hear how they turn out for you! Drop a comment below, rate the recipe, or even better, snap a photo and share your creations on social media. And if you have any questions or just want to chat food, you can always reach out to me directly!
Print
Gluten-Free Mini Tourtière
- Total Time: 1 hour 15 min
- Yield: 12-18 mini tourtières 1x
- Diet: Gluten Free
Description
Prepare individual-sized savory meat pies with a gluten-free crust. These mini tourtières are suitable for appetizers or single servings.
Ingredients
- 1 ¼ cups gluten-free all-purpose flour blend (with xanthan gum)
- ½ teaspoon salt
- ½ cup cold unsalted butter, cubed
- ¼ cup ice water (approx.)
- 1 tablespoon olive oil
- 1 lb ground pork (or a mix of pork and beef)
- 1 small onion, finely chopped
- 1 clove garlic, minced
- ½ cup beef broth
- 1 teaspoon dried savory (or thyme)
- ¼ teaspoon ground cloves
- ¼ teaspoon ground cinnamon
- Salt to taste
- Freshly ground black pepper to taste
Instructions
- In a large bowl, whisk together the gluten-free flour blend and salt.
- Cut in the cold butter using a pastry blender or your fingertips until the mixture resembles coarse crumbs.
- Gradually add ice water, one tablespoon at a time, mixing until the dough just comes together. Do not overmix.
- Divide the dough into two equal portions. Form each into a disc, wrap in plastic wrap, and refrigerate for at least 30 minutes.
- Heat olive oil in a large skillet over medium heat. Add the ground pork and cook, breaking it up with a spoon, until browned. Drain any excess fat.
- Add the chopped onion and garlic to the skillet and cook until softened, about 5-7 minutes.
- Stir in the beef broth, savory, ground cloves, and cinnamon. Bring to a simmer and cook until most of the liquid has evaporated, about 10-15 minutes. The mixture should be moist but not watery.
- Season with salt and pepper to taste. Let the filling cool completely.
- Preheat your oven to 375°F (190°C).
- On a lightly floured surface (using gluten-free flour), roll out one disc of pastry to about 1/8-inch thickness.
- Using a 3-inch round cutter, cut out circles from the dough. Gently press each circle into the cups of a mini muffin tin.
- Fill each pastry-lined cup with about 1-2 tablespoons of the cooled meat filling.
- Roll out the second disc of pastry and cut out smaller circles for the top crusts.
- Place a top crust over each filled pie, gently pressing the edges to seal. You can crimp the edges with a fork for a decorative touch.
- Cut a small vent slit in the top of each mini pie.
- Bake for 25-30 minutes, or until the crust is golden brown. Let cool slightly before serving.
Notes
- Ensure the meat filling is cool before adding it to the pastry to prevent the crust from becoming soggy.
- You can use a mix of ground pork and beef for a richer flavor.
- For a decorative edge, use a fork to crimp the top and bottom crusts together.
- Prep Time: 30 min
- Cook Time: 45 min
- Category: Appetizer
- Method: Baking
- Cuisine: Québécois
Nutrition
- Serving Size: 1 mini tourtière
- Calories: 250
- Sugar: 1
- Sodium: 280
- Fat: 18
- Saturated Fat: 9
- Unsaturated Fat: 7
- Trans Fat: 0
- Carbohydrates: 15
- Fiber: 1
- Protein: 10
- Cholesterol: 45