 Skip to content

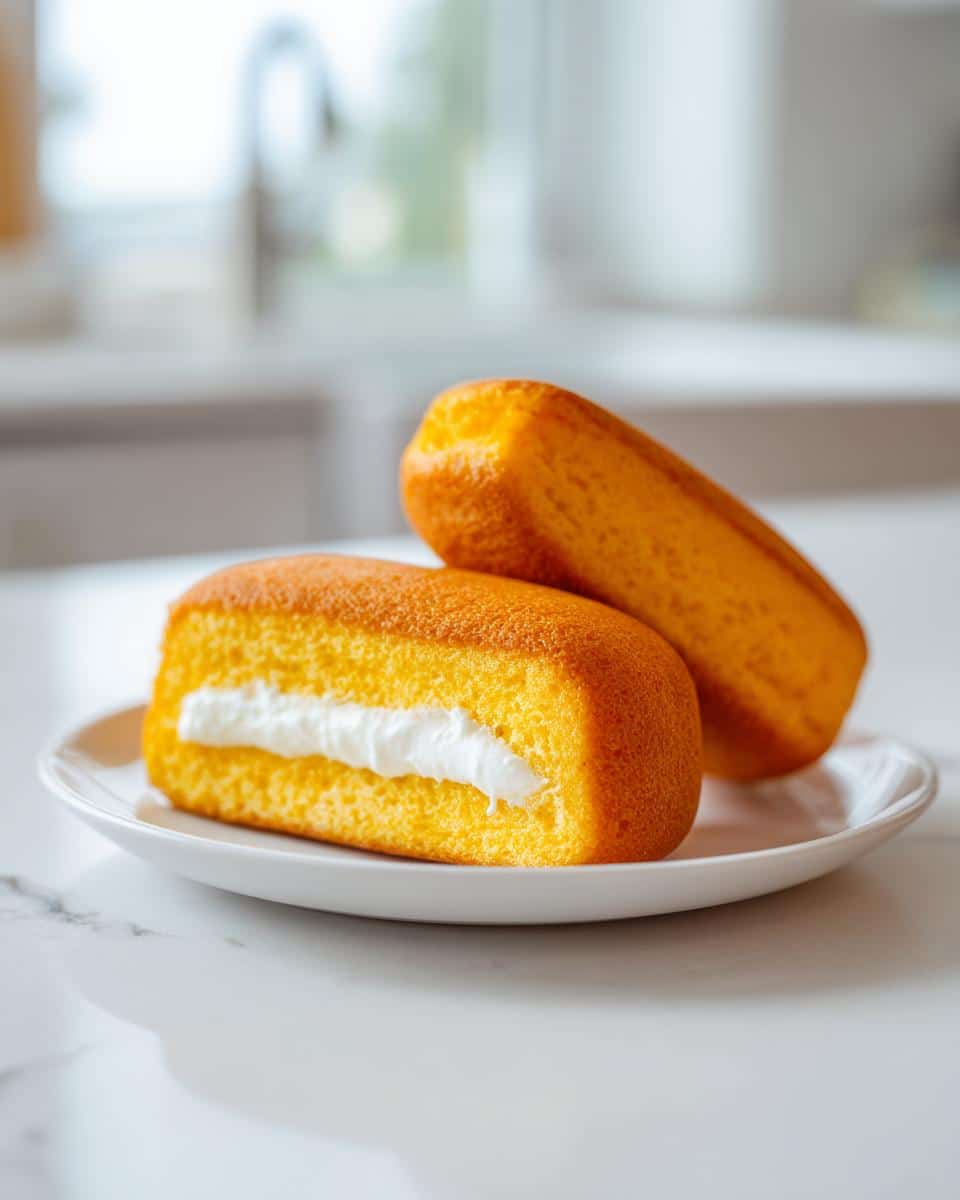
Oh, Twinkies! Just the name brings back a rush of childhood memories, doesn’t it? I remember begging for them at the grocery store, that golden sponge cake and creamy filling felt like pure magic. But honestly, as an adult, those store-bought versions just don’t hit the same. That’s why I, Lisa Raymond—a self-taught home cook from Seattle who just loves making simple, soul-satisfying food from scratch—decided it was time to crack the code for Homemade Twinkies. Trust me, there’s something incredibly satisfying about transforming basic ingredients into this iconic treat right in your own kitchen. You get all the classic comfort with none of the mystery ingredients. The joy of biting into a fresh, perfectly baked homemade Twinkie? Pure bliss. It’s definitely superior to anything from a package, and I can’t wait for you to try it!
Why You’ll Love These Homemade Twinkies
Okay, so why bother making Homemade Twinkies when you could just grab a box? Oh, friend, let me tell you! It’s so worth it, for so many delicious reasons:
- Fresh Ingredients: You know exactly what’s going into your snack – real butter, fresh eggs, no weird stuff you can’t pronounce!
- Customizable Sweetness: Love it super sweet? Want to dial it back just a touch? You’re in charge here!
- No Artificial Preservatives: This is a big one for me. Enjoy that pure, honest flavor without wondering what’s making it last a million years on a shelf.
- The Fun Factor: Seriously, there’s a unique joy in recreating a classic. It’s like a baking adventure!
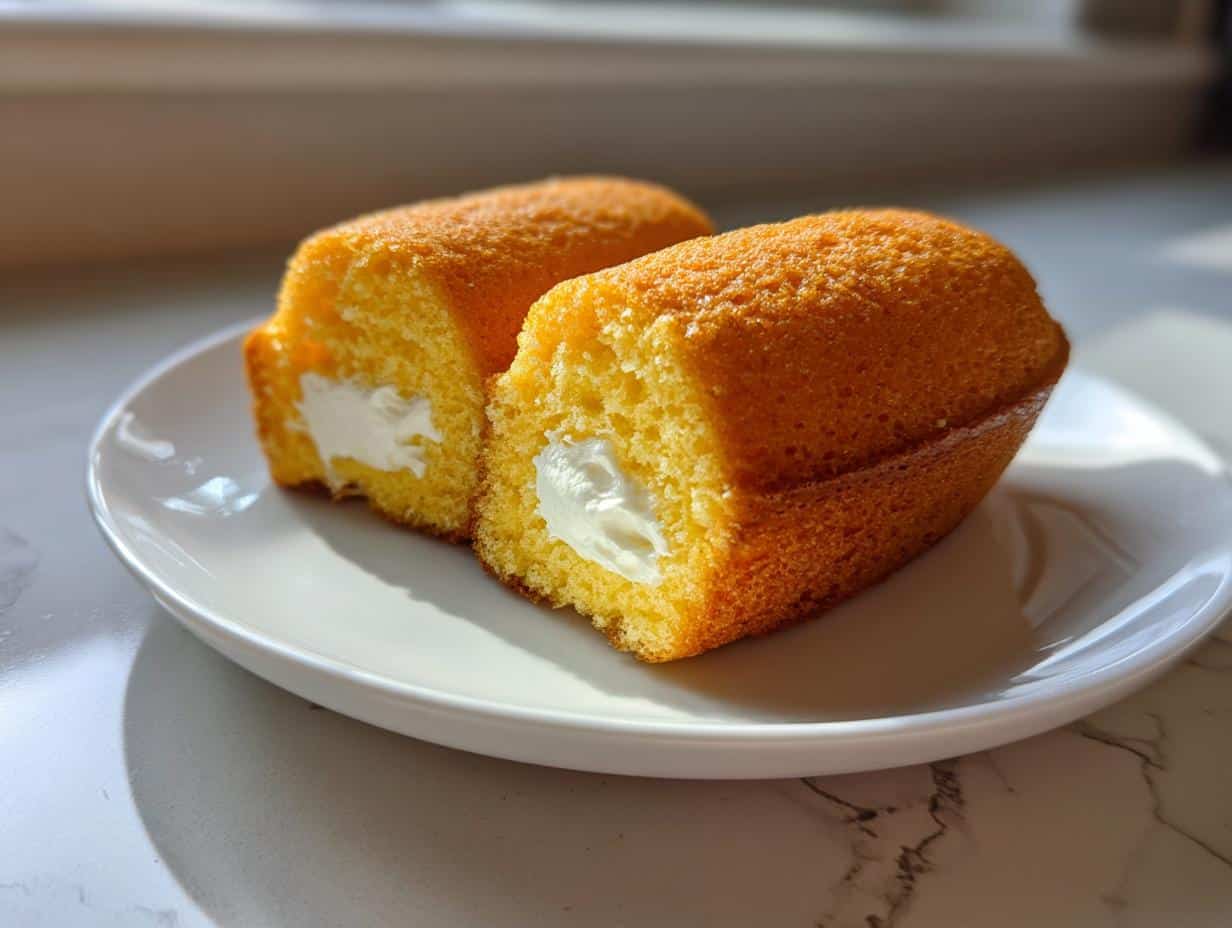
- Superior Taste and Texture: These are seriously light, fluffy, and have a filling that tastes like actual cream, not just sugar. You won’t go back!
Essential Ingredients for Perfect Homemade Twinkies
Alright, let’s talk ingredients! You don’t need anything fancy here, just good, honest kitchen staples. Think of it as assembling your dream team for the most glorious Homemade Twinkies you’ve ever tasted. Getting everything ready before you start mixing makes the whole process so much smoother – it’s a little ritual I swear by!
For the light and fluffy Sponge Cake:
- 1 ½ cups all-purpose flour (classic, can’t go wrong!)
- 1 ½ teaspoons baking powder (our little lift ticket for those airy cakes)
- ½ teaspoon salt (just a pinch to balance all that sweetness)
- ½ cup unsalted butter, softened (room temp makes all the difference!)
- 1 cup granulated sugar (for that golden sweetness)
- 2 large eggs (these give us structure and richness)
- 1 teaspoon vanilla extract (because what’s a good cake without vanilla?)
- ¾ cup milk (whole milk is my go-to for extra tenderness)
And for that dreamy, creamy Filling:
- 1 cup powdered sugar (gets that filling silky smooth!)
- ¼ cup unsalted butter, softened (again, room temp is key)
- 2 tablespoons milk (a little splash to get the consistency just right)
- ½ teaspoon vanilla extract (more vanilla, yes please!)
- Pinch of salt (it really makes the sweetness pop!)
See? Nothing scary there! Just simple, wonderful ingredients ready to be transformed.
Step-by-Step Guide to Making Homemade Twinkies
Okay, this is where the magic truly happens! Don’t let the idea of making Homemade Twinkies from scratch intimidate you. We’re going to break it down into super manageable steps, just like I do with all my unfussy recipes. Each part builds on the last, and before you know it, you’ll have a tray of golden, creamy perfection. Grab your apron, put on your favorite tunes, and let’s get baking!
Preparing the Golden Sponge Cake for Your Homemade Twinkies
First things first, preheat that oven to 350°F (175°C). Then, let’s get your pan ready. If you have a fancy Twinkie pan, amazing! Grease and flour each cavity really well. If you’re using a standard 9×13 inch baking pan (which is totally fine!), do the same – grease and flour it up. Next, in a medium bowl, whisk together your dry ingredients: the flour, baking powder, and salt. Set that aside. In a larger bowl, it’s time to cream that softened butter and granulated sugar until it’s light and fluffy. This is crucial for a tender cake! Beat in your eggs one at a time, then stir in that lovely vanilla extract. Now, gradually add your dry mixture to the wet, alternating with the milk. Remember, start and end with the dry ingredients. Mix until JUST combined, okay? Overmixing is the enemy of a light, fluffy sponge. Pour it into your prepared pan and bake for 20-25 minutes for Twinkie molds or 25-30 minutes for a 9×13 pan. A toothpick inserted into the center should come out clean. Let them cool in the pan for 10 minutes, then transfer to a wire rack to cool completely. Patience, my friend, is a virtue here!
Crafting the Creamy Filling for Homemade Twinkies
While your cakes are cooling, let’s get started on that irresistible, creamy filling – it’s really what makes a Twinkie a Twinkie! In a medium bowl, take your softened ¼ cup butter and the powdered sugar. Beat them together until they start to combine, then add in the 2 tablespoons of milk, ½ teaspoon vanilla extract, and that tiny pinch of salt. Now, beat it all until it’s wonderfully smooth and fluffy. You want it to be light enough to pipe, but still hold its shape. If it feels too stiff, add another tiny splash of milk. If it’s too runny, a little more powdered sugar can help. Trust your instincts here!
Assembling Your Delicious Homemade Twinkies
This is arguably the most fun part! Once your cakes are *completely* cool (seriously, don’t rush this, or your filling will melt!), grab a piping bag fitted with a long, thin tip. This is what you’ll use to inject that creamy goodness right into the center of each cake. If you used a specific Twinkie pan, you’ll usually poke 2-3 holes in the bottom or side and fill each one. If you opted for the 9×13 inch pan, you’ll want to cut your cakes into rectangular shapes first – this is where you can make them as big or small as you like! Then, poke a few holes evenly spaced and inject the filling. Don’t be shy with that cream. I mean, we’re making Homemade Twinkies, not homemade biscuits!
Tips for Success with Homemade Twinkies
So, you want to nail these Homemade Twinkies every single time? I got you! Over the years, I’ve learned a few little tricks that make all the difference between a good cake and an absolutely *amazing* cake. These aren’t just rules; they’re more like gentle nudges towards deliciousness!
- Room Temperature is Your Best Friend: Seriously, I can’t stress this enough for both the butter and eggs. If your butter is super cold, it won’t cream properly with the sugar, and you won’t get that light, airy texture. Cold eggs can also curdle your batter. So, plan ahead and let everything hang out on the counter for an hour or so before you start.
- Don’t Be a Mixer-Happy Baker: When you’re adding the dry ingredients and milk, mix *just* until everything is combined. A few streaks of flour are fine; you’ll mix them out when you pour the batter into the pan. Overmixing develops the gluten in the flour too much, leading to a tough, dry cake – and we definitely don’t want that for our delicate sponge!
- Know Your Oven: Ovens are like snowflakes; no two are exactly alike! Your baking time might be a minute or two different from mine. Keep an eye on the cakes, and when a toothpick comes out clean from the center, they’re typically done. Don’t be afraid to pull them a tiny bit early if you’re worried about overbaking. A slightly underbaked cake is usually better than an overbaked one!
- My Personal Tip: I always tap my pan lightly on the counter a couple of times before putting it in the oven. It helps release any big air bubbles and ensures a more even bake. It’s a small thing, but it makes me feel like I’m giving my cakes the best start! This also works wonders for my chocolate chip cookies too. Seriously, try it!
Storing and Reheating Your Homemade Twinkies
So, you’ve made a batch of these glorious Homemade Twinkies, and you actually have leftovers? First, I’m impressed! Second, let’s talk about keeping them fresh so every bite is just as delightful as the first. For short-term storage, popping them into an airtight container on the counter is usually fine for a day or two. But honestly, to keep that filling perfect and the cake moist, I prefer to keep them in the fridge. They’ll last beautifully for about 3-4 days that way. If you really want to plan ahead, you can freeze them individually on a baking sheet, then transfer them to an airtight freezer bag. They’ll keep for up to a month! Just thaw them in the fridge or at room temperature; no reheating needed, they’re perfect straight from cool.
Frequently Asked Questions About Homemade Twinkies
I know you probably have a few burning questions about whipping up these glorious Homemade Twinkies, and I’m here to help! It’s totally normal to wonder about the little details when you’re tackling a classic. Here are some of the things folks often ask me:
Can I make these Homemade Twinkies without a special pan?
Absolutely, yes! While a dedicated Twinkie pan is fun, it’s not a deal-breaker. You can totally bake this cake in a regular 9×13 inch baking pan. Once it’s cooled, you can just cut it into rectangles and then fill them. So don’t let a special pan stand between you and your homemade goodness!
What are the best substitutions for the cream filling in Homemade Twinkies?
Oh, this is where you can get creative! While my recipe gives you that classic creamy dream, you could totally play around. A marshmallow-based filling would be super fun and give it an extra bouncy texture. Or, if you want to switch up the flavor, try adding almond extract instead of vanilla, or even a little lemon zest for a bright twist. You could even do a fruity cream cheese variant, similar to how I sometimes tweak my cottage cheese ice cream for different occasions!
How long do Homemade Twinkies last?
If you manage not to gobble them all up in one sitting (which is a challenge, trust me!), your Homemade Twinkies will stay fresh in an airtight container in the fridge for about 3-4 days. If you freeze them, they’ll be good for up to a month!
Estimated Nutritional Information for Homemade Twinkies
Just a quick heads-up about the nutritional info for these Homemade Twinkies: a lot of factors can change things up, like the exact brands you use or how big you cut your pieces. So, while we’re going for accuracy, please remember that any numbers you see are just estimates! It’s all about enjoying the process and the delicious end result, right?
Share Your Homemade Twinkies Experience
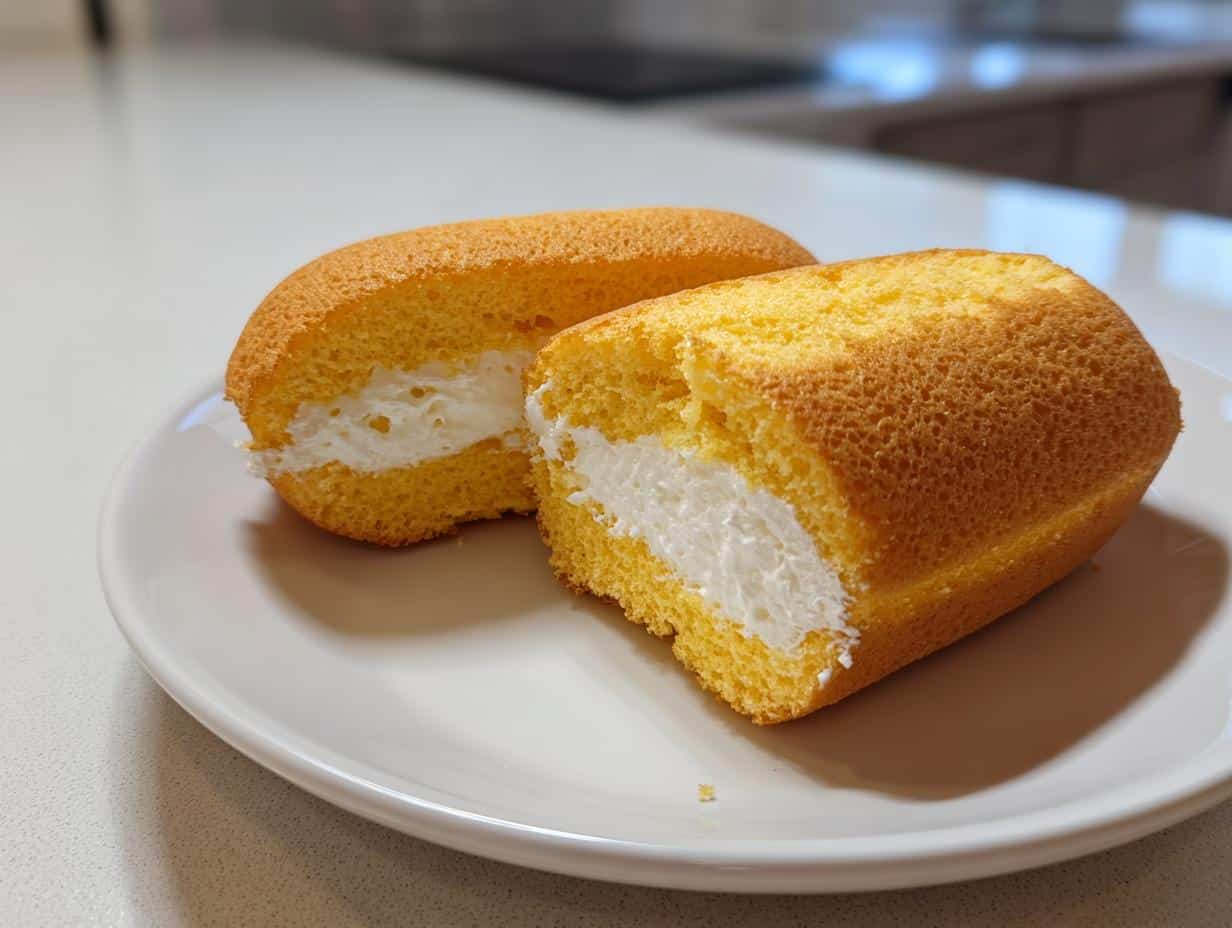
Well, there you have it, folks! My very own little slice of childhood nostalgia, reborn right in your kitchen. I truly hope you love making these Homemade Twinkies as much as I do. Now that you’ve got the recipe, I’d absolutely LOVE to hear from you! Did you try any fun variations with the filling? Any amazing tips you discovered during your baking adventure? Drop a comment below, share your photos, or just tell me how much you adored that first bite. Your insights make this little cooking community so much better!
Print
Homemade Twinkies
- Total Time: 55 min
- Yield: 12 Twinkies 1x
- Diet: Vegetarian
Description
Make classic golden sponge cakes with creamy filling at home. This recipe guides you through baking the light cakes and preparing the sweet, fluffy cream.
Ingredients
- 1 ½ cups all-purpose flour
- 1 ½ teaspoons baking powder
- ½ teaspoon salt
- ½ cup unsalted butter, softened
- 1 cup granulated sugar
- 2 large eggs
- 1 teaspoon vanilla extract
- ¾ cup milk
- 1 cup powdered sugar
- ¼ cup unsalted butter, softened
- 2 tablespoons milk
- ½ teaspoon vanilla extract
- Pinch of salt
Instructions
- Preheat oven to 350°F (175°C). Grease and flour a Twinkie pan or a 9×13 inch baking pan.
- In a medium bowl, whisk together flour, baking powder, and salt.
- In a large bowl, cream together ½ cup butter and granulated sugar until light and fluffy.
- Beat in eggs one at a time, then stir in 1 teaspoon vanilla extract.
- Gradually add dry ingredients to wet ingredients, alternating with ¾ cup milk, beginning and ending with dry ingredients. Mix until just combined.
- Pour batter into prepared pan. Bake for 20-25 minutes for Twinkie pan or 25-30 minutes for 9×13 inch pan, or until a toothpick inserted into the center comes out clean.
- Let cakes cool in the pan for 10 minutes, then transfer to a wire rack to cool completely.
- For the filling, in a medium bowl, beat together powdered sugar, ¼ cup butter, 2 tablespoons milk, ½ teaspoon vanilla extract, and a pinch of salt until smooth and fluffy.
- Once cakes are cool, use a piping bag with a long, thin tip to inject the cream filling into the center of each cake. If using a 9×13 inch pan, cut cakes into desired shapes before filling.
- Serve immediately or store in an airtight container.
Notes
- Ensure all ingredients are at room temperature for best results.
- Do not overmix the batter; mix until just combined to keep the cakes light.
- For a richer flavor, use whole milk in both the cake and the filling.
- Prep Time: 30 min
- Cook Time: 25 min
- Category: Dessert
- Method: Baking
- Cuisine: American
Nutrition
- Serving Size: 1 Twinkie
- Calories: 250
- Sugar: 25g
- Sodium: 180mg
- Fat: 12g
- Saturated Fat: 7g
- Unsaturated Fat: 4g
- Trans Fat: 0g
- Carbohydrates: 35g
- Fiber: 0g
- Protein: 3g
- Cholesterol: 50mg