 Skip to content
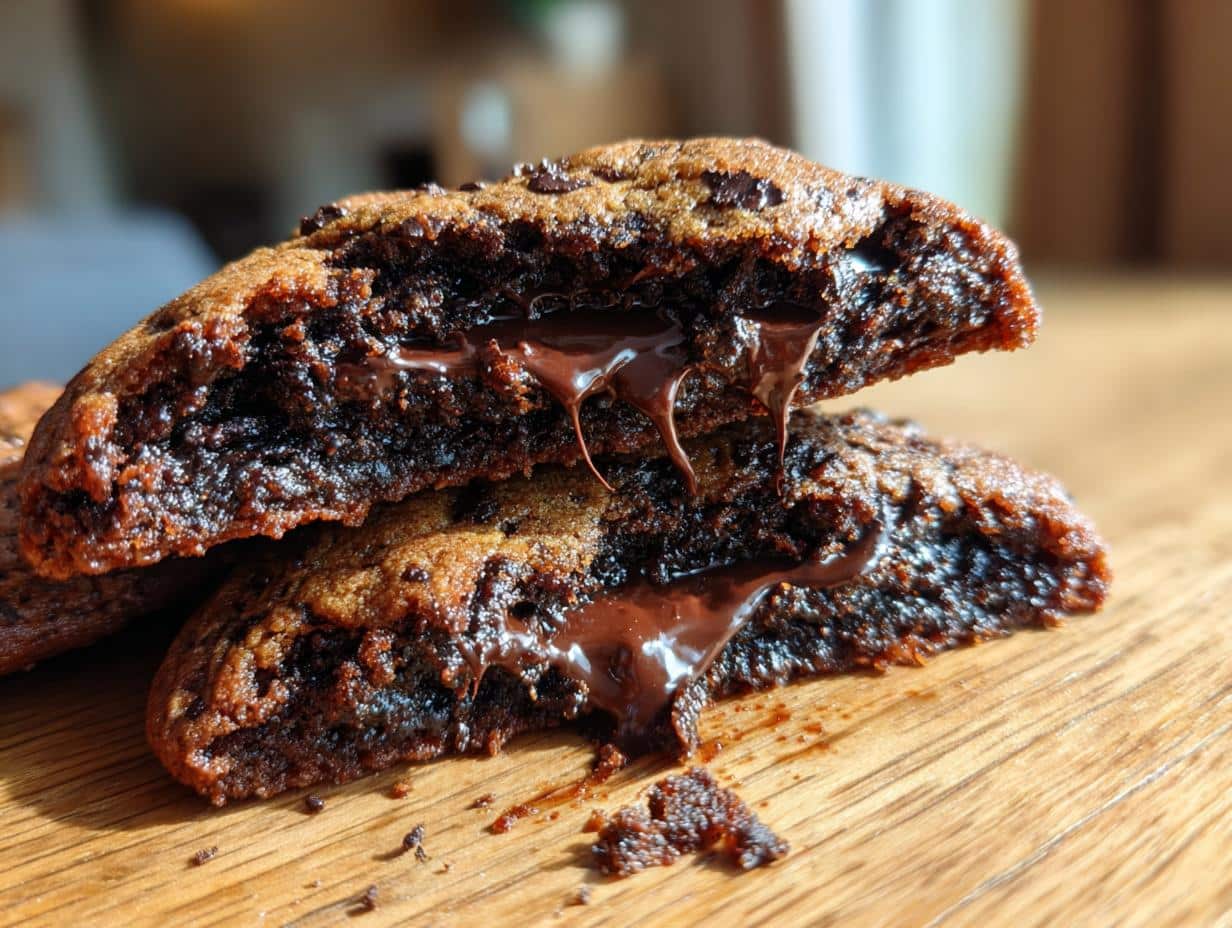
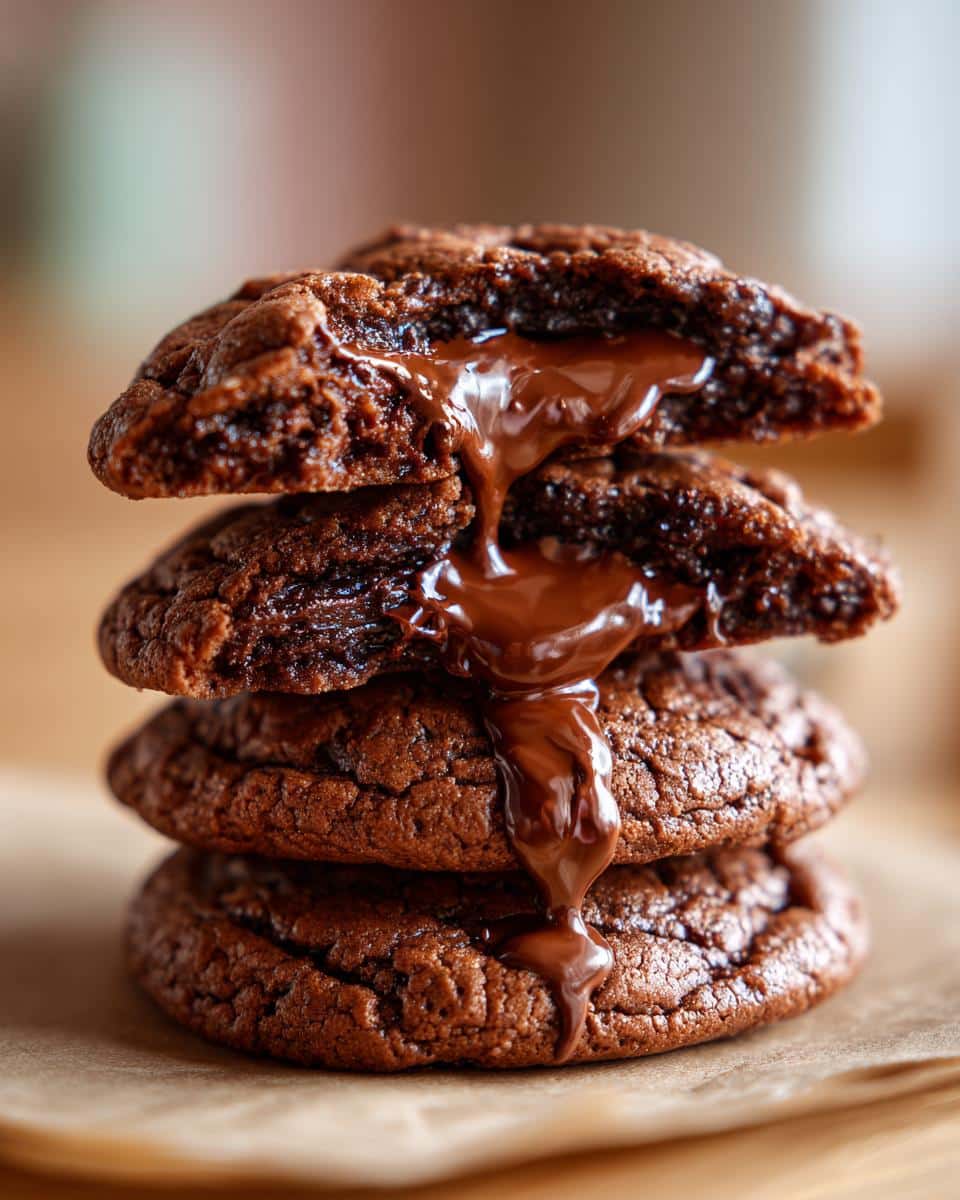
Okay, get ready to drool because we’re diving headfirst into the most decadent, warm, and gooey treat imaginable: lava cookies! These aren’t just any cookies, trust me. They’re like tiny edible volcanoes erupting with molten chocolate goodness! I stumbled upon this easy lava cookies recipe years ago when I was craving something intensely chocolatey but didn’t want to spend hours in the kitchen. And wow, what a discovery! These homemade lava cookies have become my go-to comfort food. Seriously, there’s nothing quite like biting into one of these babies warm from the oven, chocolate oozing everywhere. Plus, they’re so simple even I, a self-proclaimed chaotic baker, can whip them up! It’s the ultimate cozy lava cookies recipe; you will absolutely love it.
Why You’ll Love These Lava Cookies
Okay, so why should you bother making these lava cookies? Lemme tell ya, they’re:
- Quick to make: Seriously, from craving to cookie in under 30 minutes!
- Intensely chocolatey: We’re talkin’ serious cocoa POW!
- Perfect for a cozy night in: Imagine snuggling up with a warm cookie and a good book. Bliss!
- Impressive dessert: Want to wow your friends? These look super fancy but are secretly easy.
- Customizable: Throw in some nuts, different chocolate chips… go wild!
Ingredients for the Best Lava Cookies
Alright, let’s gather our goodies! Here’s what you’ll need to whip up these dreamy lava cookies. Don’t skimp on the chocolate – it’s kinda the whole point!
- 1/2 cup unsalted butter, softened (Gotta be soft, not melted!)
- 1/2 cup granulated sugar (For that perfect sweetness, ya know?)
- 1/4 cup packed brown sugar (Adds a little something *special*)
- 1 large egg (Just one! Easy peasy.)
- 1 teaspoon vanilla extract (The secret weapon for all things delicious)
- 1 1/4 cups all-purpose flour (Keeps it all together)
- 1/4 cup unsweetened cocoa powder (Hello, chocolate!)
- 1/2 teaspoon baking soda (Gives ’em a little lift)
- 1/4 teaspoon salt (Balances the sweetness, promise!)
- 1 cup chocolate chips (The lava, duh!)
How to Make Lava Cookies: Step-by-Step
Okay, cookie-makers, listen up! This is where the magic happens. Follow these steps, and you’ll be biting into a gooey lava cookie in no time. Don’t worry, it’s easier than it looks!
- Preheat your oven to 375°F (190°C). This is important! You want that oven nice and hot so the cookies bake properly. Trust me, a cold oven is NO BUENO.
- In a bowl, cream together the butter, granulated sugar, and brown sugar. Get in there with a mixer (or a strong arm and a spoon!) and beat until it’s light and fluffy. This usually takes a few minutes. You’ll know it’s ready when it looks kinda like whipped cream.
- Beat in the egg and vanilla extract. Mix ’em in until everything’s well combined. Don’t overmix, though! Just until it’s all smooth.
- In a separate bowl, whisk together the flour, cocoa powder, baking soda, and salt. Whisking is key here! It helps get rid of any lumps and makes sure everything’s evenly distributed.
- Gradually add the dry ingredients to the wet ingredients, mixing until just combined. Now, this is important: add the dry stuff a little bit at a time. Mix until *just* combined. Don’t overmix! Overmixing leads to tough cookies, and nobody wants that. A few streaks of flour are okay!
- Stir in the chocolate chips. Fold ’em in gently. You can use any kind you like – milk chocolate, dark chocolate, semi-sweet… Get creative!
- Drop rounded tablespoons of dough onto a baking sheet. I like to use a cookie scoop for this, but a spoon works just fine, too. Just make sure they’re roughly the same size so they bake evenly.
- Bake for 8-10 minutes, or until the edges are set but the centers are still soft. This is the trickiest part. You want the edges to be golden brown, but the centers should still look a little gooey. They’ll continue to bake a bit as they cool, so don’t overbake them!
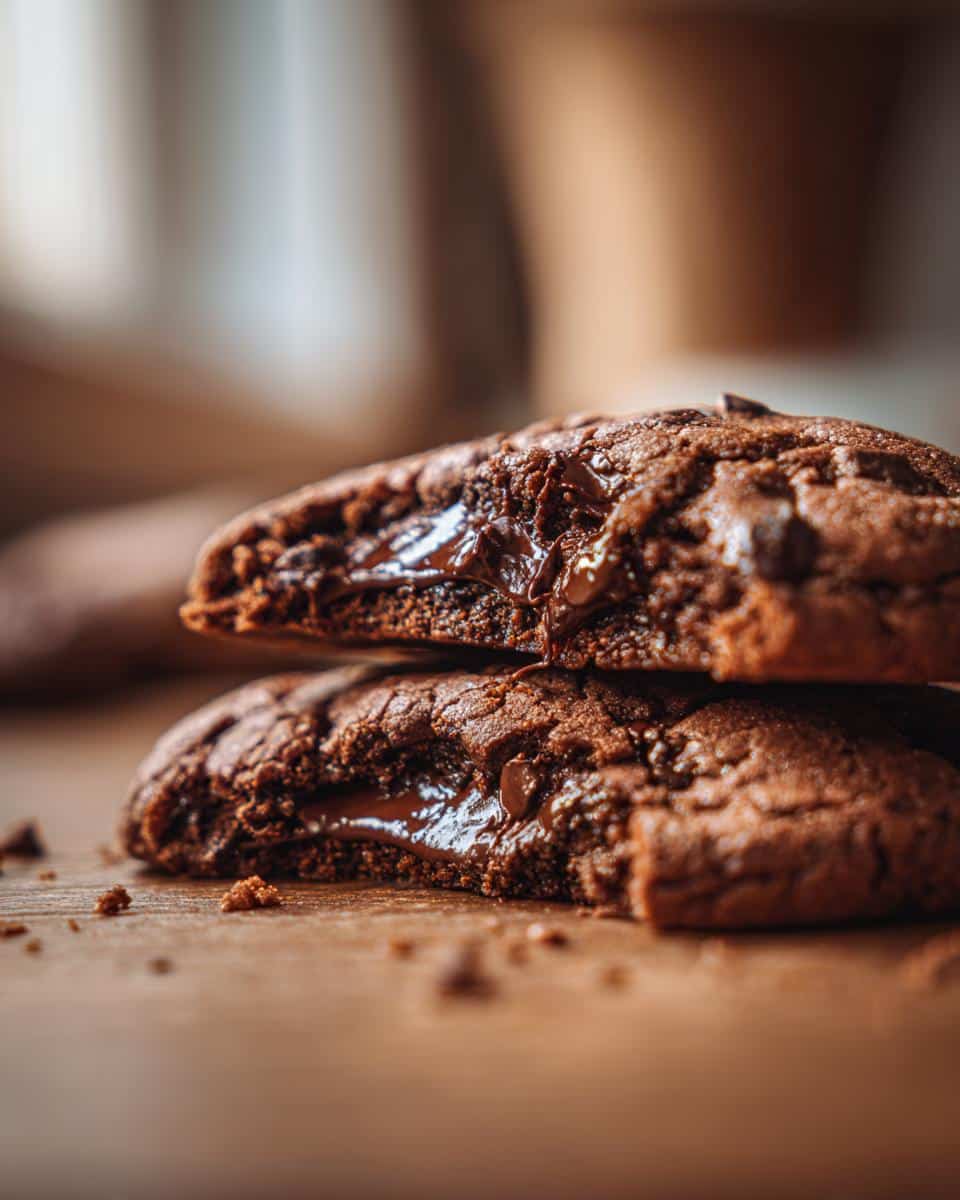
- Let cool slightly before serving. I KNOW, it’s tempting to dig in right away, but trust me on this one. Let them cool for a few minutes so they don’t completely fall apart when you try to eat them. But definitely serve them warm – that’s when they’re at their best!
And that’s it! You’ve made lava cookies! Now grab a glass of milk and enjoy your ooey-gooey masterpiece!

Tips for Perfect Homemade Lava Cookies
Want to take your lava cookies from “good” to “OMG AMAZING”? Here are a few of my tried-and-true tips! And trust me, after accidentally setting off the smoke alarm a few times (oops!), I’ve learned a thing or two.
- Oven temperature is KEY: Make sure your oven is *actually* at 375°F (190°C). Ovens can be sneaky liars! An oven thermometer is your best friend here.
- Chill out (the dough, that is!): If your dough is too soft, pop it in the fridge for 15-20 minutes before baking. This helps prevent the cookies from spreading too thin.
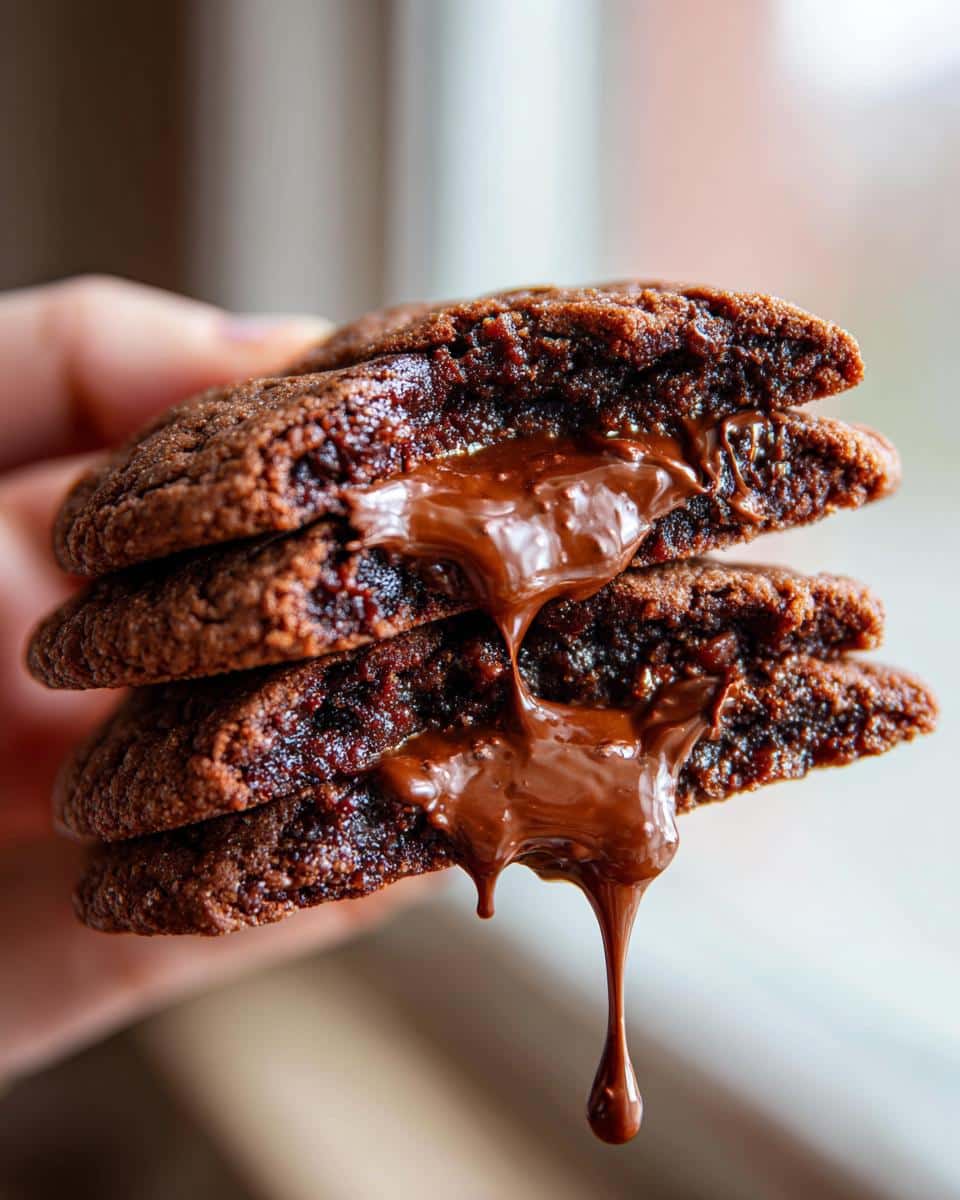
- Gooey center, guaranteed: Don’t overbake! The centers should still look a little soft when you take them out. They’ll firm up as they cool, leaving you with that perfect lava effect.
Ingredient Substitutions for Your Lava Cookies
Okay, so maybe you’re out of something, or maybe you’ve got dietary needs! No worries, we can still make amazing lava cookies! Here are a few swaps that work like a charm.
- Gluten-free flour: Use a 1:1 gluten-free baking flour blend. I’ve had good luck with Bob’s Red Mill!
- Sugar substitutes: You can swap the granulated sugar for your favorite sugar substitute. Just follow the package directions for equivalent sweetness.
- Different chocolate chips: Semi-sweet, dark chocolate, white chocolate… go wild! Even peanut butter chips would be amazing! My favorite part is experimenting.
FAQ About Making Lava Cookies
Got questions about these lava cookies? I got answers! Here are a few things folks often ask, so you can bake with confidence.
Why aren’t my lava cookies gooey in the middle?
Ah, the age-old question! It’s usually one of two things: either you overbaked them (those centers need to look *slightly* soft!), or your oven temperature was too high, which caused them to cook too quickly. Try lowering the temp a tad and shortening the baking time for your next batch of these easy lava cookies.
Can I make the dough ahead of time?
Totally! Homemade lava cookies dough can be stored in the fridge for up to 2 days. Just wrap it tightly in plastic wrap. You might need to let it sit at room temperature for a few minutes before scooping and baking since the simple lava cookies dough will firm up.
Can I freeze these lava cookies?
Freeze baked Pinterest trending lava cookies? Yep! Let them cool completely, then wrap them individually in plastic wrap and store them in a freezer-safe bag or container. They’ll keep for up to 2 months. To reheat, just pop them in a warm oven or microwave until heated and gooey, of course. To ensure freshness, you can also freeze the dough and then bake them whenever you have guests!
Can I use different types of chocolate chips?
Absolutely! Get creative with your chocolate! Milk chocolate, dark chocolate, white chocolate, even peanut butter chips would be delicious in these cozy lava cookies. Experiment and find your perfect combo!
Storage and Reheating Your Lava Cookies
Okay, so you’ve made these outta-sight lava cookies… and somehow, *somehow*, you have leftovers? First of all, I’m impressed! Here’s how to keep ’em fresh (and gooey!).
- Storage: Store cooled cookies in an airtight container at room temperature for up to 3 days. If you live somewhere hot, sticking ’em in the fridge is a good idea.
- Reheating: For that just-baked gooiness: microwave for 10-15 seconds (careful, they get HOT!). Or, warm them in a 300°F (150°C) oven for a few minutes. That’s my personal preference!
Disclaimer About Nutritional Information for Lava Cookies
Just a heads-up: the nutrition info for these lava cookies is just an estimate! It can change depending on the brands and exactly what you throw in there. So, don’t take it as gospel!
Enjoyed This Lava Cookies Recipe? Leave a Comment!
Hey, if you loved these lava cookies as much as I do, let me know! Leave a comment below, rate the recipe, and share it with your friends! Happy baking!
Print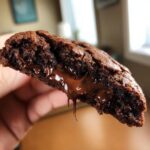
Lava Cookies
- Total Time: 25 min
- Yield: 12 cookies 1x
- Diet: Vegetarian
Description
Make these warm, gooey lava cookies for a comforting treat.
Ingredients
- 1/2 cup unsalted butter, softened
- 1/2 cup granulated sugar
- 1/4 cup packed brown sugar
- 1 large egg
- 1 teaspoon vanilla extract
- 1 1/4 cups all-purpose flour
- 1/4 cup unsweetened cocoa powder
- 1/2 teaspoon baking soda
- 1/4 teaspoon salt
- 1 cup chocolate chips
Instructions
- Preheat your oven to 375°F (190°C).
- In a bowl, cream together the butter, granulated sugar, and brown sugar.
- Beat in the egg and vanilla extract.
- In a separate bowl, whisk together the flour, cocoa powder, baking soda, and salt.
- Gradually add the dry ingredients to the wet ingredients, mixing until just combined.
- Stir in the chocolate chips.
- Drop rounded tablespoons of dough onto a baking sheet.
- Bake for 8-10 minutes, or until the edges are set but the centers are still soft.
- Let cool slightly before serving.
Notes
- For a richer flavor, use dark chocolate chips.
- You can add a pinch of sea salt on top after baking.
- Prep Time: 15 min
- Cook Time: 10 min
- Category: Dessert
- Method: Baking
- Cuisine: American
Nutrition
- Serving Size: 1 cookie
- Calories: 180
- Sugar: 15g
- Sodium: 75mg
- Fat: 9g
- Saturated Fat: 5g
- Unsaturated Fat: 3g
- Trans Fat: 0g
- Carbohydrates: 24g
- Fiber: 1g
- Protein: 2g
- Cholesterol: 30mg