
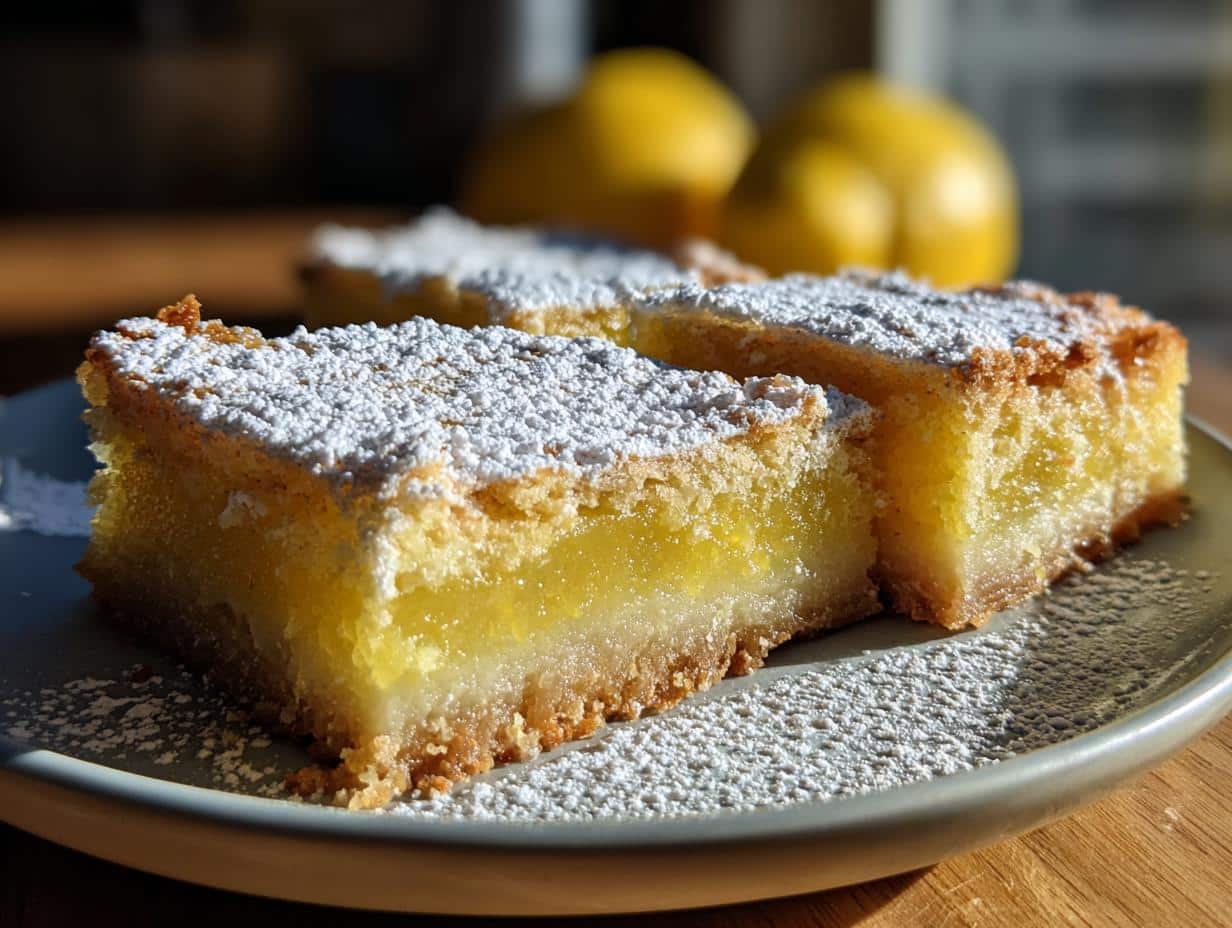
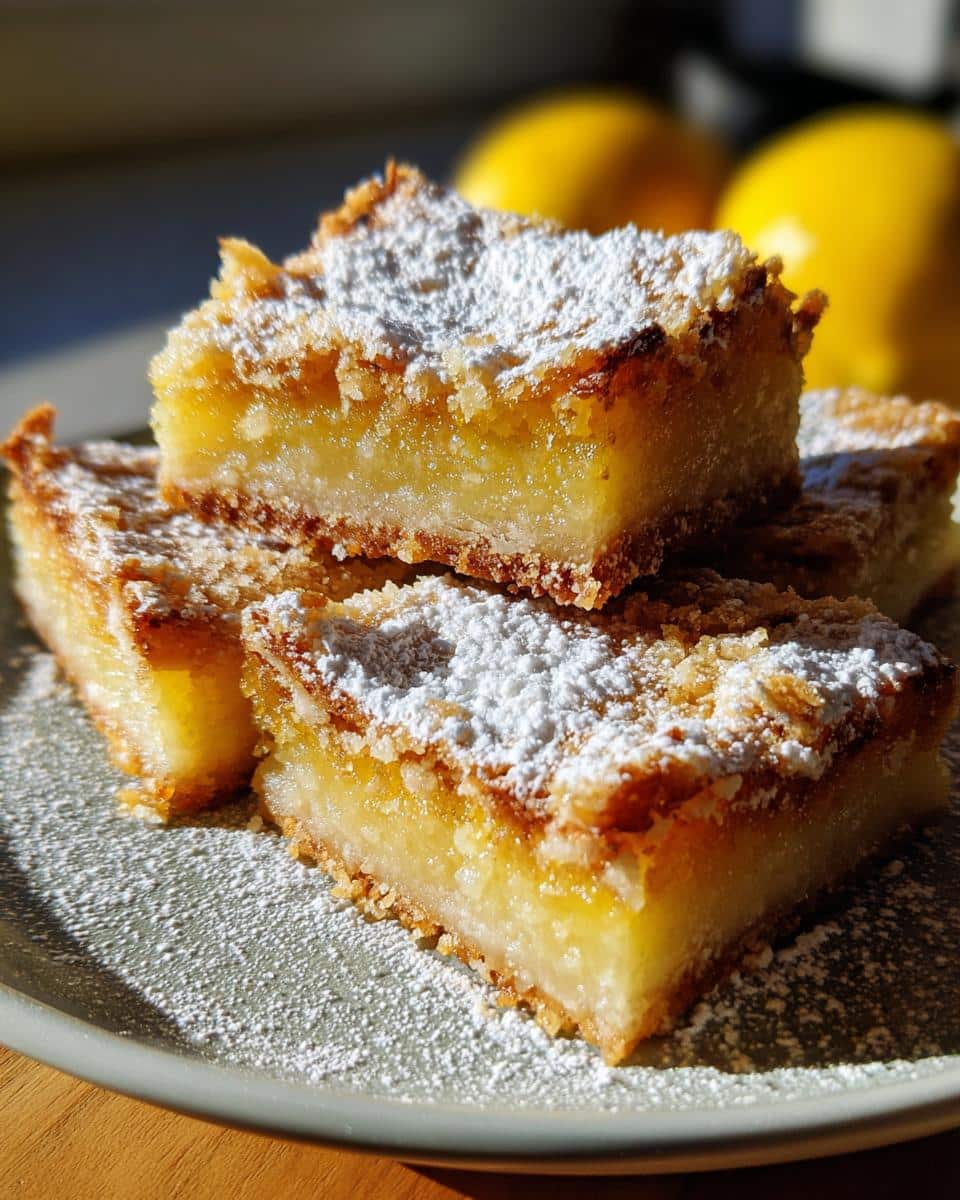
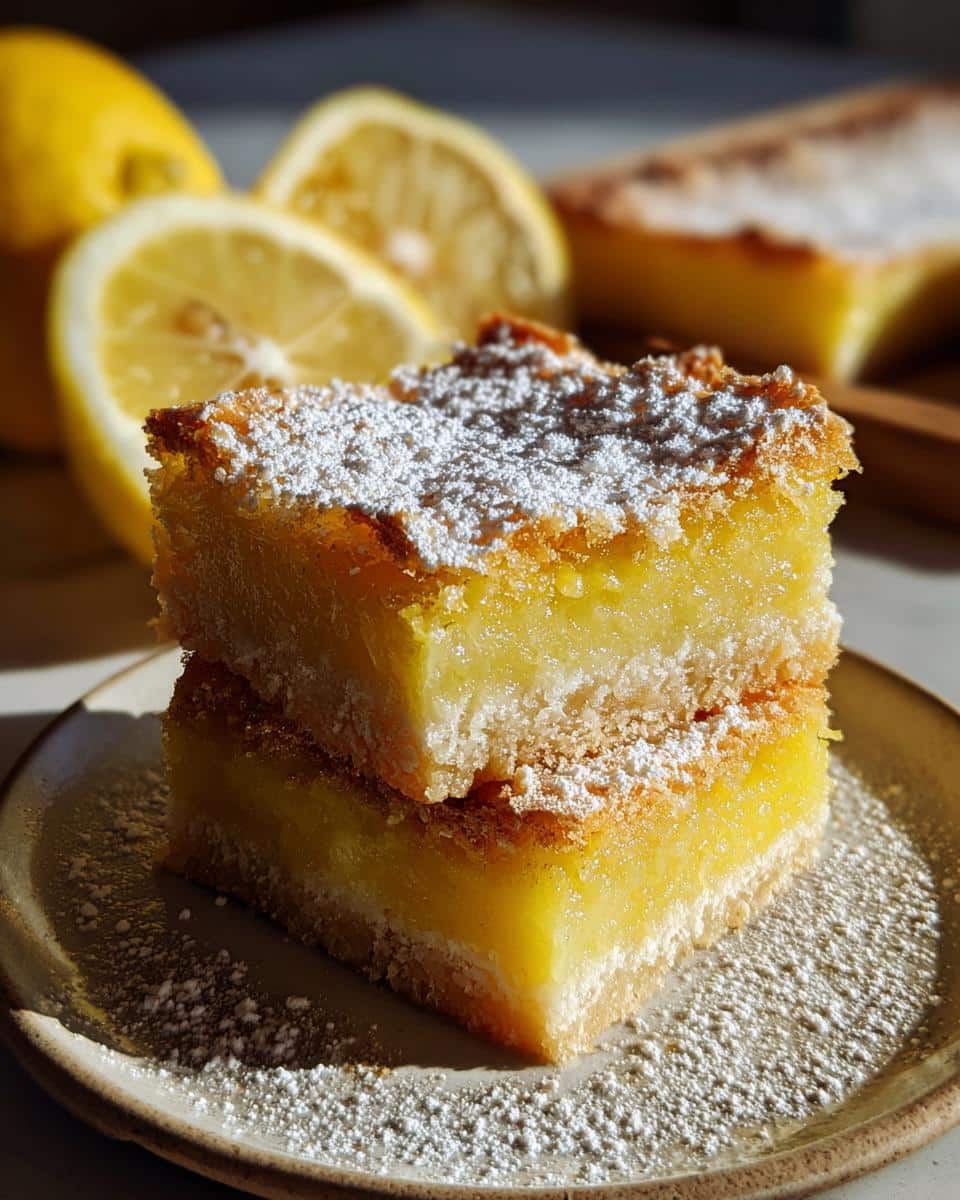
There’s just something magical about making lemon bars in a 9×13 pan, don’t you think? These vibrant, sunshiny treats are always welcome at gatherings and celebrations, instantly brightening up any dessert table. Whenever I whip up a batch, I can’t help but be reminded of a family picnic last summer. I brought these lemon bars, and they disappeared in minutes! The combination of the buttery crust and the tart lemon filling had everyone buzzing with delight. Plus, they’re so easy to prepare—perfect for when you need a crowd-pleaser that’s quick to throw together. You really can’t go wrong with homemade lemon bars. They’re nostalgic, refreshing, and just a slice (or two!) of happiness. I love how this recipe allows for generous portions, meaning there’s plenty to go around. Trust me, once you try these lemon bars in a 9×13 pan, they’ll become a go-to for every occasion!
Ingredients for Lemon Bars in a 9×13 Pan
Making these lemon bars is as simple as gathering a few key ingredients! Here’s what you’ll need:
- For the crust:
- 1 cup (2 sticks) unsalted butter, softened
- 1/2 cup powdered sugar
- 2 cups all-purpose flour
- For the filling:
- 4 large eggs
- 2 cups granulated sugar
- 1/3 cup all-purpose flour
- 2/3 cup fresh lemon juice
- For finishing:
- Powdered sugar, for dusting
These straightforward ingredients come together to create a delightful treat that’s sure to impress. You’ll love how the tartness of the lemon and the sweetness of the crust balance beautifully!
How to Prepare Lemon Bars in a 9×13 Pan
Now, let’s dive into the delightful process of making these lemon bars in a 9×13 pan! It’s easier than you might think, and I promise, the result is absolutely scrumptious. Here’s how to get started:
- Preheat your oven: Start by preheating your oven to 350°F (175°C). This step is crucial, as it ensures your crust gets that lovely golden color.
- Cream the butter and sugar: In a large mixing bowl, cream together the softened butter and 1/2 cup of powdered sugar. Use a hand mixer or a good old-fashioned wooden spoon until it’s light and fluffy—about 3 minutes should do the trick.
- Mix in the flour: Gradually add the 2 cups of all-purpose flour. Mix until everything is just combined. You want a soft dough that holds together well.
- Press the crust: Take that buttery dough and press it evenly into the bottom of your prepared 9×13 pan. Make sure it’s well-packed for a sturdy base. Bake this crust for 20 minutes, or until it’s slightly golden.
- Prepare the filling: While the crust is baking, whisk together 4 large eggs and 2 cups of granulated sugar in a separate bowl. Add in the 1/3 cup of flour and 2/3 cup of fresh lemon juice. Mix well until it’s smooth and bubbly—this is where the magic happens!
- Pour over the crust: Once the crust is finished baking, carefully pour the lemon filling over it. Spread it out gently to make sure every bite is filled with that luscious lemon flavor.
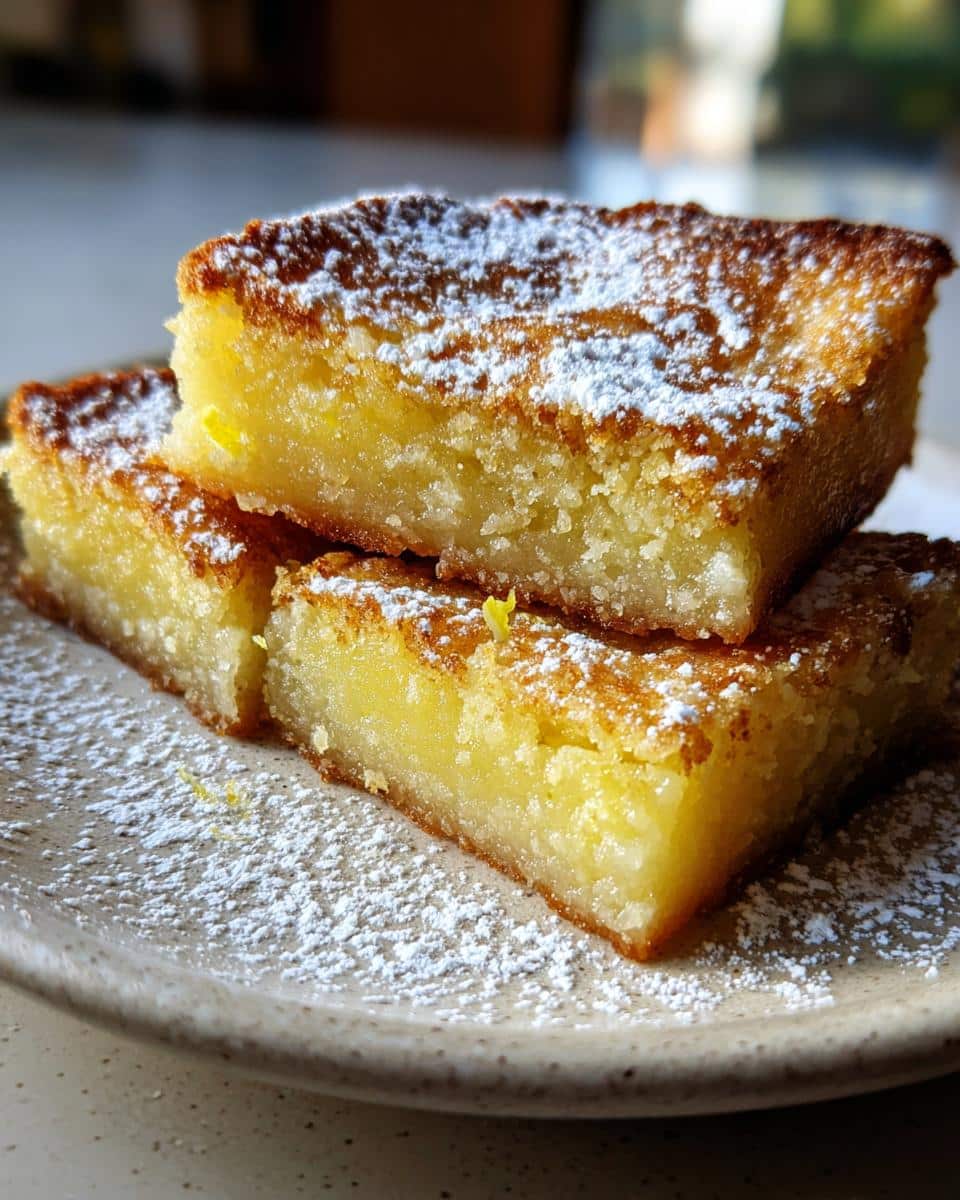
- Bake again: Return the pan to the oven and bake for another 25 minutes. You’ll know it’s ready when the filling is set and just slightly jiggles in the center.
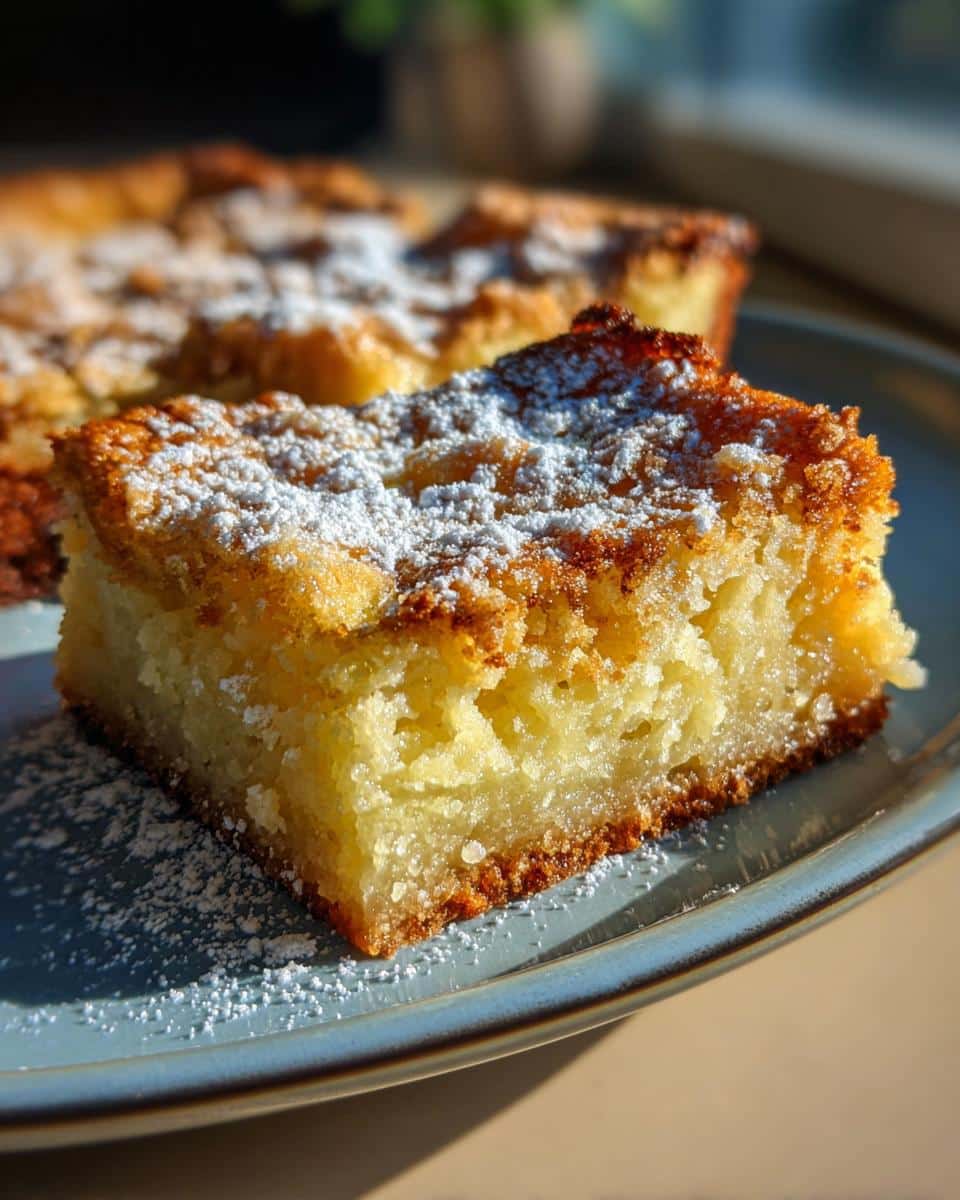
- Cool and dust: Let your lemon bars cool completely in the pan. Once they’re cool, dust the top generously with powdered sugar. Cut them into squares or rectangles as you like!
And there you have it—perfect lemon bars that are easy, quick, and oh-so-delicious! I can’t wait for you to try this out. You’ll love how bright and refreshing they are!
Why You’ll Love This Recipe
This lemon bars recipe is one you’ll want to keep handy for all your gatherings and celebrations. Here’s why:
- Easy preparation: With simple steps and straightforward ingredients, these lemon bars come together in no time!
- Crowd-pleasing flavor: The perfect blend of tart lemon and sweet buttery crust is always a hit. Trust me, they won’t last long!
- Generously portioned: The 9×13 pan ensures there’s plenty to share with friends and family.
- Seasonal delight: Whether it’s springtime picnics or summer potlucks, these lemon bars fit right in with any occasion.
Make these homemade lemon bars your go-to dessert, and watch them become a staple in your kitchen, too!
Tips for Success with Lemon Bars in a 9×13 Pan
Let’s talk about how to make your lemon bars truly shine! I’ve gathered some tried-and-true tips that ensure every batch is a delightful success. Follow these, and you’ll be the star of any gathering!
Perfecting the crust texture
When it comes to the crust, you want it to be sturdy yet buttery. Make sure you press the dough firmly into the pan for an even base. The key is to bake it just until it’s a light golden color—this signals the perfect pre-bake for a deliciously crisp crust that cradles the filling without getting soggy.
A smooth filling consistency
For a luscious filling, whisk your eggs and sugar together until they’re well combined and bubbly before adding the flour and lemon juice. This helps create that lovely, creamy texture we all love. Also, straining the lemon juice can help eliminate any seeds or pulp, making for a perfectly smooth filling.
How to store your lemon bars
After you’ve made these scrumptious lemon bars, let them cool completely in the pan. To keep them fresh, store them in an airtight container in the refrigerator. They can last for about a week—if they last that long! And trust me, the flavors only get better as they chill!
Nutritional Information for Lemon Bars in a 9×13 Pan
When indulging in these delightful lemon bars, it’s good to know a bit about their nutritional content! Each lemon bar, serving up a sweet and tangy burst of flavor, contains approximately:
- Calories: 180
- Fat: 8g
- Saturated Fat: 5g
- Protein: 2g
- Carbohydrates: 25g
- Sugar: 20g
- Sodium: 50mg
- Cholesterol: 45mg
Keep in mind that these values are estimates and can vary based on the specific ingredients you use. But they give you a good idea of what you’re enjoying when you treat yourself to these homemade lemon bars!
Frequently Asked Questions About Lemon Bars in a 9×13 Pan
If you’re looking for more insight into making the best lemon bars in a 9×13 pan, I’ve got you covered with some common questions that pop up! Let’s dive in:
What makes this lemon bars recipe so easy?
This lemon bars recipe is designed for simplicity! With straightforward ingredients and clear steps, you’ll find it’s quick to whip up, even if you’re a beginner. The straightforward process makes it easy to achieve that perfect balance of tart and sweet in no time!
Can I use bottled lemon juice instead of fresh?
While fresh lemon juice is always my first choice for that vibrant flavor, you can use bottled juice if you’re in a pinch. Just keep in mind that fresh juice brings a brightness you might miss. If you can, opt for the real deal!
How do I know when my lemon bars are perfectly set?
Perfectly set lemon bars will slightly jiggle when you shake the pan but shouldn’t appear watery. They continue to set as they cool, so don’t worry if they feel a little soft right out of the oven. Just let them chill, and they’ll firm up beautifully!
Can I make lemon bars in advance for a gathering?
Absolutely! In fact, I often recommend making them a day ahead. The flavors deepen as they sit, and chilling them overnight makes for a refreshing treat. Just give them a dusting of powdered sugar right before serving to keep them looking fresh!
Serving Suggestions for Lemon Bars in a 9×13 Pan
Now that you’ve whipped up these delightful lemon bars, let’s talk about serving them up in style! They’re delicious on their own, but a few simple additions can take them to the next level!
Pair with whipped cream
Picture this: a light, fluffy dollop of whipped cream on top of each lemon bar. The creaminess complements the tartness of the bars beautifully, creating a luscious contrast that is utterly irresistible!
Fresh berries add a pop of color
Fresh berries, like strawberries or blueberries, not only enhance the visual appeal but also introduce a fruity burst that pairs perfectly with lemon flavor. Just scatter a handful around the bars for a vibrant, festive touch!
Best served with a scoop of ice cream
If you’re feeling indulgent, try adding a scoop of vanilla or lemon ice cream alongside! The cold, creamy goodness melts into the warm, tangy bars, creating a heavenly combination that everyone will love.
With these serving ideas, you can’t go wrong! Enjoy experimenting and see what becomes your new favorite way to enjoy those homemade lemon bars!
For another zesty treat, check out my soft chewy lemon cookies!
Storage & Reheating Instructions for Lemon Bars in a 9×13 Pan
Storing your delicious lemon bars properly is key to keeping them fresh and tasty! Once your lemon bars have cooled completely, it’s best to cut them into squares or rectangles for easy serving. Place them in an airtight container, separating layers with parchment paper to avoid sticking. These delightful treats can be stored in the refrigerator for about a week. Trust me, they’ll still taste amazing!
If you find yourself wanting to enjoy them warm (and who wouldn’t?), a quick reheating tip is to place a few bars on a microwave-safe plate, cover with a damp paper towel, and heat them for about 10-15 seconds. This keeps the crust nice and soft while warming the luscious lemon filling. Just be careful not to overheat them, or you could end up with a bit of a rubbery texture!
Variations of Lemon Bars in a 9×13 Pan
If you’re looking to mix things up with your lemon bars, I’ve got some delicious ideas that add a fun twist to the classic recipe! Try incorporating different fruit flavors by adding pureed strawberries or blueberries to the filling. Just fold in about a cup of your favorite fruit puree with the lemon juice for a pop of color and flavor!
Another great option is to experiment with sweeteners. If you’re aiming for a healthier version, consider swapping out granulated sugar for coconut sugar or a natural sweetener like honey or maple syrup. Just remember, the consistency may change slightly, so keep an eye on the baking time.
With these variations, you can keep your lemon bars fresh and exciting for every occasion! Enjoy experimenting!
Print
Lemon Bars for a 9×13 Pan
- Total Time: 65 min
- Yield: 24 servings 1x
- Diet: Vegetarian
Description
Make these classic lemon bars in a 9×13 inch pan. They are easy to prepare and perfect for gatherings.
Ingredients
- 1 cup (2 sticks) unsalted butter, softened
- 1/2 cup powdered sugar
- 2 cups all-purpose flour
- 4 large eggs
- 2 cups granulated sugar
- 1/3 cup all-purpose flour
- 2/3 cup lemon juice
- Powdered sugar, for dusting
Instructions
- Preheat oven to 350°F (175°C).
- In a bowl, cream together butter and 1/2 cup powdered sugar.
- Gradually add 2 cups flour until combined.
- Press mixture into the bottom of a 9×13 inch pan.
- Bake for 20 minutes.
- In another bowl, whisk together eggs and granulated sugar.
- Add 1/3 cup flour and lemon juice; mix well.
- Pour over the baked crust.
- Bake for an additional 25 minutes, or until set.
- Let cool completely before dusting with powdered sugar and cutting into bars.
Notes
- For a tangier flavor, add lemon zest to the filling.
- Ensure the crust is slightly golden before adding the filling to prevent a soggy bottom.
- Prep Time: 20 min
- Cook Time: 45 min
- Category: Dessert
- Method: Baking
- Cuisine: American
Nutrition
- Serving Size: 1 bar
- Calories: 180
- Sugar: 20g
- Sodium: 50mg
- Fat: 8g
- Saturated Fat: 5g
- Unsaturated Fat: 2g
- Trans Fat: 0g
- Carbohydrates: 25g
- Fiber: 0g
- Protein: 2g
- Cholesterol: 45mg