 Skip to content

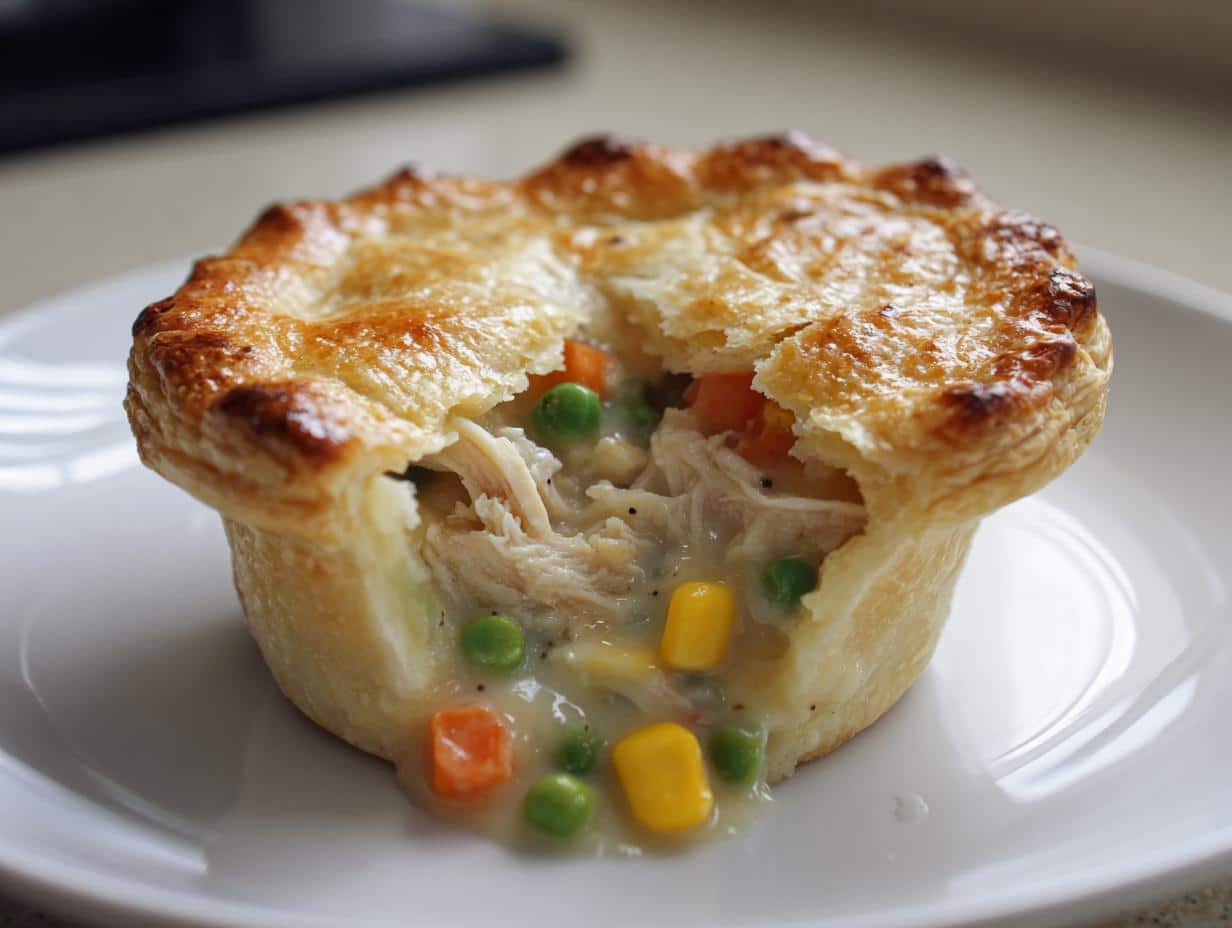
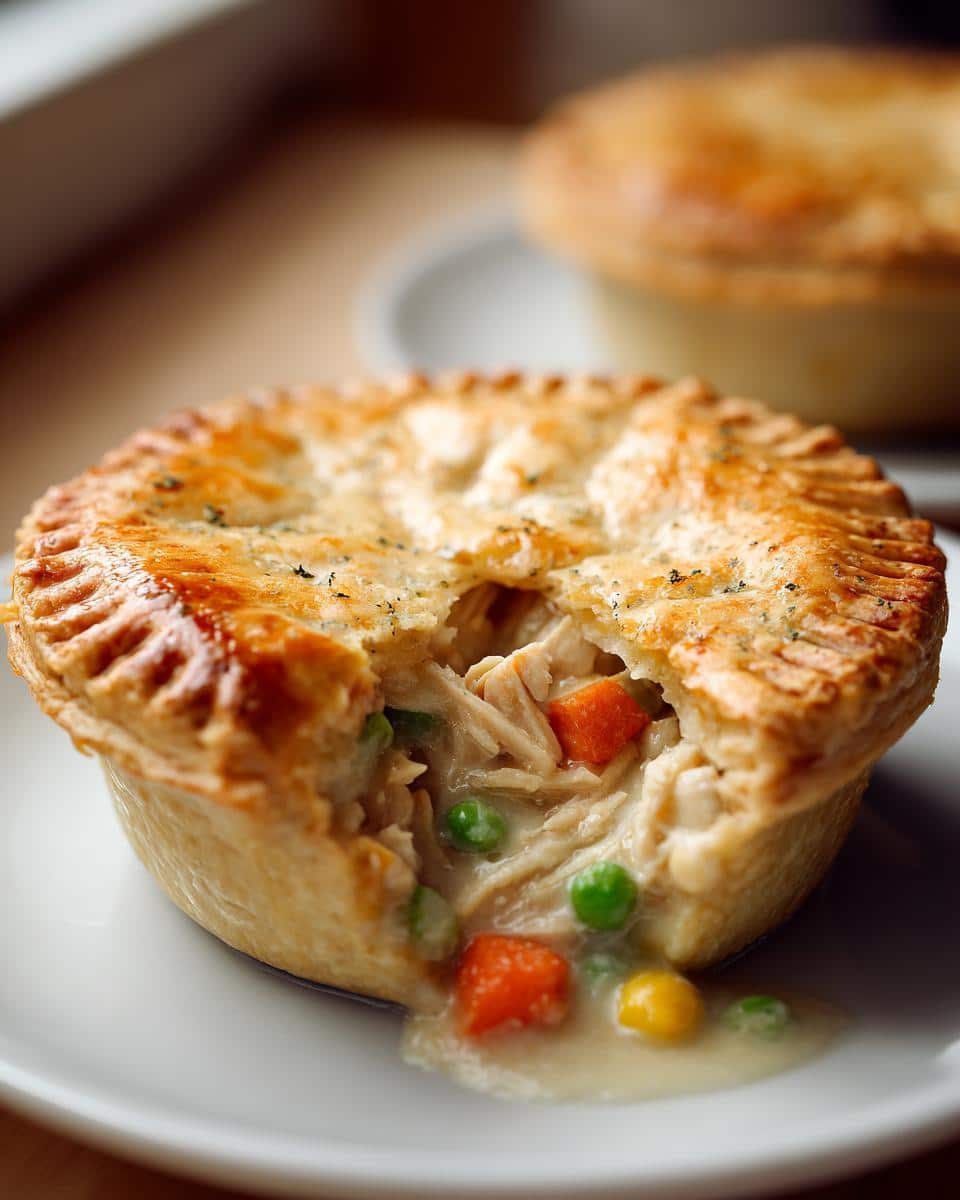
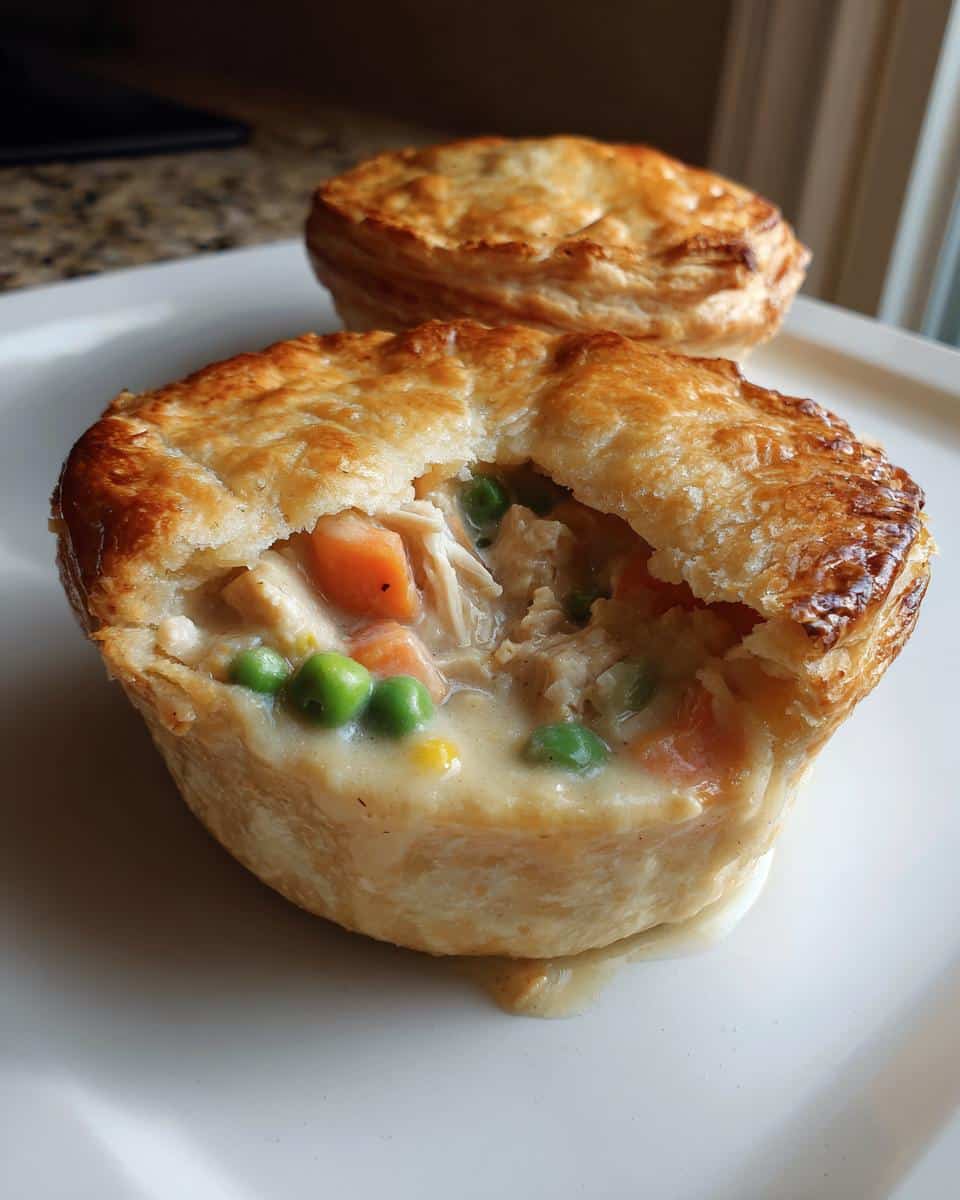
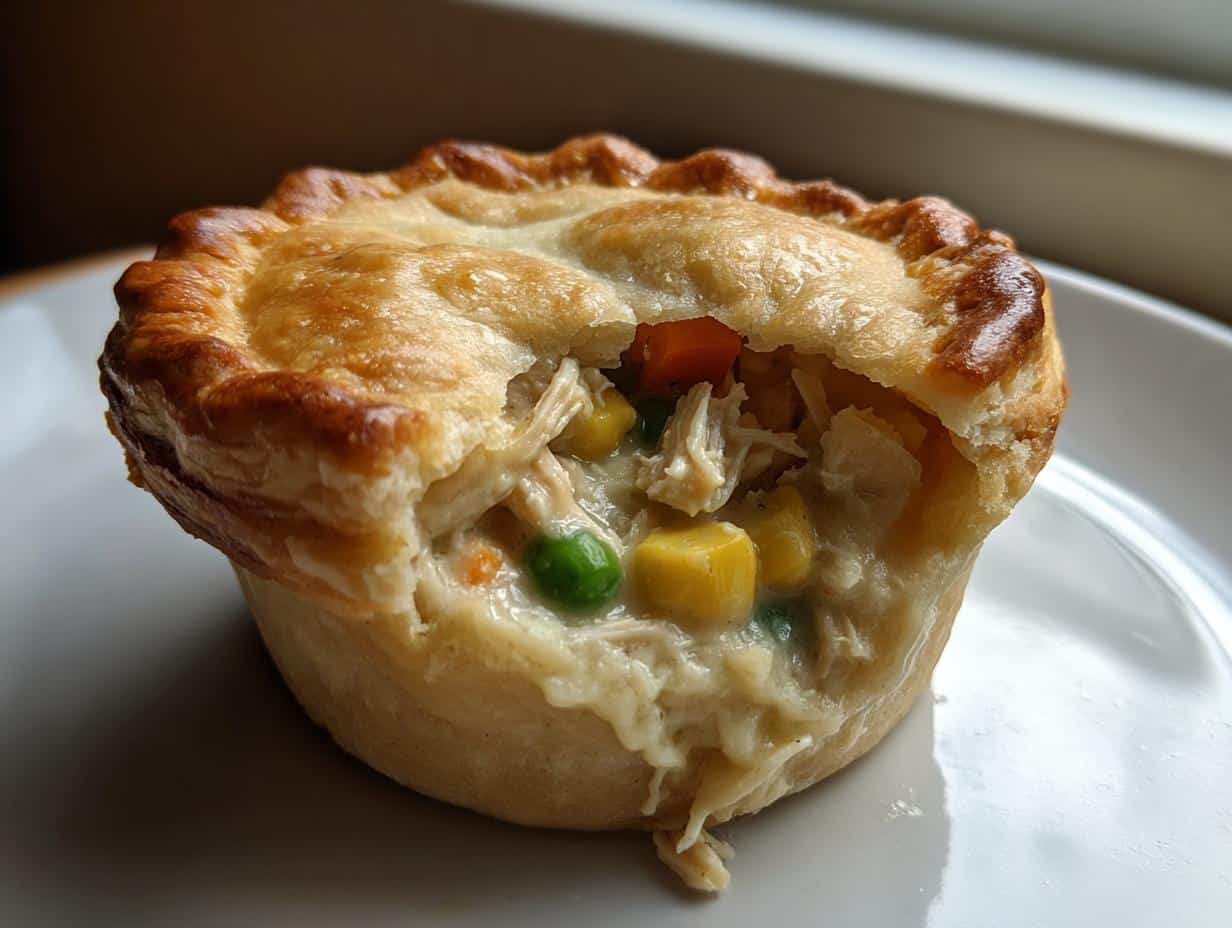
Oh, you guys! There’s just something about a cozy, comforting meal that makes everything better, isn’t there? Especially when it takes care of those pesky leftovers in the fridge! I swear, after a big holiday feast, I always have so much turkey. While turkey sandwiches are great for a day or two, I crave something a little more exciting. That’s where these incredible mini turkey pot pies come in! They’re my absolute go-to for turning extra turkey into individual little pockets of joy. They’re super easy, totally delicious, and honestly, they just make me feel warm and happy from the inside out. My family practically cheers when these come out of the oven!
Why You’ll Love These Mini Turkey Pot Pies
Honestly, what’s not to love? These little guys are a dream come true for busy weeknights or when you just want a hug in food form. They’re quick, they’re cute, and they hit all the right comfort food notes without all the fuss of a big pie. Trust me, you’ll be making these leftover turkey heroes all the time!
- Super Easy: We’re talking minimal effort for maximum payoff.
- Individual Portions: Perfect for meal prep or no-sharing-required comfort.
- Leftover King: The best way to transform that post-holiday turkey!
- Pure Comfort: That warm, savory filling and flaky crust? Chef’s kiss!
Ingredients for Delicious Mini Turkey Pot Pies
Alright, let’s talk ingredients! You know I’m all about keeping things simple and practical in the kitchen, and this recipe is no different. We’re using everyday staples here, many of which you probably already have, especially if you’ve got some leftover turkey hanging around. Just gather these beauties and we’ll get cooking!
- For the Filling Base:
- 1 tbsp olive oil
- 1 small onion, finely chopped
- 1 carrot, peeled and diced (small, so it cooks faster!)
- 1 celery stalk, also finely diced
- The Creamy Goodness:
- 2 tbsp all-purpose flour
- 1 cup chicken or turkey broth (use a good quality one for flavor!)
- 1/2 cup milk (whole milk makes it extra rich, but whatever you have works!)
- The Stars of the Show:
- 1 cup cooked turkey, shredded or diced (this is where your leftovers shine!)
- 1/2 cup frozen peas (no need to thaw!)
- 1/2 cup frozen corn (again, straight from the freezer is fine!)
- Flavor Boosters:
- 1 tsp dried thyme (or a tablespoon of fresh, if you’re fancy!)
- Salt and black pepper to taste (don’t be shy, seasoning is key!)
- For That Flaky Crust:
- 1 sheet (14.1 oz) refrigerated pie crusts, unrolled (my little shortcut, and it works like a charm!)
How to Prepare Your Mini Turkey Pot Pies
Okay, deep breaths! Making these mini turkey pot pies is seriously so much fun and really straightforward. You’ll feel like a total kitchen wizard when these come out of the oven, trust me! Just follow these steps, and you’ll be enjoying warm, comforting goodness in no time.
- Get Preheat Happy! First things first, get your oven ready to rock. Crank it up to 375°F (that’s 190°C). While it’s heating, grab your trusty 12-cup muffin tin and give it a quick spray or wipe with a little oil. We don’t want any sticking!
- Sauté Those Veggies! Heat up that olive oil in a skillet over medium heat. Toss in your chopped onion, carrot, and celery. Let them sizzle and soften for about 5-7 minutes. You want them tender, but not mushy. This builds such a great flavor base!
- Whip Up That Creamy Dream! Now, sprinkle in your flour and stir it around for just a minute. This helps cook out that raw flour taste. Then, slowly, gradually whisk in your broth and milk. Keep whisking, seriously – you want this smooth! Bring it to a gentle simmer, and watch it thicken into a luscious, glorious sauce. Once it’s coats the back of a spoon, you’re good.
- Mix in the Good Stuff! Take your skillet off the heat. Stir in your cooked turkey, those colorful frozen peas, sweet corn, and a generous teaspoon of dried thyme. Taste it! This is your moment to adjust the salt and pepper. Don’t be afraid to add a little more if you think it needs it. This filling should be bursting with flavor!
- Crust Time! Unroll that refrigerated pie crust. Fun part! Grab a 3-inch round cutter (or hey, the rim of a glass works perfectly!). Cut out 12 circles. Carefully press each circle into your prepared muffin cups. You want them to snuggle right in there.
- Fill ‘Em Up! Spoon your delicious turkey mixture into each pie crust-lined cup. Don’t overfill! Leave a little space at the top for the lid.
- Top It Off! Now for the tops! Use any leftover pie crust to cut out smaller circles or even some fun decorative shapes. Or, if you’re feeling rustic (like me!), just cut some strips and create a little lattice. Place your tops over the filling and gently crimp the edges to seal everything in.
- Bake to Golden Perfection! Pop your muffin tin into the preheated oven. Bake for 20-25 minutes, or until those crusts are beautifully golden brown and you see that filling bubbling away. Let them cool for a few minutes in the tin before carefully lifting them out. Dig in and enjoy!
Tips for Perfect Mini Turkey Pot Pies
Okay, so now that you know the basic steps, let’s talk about those little tricks that take these mini turkey pot pies from “good” to “OMG, you HAVE to try these!” I’ve made these more times than I can count, and I’ve learned a thing or two about making them absolutely perfect every time.
- Don’t Be Afraid to Season: Seriously, taste your filling before it goes into the oven! Vegetables and turkey can be a bit bland without enough salt and pepper. I always add a pinch more than I think I need to really make those flavors pop.
- The Right Crust Thickness: When you’re rolling out your pie dough (if you’re using homemade or even store-bought that needs rolling), aim for about 1/8 inch thick. Too thin, and it might tear; too thick, and it overwhelms the filling.
- Ventilation is Key: Before baking, I always cut a tiny slit or two in the top crust of each mini pie. This lets the steam escape, preventing soggy bottoms and ensuring a perfectly flaky crust. Easy peasy!
- Golden Brown = Flavor Town: Keep an eye on those pies during the last few minutes of baking. You want that crust to be beautifully golden brown. That color means flavor and a wonderful, crispy texture. If they’re browning too fast, you can lightly tent them with foil.
- Let Them Rest: I know, I know, it’s hard to wait! But letting them cool for just 5-10 minutes after baking allows the filling to set up a bit, making them easier to handle and preventing burnt tongues. Patience is a virtue, especially with pot pies!
Variations for Your Mini Turkey Pot Pies
One of the best things about these mini pot pies is how totally adaptable they are! Don’t feel like you have to stick to my exact recipe every single time. This is your kitchen, after all! Think of this as a delicious blueprint, and feel free to get creative with what you have on hand or what sounds good to you.
- Veggie Swap-Outs: Not a fan of peas and corn? No problem! Try adding chopped mushrooms, green beans, or even some diced sweet potato for a different twist.
- Herb Power: While thyme is fantastic, a pinch of poultry seasoning, sage, or even a dash of rosemary can really change up the flavor profile beautifully.
- Protein Play: Ran out of turkey? Leftover rotisserie chicken works absolutely wonderfully here. You could even brown some ground turkey or chicken if you don’t have cooked leftovers!
- Spicy Kick: Want a little zing? Add a pinch of red pepper flakes to the filling mixture for an unexpected, delightful heat.
Common Questions About Mini Turkey Pot Pies
Got questions about these adorable mini turkey pot pies? Don’t worry, I’ve got answers! It’s totally normal to wonder about the best way to make, store, or tweak a recipe. Here are some of the most common things people ask me about these little pockets of deliciousness!
Can I make these mini turkey pot pies ahead of time?
Oh, absolutely! That’s one of the best things about these individual turkey pot pies. You can assemble them completely and store them, unbaked, in the fridge for up to 24 hours. Just bake them when you’re ready to eat! Or, you can bake them fully, let them cool, and then cover and refrigerate for up to 3-4 days. They’re great for meal prepping!
How do I reheat leftover mini turkey pot pies?
Reheating is super easy! If they’re refrigerated, you can pop them in a preheated oven (around 350°F or 175°C) for 10-15 minutes, or until warmed through and the crust is crisp again. A quick zap in the microwave works too, but the crust won’t be as flaky. If you’re looking for other comforting options, check out my crockpot chicken pot pie recipe!
What if I don’t have leftover turkey? Or can I use chicken?
No leftover turkey? No problem at all! This recipe is incredibly versatile. You can totally use cooked chicken instead – shredded rotisserie chicken works wonderfully. You could even quickly cook up some ground turkey or chicken if that’s what you have. It’ll still make for fantastic small turkey pot pies!
Can these mini pot pies be frozen?
Yes, you betcha! These quick mini pot pies freeze beautifully. You can freeze them either baked or unbaked. If freezing unbaked, assemble them, then freeze on a baking sheet until solid. Transfer to an airtight freezer bag and bake from frozen (you might need to add 10-15 minutes to the baking time). For baked and frozen pies, just reheat as described above, adding a few extra minutes.
Storing and Reheating Your Mini Turkey Pot Pies
Okay, so you’ve made these delicious mini turkey pot pies (good job!), and maybe, just maybe, you have a few left over. Lucky you! Storing and reheating them properly means you get to enjoy that comforting goodness all over again. It’s super simple, I promise!
- Fridge Life: Once completely cooled, pop your mini pot pies into an airtight container. They’ll keep beautifully in the refrigerator for about 3-4 days. Perfect for packed lunches!
- Reheating Magic: My favorite way to reheat them is in the oven. A quick 10-15 minutes at 350°F (175°C) will get them toasty and bring back that lovely flaky crust. If you’re in a super rush, the microwave works too, but just a heads-up, the crust might not be as crisp.
Nutritional Information for Mini Turkey Pot Pies
Just a quick heads-up about the nutritional info for these mini turkey pot pies! While I always try to give you a general idea, please remember that all nutritional values are estimates. They can totally vary based on the specific brands of ingredients you use and how you prepare them. Think of it as a guide, not a strict rule!
Share Your Mini Turkey Pot Pies Experience!
So, you’ve made these awesome mini turkey pot pies, right? I’d absolutely LOVE to hear about it! Did you try a fun variation? Were they a huge hit with your family? Head over to my about page to tell me all about your cooking adventures in the comments below! And hey, if you snap a pic, tag me on social media – it seriously makes my day to see your creations! Happy cooking, my friend!
Print
Mini Turkey Pot Pies
- Total Time: 45 min
- Yield: 12 mini pot pies 1x
- Diet: Low Fat
Description
These mini turkey pot pies are individual servings of a comforting classic. They are easy to make and perfect for using leftover turkey.
Ingredients
- 1 tbsp olive oil
- 1 small onion, chopped
- 1 carrot, peeled and diced
- 1 celery stalk, diced
- 2 tbsp all-purpose flour
- 1 cup chicken or turkey broth
- 1/2 cup milk
- 1 cup cooked turkey, shredded or diced
- 1/2 cup frozen peas
- 1/2 cup frozen corn
- 1 tsp dried thyme
- Salt and black pepper to taste
- 1 sheet (14.1 oz) refrigerated pie crusts, unrolled
Instructions
- Preheat oven to 375°F (190°C). Lightly grease a 12-cup muffin tin.
- Heat olive oil in a large skillet over medium heat. Add onion, carrot, and celery; cook until softened, about 5-7 minutes.
- Stir in flour and cook for 1 minute. Gradually whisk in broth and milk until smooth. Bring to a simmer, stirring constantly, until the sauce thickens.
- Remove from heat and stir in cooked turkey, peas, corn, and thyme. Season with salt and pepper to taste.
- Unroll the pie crust and cut out 12 circles using a 3-inch round cutter or the rim of a glass. Press each circle into the prepared muffin cups.
- Spoon the turkey mixture into each pie crust-lined muffin cup.
- Cut out smaller circles or decorative shapes from the remaining pie crust to use as tops, or simply use strips to create a lattice. Place the tops over the filling, crimping the edges to seal.
- Bake for 20-25 minutes, or until the crust is golden brown and the filling is bubbly. Let cool slightly before serving.
Notes
- You can use a round cookie cutter or the rim of a glass to cut out the pie crust circles.
- For a quicker preparation, use pre-made pie crusts.
- These pot pies are great for meal prepping.
- Prep Time: 20 min
- Cook Time: 25 min
- Category: Main Dish
- Method: Baking
- Cuisine: American
Nutrition
- Serving Size: 1 mini pot pie
- Calories: 250
- Sugar: 3g
- Sodium: 350mg
- Fat: 15g
- Saturated Fat: 5g
- Unsaturated Fat: 8g
- Trans Fat: 0g
- Carbohydrates: 20g
- Fiber: 2g
- Protein: 10g
- Cholesterol: 25mg