

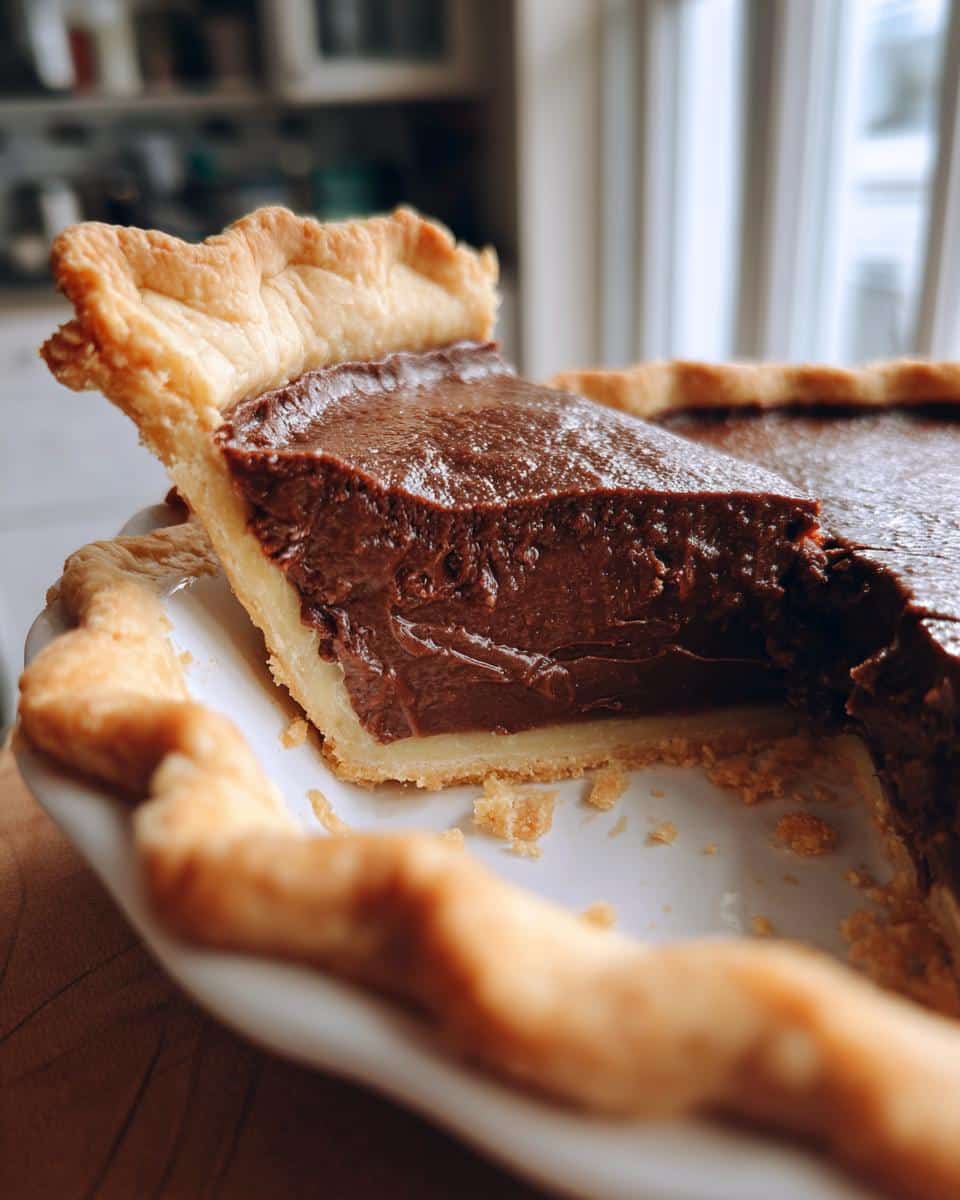
Oh, my friends, let me tell you about a dessert that’s pure comfort food, a real hug in a slice: my old fashioned chocolate pie is a must try. This isn’t just any pie; it’s a trip back in time to my grandmother’s kitchen in Asheville, where the air always smelled like butter and something sweet was always baking. She taught me that simple ingredients, treated with love and a little patience, make the most incredible treats. This pie is proof of that—it’s got that deep, rich chocolate flavor and a creamy texture that just melts in your mouth. No fancy fuss, just pure, unadulterated chocolatey bliss that everyone will adore. Trust me, once you try it, it’ll become a classic in your home too!
Why This Old Fashioned Chocolate Pie is a Must Try
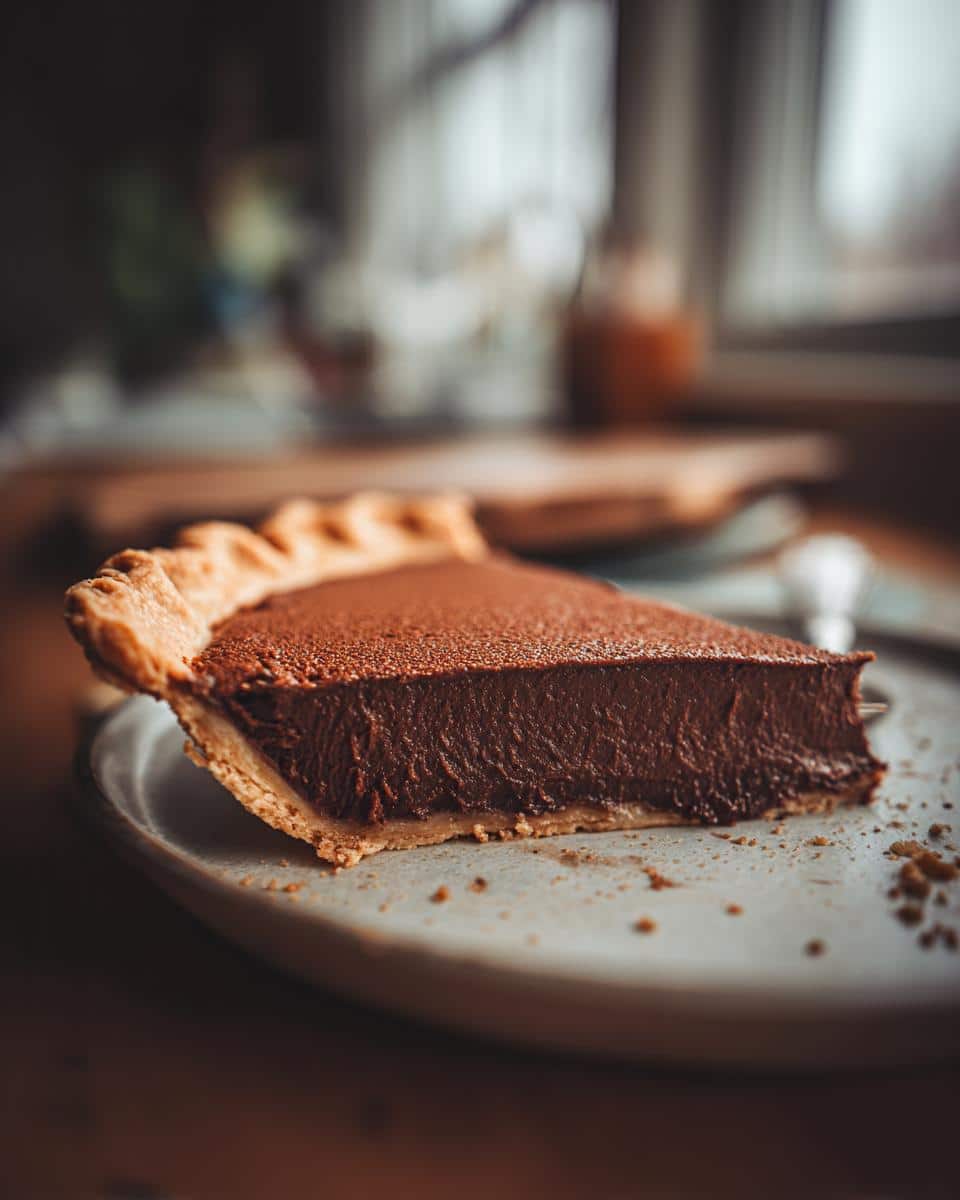
So, why is this particular old fashioned chocolate pie such a showstopper? Well, for starters, it’s got that intense, deep chocolate flavor that really satisfies a craving. It’s not too sweet, thanks to using good quality cocoa powder, and the texture is just heavenly – super smooth, extra creamy, and it firms up just perfectly. Honestly, it’s amazing how something so simple can taste so incredibly rich and decadent. And the best part? It’s surprisingly easy to whip up, even if you’re not a seasoned baker. It’s that perfect blend of amazing taste and simple steps that makes it a winner for me, and I just know you’re going to love it too!
Gather Your Ingredients for the Best Chocolate Pie Ever
Alright, let’s get everything lined up. For this classic treat, you’ll need a nice pre-baked 9-inch pie crust – making your own is wonderful, but a good store-bought one works in a pinch! Then, grab your granulated sugar, unsweetened cocoa powder (use the good stuff for the best flavor!), and a little all-purpose flour and salt to make sure everything thickens up just right. We’ll also need whole milk, three large egg yolks (make sure they’re lightly beaten!), unsalted butter cut into pieces, and a good teaspoon of vanilla extract to round it all out. Oh, and don’t forget some whipped cream and maybe a few chocolate shavings for serving – it makes it extra special!
Simple Steps to Create Your Old Fashioned Chocolate Pie
Now for the fun part – putting it all together! Don’t you worry, this is where the magic really happens, and it’s pretty straightforward. My grandmother always said the key is to take your time with each step, and it truly makes all the difference. We’re going to build this pie from the bottom up, starting with that beautiful crust.
Preparing the Pie Crust
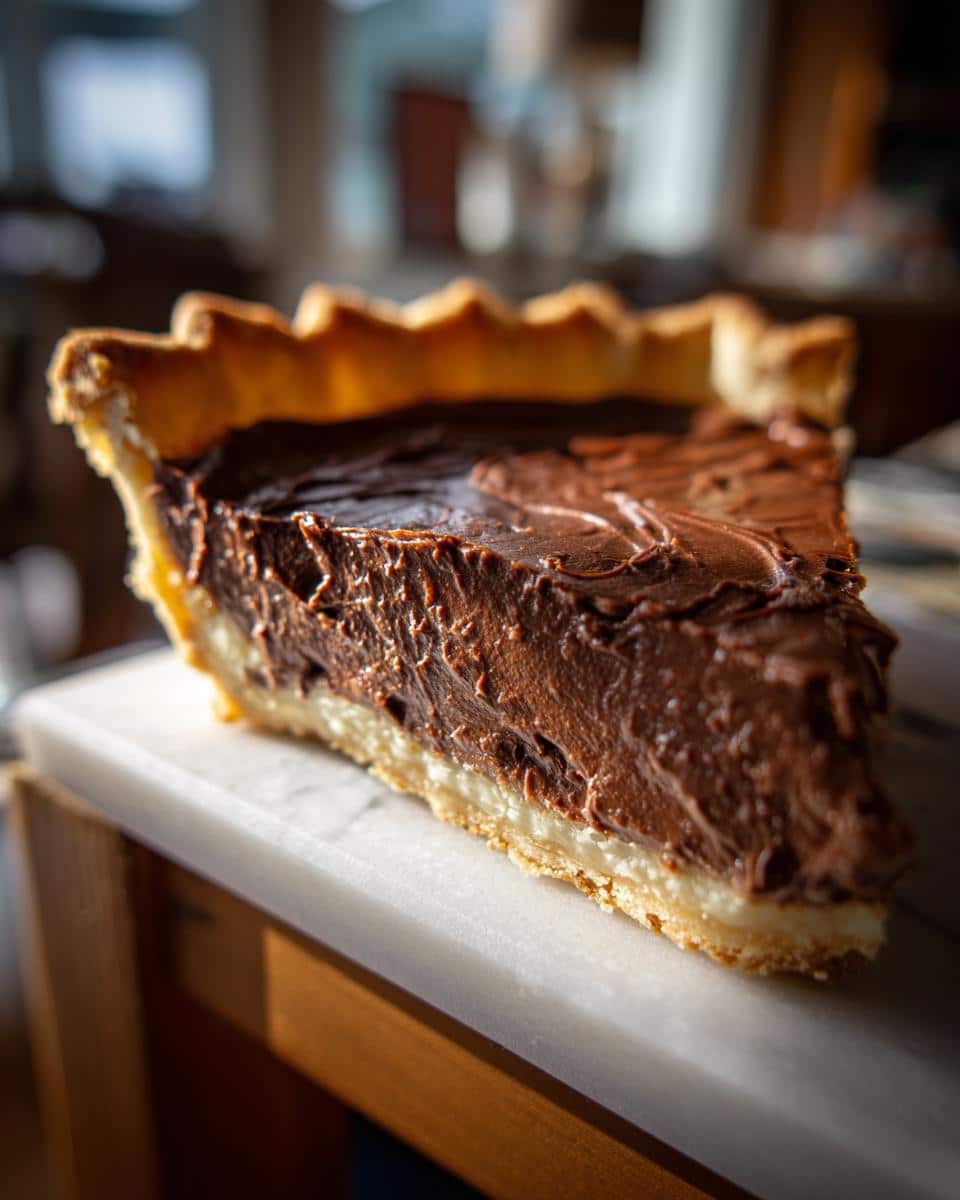
First things first, get that oven preheating to 375°F (190°C). If you’re using a store-bought crust or one you’ve already baked, you might need to give the bottom a little poke with a fork to keep it from puffing up too much. Then, we’ll give it a quick blind bake for about 10-12 minutes, just until it gets that lovely light golden color. Once it’s out of the oven, let it cool down a tad while we get to work on that luscious filling. If you’d like to see how I get my buttery, flaky pie crust just perfect, be sure to check out my guide!
Making the Rich Chocolate Filling
This is where that deep chocolate flavor really comes to life. In a medium saucepan, whisk together the sugar, cocoa powder, flour, and salt until they’re all friends. Then, slowly whisk in the milk until you have a nice, smooth mixture. Now, we’ll cook this over medium heat, stirring constantly – and I mean *constantly* – until it thickens up and just starts to gently bubble. Keep that stirring going for another minute or two. Take it off the heat for a second. In a little bowl, whisk those egg yolks lightly, then stir just a tiny bit of the hot chocolate mixture into them to warm them up gently (that’s called tempering, and it stops them from scrambling – a little trick I learned the hard way!). Then, pour those tempered yolks back into the saucepan with the rest of the chocolate mixture. Pop it back on medium-low heat and stir, stir, stir for another minute or two until it’s really thick. Finally, stir in the butter and vanilla until everything’s smooth and glorious.
Assembling and Chilling Your Classic Chocolate Pie
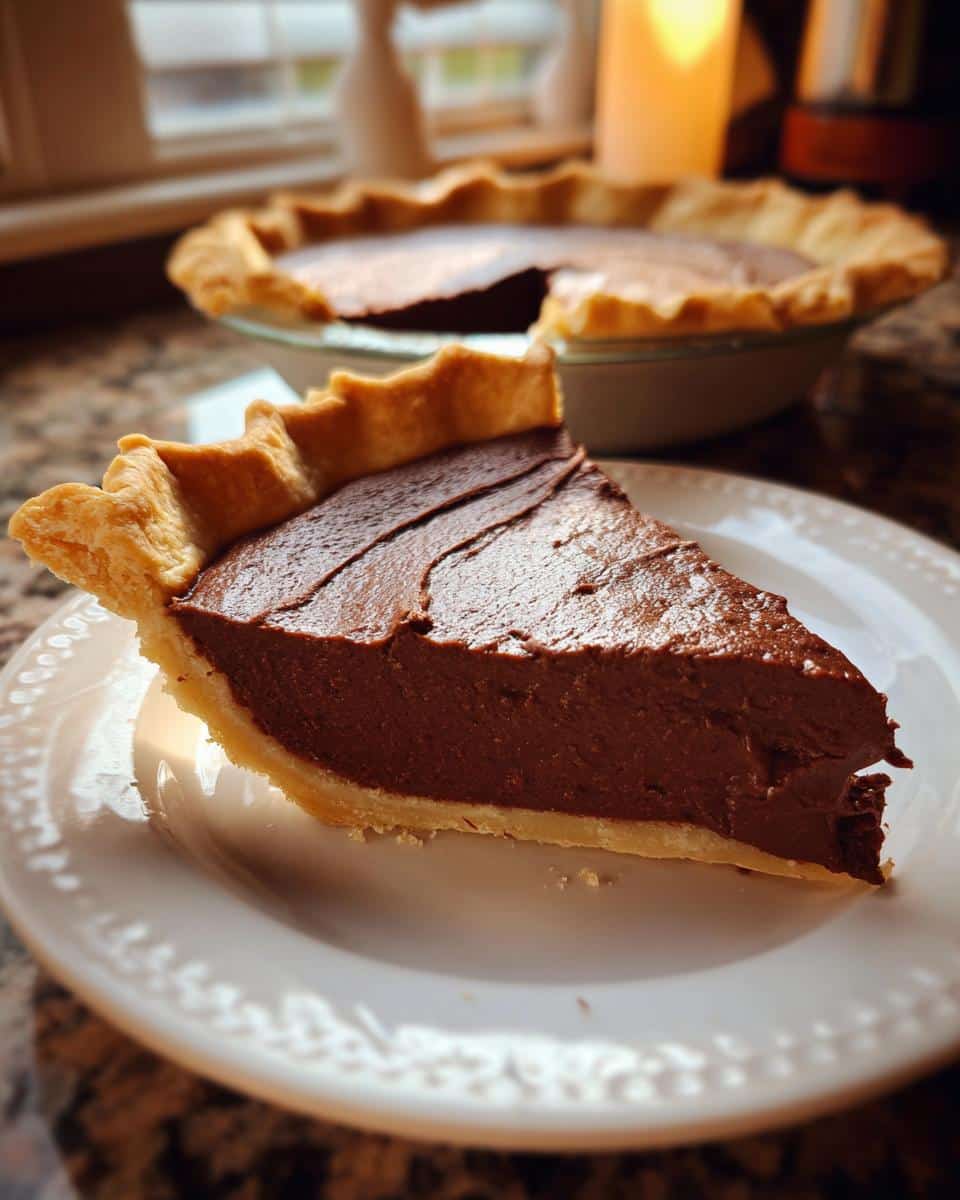
Okay, we’re nearing the finish line! Carefully pour that warm, thick chocolate filling right into your pre-baked pie crust. Smooth the top out with a spoon or spatula so it looks nice and even. Now, this is super important: let the pie cool down on the counter for at least 30 minutes. This lets it start setting up before we chill it. Then, cover it gently and pop it into the refrigerator for at least 3-4 hours, but honestly, chilling it overnight is the absolute best way to go! It lets all those flavors really meld together and makes sure the filling is perfectly set so you get those clean slices everyone loves.
Tips for the Perfect Old Fashioned Chocolate Pie
Now, even though this pie is pretty straightforward, there are a few little tricks I’ve picked up over the years that really make it sing. My grandmother always said it’s the little things that turn good into great! First off, use good quality unsweetened cocoa powder. It really makes a difference in that deep chocolate flavor. Don’t be tempted to use one of those sweetened kinds, or your pie might end up way too sweet. Also, don’t rush that tempering step with the egg yolks – it’s crucial! Whisking in just a little bit of the hot chocolate mixture gently warms them up so they don’t scramble when you add them back. And please, please, give it enough time to chill! The longer it rests, the better the flavors get to know each other and the firmer that lovely filling becomes. For a little extra something special, I sometimes add a pinch of espresso powder to the cocoa mixture – it just makes the chocolate flavor pop even more, kind of like in those dark chocolate bars I love to make!
Serving and Storing Your Homemade Chocolate Cream Pie
Once your pie is perfectly chilled and set, it’s ready for its grand entrance! I love serving it with a dollop of fluffy homemade whipped cream – it’s just the classic pairing, isn’t it? A few chocolate shavings on top make it look extra fancy, but honestly, it’s delicious just as it is. If you happen to have any leftovers (which is rare at my house!), just cover the pie with plastic wrap or a pie dome. Keep it in the refrigerator, and it should stay wonderfully fresh for about 3 to 4 days. That creamy filling stays lovely and firm!
Frequently Asked Questions About This Vintage Chocolate Pie
Got questions about this classic beauty? I’m here to help you make the best old fashioned chocolate pie! Let’s dive into some common queries.
Can I skip the blind baking for the pie crust?
While you *can* skip blind baking, I really don’t recommend it for this pie. Blind baking helps prevent a soggy bottom crust, which is a big no-no for a classic chocolate cream pie. Giving it that initial bake makes sure your crust stays nice and crisp with that rich, creamy filling on top.
What’s the best kind of cocoa powder to use for this Southern Chocolate Pie?
For the deepest, richest chocolate flavor, reach for a good quality unsweetened cocoa powder. Dutch-process cocoa will give you a smoother, darker color and a more mellow flavor, while natural unsweetened cocoa will be a bit more intense and brighter. Either works, but I personally love using a dark, Dutch-process cocoa for that extra special richness. It really makes a difference, kind of like when I make my dark chocolate bars!
Can I turn this into an easy no-bake chocolate pie?
Honestly, the beauty of this recipe is in that cooked filling that sets up so perfectly. While you *could* try to adapt it into a no-bake version, it wouldn’t quite have the same classic texture. My no-bake chocolate oatmeal cookies are a different kind of treat altogether! This specific old fashioned chocolate pie recipe relies on that cooking and chilling process to achieve its signature delightful creaminess.
My pie filling didn’t set up properly. What went wrong?
Don’t fret! This sometimes happens. It usually means the filling needed a little more cooking time on the stovetop to thicken properly, or it just needs more time chilling in the fridge. Make sure you’re stirring constantly when it’s on the heat, and definitely let it chill for the full 3-4 hours, or even overnight, for the best results. Patience is key with this lovely vintage chocolate pie!
Estimated Nutritional Information
Now, y’all know I’m not a strict nutritionist, but I like to give you a general idea of what you’re getting into with a slice of this pie. These numbers are just estimates, of course, since brands and exact ingredients can change things up a bit! Expect around 350 calories for a good slice, with about 15g of fat and 45g of sugar. It’s a treat, for sure, but a delicious one!
Print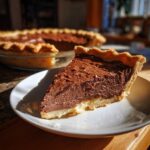
Old Fashioned Chocolate Pie
- Total Time: 4 hours 40 min
- Yield: 8 servings 1x
- Diet: Vegetarian
Description
A classic, homemade chocolate pie recipe that is a must-try for any dessert lover. This recipe brings a taste of Southern comfort food to your table.
Ingredients
- 1 unbaked 9-inch pie crust
- 1 ½ cups granulated sugar
- ½ cup unsweetened cocoa powder
- ¼ cup all-purpose flour
- ½ teaspoon salt
- 2 cups whole milk
- 3 large egg yolks, lightly beaten
- ¼ cup unsalted butter, cut into pieces
- 1 teaspoon vanilla extract
- Whipped cream, for serving (optional)
- Chocolate shavings, for garnish (optional)
Instructions
- Preheat oven to 375°F (190°C). If using an unbaked crust, poke holes in the bottom with a fork and blind bake for 10-12 minutes, or until lightly golden. Remove from oven and let cool slightly.
- In a medium saucepan, whisk together the sugar, cocoa powder, flour, and salt. Gradually whisk in the milk until smooth. Cook over medium heat, stirring constantly, until the mixture thickens and comes to a gentle boil. Continue to cook, stirring, for 1-2 minutes.
- Remove from heat. In a small bowl, whisk a small amount of the hot chocolate mixture into the beaten egg yolks to temper them. Gradually whisk the tempered egg yolks back into the hot chocolate mixture in the saucepan. Return the saucepan to medium-low heat and cook, stirring constantly, for another 1-2 minutes, until the mixture is very thick.
- Remove from heat and stir in the butter and vanilla extract until the butter is melted and fully incorporated. Pour the hot chocolate filling into the pre-baked pie crust. Smooth the top with a spoon or spatula.
- Let the pie cool at room temperature for at least 30 minutes, then refrigerate for at least 3-4 hours, or until thoroughly chilled and set. For best results, chill overnight.
- Serve chilled, topped with whipped cream and chocolate shavings if desired.
Notes
- For a deeper flavor, consider using a dark cocoa powder.
- Ensure you temper the egg yolks carefully to prevent scrambling.
- Chilling the pie overnight allows the flavors to meld and the filling to set perfectly.
- Prep Time: 20 min
- Cook Time: 20 min
- Category: Dessert
- Method: Baking
- Cuisine: Southern
Nutrition
- Serving Size: 1 slice
- Calories: 350
- Sugar: 45g
- Sodium: 200mg
- Fat: 15g
- Saturated Fat: 8g
- Unsaturated Fat: 7g
- Trans Fat: 0g
- Carbohydrates: 50g
- Fiber: 3g
- Protein: 6g
- Cholesterol: 70mg