 Skip to content
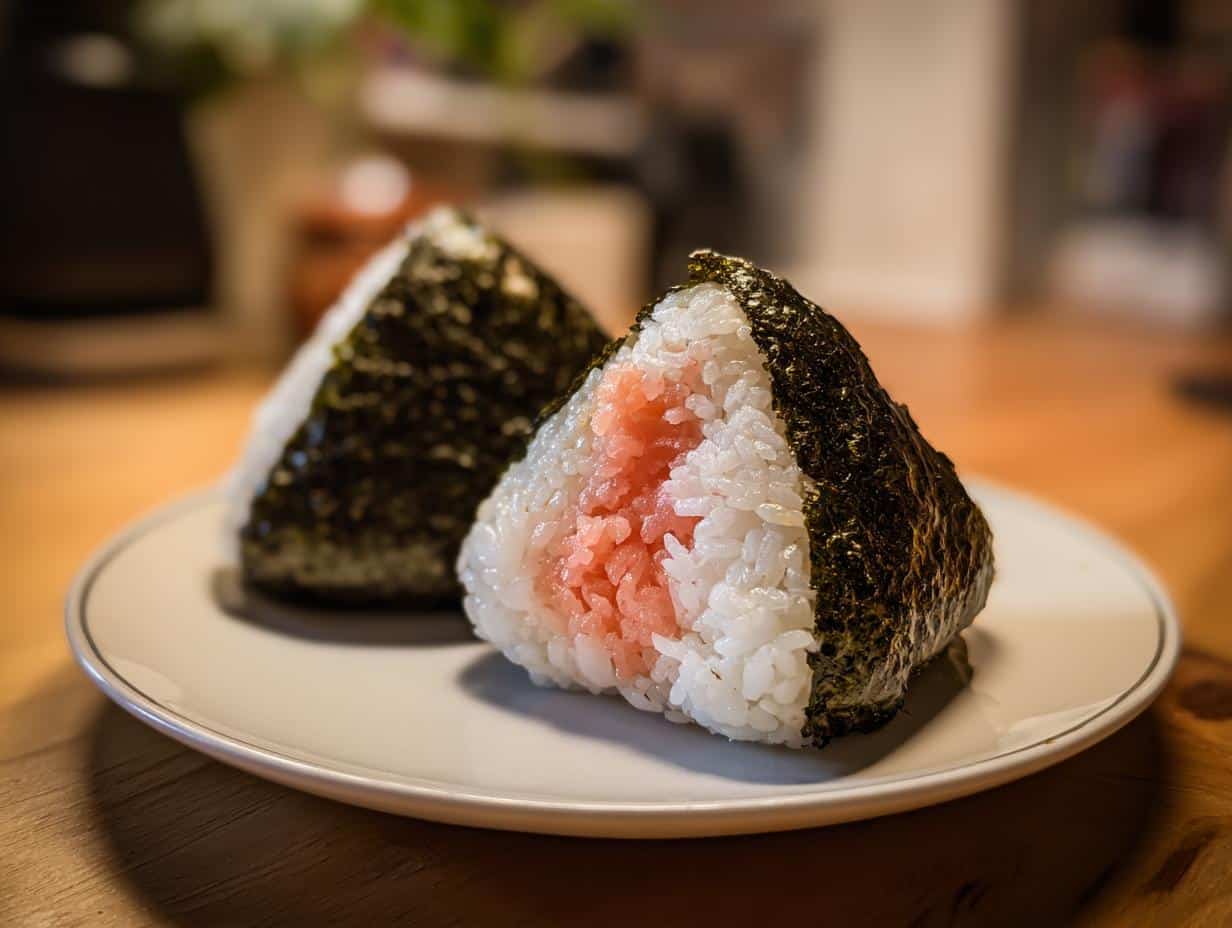
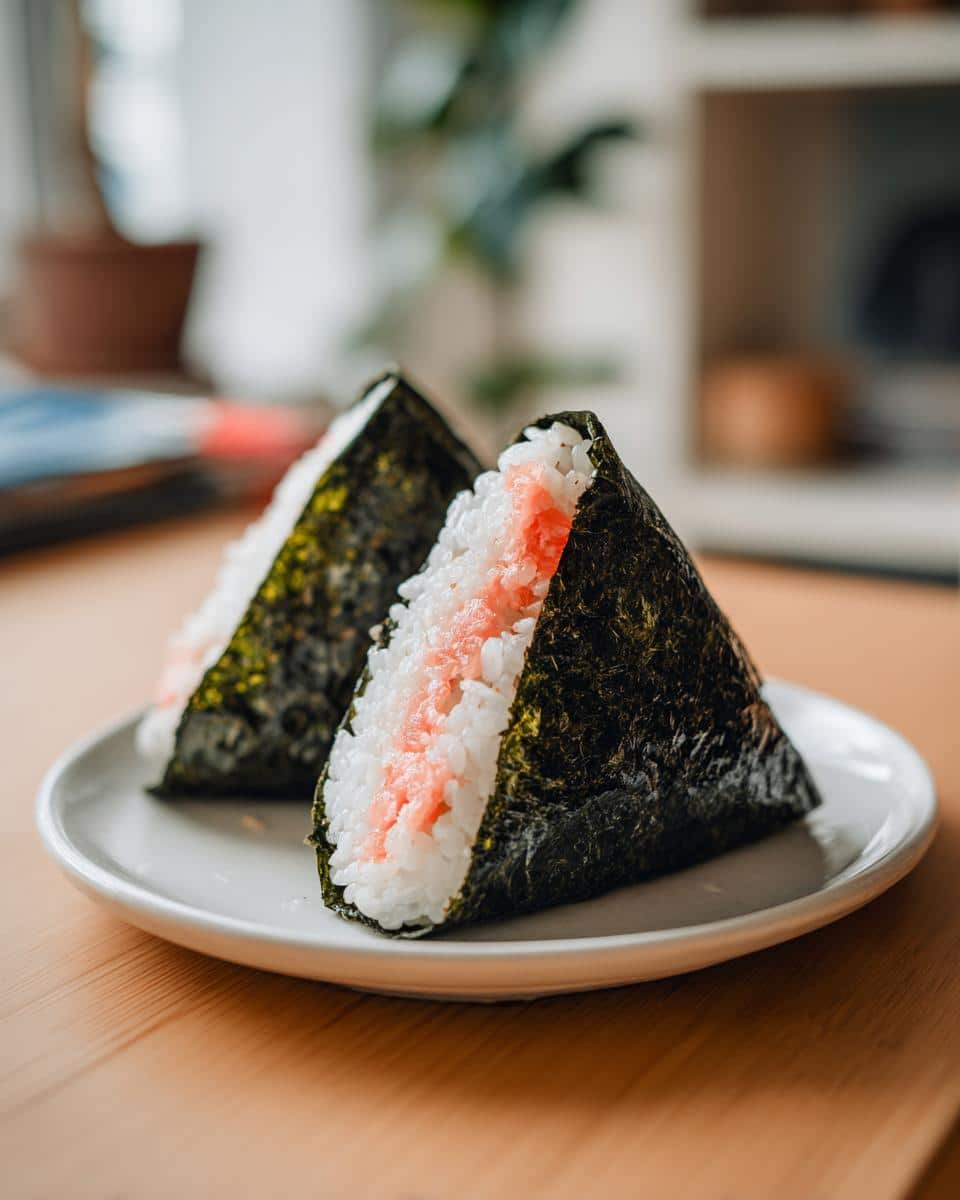
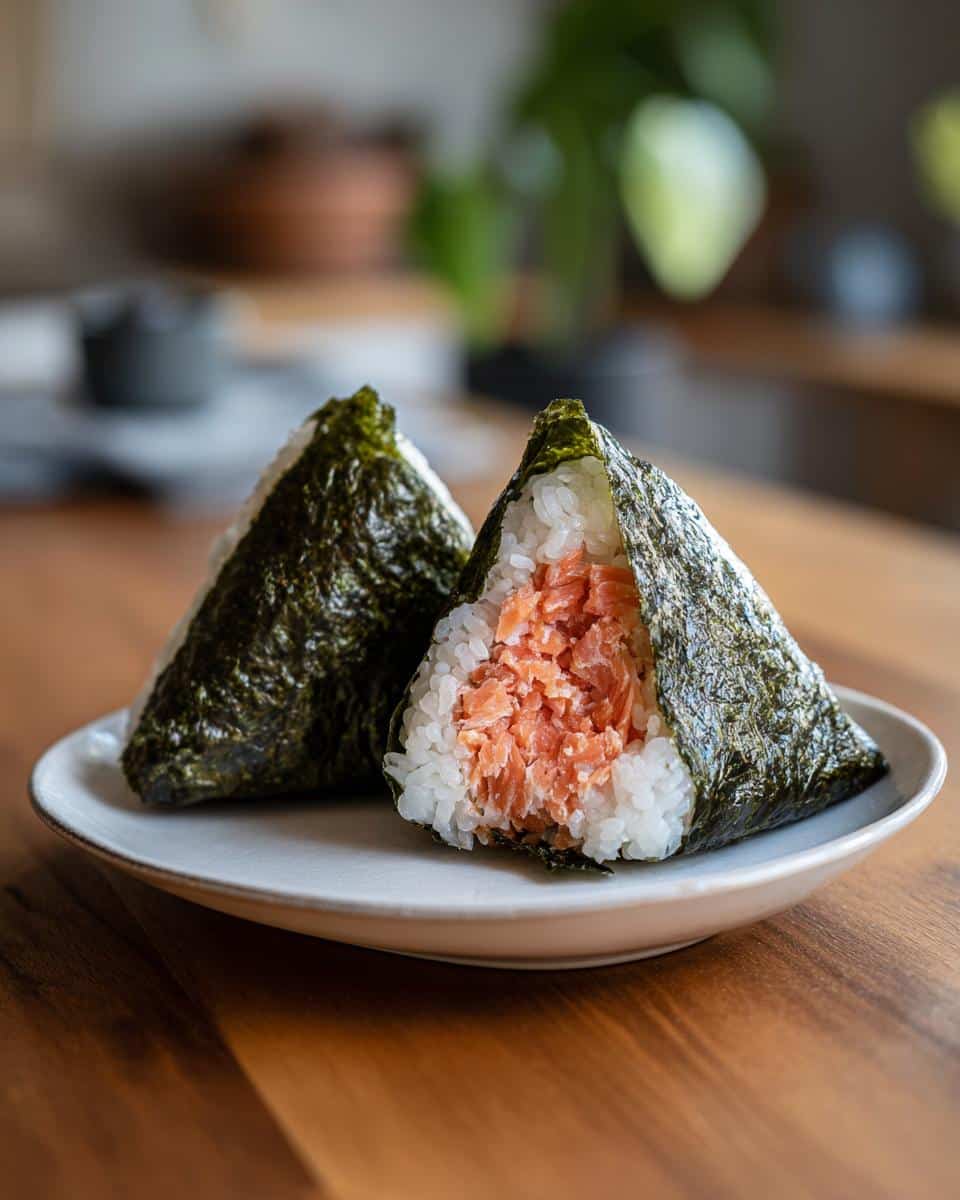
Okay, so, listen up! You know those adorable little rice triangles you see everywhere, especially all over Pinterest? Yeah, I’m talkin’ about Onigiri! These aren’t just cute; they are seriously the ultimate comfort food. Stick with me, and I’m gonna show you how to make ’em at home. From brunch inspo to cozy fall vibes, this super easy Onigiri recipe will bring all those Pinterest dreams to life – and they taste amazing, too!
Why You’ll Adore This Easy Onigiri Recipe
Okay, so why make Onigiri? Trust me, you’re gonna be obsessed! First, it’s ridiculously quick to prep – like, seriously fast. We’re talkin’ minimal ingredients that you probably already have. My favorite part is how totally customizable they are; you can stuff ’em with whatever you’re feelin’! Perfect for a cute brunch spread or just a cozy snack. Oh, and did I mention they’re totally Pinterest-worthy? Hello, aesthetic goals!
Ingredients for Your Homemade Onigiri
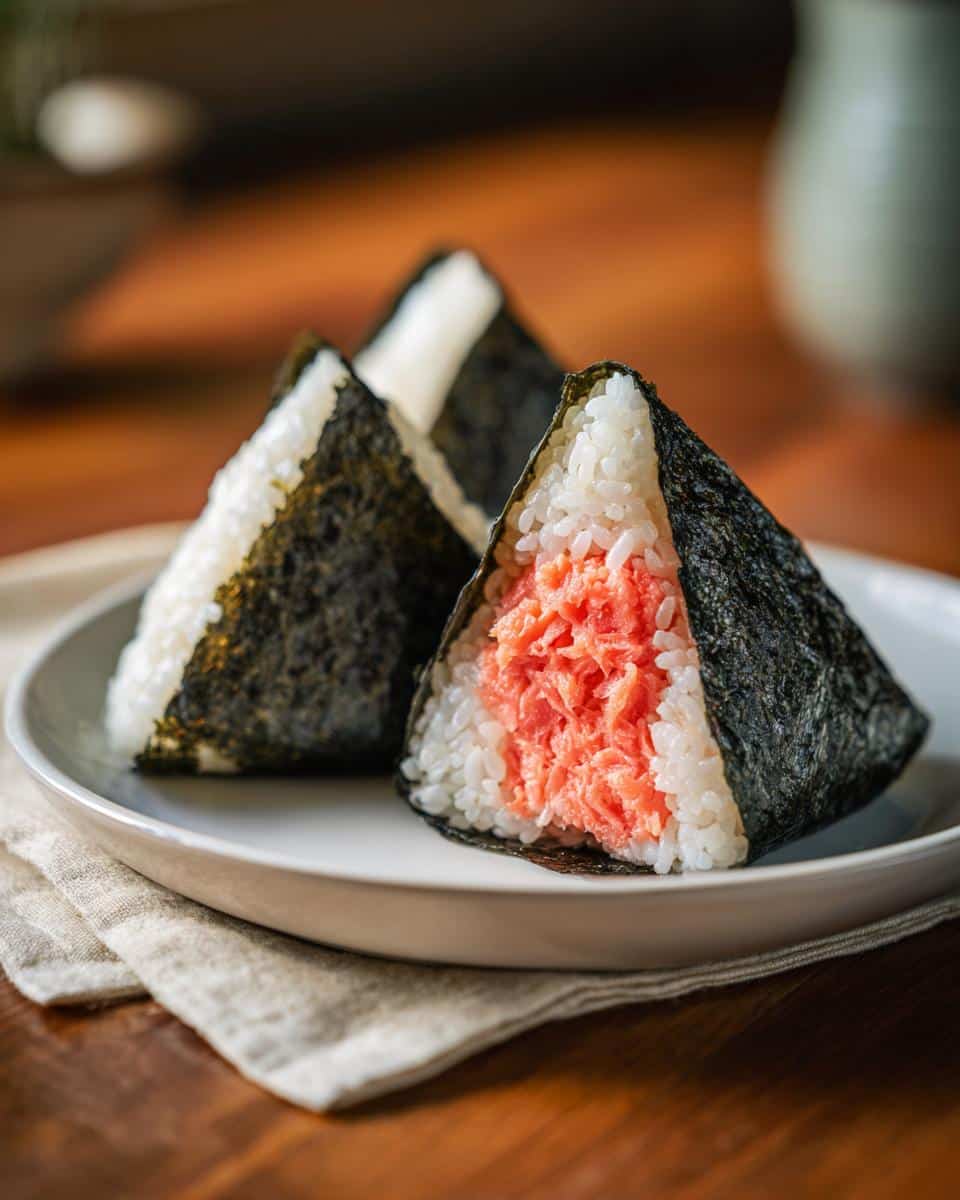
Alright, let’s gather our goodies! You’ll need 2 cups of cooked sushi rice (more on that later!), 2 tablespoons of rice vinegar, and a teaspoon of salt. For the fun part – fillings! – grab whatever you’re vibing with. Maybe 4 oz of cooked salmon, or a 1/2 cup of tuna salad? Pickled plums (about 4) are also amazing! Oh, and don’t forget about 5 Nori seaweed sheets. Got it? Let’s roll!
How to Prepare Beautiful Onigiri: Step-by-Step Instructions
Okay, here’s where the magic happens! Don’t worry, it’s way easier than it looks. First, you gotta get your rice prepped. Gently mix that cooked rice with the rice vinegar and salt. This is gonna give it that classic Onigiri flavor. Pro tip: Don’t overmix! We want it sticky, not mushy.
Next, get your fillings all ready to go in little bowls. Having everything prepped makes this SO much faster.
Now, for the fun part: shaping! This is key, so listen up! Wet your hands – seriously, don’t skip this. Otherwise, the rice will stick to you like crazy. Keep a bowl of water nearby to re-wet as needed. Trust me on this. Then, grab a handful of the rice and flatten it out in your palm. Make a little divot in the center, like a tiny rice bowl.
Pop your filling right into that little divot. Don’t overstuff it, or it’ll be impossible to shape! Now, gently start bringing the rice up and around the filling, kinda like you’re tucking it in. Squeeze gently, but firmly, to form a triangle. You can also make circles or even bear shapes if you’re feeling fancy!
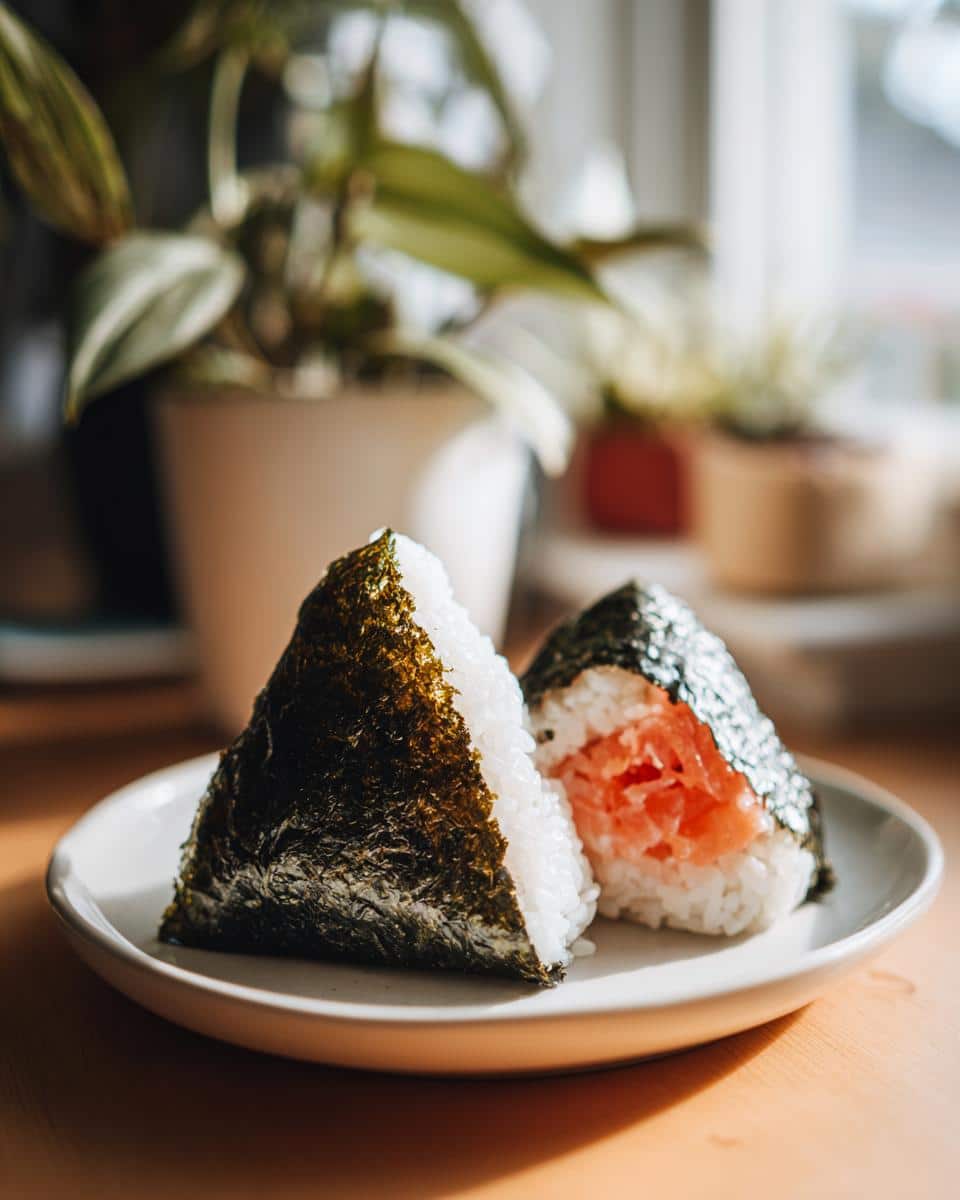
Last but not least, grab your Nori seaweed sheets. Cut them into strips and wrap each Onigiri. Some people like to wrap the whole thing, some just a strip on the bottom. It’s totally up to you! This not only adds flavor, but also keeps your fingers clean when you’re chowing down! And that’s it! You’ve got beautiful, homemade Onigiri!
Tips for the Best Comfort Food Onigiri
Okay, wanna take your Onigiri game to the NEXT LEVEL? Here’s the lowdown. First, the rice. It should be sticky enough to hold its shape, but not so mushy that it falls apart. Finding that balance is key! As for fillings? Get creative! Seriously, anything goes. I once made some with leftover teriyaki chicken, and wow, game changer!
And about that Nori – if it’s a little stubborn and not sticking, try dabbing a tiny bit of water on the rice where you’re wrapping. Works like a charm! Finally, don’t be afraid to experiment with shapes. Triangles are classic, sure, but who says you can’t make little rice balls or even stars? Have fun with it! These little guys are supposed to be comforting and delicious, so make ’em your own!
Ingredient Spotlight: Rice for Your Cozy Onigiri
Alright, let’s talk rice! I mean, it’s kinda the *star* of the show here, right? You absolutely, positively HAVE to use sushi rice for Onigiri. Don’t even think about using anything else! Sushi rice is perfect ’cause it gets super sticky when cooked, which is exactly what we need to hold those cute shapes together. Plus, it’s got this subtly sweet flavor that’s just… chef’s kiss! Trust me, splurge on the good stuff – it makes all the difference!
Variations: Simple Onigiri Ideas to Try
Okay, so you’ve nailed the basic Onigiri – awesome! Now, let’s get a little wild, shall we? Seriously, the possibilities are endless! For my veggie-loving friends, how about stuffing these little guys with some lightly sautéed mushrooms and a sprinkle of sesame seeds? So good!
Craving a kick? A little dollop of spicy mayo with some tuna? YES, please! And don’t even get me started on the nori. Did you know they make flavored nori? Like, spicy or sesame or even plum! Talk about an easy way to add a flavor bomb! Seriously, don’t be afraid to experiment! That’s how you find your all-time fave combo, right?
Make-Ahead & Freezer Tips for Your Homemade Onigiri
Okay, so life’s crazy, right? Sometimes you just don’t have time to whip up Onigiri on the spot. No worries! You can totally make these ahead of time. Just wrap ’em tightly in plastic wrap after they cool, and pop ’em in the fridge for up to 24 hours. To freeze, wrap individually, then stick ’em in a freezer bag. They’ll keep for a month! When you’re ready to eat, just thaw in the fridge and they’re good to go. Microwaving them for a few seconds helps revive the rice’s texture, trust me!
Frequently Asked Questions About Easy Onigiri
Okay, so I know you probably have, like, a million questions swirling around in your head right now. Don’t sweat it! Let’s tackle some of the most common head-scratchers about easy Onigiri!
Can I use regular rice for Onigiri?
Okay, so, technically *could* you use regular rice? Sure. But should you? Absolutely not! (Okay, maybe if you’re in a pinch). But honestly, sushi rice is the ONLY way to go! It’s what gives you that perfect stickiness for shaping, so your beautiful aesthetic Onigiri doesn’t fall apart! It’s worth it, trust me!
How long does homemade Onigiri last?
Alright, real talk – these are best eaten fresh, but I get it, leftovers happen! They’ll be good in the fridge for about a day, two max. Just make sure you wrap ’em up tight so the rice doesn’t dry out! No one wants sad, dry Onigiri, right?
What are some good vegetarian fillings for my Onigiri?
Oh, the vegetarian possibilities are endless! Think pickled veggies, like daikon radish or cucumber. Or how about some seasoned tofu? I’m also obsessed with umeboshi (pickled plum) – so tangy and delicious! Seriously, just raid your fridge and get creative!
Is there a healthy Onigiri version I could try?
Totally! Onigiri is already pretty darn healthy, but you can always boost things up! Brown sushi rice is a great swap. Load ’em up with veggies like edamame or finely chopped carrots! Using less salt in the rice mixture also helps. Easy peasy!
A Note About Nutritional Information for Your Onigiri
Okay, last thing! Just a heads-up: those nutrition facts? They’re just estimates, okay? It all depends on what fillings you use and, like, which brand of rice you grab. So, yeah, don’t take ’em as gospel!
Print
Easy Homemade Onigiri
- Total Time: 35 min
- Yield: 4 servings 1x
- Diet: Vegan
Description
Make delicious and beautiful Onigiri at home. This recipe is simple and perfect for a cozy meal.
Ingredients
- 2 cups cooked sushi rice
- 2 tablespoons rice vinegar
- 1 teaspoon salt
- Fillings of your choice (e.g., cooked salmon, tuna salad, pickled plums)
- Nori seaweed sheets
Instructions
- Prepare the rice: Mix cooked rice with rice vinegar and salt.
- Prepare fillings: Have your fillings ready.
- Shape the Onigiri: Wet your hands. Take a handful of rice and flatten it. Place filling in the center. Shape the rice into triangles or other desired shapes.
- Wrap with Nori: Wrap each Onigiri with a piece of nori seaweed.
- Serve: Enjoy your homemade Onigiri!
Notes
- Get creative with fillings.
- Use wet hands to prevent rice from sticking.
- Store leftovers in the refrigerator.
- Prep Time: 20 min
- Cook Time: 15 min
- Category: Brunch
- Method: Hand-shaped
- Cuisine: Japanese
Nutrition
- Serving Size: 1 piece
- Calories: 200
- Sugar: 2g
- Sodium: 150mg
- Fat: 2g
- Saturated Fat: 0g
- Unsaturated Fat: 1g
- Trans Fat: 0g
- Carbohydrates: 40g
- Fiber: 2g
- Protein: 4g
- Cholesterol: 0mg