 Skip to content
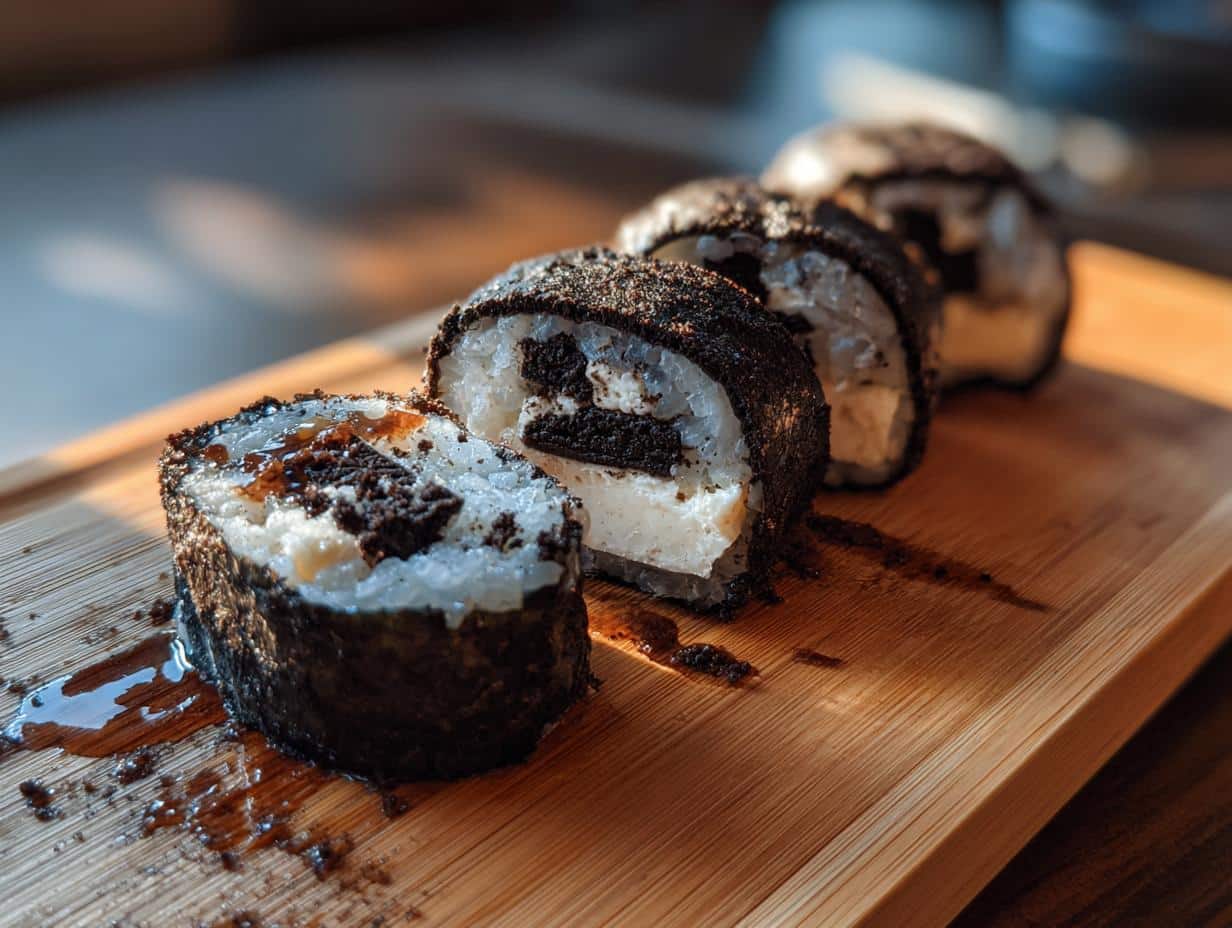
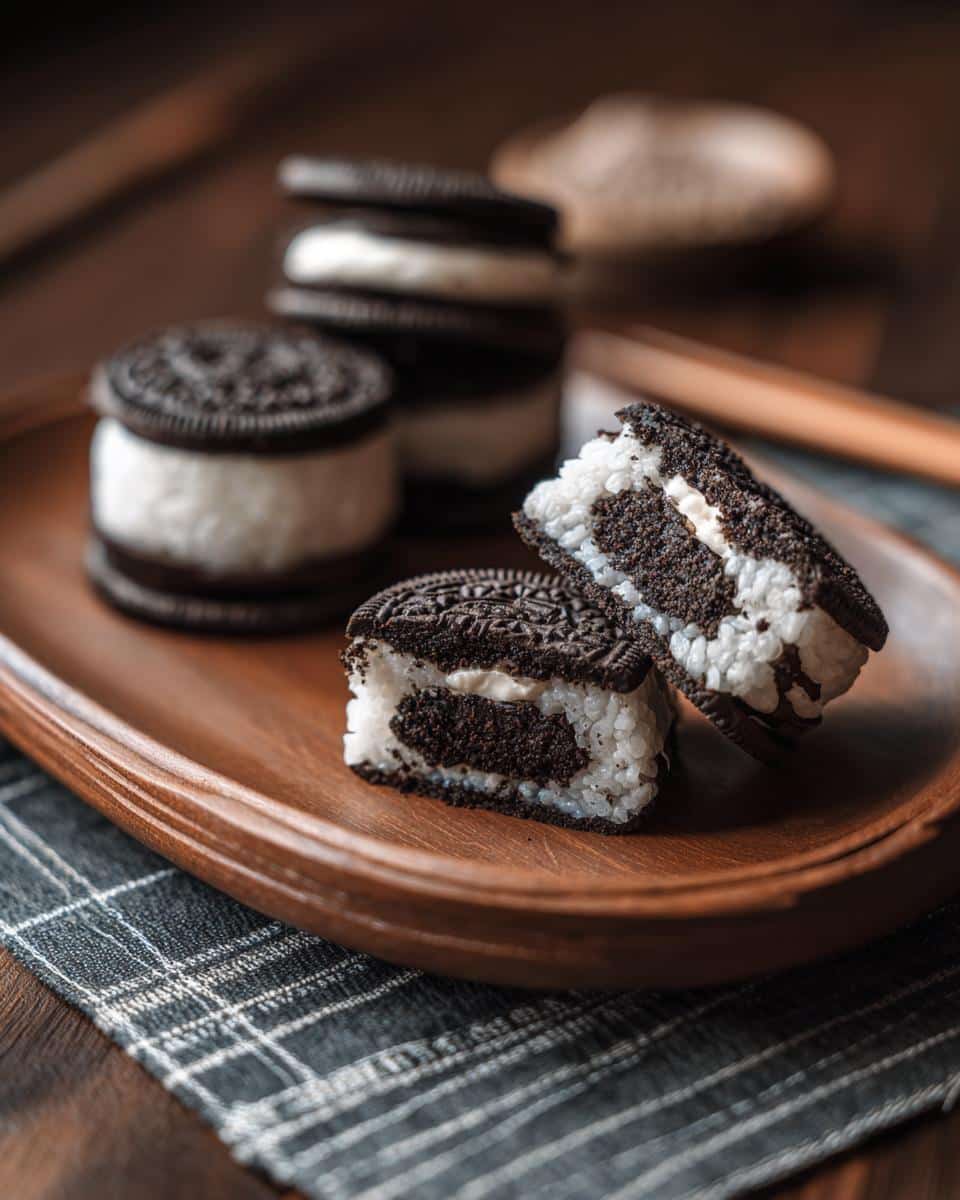
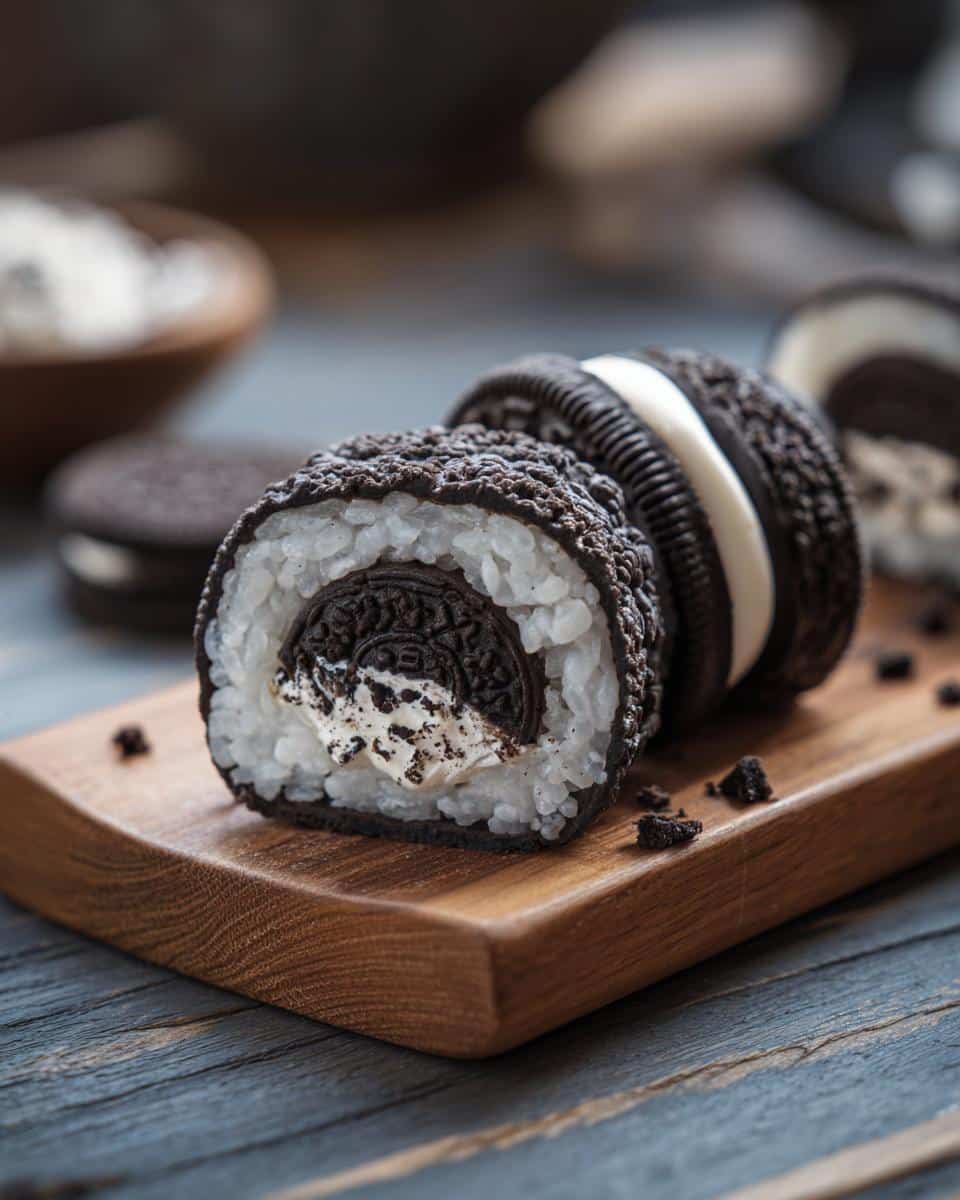
You know, sometimes I just crave something fun, something totally different, and something that’ll bring a smile to everyone’s face. That’s where this Oreo sushi comes in! It’s seriously the most adorable dessert, and the best part? It *looks* like sushi, but it’s pure Oreo goodness. I remember making this with my niece last fall, and the look on her face when she finally got to decorate them? Priceless! We were going for that trending cozy fall aesthetic, and the candy melts looked just right. Honestly, discovering easy Oreo sushi recipes has been a lifesaver for quick, crowd-pleasing treats!
Why You’ll Love This Oreo Sushi Recipe
Okay, so you’re probably wondering, “Why should I make *Oreo sushi*?” Trust me, you need this in your life! Here’s the lowdown:
- Super Quick & Easy: Seriously, if you’re short on time, this is your jam. We’re talking like, 15 minutes max!
- Kid-Friendly Fun: Get the kiddos involved! They’ll love crushing Oreos and decorating these little guys.
- Minimal Ingredients = Major Win: You probably already have most of this stuff in your pantry. Score!
- Totally Instagrammable: Let’s be real, these are *beautiful*! Get ready for all the likes. We’re going for that pinterest trending Oreo sushi aesthetic!
- No-Bake? Yes, Please!: Who wants to turn on the oven? This is a no-bake recipe which is good news for all of us!
Ingredients for Your Oreo Sushi
Alright, let’s talk ingredients! The beauty of this Oreo sushi? It’s all stuff you can easily grab from the store (or might already have!). You’ll need:
- 1 package of Oreo cookies (the regular kind work great!)
- 2 tablespoons of cream cheese, make sure it’s softened!
- 1 tablespoon of butter, also softened, because nobody wants lumpy Oreo filling!
- Candy melts – grab a few colors to make it look like real sushi!
- Sprinkles – because sprinkles make everything better!
Step-by-Step Guide: Making Your Own Oreo Sushi
Okay, ready to get your *Oreo sushi* on? Don’t worry, it’s super easy! Just follow these steps, and you’ll be a pro in no time!
- First things first: Crush those Oreos! You can use a food processor if you wanna be fancy, or just throw ’em in a zip-top bag and go to town with a rolling pin. Just make sure you get them into really fine crumbs!
- Next up, the filling. In a bowl, mix those Oreo crumbs with the softened cream cheese and butter. Get in there with your hands (it’s more fun!), or use a spoon if you’re feeling proper. You’re aiming for a texture that’s kinda like wet sand – you know, it sticks together when you squish it.
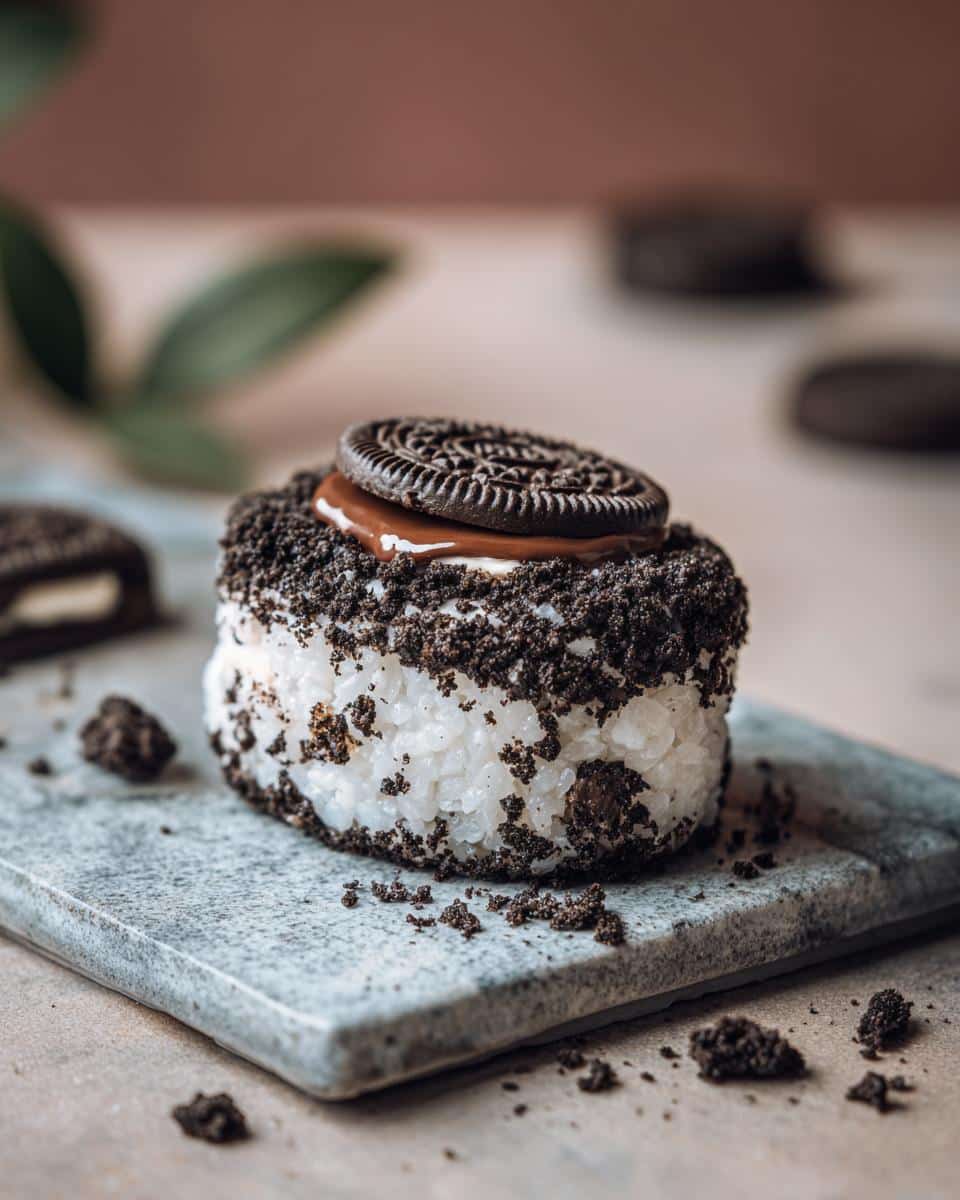
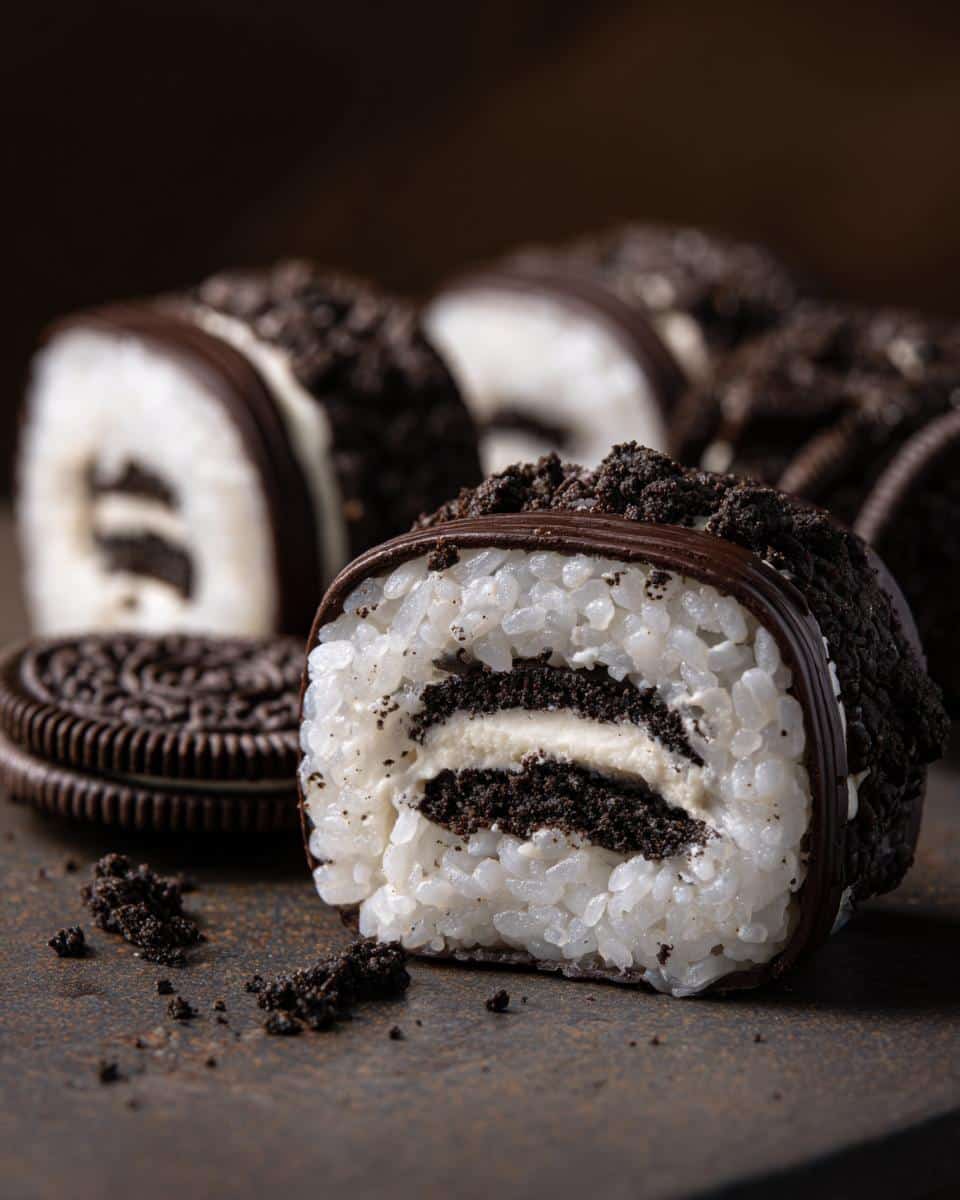
- Now for the “sushi” part! Grab a chunk of that Oreo mixture and roll it into a log shape. Don’t worry if it’s not perfect; sushi chefs aren’t born overnight, right?
- Candy time! Melt your candy melts according to the package directions. Careful, sometimes they can get a little *too* hot. I usually microwave in 30-second intervals, stirring in between, to avoid any mishaps.
- Okay, this is where it gets fun! Dip each Oreo roll in the melted candy. I find it easiest to use a fork to roll them around so they’re fully coated. Let the extra candy drip off.
- Sprinkles, sprinkles, sprinkles! While the candy is still wet, sprinkle those decorations all over. Go wild!
- Last but not least: Chill time! Pop those babies in the fridge for about 15 minutes to let everything set. This is important! Otherwise, they’ll be a melty mess. Then, slice ’em up and serve! You’ll get the best looking beautiful oreo sushi possible!
Tips for the Best Oreo Sushi
Want to make your *Oreo sushi* even better? Of course, you do! Here’s the inside scoop on how to take these treats to the next level:
- Get those crumbs *fine*: Seriously, a food processor makes all the difference here. You’ll get super-fine crumbs for a smoother filling. Trust me on this one!
- Chill Out (Seriously): That filling can get sticky, right? Pop it in the fridge for 15-20 minutes before you start shaping. It’ll be *so* much easier to work with.
- Parchment Paper is Your Friend: Line your plate or tray with parchment paper before you dip and decorate. Cleanup will be a breeze, and your *Oreo sushi* won’t stick.
- Don’t Overload on Candy Melts: A thin coat is all you need! Too much, and they’ll be overly sweet and a bit messy. Plus, you wanna see those pretty sprinkles!
- Get Creative with Decoration: Don’t just stick to sprinkles! Try shredded coconut (it looks like rice!), mini chocolate chips, or even edible glitter. Go wild!
Variations on This Oreo Sushi Idea
Okay, so you’ve mastered the basic *Oreo sushi*. Time to get a little wild! Here are a couple of fun twists to try:
- Flavor Blast: Swap out the classic Oreos for different flavors! Golden Oreos? Mint Oreos? Birthday Cake Oreos? The possibilities are endless! My favorite part is experimenting with which candy melts pair best!
- Peanut Butter Power: Add a spoonful (or two!) of peanut butter to the Oreo filling. Trust me, the salty-sweet combo is *amazing*. Just make sure everyone’s okay with peanuts, of course!
- Nutty Delight: Skip the sprinkles and roll those *Oreo sushi* rolls in chopped nuts instead. Almonds, pecans, walnuts… whatever you’re in the mood for!
How to Store Your Delicious Oreo Sushi
Alright, so you’ve made a batch of these adorable Oreo sushi treats, and somehow…you haven’t eaten them all in one sitting (I’m impressed!). Here’s how to keep ’em fresh and tasty:
Pop them in an airtight container and stash them in the fridge. They’ll stay good for about 3-4 days…if they last that long! I haven’t tried freezing them (they never stick around long enough!), but I suspect the candy melts might get a little weird. Still, the fridge is your friend here!
Frequently Asked Questions About Oreo Sushi
Can I use a different type of cookie?
Absolutely! While Oreos are classic for Oreo sushi, don’t let that stop you! I’ve tried it with chocolate chip cookies (crumbled, of course!), and even those biscoff cookies for a slightly spiced flavor. Just make sure they’re fairly dry cookies so the filling consistency stays correct!
Can I make this ahead of time?
You bet! Actually, I almost *recommend* it. Making your Oreo sushi a day in advance gives the flavors a chance to meld together, and they’ll be perfectly chilled when you’re ready to serve. Just store ‘em in an airtight container in the fridge.
How long will Oreo sushi last?
In my experience (if they aren’t immediately devoured!), Oreo sushi will stay good in the fridge for about 3-4 days. After that, the cookies might start to get a little soft. But honestly, they’re so easy to make, you can always whip up a fresh batch!
Is there a healthier Oreo sushi version I can make?
Hmm, “healthy” and “Oreo” aren’t usually in the same sentence, but you *could* try using a lower-sugar cream cheese or dark chocolate candy melts. You could even try using gluten-free Oreos if you have those dietary considerations to accommodate!
Estimated Nutritional Information for Oreo Sushi
Okay, so I’m not gonna pretend these are *health food*, but hey, everything in moderation, right? Here’s a *very* rough estimate of the nutritional info per piece (and remember, this can vary wildly depending on how much candy you use!): Calories, fat, protein, carbs, sugar…the whole shebang. Just remember, it’s an estimate!
Enjoyed This Oreo Sushi Recipe? Leave a Comment Below!
So, did you have as much fun making these Oreo sushi treats as I do? Let me know in the comments! I’d love to hear about your variations and decorating ideas. Don’t forget to rate the recipe and share it on social media – let’s spread the Oreo sushi love!
Print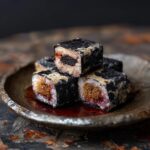
Oreo Sushi
- Total Time: 15 min
- Yield: 6 servings 1x
- Diet: Vegetarian
Description
A fun and easy dessert recipe that looks like sushi, using Oreos and other simple ingredients.
Ingredients
- 1 package Oreo cookies
- 2 tablespoons cream cheese, softened
- 1 tablespoon butter, softened
- Candy melts (various colors)
- Sprinkles for decoration
Instructions
- Crush the Oreo cookies into fine crumbs.
- Mix the Oreo crumbs with softened cream cheese and butter until well combined.
- Shape the mixture into sushi rolls.
- Melt candy melts according to package directions.
- Dip the sushi rolls in melted candy melts.
- Decorate with sprinkles.
- Chill in the refrigerator for 15 minutes before serving.
Notes
- You can use different colors of candy melts to create various sushi styles.
- Feel free to add other toppings like shredded coconut or chopped nuts.
- Prep Time: 15 min
- Cook Time: 0 min
- Category: Dessert
- Method: No-Bake
- Cuisine: American
Nutrition
- Serving Size: 1 piece
- Calories: 150
- Sugar: 15g
- Sodium: 50mg
- Fat: 8g
- Saturated Fat: 4g
- Unsaturated Fat: 3g
- Trans Fat: 0g
- Carbohydrates: 20g
- Fiber: 1g
- Protein: 1g
- Cholesterol: 5mg