 Skip to content
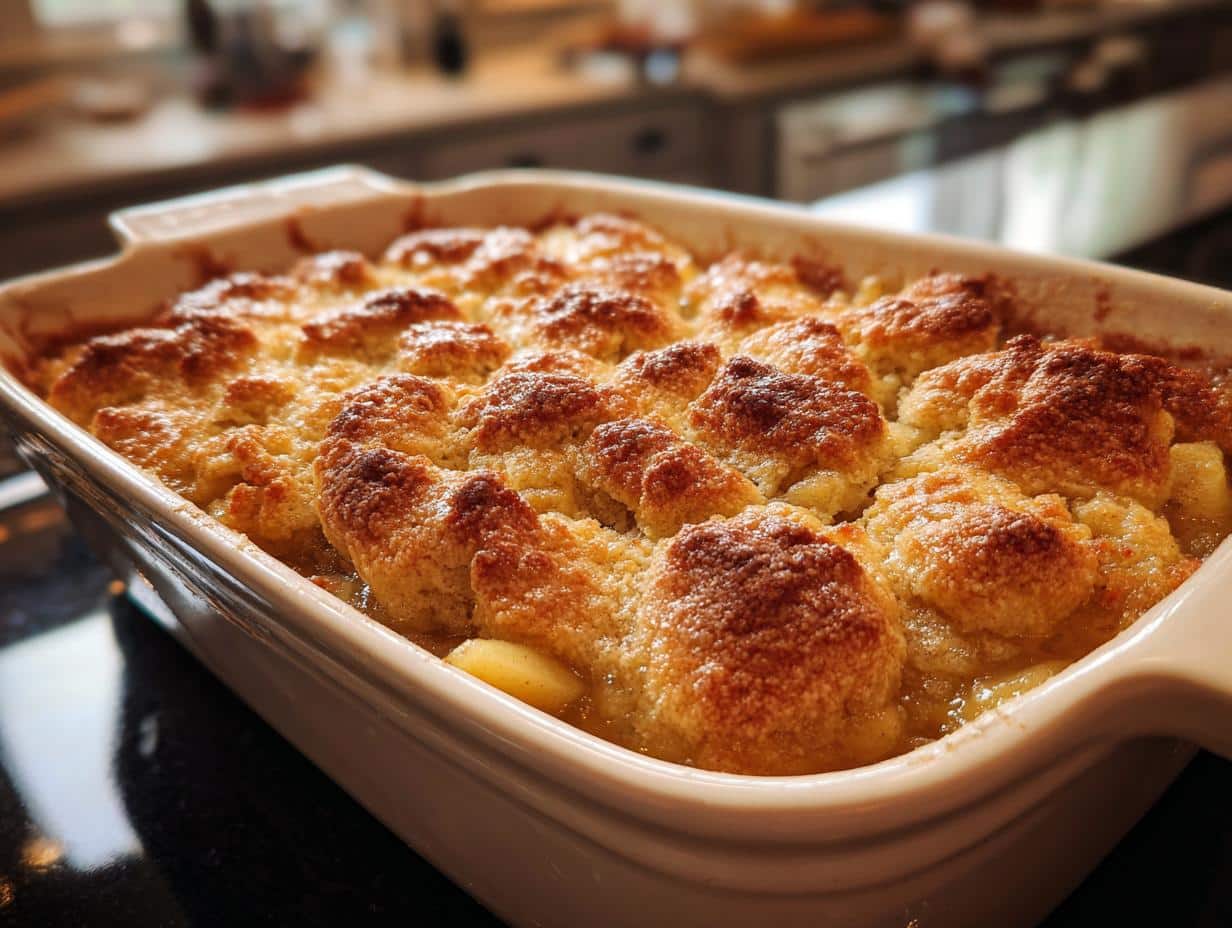
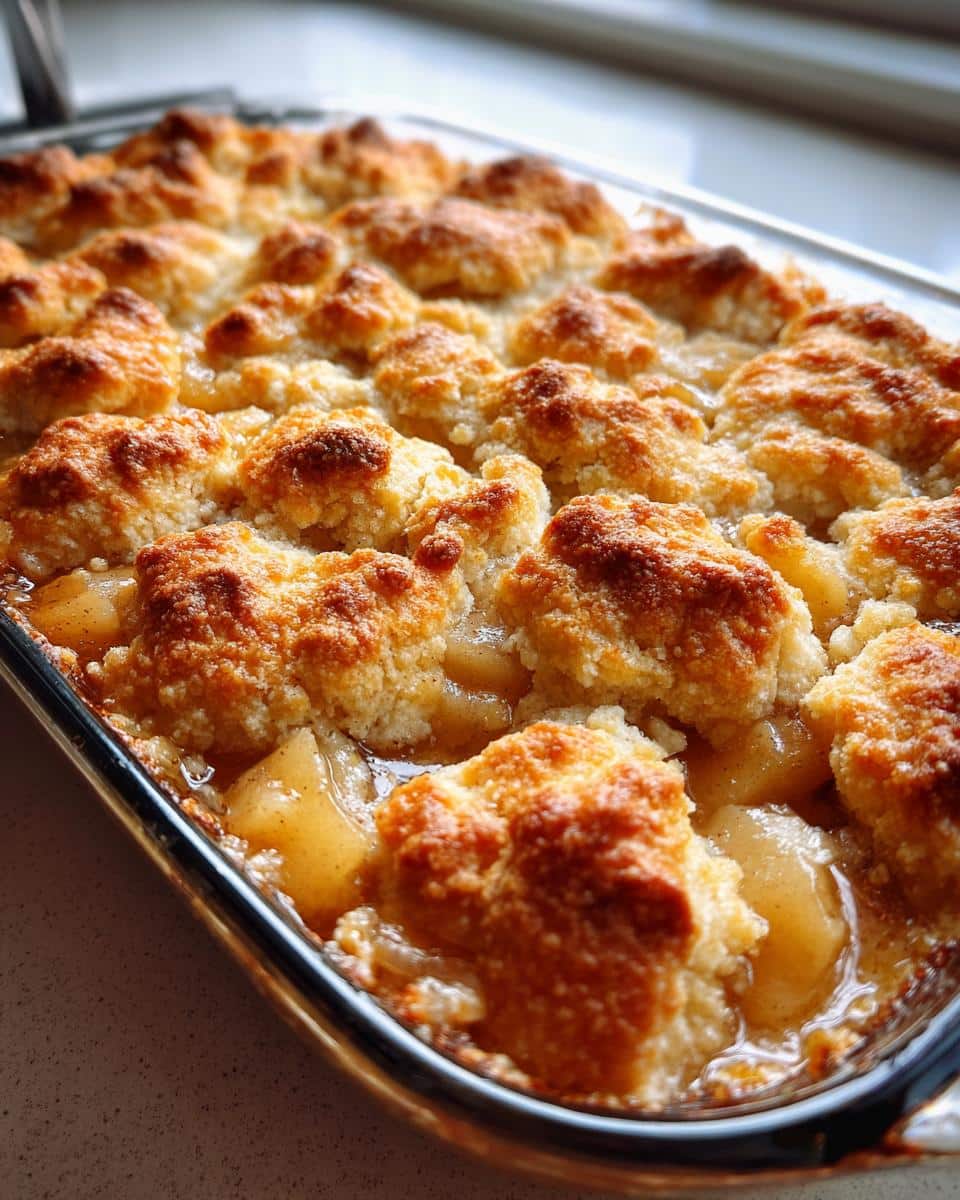
Oh, pear cobbler! It’s honestly one of those desserts that just feels like a warm hug, especially when you get it just right. And trust me, this pear cobbler recipe is my go-to when I want something utterly delicious without a fuss. I’ve tinkered with so many fruit desserts over the years, but this one? It’s a winner every single time. It’s so simple, but the flavor is just incredible – sweet, tender pears with a perfectly golden, slightly fluffy biscuit topping. You’re going to absolutely love how easy it is to whip up, even on a weeknight!
Why You’ll Love This Pear Cobbler
Seriously, what’s not to love about this easy pear cobbler? It’s the perfect dessert for so many reasons:
- Super Simple: You don’t need to be a pastry chef for this one. The steps are straightforward, making it totally doable for anyone!
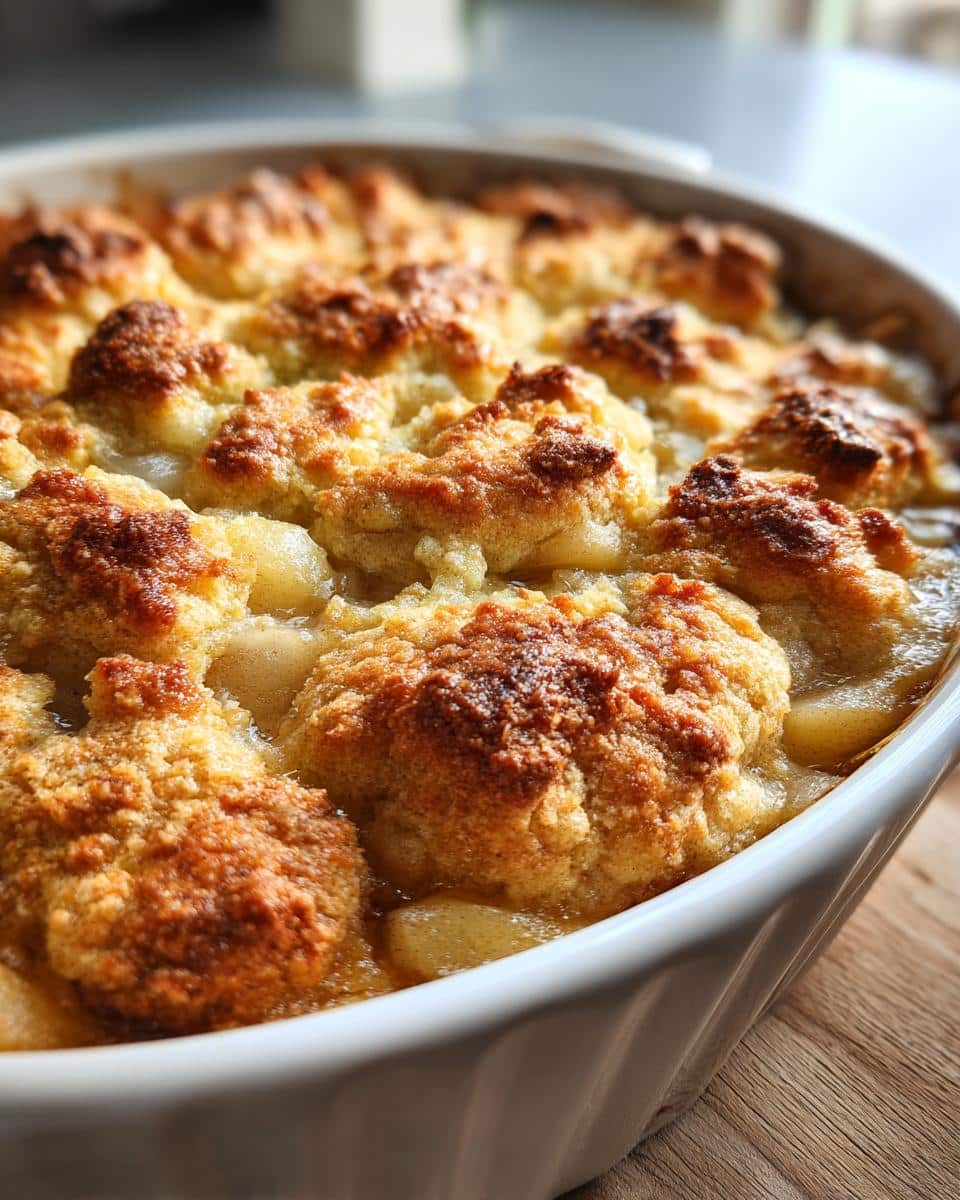
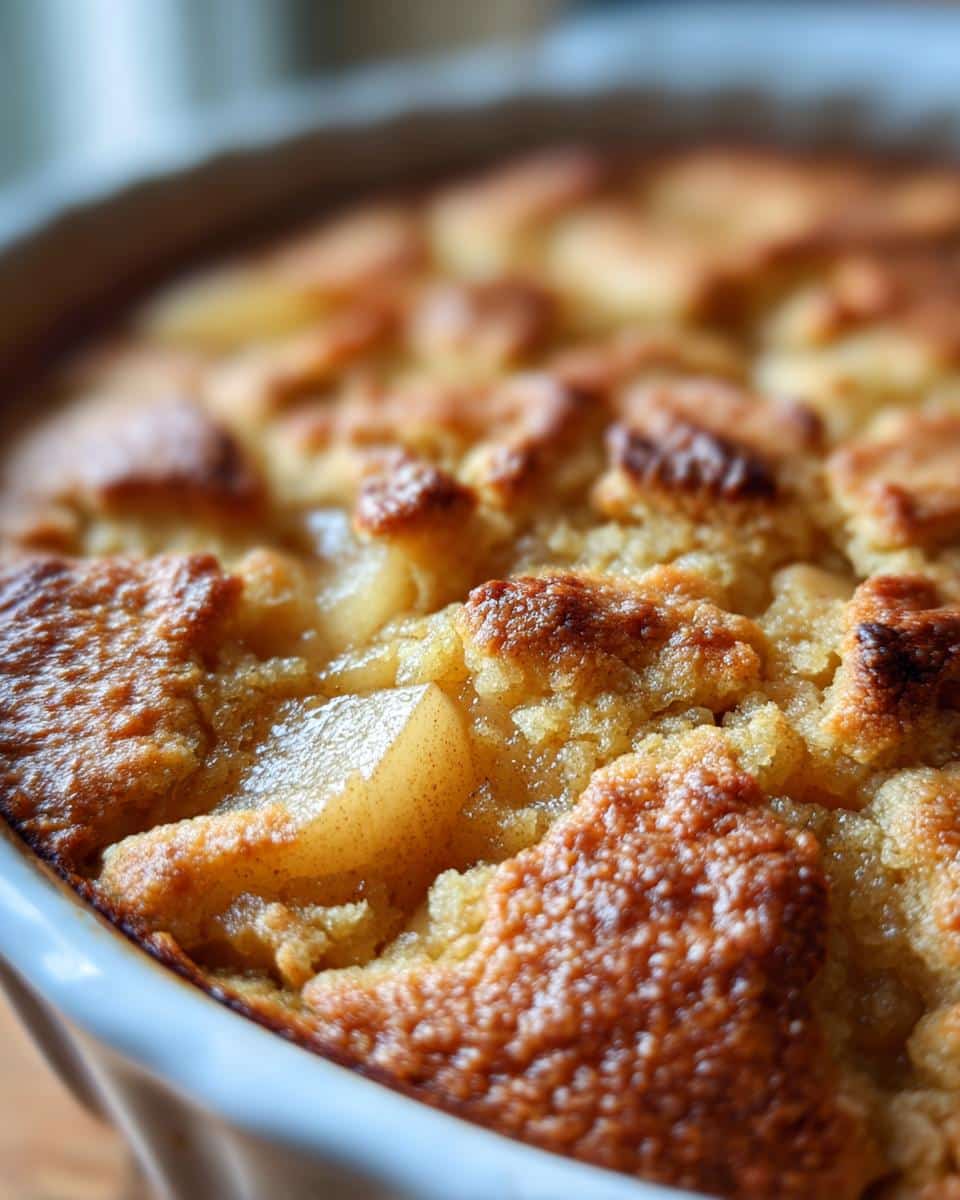
- Deliciously Comforting: The tender, spiced pears bubbling under a golden biscuit topping? Pure comfort food magic.
- Versatile: It’s fantastic for a cozy weeknight treat, a casual get-together, or even a special holiday dessert.
- Quick to Make: Most of the magic happens in the oven, so you can get this amazing dessert on the table without spending all day in the kitchen.
Gather Your Ingredients for Pear Cobbler
Alright, let’s get our mise en place ready for this amazing pear cobbler! Having everything prepped makes the whole process so much smoother, and honestly, it’s half the fun. When I’m picking out my pears, I always look for ones that are ripe but still firm to the touch. You want them to be sweet and give a little when you gently press them, but not so soft that they’ll turn to mush when you slice them. Varieties like Bosc or Anjou are usually my favorites for cobblers because they hold their shape so well. So, here’s what you’ll need:
Essential Ingredients for Your Pear Cobbler
- 6 ripe pears, peeled, cored, and sliced. Aim for about 1/4 to 1/2 inch thick slices.
- 1/2 cup granulated sugar for the pear filling.
- 1 tablespoon lemon juice. This brightens up the pear flavor and helps keep them from browning too much.
- 1 teaspoon ground cinnamon. It’s just not fall (or any cozy season!) without cinnamon.
- 1/4 teaspoon ground nutmeg. A little goes a long way, but it adds such a lovely warmth.
- 1 cup all-purpose flour for our biscuit topping.
- 1/4 cup granulated sugar for the topping.
- 1 teaspoon baking powder to give our topping a nice lift.
- 1/4 teaspoon salt to balance out the sweetness.
- 1/2 cup cold unsalted butter, cut into little cubes. Keeping the butter cold is super important for a flaky topping!
- 1/4 cup milk. Whole milk works best for richness, but any milk will do!
How to Prepare the Perfect Pear Cobbler
Alright, let’s get this delicious pear cobbler into the oven! It’s a pretty straightforward process, but a few little things can make all the difference. First things first, go ahead and preheat your oven to 375°F (190°C). This is crucial because you want that oven nice and hot so everything bakes up perfectly. While that’s heating, we’ll get our star ingredients ready.
Preparing the Pear Filling for Your Pear Cobbler
Grab a big bowl, because we’re going to toss those lovely sliced pears. You want to add the 1/2 cup of sugar, the lemon juice, cinnamon, and nutmeg right in there with the pears. Give it all a good, gentle stir until every pear slice is coated in that yummy spice mixture. Don’t be afraid to really get in there and mix it up! Then, pour this beautiful pear mixture into your 8×8 inch baking dish. Try to spread it out evenly so you get that lovely bubbly pear goodness all over. This is where all that gorgeous fruit flavor really starts to develop.
Crafting the Biscuit Topping for Your Pear Cobbler
Now for the best part – the biscuit topping! In a separate bowl, whisk together your flour, the other 1/4 cup of sugar, baking powder, and salt. This is your dry base. Next, you need to cut in that cold butter. I usually just use my fingertips for this, rubbing the butter into the flour mixture until it looks like coarse crumbs, kind of like you’re making pie crust. Make sure those butter pieces are small but still visible – that’s what makes the topping tender. Then, pour in your milk and stir it *just* until it all comes together into a soft, slightly sticky dough. Don’t overmix it, or your topping can get tough! Just drop spoonfuls of this dough right over the pears in the baking dish. It doesn’t need to be perfect; rustic is good!
Baking and Cooling Your Pear Cobbler
Pop that dish into your preheated oven. Bake it for about 35 to 45 minutes. You’ll know it’s ready when the biscuit topping is a beautiful golden brown and you can see the pear filling bubbling up around the edges. Oh, that smell is just heavenly! Once it’s out of the oven, let it sit for about 10-15 minutes before you dig in. This lets the filling settle down a bit and prevents you from burning your tongue on molten fruit, which nobody wants!
Tips for Baking a Flawless Pear Cobbler
Getting that perfect pear cobbler really comes down to a few little tricks! First off, remember what I said about pear ripeness? Using pears that are just right – ripe but firm – is key to avoiding a mushy filling. If your pears are a little too soft, maybe reduce the baking time slightly. Another thing that can happen is a soggy bottom, and nobody wants that! To help prevent it, make sure your oven is fully preheated before the cobbler goes in. That initial blast of heat helps set the bottom crust. Also, don’t overcrowd the dish with pears; leave a little room for the topping to expand. For that gorgeous golden-brown topping, if yours is browning too quickly before the filling is bubbly, you can always loosely tent the cobbler with foil for the last 10-15 minutes of baking. Happy baking!
Variations to Customize Your Pear Cobbler
One of the best things about this pear cobbler is how easy it is to switch things up! If you’re feeling adventurous, try adding a pinch of cardamom or a touch of ginger along with the cinnamon and nutmeg for a little extra spice kick. Chopped pecans or walnuts sprinkled over the pear filling before adding the biscuit topping add a lovely crunch. And of course, you can absolutely swap out the pears for other fruits – apples are a classic, but peaches or even a mix of berries work beautifully in this cobbler too. Get creative and make it your own!
Serving Suggestions for Your Pear Cobbler
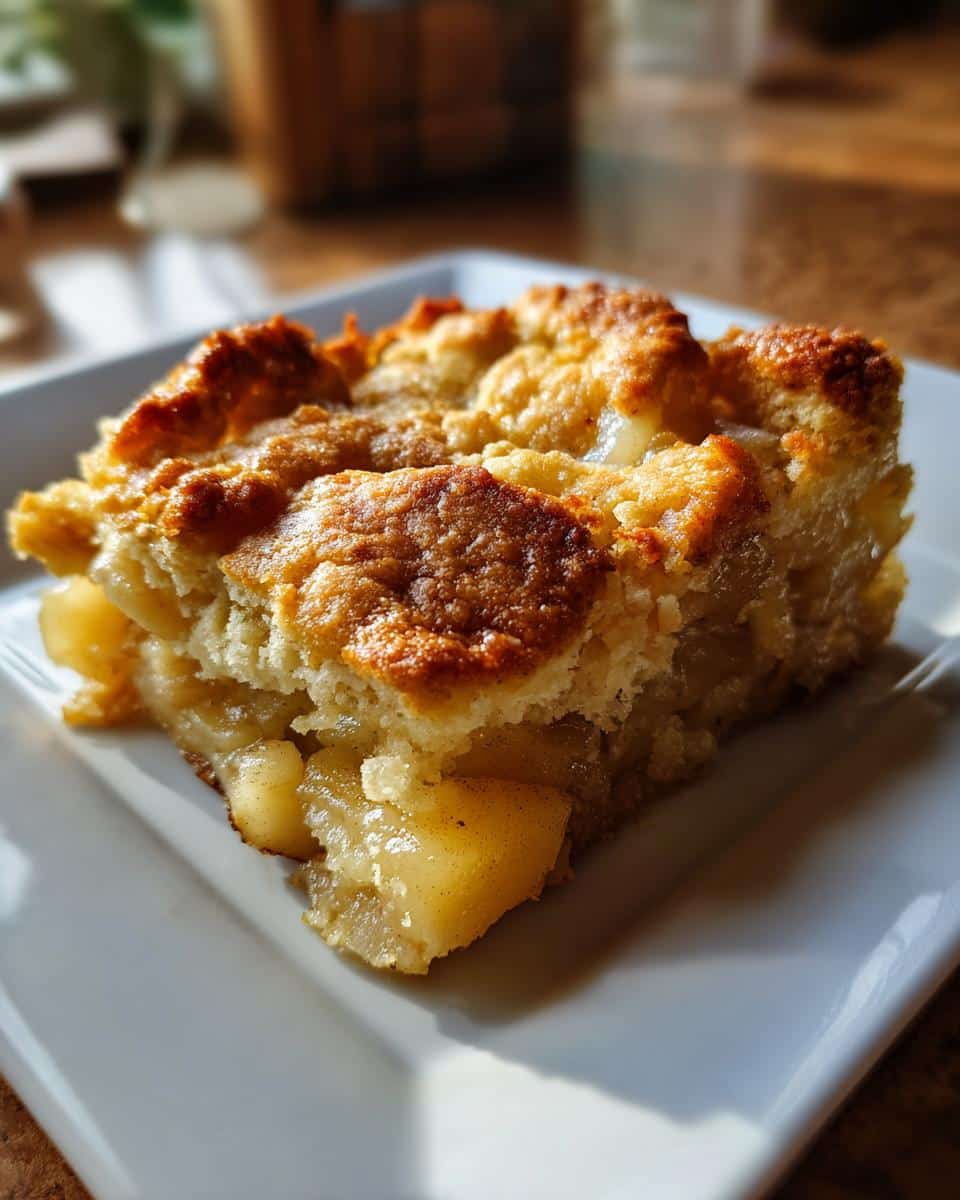
This warm, bubbly pear cobbler is absolutely delightful all on its own, but oh my goodness, serving it with something creamy takes it to a whole new level! My favorite way to enjoy it is with a big scoop of vanilla bean ice cream – the contrast of the warm, spiced fruit and the cold, creamy ice cream is just heavenly. A dollop of freshly whipped cream is also fantastic, or even a drizzle of caramel sauce if you’re feeling extra indulgent. It really makes the whole dessert sing!
Storing and Reheating Your Pear Cobbler
So, you have some leftover pear cobbler? Lucky you! To keep it fresh, just let it cool completely, then cover it tightly with plastic wrap or pop it into an airtight container. It should stay good in the fridge for about 3-4 days. When you’re ready for more, reheating is super easy. My favorite way to bring it back to life is in the oven at around 350°F (175°C) for about 10-15 minutes, just until it’s warmed through and that topping is crisp again. You can also microwave it, but be careful, as the fruit can get really hot fast, and the topping might not get as nice and crispy.
Frequently Asked Questions about Pear Cobbler
Got questions about making the best pear cobbler? I’ve got you covered! Here are some common ones that pop up:
Q1. Can I use canned pears for this cobbler recipe?
While fresh pears are definitely my favorite for this pear cobbler because of their texture, you *can* use canned pears in a pinch. Just make sure to drain them really well! You might even want to reduce the added sugar a little, as canned fruits are often packed in syrup. The flavor won’t be quite the same, but it’ll still be a delicious fruit dessert!
Q2. My cobbler topping turned out a bit soggy. What did I do wrong?
Oh, the dreaded soggy bottom! This usually happens if the oven wasn’t hot enough when the cobbler went in, or if the fruit filling was too watery. Make sure your oven is fully preheated to 375°F (190°C). If your pears seem really juicy, you can try draining off some of the liquid after tossing them with the sugar and spices before putting them in the baking dish. Baking it on a lower rack for the first half of the cooking time can also help crisp up the bottom.
Q3. Can I make this pear cobbler ahead of time?
You can definitely prepare the pear filling and the biscuit topping separately ahead of time. Store the pear mixture covered in the fridge, and keep the dry topping ingredients mixed together. Cut in the butter and add the milk right before you’re ready to assemble and bake. This keeps the topping nice and tender! Assembled cobblers are best baked fresh, though.
Q4. What other spices work well in pear cobbler?
Cinnamon and nutmeg are classics for a reason, but feel free to experiment! A little bit of ground ginger adds a lovely warmth, or you could even add a pinch of cardamom for a more exotic flavor. Some people like a touch of allspice too. Just add them in with the cinnamon and nutmeg when you’re mixing the pears.
Estimated Nutritional Information for Pear Cobbler
Just a heads-up, the nutritional info for this amazing pear cobbler is an estimate, as things can vary a bit depending on exactly what you use. But generally, each serving (which is about 1/8th of the whole cobbler) comes in around 350 calories. You’re looking at about 15g of fat, with 9g of that being saturated fat, and around 55g of carbohydrates, including about 40g of sugar. It also offers about 4g of protein. It’s a pretty satisfying dessert!
Share Your Pear Cobbler Creations
I just love hearing about your baking adventures! If you whip up this pear cobbler, please tell me all about it in the comments below. Did you try any fun variations? How did it turn out? I’d also be thrilled if you shared a photo – you can tag me on social media! Your feedback and photos really make my day and help other bakers too!

Easy Pear Cobbler: Pure Comfort in 1 Bite
- Total Time: 1 hour 5 minutes
- Yield: 6-8 servings 1x
- Diet: Vegetarian
Description
A simple and delicious pear cobbler recipe with a tender biscuit topping.
Ingredients
- 6 ripe pears, peeled, cored, and sliced
- 1/2 cup granulated sugar
- 1 tablespoon lemon juice
- 1 teaspoon ground cinnamon
- 1/4 teaspoon ground nutmeg
- 1 cup all-purpose flour
- 1/4 cup granulated sugar
- 1 teaspoon baking powder
- 1/4 teaspoon salt
- 1/2 cup cold unsalted butter, cut into pieces
- 1/4 cup milk
Instructions
- Preheat your oven to 375°F (190°C).
- In a large bowl, toss the sliced pears with 1/2 cup sugar, lemon juice, cinnamon, and nutmeg. Pour the pear mixture into an 8×8 inch baking dish.
- In a separate bowl, whisk together the flour, 1/4 cup sugar, baking powder, and salt.
- Cut in the cold butter using a pastry blender or your fingertips until the mixture resembles coarse crumbs.
- Stir in the milk until just combined to form a soft dough.
- Drop spoonfuls of the dough over the pear mixture in the baking dish.
- Bake for 35-45 minutes, or until the topping is golden brown and the pears are tender and bubbly.
- Let cool slightly before serving.
Notes
- Serve warm with vanilla ice cream or whipped cream.
- You can use other fruits like apples or peaches.
- Adjust spices to your preference.
- Prep Time: 20 minutes
- Cook Time: 45 minutes
- Category: Dessert
- Method: Baking
- Cuisine: American
Nutrition
- Serving Size: 1 serving (1/8th of cobbler)
- Calories: 350
- Sugar: 40g
- Sodium: 150mg
- Fat: 15g
- Saturated Fat: 9g
- Unsaturated Fat: 6g
- Trans Fat: 0g
- Carbohydrates: 55g
- Fiber: 4g
- Protein: 4g
- Cholesterol: 40mg