
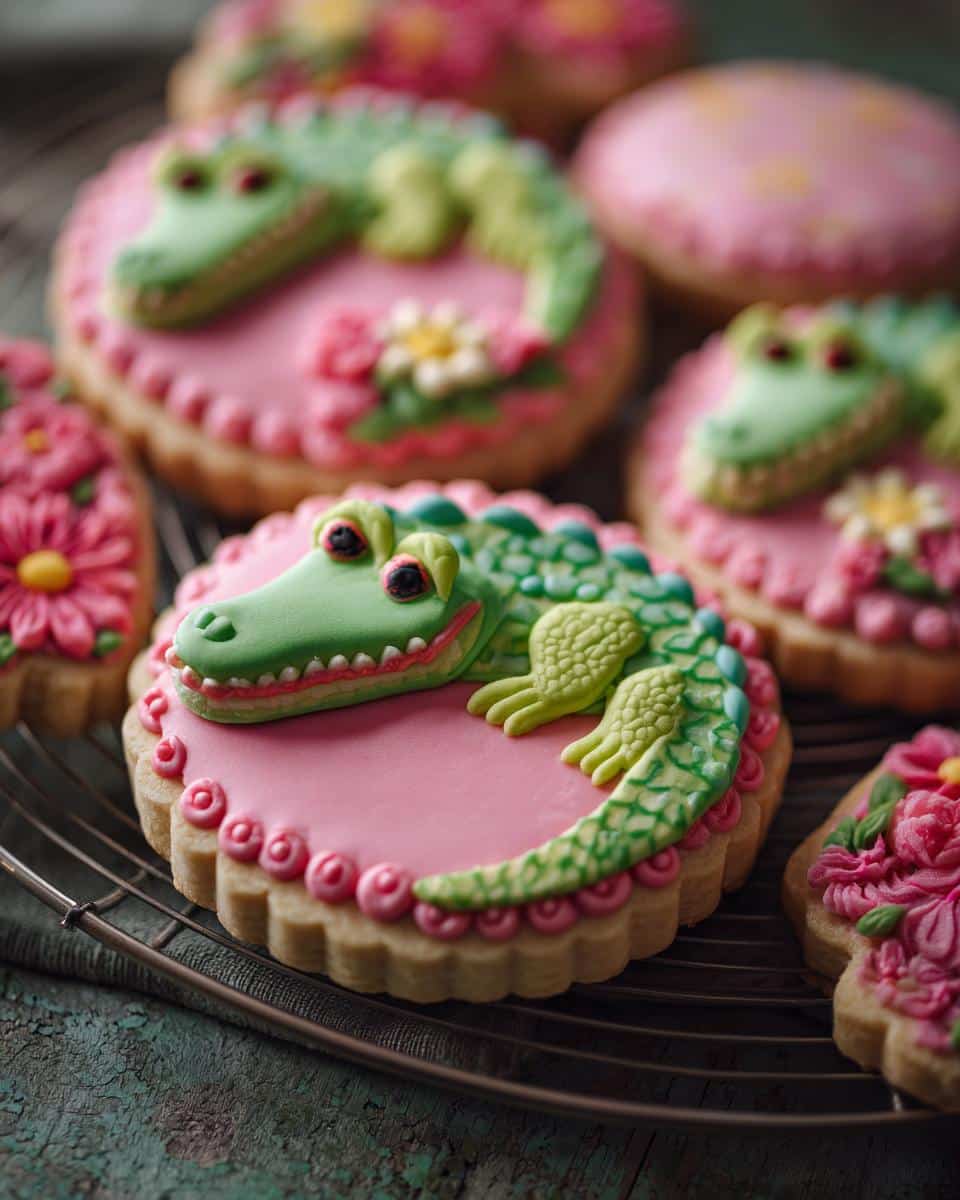
Okay, let’s talk cookies – *simple spring decorated cookies*, to be exact! Now, I know what you might be thinking: “Decorated cookies? That sounds complicated, Max!”. But trust me, these are anything but. This is all about easy, breezy baking that even the littlest hands can help with. I remember when my granddaughter, Lily, first helped me make spring cookies, must have been 6 years ago. Well, instead, almost all the sprinkles ended up on the floor than on cookies. But, hey, those are the memories that stick with you, right? These aren’t like those fancy, intimidating cookies you see in magazines. I promise! I want to share cookies, not to show complicated skills. This method is all about simple fun, colorful decorations, and, most importantly, deliciousness! Spring is the perfect time to whip up a batch of these *simple spring decorated cookies*, and I’m going to show you exactly how to do it.
Why You’ll Adore These Simple Spring Decorated Cookies
Okay, so why *these* cookies? Let me tell you. I think you’re going to love them. Here’s why:
- Easy peasy prep! I mean it. Even if you’re a beginner, you can rock these.
- They taste AMAZING. Seriously, buttery and sweet – what’s not to love?
- You can decorate them however you want! Get creative with colors and shapes.
- Perfect for Easter, Mother’s Day, or just a sunny spring afternoon.
Basically, they’re fun, festive, and fool-proof. What more could you want?
Ingredients for Simple Spring Decorated Cookies
Alright, let’s gather our goodies! Here’s what you’ll need to make a batch of these adorable cookies:
- 1 cup all-purpose flour
- 1/2 cup unsalted butter, softened (and I mean *softened*, not melted!)
- 1/4 cup granulated sugar
- 1 large egg
- 1/2 teaspoon vanilla extract (the real stuff, please!)
- Powdered sugar, for dusting
- Food coloring, for decorating. (Gel food coloring works best!)
Simple enough, right? Most of this you probably already have in your pantry.
How to Make Simple Spring Decorated Cookies
Okay, here’s the fun part! Let’s get baking. Don’t worry, it’s easier than you think. I even like to listen to some good music while I make cookies, it makes the process fun!
- First things first: Cream together your softened butter and sugar. Get it nice and fluffy! I use a hand mixer, but you can totally do it by hand if you’re feeling ambitious.
- Next, beat in that egg and vanilla extract. Mmm, that vanilla smell is just the best, isn’t it?
- Gradually add the flour, mixing until a dough forms. Don’t overmix! Just until it comes together.
- Wrap the dough in plastic wrap and chill it in the fridge for about 30 minutes. This is important! It helps the cookies keep their shape.
- While the dough is chilling, preheat your oven to 350°F (175°C).
- Once the dough is chilled, lightly flour your work surface. Roll out the dough to about 1/4 inch thickness.
- Grab your favorite cookie cutters and cut out some cute spring shapes! I love using flowers, butterflies, and little chicks.
- Place the cookies on an ungreased baking sheet and bake for 8-10 minutes. Keep an eye on them! You want the edges to be lightly golden.
- Let the cookies cool completely on a wire rack.
- Now, for the decorating! Mix powdered sugar with a little water (or milk) to make a simple icing. Add food coloring to get your desired shades.
- Decorate away! Get creative. Use sprinkles, candies, whatever you like.
See? Easy peasy! These simple spring decorated cookies are so fun to make, and they taste amazing. Get the kids involved – they’ll love it!
Tips for Perfect Simple Spring Decorated Cookies
Want to make sure your cookies turn out picture-perfect? I got you! Here are some of my favorite tips for success:
- Cookie cutters are your best friend! Think spring: flowers, bunnies, eggs… you name it.
- Don’t be afraid to play with food coloring! A little goes a long way, so start with a drop or two and mix well. You can always add more!
- Chilling the dough is KEY. Seriously, don’t skip this step. It prevents the cookies from spreading too much in the oven. Nobody wants a blobby bunny!
- If your icing is too thick, add a tiny bit more water or milk. Too thin? Add more powdered sugar. It’s all about finding the right consistency.
Follow these tips and you’ll be a simple spring decorated cookie pro in no time!
Ingredient Notes and Substitutions for Simple Spring Decorated Cookies
Okay, let’s talk ingredients! Sometimes, you gotta make do with what you have, right? Or maybe you have dietary restrictions. Here are a few notes and easy swaps you can make when whipping up these simple spring decorated cookies:
- **All-Purpose Flour:** Wanna go gluten-free? No problem! Just swap in your favorite gluten-free blend. I’ve had good luck with King Arthur’s. Just be sure to follow the package instructions, as some blends need a little extra binding agent.
- **Vanilla Extract:** Almond extract? Lemon extract? Go wild! These cookies are a blank canvas, flavor-wise. A little citrus zest would be lovely too.
- **Butter:** Okay, butter is best, but if you *really* need a substitute, use a good quality vegan butter. The taste will be different, but still yummy!
Don’t be afraid to experiment a bit to make these cookies yours!
Variations on Simple Spring Decorated Cookies
Alright, so you’ve got the basic recipe down. Now, let’s get a little crazy, shall we? Here are some fun ways to jazz up your simple spring decorated cookies. I love to spice things up, you know? Hehe! Also, have you checked out these Wildflower Cupcakes, maybe it gives you the inspiration for your next batch of cookies.
- **Spice it up!** Add a pinch of cinnamon, nutmeg, or even cardamom to the dough for a warm, cozy flavor. I bet a little lemon zest would be divine, too!
- **Extracts are your friend!** Swap out the vanilla extract for almond extract, lemon extract, or even orange extract. Yum!
- **Herbs, yes Herbs!** You can use ground dried herbs to make these cookies extra special.
- **Sprinkles, sprinkles, sprinkles!** Okay, this one’s a no-brainer, but seriously, don’t underestimate the power of sprinkles. Use different colors and shapes for a festive look. Edible glitter? Yes, please!
The possibilities are endless! Get creative and have fun with it!
FAQ About Simple Spring Decorated Cookies
Got questions? I got answers! Here are a few of the most common questions I get asked about these simple spring decorated cookies:
Can I freeze the cookie dough?
You betcha! Just wrap it tightly in plastic wrap and pop it in the freezer. It’ll keep for up to a month. When you’re ready to bake, thaw it overnight in the fridge. Easy peasy!
How long do the decorated cookies last?
Well, if you can resist eating them all in one sitting (which is a challenge, I know!), they’ll last for about 3-4 days in an airtight container at room temperature. The simple icing might soften a bit after a couple of days, but they’ll still taste delicious!
Can I use different food coloring?
Absolutely! Gel food coloring is my personal favorite because it’s so vibrant, but liquid food coloring works just fine too. The color might not be quite as intense, so you might need to use a little more. And if you’re feeling adventurous, try using natural food coloring made from fruits and vegetables!
Can I make these cookies ahead of time?
For sure! That’s another reason why these simple spring decorated cookies are so great. You can bake the cookies a day or two in advance, then decorate them whenever you have time. Just store them in an airtight container until you’re ready to get your creative on!
Estimated Nutritional Information for Simple Spring Decorated Cookies
Okay, so here’s the nitty-gritty! Just so you know, this is a super rough estimate, but here’s what one of these simple spring decorated cookies might clock in at:
- Calories: 75
- Fat: 4g
- Protein: 1g
- Carbs: 8g
Keep in mind, this will totally depend on how much icing and sprinkles you pile on! Consider it a tasty guideline!
Enjoy Your Simple Spring Decorated Cookies!
There you have it! Easy spring decorated cookies that are almost too pretty to eat. I really hope you give these a try. And when you do, pretty please leave a comment below and let me know how they turned out? Or snap a pic and share it on social media! I love seeing your creations!
Print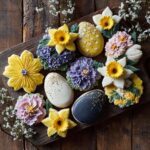
Simple Spring Decorated Cookies
- Total Time: 30 min
- Yield: 24 cookies 1x
- Diet: Vegetarian
Description
Create decorated cookies for spring using simple techniques.
Ingredients
- 1 cup all-purpose flour
- 1/2 cup unsalted butter, softened
- 1/4 cup granulated sugar
- 1 egg
- 1/2 teaspoon vanilla extract
- Powdered sugar, for dusting
- Food coloring, for decorating
Instructions
- In a bowl, cream together butter and sugar until light and fluffy.
- Beat in egg and vanilla extract.
- Gradually add flour, mixing until a dough forms.
- Wrap dough in plastic wrap and chill for 30 minutes.
- Preheat oven to 350°F (175°C).
- On a lightly floured surface, roll out dough and cut into desired shapes.
- Place cookies on a baking sheet and bake for 8-10 minutes, or until edges are lightly golden.
- Let cool completely.
- Decorate with powdered sugar icing and food coloring.
Notes
- Use cookie cutters to create spring-themed shapes.
- Adjust food coloring to achieve desired shades.
- Prep Time: 20 min
- Cook Time: 10 min
- Category: Dessert
- Method: Baking
- Cuisine: Mediterranean
Nutrition
- Serving Size: 1 cookie
- Calories: 75
- Sugar: 5g
- Sodium: 10mg
- Fat: 4g
- Saturated Fat: 2g
- Unsaturated Fat: 2g
- Trans Fat: 0g
- Carbohydrates: 8g
- Fiber: 0g
- Protein: 1g
- Cholesterol: 15mg