

Spring baking just makes my heart sing, y’all! And what’s better than whipping up a batch of adorable spring cookies decorated easy enough that even the kiddos can get in on the fun? I’m talkin’ sunshine, pastel colors, and sweet treats that’ll brighten any day. Now, I know some folks get intimidated by decorated cookies, but trust me, this recipe is a breeze.
Growing up in Asheville, spring always meant my grandmother’s kitchen filled with the smell of vanilla and the sight of colorful sprinkles. She had this knack for making every cookie look like it belonged in a fancy bakery window, but she always kept the process simple and enjoyable. These spring cookies decorated easy remind me so much of those days – simple goodness and sweet memories!
Why You’ll Love These Spring Cookies Decorated Easy
Okay, so why should you try *this* cookie recipe? Let me tell ya:
- They’re seriously **easy to make**. I’m talkin’ simple ingredients and straightforward steps. Even if you’ve never decorated a cookie in your life, you can do this!
- The **taste is divine**! These aren’t just pretty cookies; they’re buttery, vanilla-y, and melt-in-your-mouth good.
- **Decorating is FUN**! Seriously, it’s like edible arts and crafts. Get creative with colors, sprinkles, and designs. Hey, no pressure to be perfect – that’s NOT what this is about!
- They’re **perfect for spring celebrations**. Easter, baby showers, garden parties… these cookies add a touch of sweetness to any occasion.
Ingredients for Your Spring Cookies Decorated Easy
Alright, let’s gather our goodies! Here’s what you’ll need to bake up a batch of these delightful spring cookies decorated easy. Don’t worry, it’s mostly stuff you probably already have in your pantry!
- 3 cups all-purpose flour – plus a little extra for rolling!
- 1 cup unsalted butter, softened – seriously, *softened*. I leave mine out on the counter for a couple of hours. You want it squishy but not melted!
- 1 cup granulated sugar – for that perfect sweetness.
- 1 large egg – to bind everything together.
- 1 teaspoon vanilla extract – the good stuff, if you have it!
- 1/2 teaspoon baking powder – for a little lift.
- 1/4 teaspoon salt – just a pinch to balance the sweetness.

And for decorating – the fun part!
- Royal icing – you can totally use the pre-made stuff in a tub for ease, or if you’re feeling ambitious, whip up your own. It’s up to you!
- Sprinkles and edible decorations – go wild! Pastel colors, little flowers, sanding sugar… whatever makes you smile.
How to Make Spring Cookies Decorated Easy: Step-by-Step Instructions
Okay, gather ’round, cookie buddies! Let’s walk through how to make these adorable spring cookies decorated easy. Don’t worry, I’ll be here to guide ya every step of the way. Ready? Let’s get baking!
-
First, in a large bowl, you’ll want to cream together that softened butter and granulated sugar. Now, I like to use my electric mixer for this, it just makes things easier, but you can totally do it by hand with a wooden spoon if you’re feeling old-school. Mix until it’s light and fluffy – kinda like whipped cream.
-
Next, beat in the egg and vanilla extract until it’s all well combined. Don’t overmix, just until everything is nice and smooth.
-
In a separate bowl (yes, another bowl!), whisk together the flour, baking powder, and salt. This just makes sure everything is evenly distributed. No one wants a salty bite of cookie!
-
Gradually add the dry ingredients to the wet ingredients, mixing until a dough forms. Now, be careful not to overmix here, either. Just mix until everything comes together in a nice, smooth ball. It’s okay if there’s a *tiny* bit of flour left unincorporated, it all works out in the end.
-
Wrap the dough in plastic wrap and chill for at least 1 hour. This is important, y’all! Chilling the dough prevents the cookies from spreading too much in the oven. I know, waiting stinks, but trust me, patience is a virtue here. You can even chill it overnight if you want to get a head start!
-
Preheat your oven to 350°F (175°C). And while you’re waiting for the oven to heat up, line a baking sheet with parchment paper. This will prevent the cookies from sticking and make cleanup a breeze.
-
On a lightly floured surface, roll out the dough to about 1/4 inch thickness. Now, I like to use a rolling pin with guide rings, but you can just eyeball it. The key is to get the dough evenly thick so the cookies bake evenly. If your dough is sticking, add a little more flour to your surface.
-
Use cookie cutters to cut out desired shapes. Okay, this is where the fun really begins! I love using spring shapes like flowers, butterflies, and little chicks. But hey, use whatever cutters make you happy. Save any dough scraps and reroll to minimize waste!
-
Place cookies on the prepared baking sheet. Make sure to leave a little space between them, as they will spread slightly.
-
Bake for 8-10 minutes, or until the edges are lightly golden. Now, keep a close eye on these cookies! They can go from perfectly baked to burnt in a hurry. Ovens vary, so start checking them at 8 minutes. When done remove to a wire rack.
-
Let cookies cool on the baking sheet for a few minutes before transferring them to a wire rack to cool completely. This prevents them from breaking.
-
Decorate with royal icing and sprinkles as desired. Time to get creative! Have fun with it and don’t worry about being perfect. These are *your* cookies, so decorate them however you like!

Tips for Perfect Spring Cookies Decorated Easy
Want cookies that’ll have everyone saying “Wow!”? Here are a few little tricks I’ve picked up over the years to make sure your spring cookies decorated easy turn out absolutely perfect:
-
**Butter is key!** Seriously, that butter *needs* to be properly softened. If it’s too cold, it won’t cream properly with the sugar. If it’s melted, your cookies will spread too much. Aim for that sweet spot – easily indented with your finger but still cool to the touch.
-
**Don’t skip the chill time!** I know it’s tempting to rush, but chilling the dough is essential for preventing spread and giving your cookies that perfect shape. Think of it as a beauty nap for your dough!
-
**Bake evenly.** Rotating your baking sheet halfway through baking helps ensure that all your cookies bake at the same rate. This is especially important if your oven has hot spots (most do!).
-
**Icing consistency matters!** If your royal icing is too thick, it’ll be hard to pipe and spread. If it’s too thin, it’ll run right off your cookies. Aim for a consistency similar to shampoo – easily spreadable but still holds its shape.
Ingredient Notes and Substitutions for Spring Cookies Decorated Easy
Let’s chat ingredients, y’all! Got questions about why I chose somethin’ or what you can swap? Here’s the lowdown:
- Softened Butter: Trust me on this, folks. Cold butter won’t cream right, and melted butter makes flat cookies. Softened is the *only* way to go.
- Vanilla Extract: I adore vanilla, but if you are short of vanilla extract, feel free to use almond extract instead of vanilla! About 1/2 teaspoon should do the trick!
- All-Purpose Flour: I haven’t tried it myself, but some folks have had success with gluten-free blends in similar recipes. Just adjust the liquid if needed!

FAQ About Spring Cookies Decorated Easy
Got questions about these spring cookies decorated easy? I bet you do! Here are some of the most common things folks ask me:
Can I use different cookie cutters?
Absolutely! That’s the beauty of these cookies – you can totally customize them. I love using spring shapes, but feel free to use whatever cutters you have on hand. Stars, hearts, dinos… it’s all good!
Can I freeze the cookie dough?
You betcha! Just wrap the dough tightly in plastic wrap and then place it in a freezer bag. It’ll keep in the freezer for up to 3 months. When you’re ready to bake, thaw it overnight in the refrigerator and then roll it out as usual. Be sure to use sooner rather than later!
How long do the decorated cookies last?
If stored in an airtight container at room temperature, these decorated spring cookies will stay fresh for about 3-5 days. But let’s be real – they never last that long in my house! They’re usually gobbled up pretty quick! If you need them to last longer freezing un-iced is also an option!
Can I make the royal icing ahead of time?
Yep! Royal icing can be made a day or two in advance and stored in an airtight container in the refrigerator. Before using, bring it to room temperature and stir well. You might need to add a tiny bit of water to get it back to the right consistency (like shampoo, remember?).
Make-Ahead and Storage Tips for Your Spring Cookies Decorated Easy
Wanna get ahead of the game? I don’t blame ya! These spring cookies decorated easy are perfect for prepping in advance. You can totally make the dough a day or two ahead of time and store it in the fridge, wrapped tightly in plastic wrap. Just let it soften slightly before rolling it out. Or, if you want to be *really* prepared, you can even freeze the dough for up to 3 months, like I mentioned with these homemade cinnamon rolls!
As for the baked cookies, they’ll keep fresh in an airtight container at room temperature for about 3-5 days, decorated or undecorated. You can also freeze undecorated cookies for longer storage, just thaw them completely before decorating. This comes in handy if the kids are running around and want to quickly decorate!
Nutritional Information Disclaimer
Now, y’all know I ain’t a nutritionist! Just keep in mind that nutritional info can vary depending on the exact ingredients and brands you use. So, it’s just an estimate, okay? Don’t come at me if your cookies have, like, *one* extra calorie!
Enjoy Your Spring Cookies Decorated Easy!
Alright, my baking buddies, that’s all there is to it! These spring cookies decorated easy are guaranteed to bring a smile to your face (and a sugar rush, let’s be honest!). I hope you’ll give this recipe a try and let me know how they turn out! Head on over to my about me page for more info, then share your creations with me – I just love seeing what y’all come up with! And don’t forget to leave a comment below; I always love hearing from you!
Print
Easy Decorated Spring Cookies
- Total Time: 1 hr 30 min
- Yield: 24 cookies 1x
- Diet: Vegetarian
Description
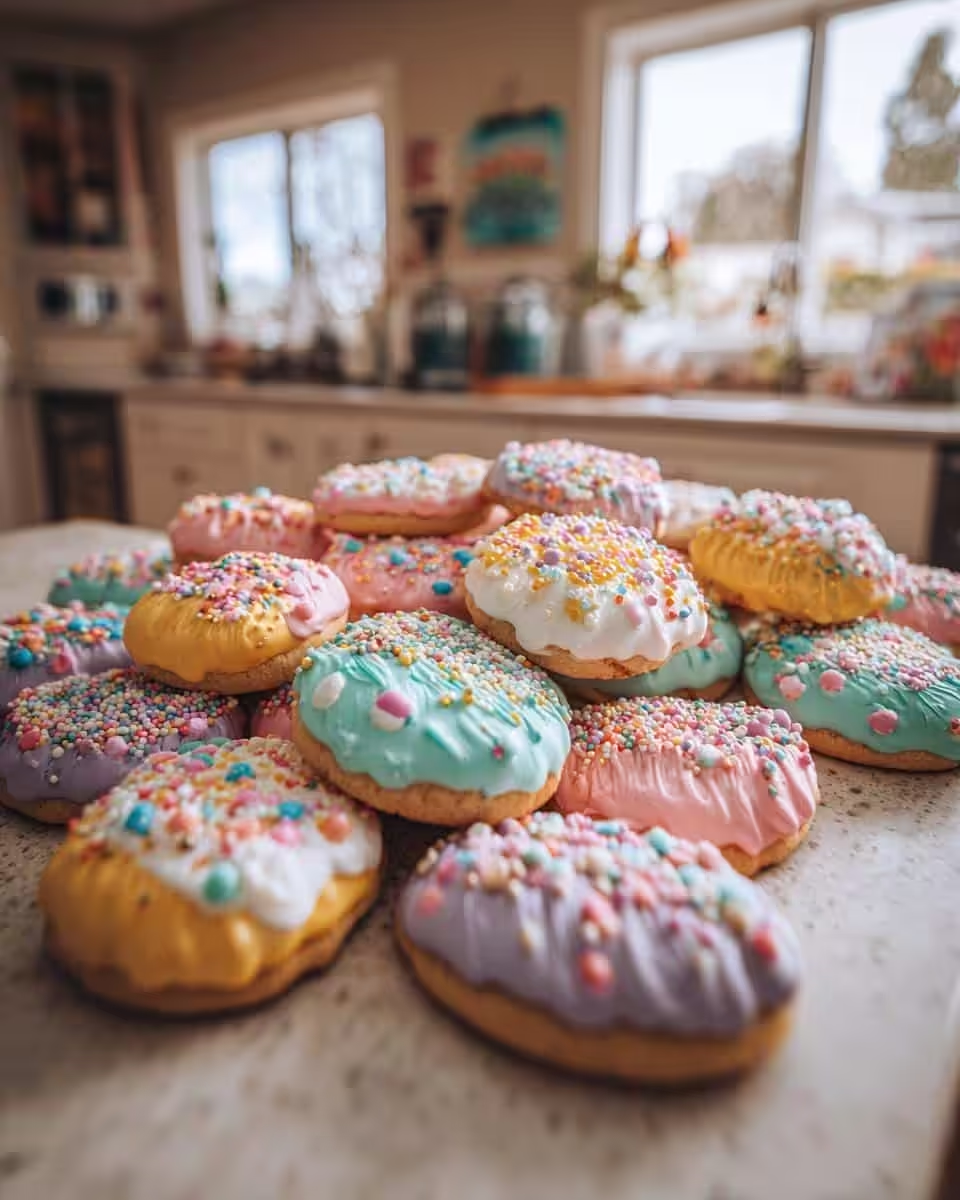
Simple spring cookies decorated for any occasion.
Ingredients
- 3 cups all-purpose flour
- 1 cup unsalted butter, softened
- 1 cup granulated sugar
- 1 large egg
- 1 teaspoon vanilla extract
- 1/2 teaspoon baking powder
- 1/4 teaspoon salt
- Royal icing for decorating
- Sprinkles and edible decorations
Instructions
- In a large bowl, cream together the softened butter and granulated sugar until light and fluffy.
- Beat in the egg and vanilla extract until well combined.
- In a separate bowl, whisk together the flour, baking powder, and salt.
- Gradually add the dry ingredients to the wet ingredients, mixing until a dough forms.
- Wrap the dough in plastic wrap and chill for at least 1 hour.
- Preheat your oven to 350°F (175°C).
- On a lightly floured surface, roll out the dough to about 1/4 inch thickness.
- Use cookie cutters to cut out desired shapes.
- Place cookies on a baking sheet lined with parchment paper.
- Bake for 8-10 minutes, or until the edges are lightly golden.
- Let cookies cool on the baking sheet for a few minutes before transferring them to a wire rack to cool completely.
- Decorate with royal icing and sprinkles as desired.
Notes
- For best results, ensure your butter is properly softened before creaming with the sugar.
- Chilling the dough prevents the cookies from spreading too much during baking.
- Store decorated cookies in an airtight container at room temperature.
- Prep Time: 30 min
- Cook Time: 10 min
- Category: Dessert
- Method: Baking
- Cuisine: Mediterranean
Nutrition
- Serving Size: 1 cookie
- Calories: 150
- Sugar: 10g
- Sodium: 30mg
- Fat: 7g
- Saturated Fat: 4g
- Unsaturated Fat: 2g
- Trans Fat: 0g
- Carbohydrates: 20g
- Fiber: 0g
- Protein: 1g
- Cholesterol: 25mg