
Oh my gosh, can we just talk about those adorable, perfectly swirled cake pops from Starbucks? I swear, every time I walk in there, I eye them up! They just look so celebratory, right? Well, guess what? I’ve finally cracked the code for an easy copycat Starbucks cake pop recipe that tastes *just* like the real deal, but you can make them right in your own kitchen! I remember trying to make them for my niece’s birthday and thinking, “There’s *no way* I can do this,” but trust me, this recipe is so straightforward, you’ll be churning out these little gems like a pro in no time. Forget the fancy bakery prices; this is how you satisfy that craving!
Why You’ll Love This Starbucks Cake Pop Recipe (Easy Copycat)
Seriously, why wouldn’t you want to make these? They’re a total game-changer!
- Super Easy to Make: Even if you think you’re not a baker, you can totally nail this. It’s one of my favorite easy dessert recipes!
- Tastes Just Like the Real Thing: Get that signature Starbucks flavor without leaving your kitchen. It’s a perfect copycat Starbucks recipe.
- Party Perfect: These are the ultimate party food ideas! They look gorgeous on a dessert table and everyone goes wild for them.
- So Versatile: Perfect for birthdays, holidays, or just because you deserve a little treat. Plus, you can get creative with decorations!
Gather Your Ingredients for Starbucks Cake Pops
Alright, let’s get our supplies ready for this amazing Starbucks Cake Pop Recipe (Easy Copycat)! Don’t worry, you probably have most of this stuff lurking in your pantry already. Here’s what you’ll need to make these little bites of heaven:
- Yellow Cake Mix: One standard box (about 15.25 oz) is perfect. It’s the easiest way to get that classic flavor.
- Buttercream Frosting: You’ll need about 1/3 cup, and make sure it’s softened a bit so it mixes in nicely.
- Milk: Just 1/4 cup will do the trick to get the perfect consistency.
- White Candy Melts: Grab a 12 oz bag. These are key for that smooth, classic coating.
- Vegetable Shortening: About 1/4 cup. This helps make the candy melts super smooth and easy to dip.
- Assorted Sprinkles: Get ready to jazz them up!
- Cake Pop Sticks: Don’t forget these! You’ll need enough for all your cake pops.
Essential Equipment for Your Starbucks Cake Pop Recipe
Okay, so before we dive into the mixing and dipping, let’s make sure you’ve got the right gear. Having these things on hand makes the whole process so much smoother. You’ll want a good old trusty baking sheet, some parchment paper (a lifesaver for cleanup!), a microwave-safe bowl for melting our candy melts, and, of course, those essential cake pop sticks!
Step-by-Step Guide: How to Make Starbucks Cake Pops
Alright, let’s get our hands dirty and make these famous treats! This is where the magic happens for our Starbucks Cake Pop Recipe (Easy Copycat). It might seem like a few steps, but trust me, each one is super easy and totally worth it. Think of it like decorating a little masterpiece, almost as fun as my easy apple crisp recipe!
Baking and Crushing the Cake for Your Starbucks Cake Pops
First things first, we gotta bake that cake! Just follow the box directions, whip it up, and get it in the oven. Once it’s baked and smelling amazing, the hardest part is waiting for it to cool. Like, really cool. Once it’s totally cold, we’re going to crumble it all up. You can use your hands (wash ’em first!) or even a food processor if you want to get fancy. We want nice, fine crumbs – no big chunks! It’s gotta be totally cool, kind of like how our moist banana bread needs to be completely cooled before slicing.
Forming and Chilling the Cake Balls
Now for the fun part of this homemade cake pops recipe! Take your crumbled cake and dump it into a bowl. Add in that softened buttercream frosting and the milk. Mix it all up with your hands until it feels like slightly sticky dough that you can actually roll. If it feels too dry, add a tiny splash more milk; too wet? A little more frosting. Then, roll them into little balls, about an inch or so across. Pop them onto that parchment-lined baking sheet and into the fridge they go for at least 30 minutes. This chilling step is SO important, guys! It makes them firm and ready for dipping.
Melting and Dipping with Candy Melts
Time to prep our candy coating! Grab those white candy melts and the shortening. I usually pop them in a microwave-safe bowl and heat them in 30-second bursts, stirring really well after each one. Keep going until it’s all smooth and lovely. You want it to be a nice, dippable consistency. Now, take a chilled cake ball. Dip the tip of a cake pop stick *just* into the melted candy, then push it about halfway into the cake ball. This helps it stick! Then, carefully dip the whole ball into the candy melt mixture. Swirl it around gently until it’s completely covered, then lift it out and let all that extra goo drip back into the bowl. You can give it a little gentle shake or tap to help it along. For smooth coating, make sure it isn’t too thick, and definitely use that shortening!

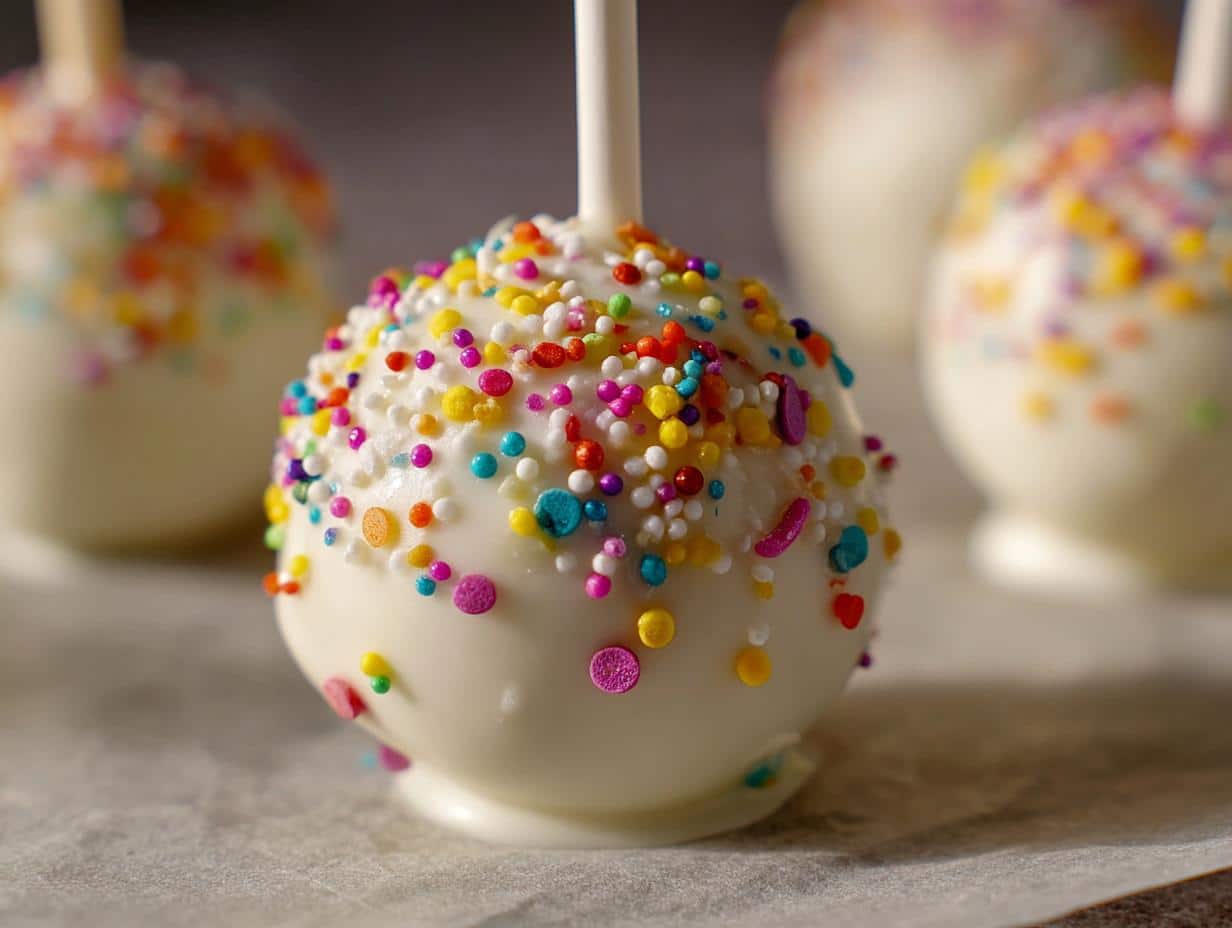
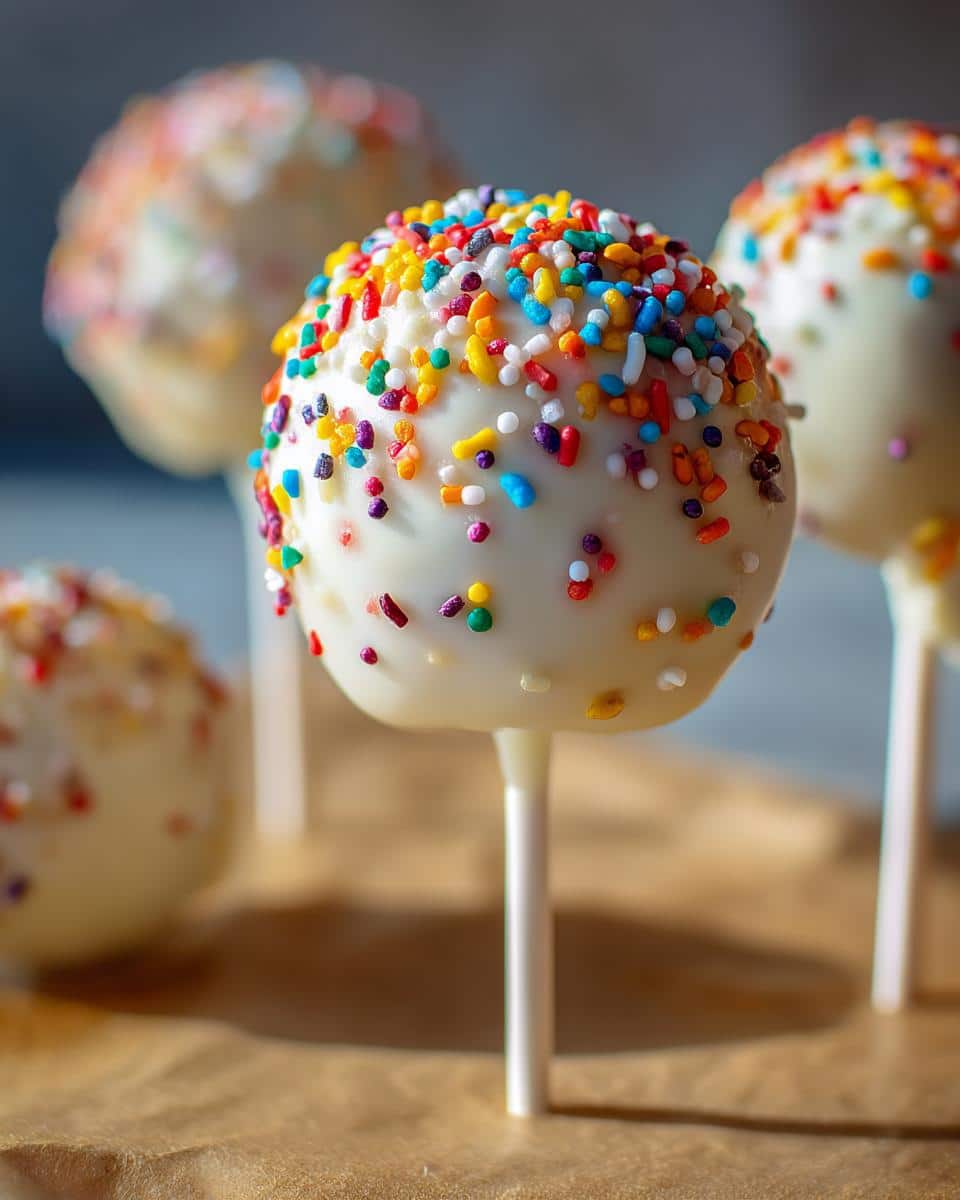
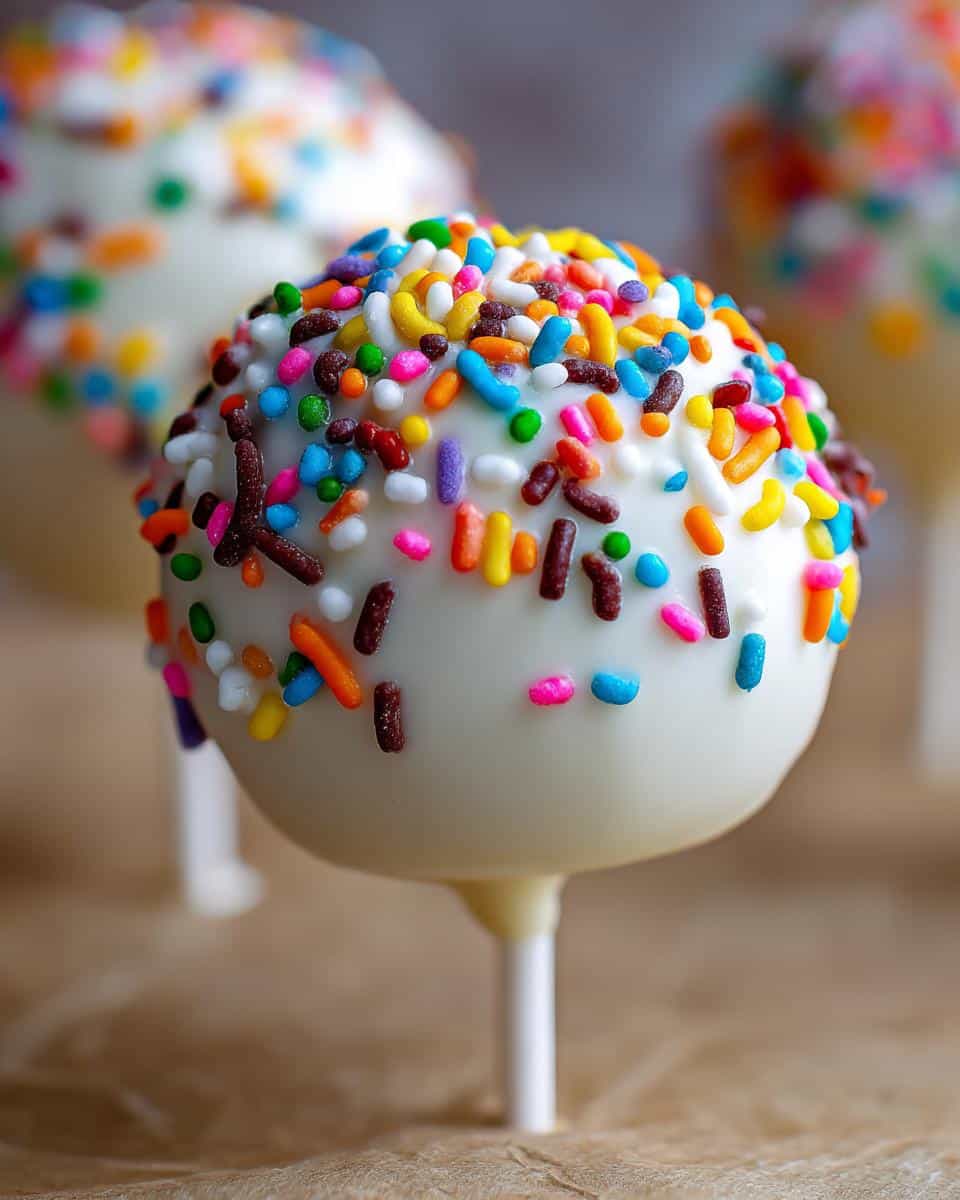
Decorating Your Starbucks Cake Pops
This is where we get creative and make them look super cute, just like those birthday cake pops ideas you see everywhere! While the candy coating is still wet, this is your chance to add sprinkles! Go wild! You can do stripes, dots, or just an all-over sprinkle explosion. It’s fun to experiment with different cake pop decorating tips. These are seriously the best party food ideas because they’re so customizable!
Ingredient Notes and Substitutions for Easy Starbucks Cake Pops
So, you’re wondering about tweaking this copycat Starbucks recipe a bit? Totally understandable! The beauty of these is how adaptable they are. Don’t have yellow cake mix? No worries! You can totally use a vanilla, funfetti, or even a chocolate cake mix. Just bake and crumble as usual. Same goes for the frosting – any good quality buttercream will work, homemade or store-bought. Some folks even like to add a little splash of vanilla extract to boost the flavor. The shortening with the candy melts is my secret for a super smooth dip, but if you can’t find it, you *can* try using a little extra vegetable oil, just be cautious! You can find more fun baking ideas on my banana bread recipe and my strawberry shortcake recipe pages!
Tips for Perfect Starbucks Cake Pops Every Time
Okay, listen up, because I’ve learned a few things whipping these up. Getting that perfect, bakery-style cake pop isn’t super complicated if you follow a couple of pointers! For this fantastic Starbucks Cake Pop Recipe (Easy Copycat), the key is really in the details. You want these to be sturdy, smooth, and super yummy, right? Think of it like my easy pecan pralines recipe – a little finesse goes a long way!
First off, make sure that cake-crumb mixture isn’t too wet or too dry. It should hold its shape when you squeeze it, like soft playdough. If it’s too crumbly, add a tiny bit more frosting; if it’s too sticky, a little more crumbled cake. Also, chilling those balls is NON-NEGOTIABLE! Seriously, don’t skimp on the chilling time; it makes all the difference for a smooth dip. And when you’re melting those candy melts, go slow and stir often. Burnt candy melts are just sad, and nobody wants that. A little patience here turns these into amazing quick treat ideas!

Frequently Asked Questions about this Starbucks Cake Pop Recipe
Okay, let’s chat about any nagging questions you might have about making these awesome easy Starbucks cake pops at home. I’ve tried to think of everything!
Can I use a different cake mix?
Absolutely! While yellow or vanilla cake mix gives you that classic flavor, feel free to experiment. Chocolate, funfetti, confetti – they all work wonderfully! Just bake according to the box directions and let it cool completely before crumbling.
How do I prevent the cake pops from falling off the stick?
This is a super common question! The trick is twofold: first, make sure your cake balls are thoroughly chilled – seriously firm! Second, when you’re dipping, dip the tip of the stick *into* the melted candy coating *before* inserting it into the cake pop. That candy acts like edible glue! Also, ensure the cake ball is firmly on the stick before you dip the whole thing.
How long do these Starbucks cake pops last?
Good news! Because of the candy melts and the frosting inside, these cake pops actually last quite a while. Store them in an airtight container at cool room temperature (not in the fridge, that can make the candy coating sweaty!) for about 1 to 2 weeks. They make great make-ahead party treats!
My candy melts are too thick! What should I do?
Don’t stress! That’s why we add a little bit of vegetable shortening. If your candy melts seem too thick to dip smoothly, just stir in another teaspoon or so of shortening until you reach a nice, fluid consistency. It’s a game-changer for getting that lovely smooth coating!
Nutritional Information for Starbucks Cake Pops
Alright, for those who like to keep track, here’s a little heads-up on what you’re working with nutritionally for these yummy treats. Remember, these are just estimates, and really, they can wiggle around a bit depending on exactly how you make them and what brands you use! But generally, you’re looking at about 150 calories per cake pop, with around 9 grams of fat (about 5 of that is saturated), 17 grams of carbs, and about 15 grams of sugar. Not too shabby for a little indulgence!
Share Your Starbucks Cake Pop Creations!
I really hope you have a blast making these easy copycat Starbucks cake pops! Seriously, I can’t wait to hear all about how yours turn out. Did you go wild with the sprinkles? Try a different cake flavor? Let me know in the comments below! And if you snap any pics, tag me on social media – I absolutely love seeing your baking adventures! If you’ve got questions or just want to share your triumphs, don’t hesitate to reach out via my contact page. Happy baking!
Print
Easy Copycat Starbucks Cake Pops
- Total Time: 60 min
- Yield: 24 cake pops 1x
- Diet: Vegetarian
Description
Recreate the popular Starbucks cake pop at home with this simple, step-by-step recipe. Perfect for parties or a sweet treat.
Ingredients
- 1 box (15.25 oz) yellow cake mix
- 1/3 cup buttercream frosting
- 1/4 cup milk
- 1 bag (12 oz) white candy melts
- 1/4 cup vegetable shortening
- Assorted sprinkles for decorating
- Cake pop sticks
Instructions
- Bake the cake mix according to package directions. Let it cool completely.
- Crumble the cooled cake into a large bowl.
- Add the buttercream frosting and milk to the crumbled cake. Mix until well combined and the mixture holds its shape.
- Roll the cake mixture into small balls, about 1 inch in diameter. Place them on a baking sheet lined with parchment paper.
- Chill the cake balls in the refrigerator for at least 30 minutes.
- Melt the white candy melts and shortening in a microwave-safe bowl in 30-second intervals, stirring in between, until smooth.
- Dip the tip of a cake pop stick into the melted candy melts and insert it about halfway into a chilled cake ball.
- Dip the entire cake ball into the melted candy melts, ensuring it is fully coated. Let excess drip off.
- Decorate immediately with sprinkles before the candy melts harden.
- Place the decorated cake pop on parchment paper to set. Repeat with remaining cake balls.
Notes
- For a richer flavor, use a homemade cake recipe instead of a mix.
- Ensure your cake balls are well chilled before dipping to prevent them from falling off the sticks.
- You can use different colors of candy melts for varied decorations.
- Store cake pops in an airtight container at room temperature.
- Prep Time: 30 min
- Cook Time: 30 min
- Category: Dessert
- Method: No-Bake
- Cuisine: American
Nutrition
- Serving Size: 1 cake pop
- Calories: 150
- Sugar: 15g
- Sodium: 50mg
- Fat: 9g
- Saturated Fat: 5g
- Unsaturated Fat: 4g
- Trans Fat: 0g
- Carbohydrates: 17g
- Fiber: 0g
- Protein: 1g
- Cholesterol: 10mg