 Skip to content
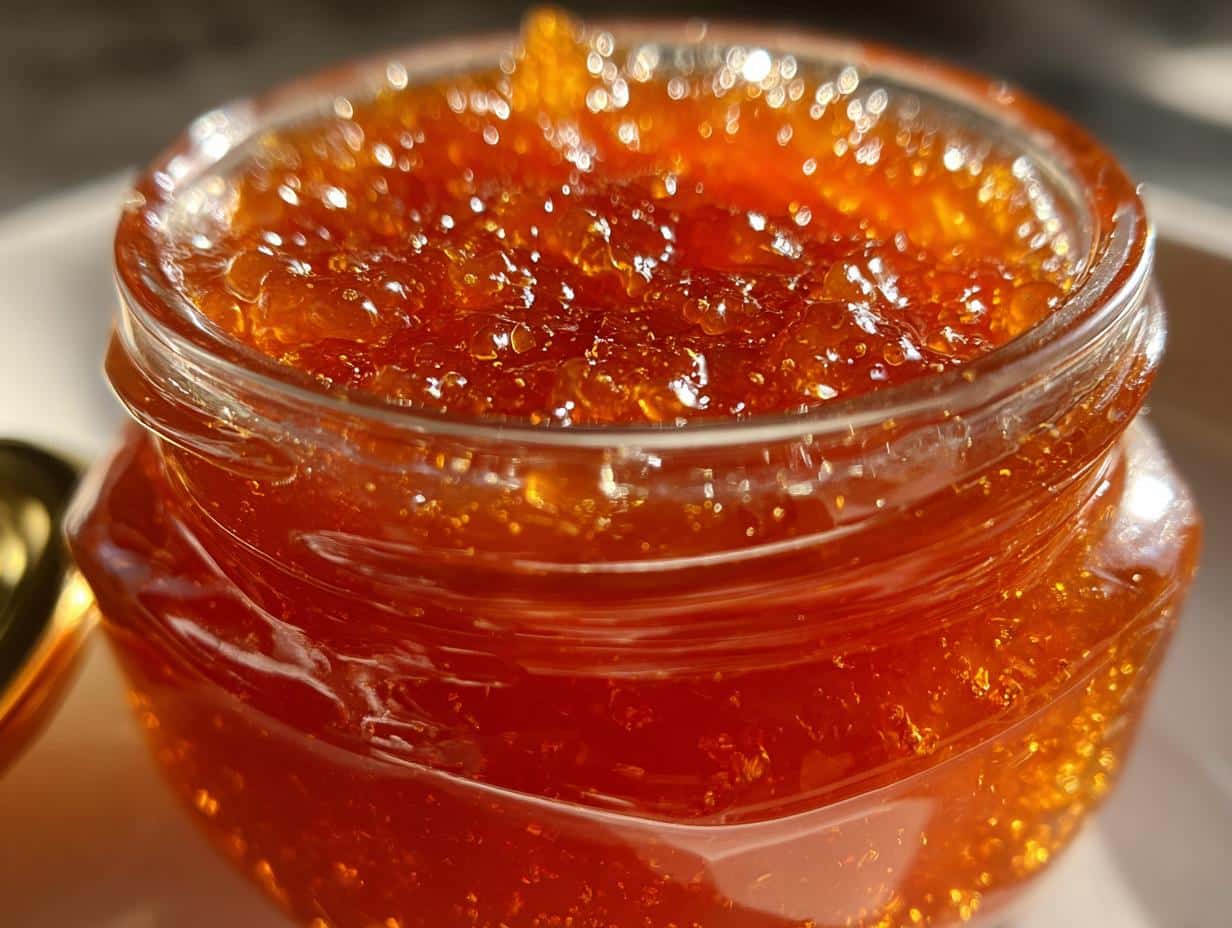
There’s just something so satisfying about opening a jar of homemade goodness, isn’t there? And when it comes to Sweet Pear Preserves, it’s pure magic. Forget those store-bought jars that taste a little… well, generic. Making sweet pear preserves right in your own kitchen is surprisingly easy and the flavor is out of this world. I remember the first time I made a batch; the whole house smelled incredible, like a cozy autumn hug, and spreading that warm, slightly spiced pear goodness on some crusty toast was just heavenly. It’s a simple pleasure that truly makes a difference.
Why You’ll Love Our Sweet Pear Preserves
Making your own sweet pear preserves is a game-changer, and here’s why you’ll adore this recipe:
- Super Easy to Make: Seriously, it’s mostly hands-off simmering. You’ll be surprised how simple it is!
- Incredible Flavor: Ripe pears, warm cinnamon, and a hint of nutmeg create a taste that’s just divine. It’s sweet, but not too sweet.
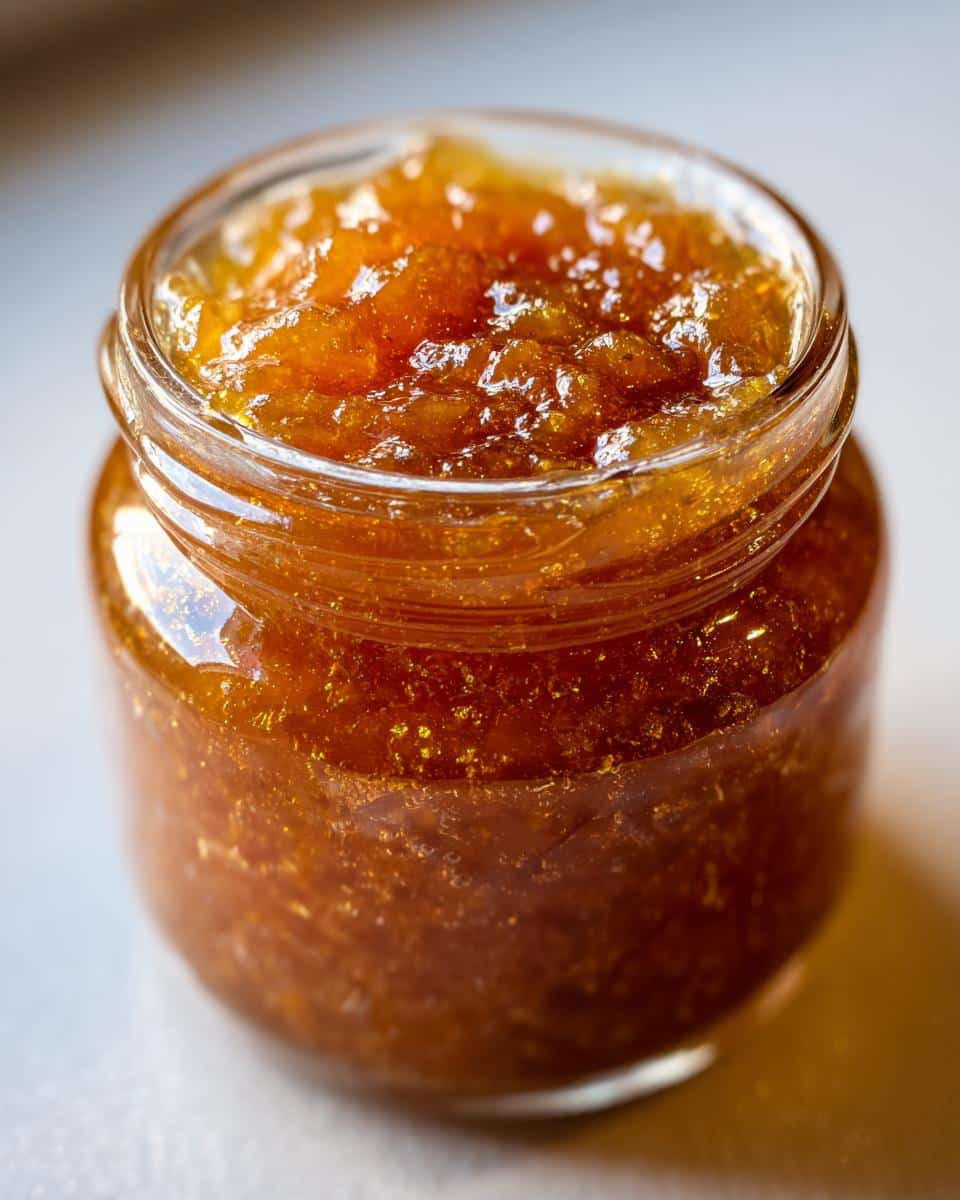
- The Joy of Canning: There’s a special kind of satisfaction in filling jars with your own homemade creations. It’s like bottling sunshine!
- Perfectly Spiced: We’ve got the cinnamon and nutmeg dialed in just right, but you can totally tweak it to your liking.
Gathering Your Ingredients for Sweet Pear Preserves
Alright, let’s get our pantry ready for some serious pear-goodness! You’ll need:
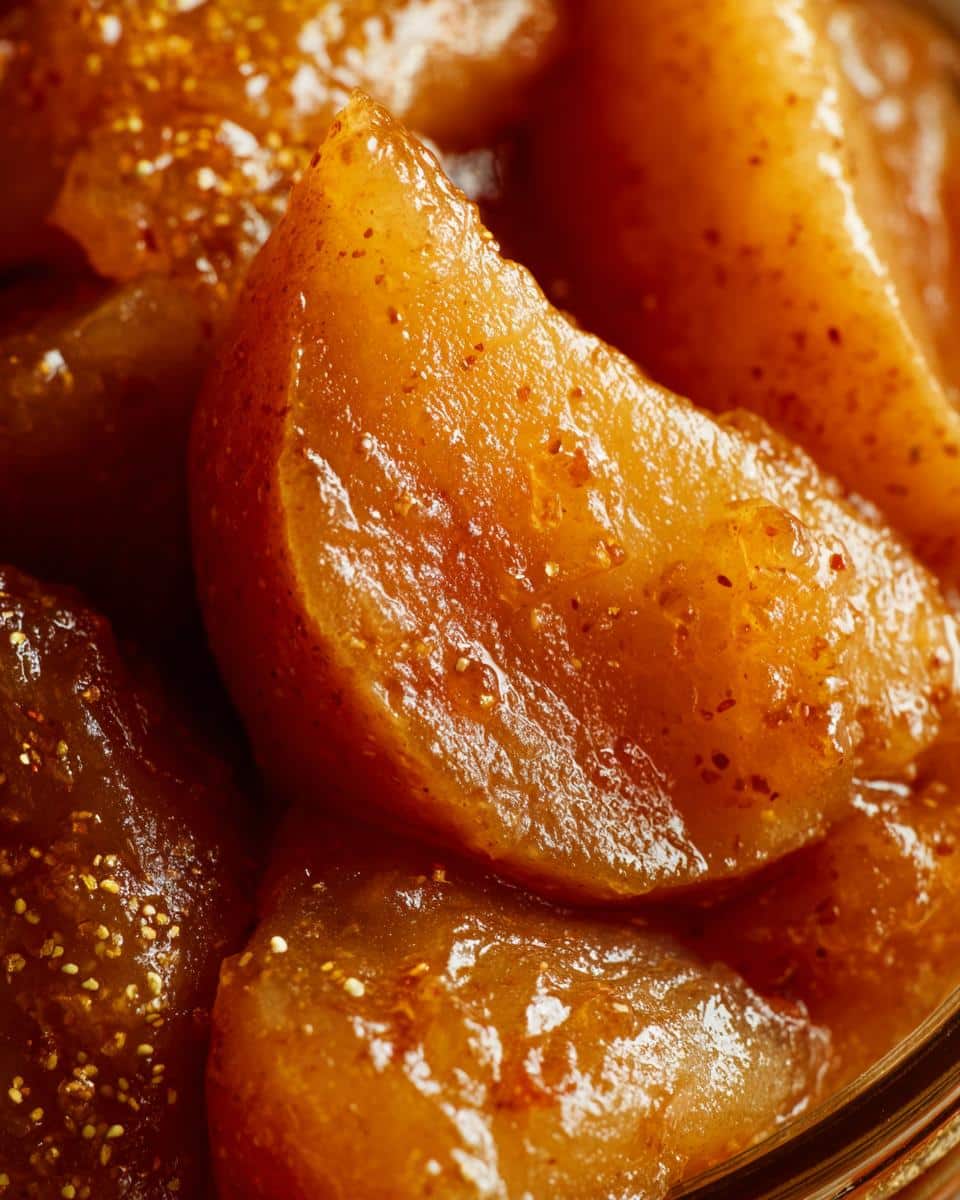
- 4 cups ripe pears, peeled, cored, and finely chopped: Make sure they’re ripe but not mushy. We want good flavor and texture here!
- 2 cups granulated sugar: This is what helps our preserves set up nicely and gives them that lovely sweetness.
- 1/4 cup fresh lemon juice: Don’t skip this! It adds a little zing, helps with the setting, and keeps that beautiful pear color from turning brown.
- 1 teaspoon ground cinnamon: Oh, the cozy aroma this brings! It’s just perfect with pears.
- 1/2 teaspoon ground nutmeg: Just a little whisper of nutmeg adds such a lovely warmth and depth.
That’s it! See? Nothing too fancy, just good, simple ingredients that come together to make something truly special.
Ingredient Notes and Substitutions for Sweet Pear Preserves
Choosing the right pears is key here. You want them ripe enough to be sweet and juicy, but still firm enough that they don’t just turn to applesauce when you chop them. Think of pears that yield slightly to gentle pressure – those are usually perfect. If you can’t find pears, you could *try* using apples, but the flavor will be quite different, of course. For the spices, feel free to play around! If you love cinnamon, add a little more. If nutmeg isn’t your favorite, you could try a pinch of ground ginger or allspice instead. And while granulated sugar is best for setting, if you wanted a slightly different flavor profile, you could experiment with a light brown sugar, but it might change the color a bit.
Step-by-Step Guide to Making Sweet Pear Preserves
Okay, let’s get down to business! Making these sweet pear preserves is really quite straightforward, and honestly, the most active part is just stirring. First things first, grab your biggest, heaviest-bottomed pot. You know, the one that feels substantial? That’s important for even heating! Toss in your chopped pears, the sugar, that fresh lemon juice (which is like a little flavor booster and helps everything set!), and your cinnamon and nutmeg. Give it all a really good stir so every pear piece is coated in that sugary, spicy goodness. Now, here’s a little trick Grandma taught me: let this mixture sit for about 15 minutes. You’ll see the sugar start to draw out all the lovely juices from the pears. It’s like magic happening right before your eyes!
Once it’s had its little rest, place that pot over medium-high heat. Bring it to a nice, rolling boil – you know, the kind where the bubbles are really going! Stir it occasionally as it heats up. Then, you’ll want to lower the heat to medium-low. This is where the patience comes in, but it’s so worth it. You’ll simmer the mixture, stirring pretty frequently. Keep an eye on it; you don’t want it to scorch on the bottom. You’re looking for it to thicken up nicely. This usually takes about 30 to 45 minutes. You’ll notice it getting syrupy and the pears softening.
Testing for Perfect Sweet Pear Preserves Doneness
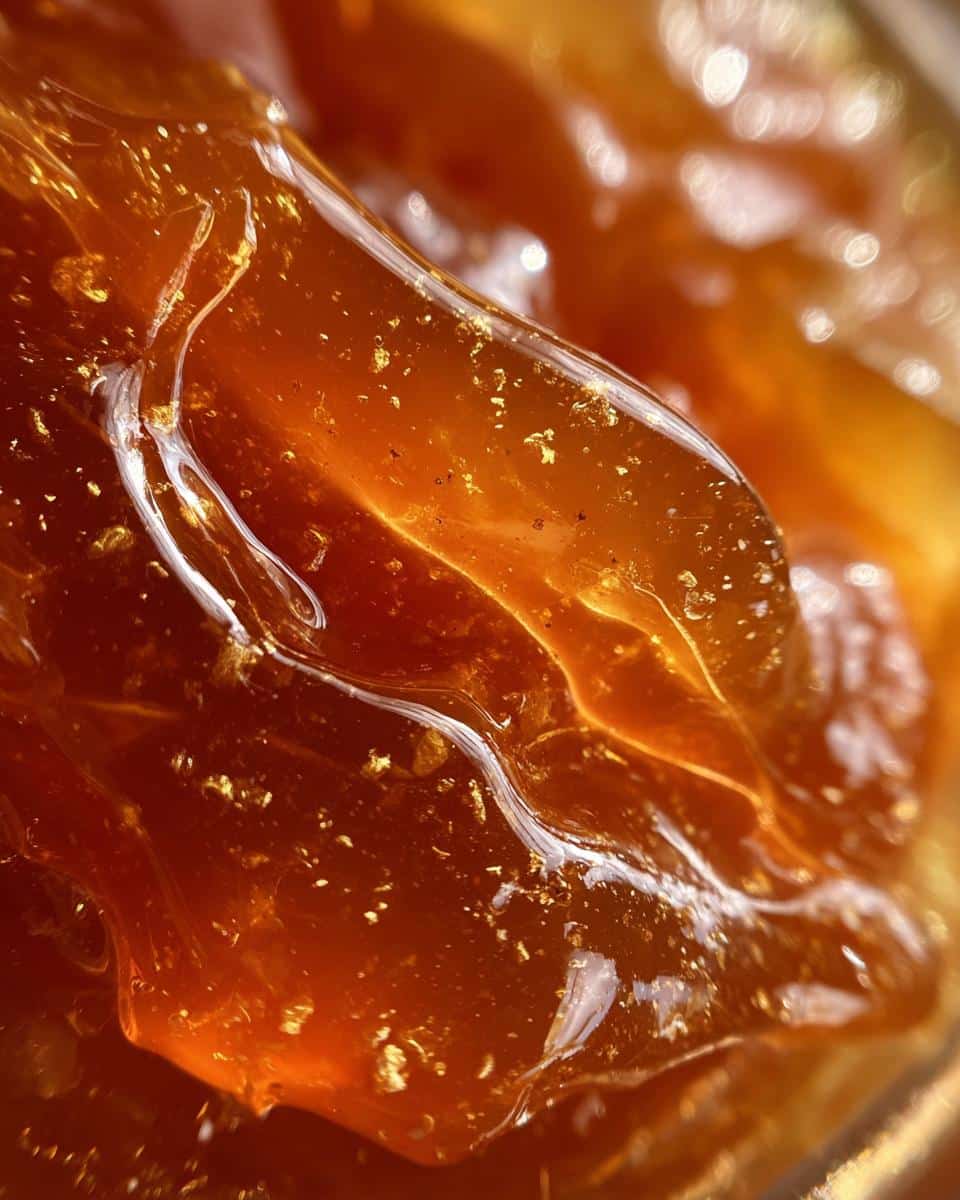
How do you know when it’s *just* right? Pop a small spoonful onto a plate that you’ve chilled in the freezer beforehand. Give it a minute to cool. If it sets up and doesn’t immediately run into a puddle, you’re golden! That’s your sign it’s ready.
Canning Your Sweet Pear Preserves Safely
Once they’re perfectly set, carefully ladle the hot preserves into your clean jars. Leave about a half-inch of space at the top – that’s called headspace, and it’s important for proper sealing. Wipe the rims of the jars really well with a damp cloth to get rid of any sticky residue. Then, put on your lids and screw the bands on finger-tight. Now, it’s time for the water bath! Carefully place the sealed jars into a boiling water bath canner, making sure they’re covered by about an inch of water. Process them for 10 minutes. After that, carefully lift the jars out and let them cool completely on a towel-lined counter. You’ll often hear a little ‘ping’ as they seal!
Essential Equipment for Sweet Pear Preserves
To whip up these lovely sweet pear preserves, you won’t need anything too fancy, but having the right gear makes all the difference. You’ll definitely want a nice, heavy-bottomed pot – think a Dutch oven or a large saucepan. This helps prevent scorching. A good sharp knife and a cutting board are essential for prepping those pears. You’ll also need a potato masher or a sturdy spoon for stirring and mashing, and a funnel is super handy for getting the preserves into your jars without making a sticky mess. Don’t forget your canning jars, lids, and bands, plus a large pot for the water bath and jar lifters for safety!
Tips for Perfect Sweet Pear Preserves Every Time
Want your sweet pear preserves to be absolutely spot-on? Here are a couple of my favorite little secrets. First, don’t be afraid to stir! That sugar and fruit mixture can get sticky on the bottom of the pot, so give it a good stir every 5-10 minutes while it’s simmering. It really helps prevent any burning and ensures a lovely, even texture. Also, when you’re prepping your jars for canning, make sure they’re super clean and warm. I usually run them through a hot dishwasher cycle or soak them in hot water. This helps prevent the jars from cracking when you pour the hot preserves in and also helps with that crucial airtight seal.
Common Questions About Sweet Pear Preserves
Got questions about whipping up these sweet pear preserves? I’ve got answers!
Q: Can I use canned pears instead of fresh ones?
While fresh pears give the best flavor and texture, you *can* use canned pears in a pinch. Just make sure they’re packed in juice, not syrup, and drain them really well. You might need to adjust the sugar slightly depending on how sweet the canned pears are.
Q: My preserves seem too thin. What did I do wrong?
Don’t worry, it happens! The most common reason is not simmering long enough, or the pears didn’t have enough natural pectin. If it’s still warm, pop it back on the stove for another 10-15 minutes, stirring more frequently. You can also try the chill plate test again. If it’s already cooled and still too thin, you can always use it as a delicious pear syrup!
Q: How long will these homemade pear preserves last?
Properly canned and sealed jars can last up to a year in a cool, dark pantry. Once you open a jar, treat it like any other jam or fruit preserves – keep it in the refrigerator and try to use it within a few weeks for the best quality. It usually doesn’t last that long anyway!
Q: Can I make this recipe without canning?
Absolutely! If you’re not planning on canning, skip the water bath step. Store the cooled preserves in airtight containers in the refrigerator. They’ll be delicious for about 2-3 weeks. It’s a great way to try out the recipe first!
Enjoying Your Homemade Sweet Pear Preserves
Now that you’ve got these gorgeous jars of sweet pear preserves, what do you do? Oh, the possibilities! My absolute favorite way to enjoy them is warm on some thick, buttery toast. It’s simple perfection. They’re also incredible dolloped on top of creamy Greek yogurt or even swirled into oatmeal for a special breakfast. And don’t forget about pairing them with cheese – a sharp cheddar or a creamy brie with a spoonful of these preserves? Divine!
Storing and Reheating Your Sweet Pear Preserves
Once your beautiful jars of sweet pear preserves have cooled completely and sealed properly, they’re ready for their pantry home. Store them in a cool, dark place – think a cupboard or pantry shelf, away from direct sunlight or heat. Properly sealed, they should keep wonderfully for up to a year! If you find you need to reheat them, perhaps to get them perfectly pourable for serving, just gently warm the jar in a shallow pan of warm (not boiling) water. Be careful not to overheat them, you just want them luscious and ready to spread!
Estimated Nutritional Information for Sweet Pear Preserves
Whipping up these sweet pear preserves is a treat for the taste buds, and here’s a little peek at the estimated nutritional info. Keep in mind, these numbers are approximate and can vary a bit depending on the ripeness of your pears and the exact brands of ingredients you use. For a serving size of about 2 tablespoons, you’re looking at roughly 80 calories, with about 20g of sugar (mostly from the pears and added sugar, naturally!) and minimal fat or sodium. It’s a sweet, fruity indulgence!
Print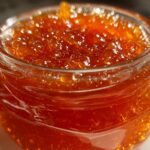
Sweet Pear Preserves: Amazing 1 Jar Recipe
- Total Time: 1 hour 5 minutes
- Yield: Approximately 3 cups 1x
- Diet: Vegetarian
Description
A simple and delicious recipe for making sweet pear preserves at home.
Ingredients
- 4 cups ripe pears, peeled, cored, and chopped
- 2 cups granulated sugar
- 1/4 cup lemon juice
- 1 teaspoon ground cinnamon
- 1/2 teaspoon ground nutmeg
Instructions
- Combine chopped pears, sugar, lemon juice, cinnamon, and nutmeg in a large pot.
- Stir well to coat the pears.
- Let the mixture sit for 15 minutes to allow the sugar to draw out the juice from the pears.
- Place the pot over medium-high heat and bring to a rolling boil, stirring occasionally.
- Reduce heat to medium-low and simmer, stirring frequently, until the preserves thicken. This can take 30-45 minutes.
- Test for doneness by placing a small amount on a chilled plate; it should set.
- Ladle the hot preserves into clean jars, leaving about 1/2 inch headspace.
- Wipe rims clean and seal with lids.
- Process in a boiling water bath for 10 minutes.
- Remove jars and let them cool completely.
Notes
- Ensure pears are ripe but not overly soft for the best texture.
- Adjust cinnamon and nutmeg to your preference.
- Properly sealed preserves can be stored in a cool, dark place for up to a year.
- Prep Time: 20 minutes
- Cook Time: 45 minutes
- Category: Preserves
- Method: Stovetop
- Cuisine: American
Nutrition
- Serving Size: 2 tablespoons
- Calories: 80
- Sugar: 20g
- Sodium: 5mg
- Fat: 0g
- Saturated Fat: 0g
- Unsaturated Fat: 0g
- Trans Fat: 0g
- Carbohydrates: 21g
- Fiber: 1g
- Protein: 0g
- Cholesterol: 0mg