 Skip to content

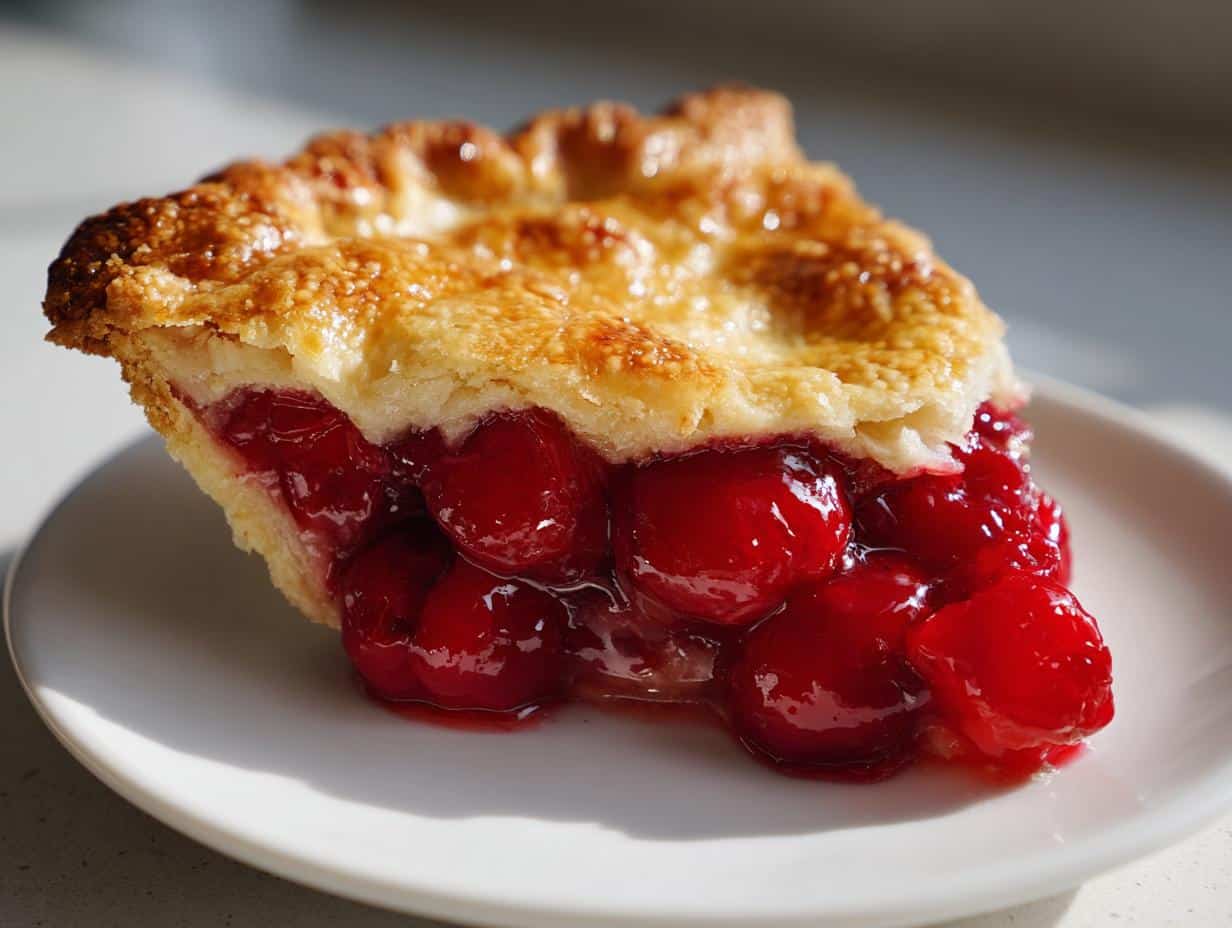
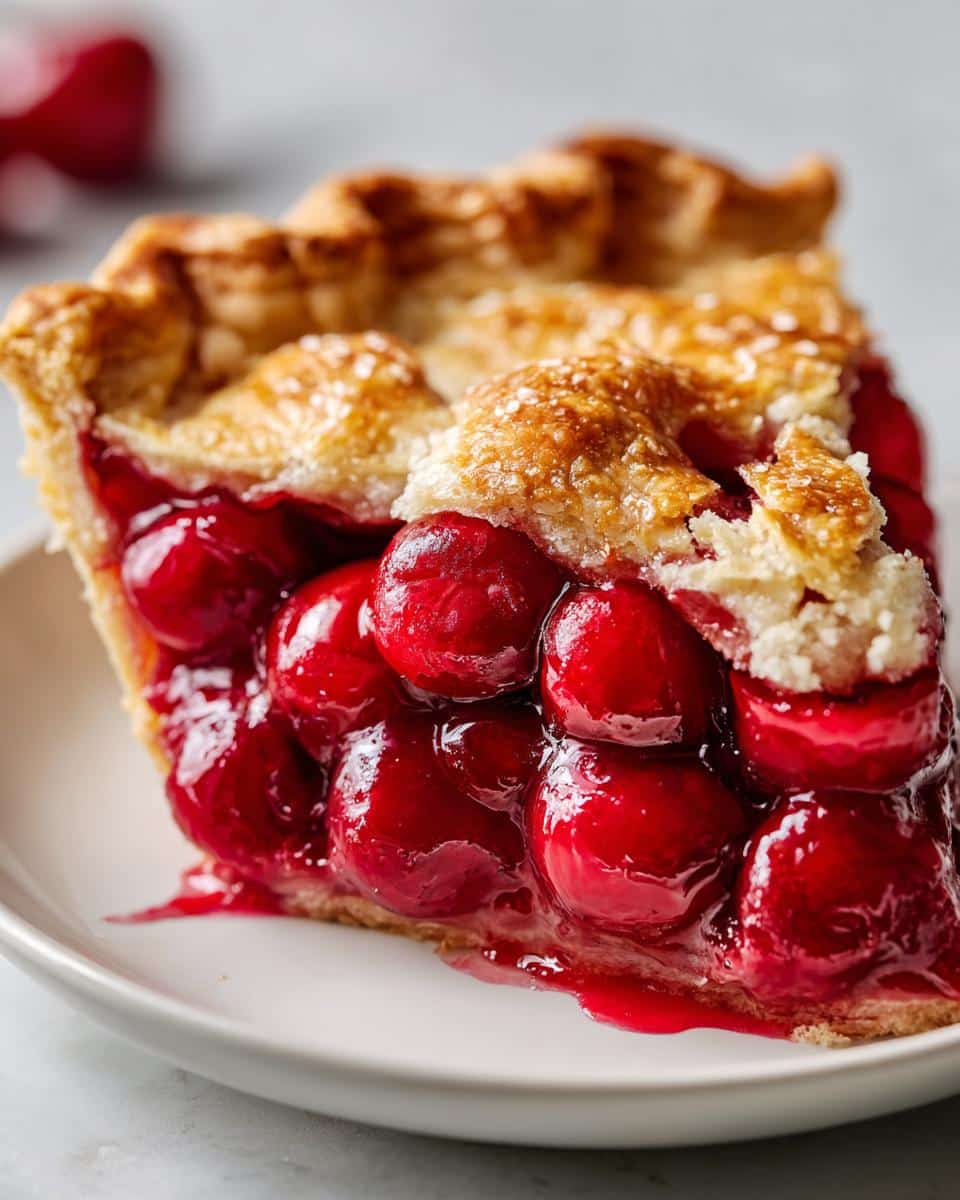
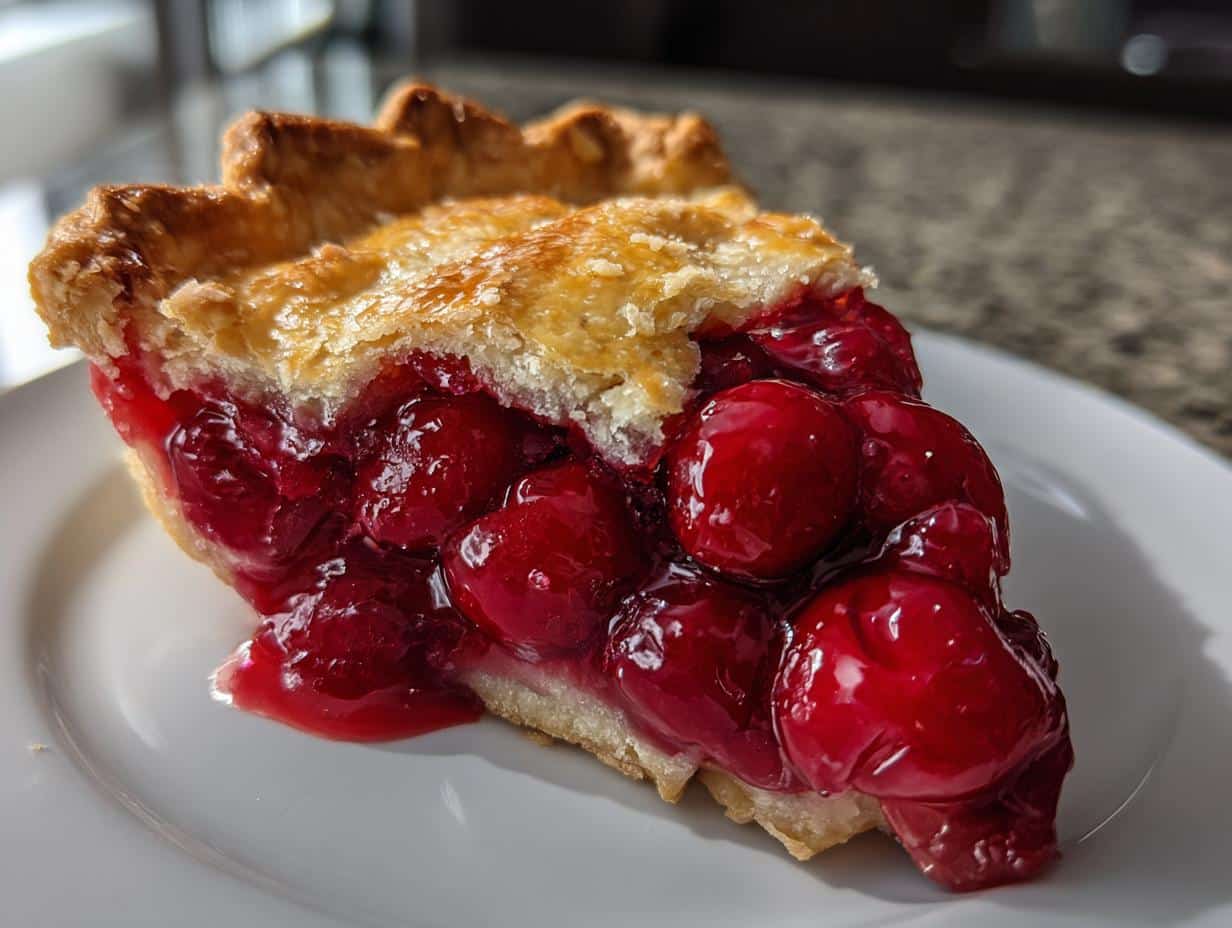
Oh, cherry pie! Just thinking about it takes me straight back to my grandma’s kitchen, windows fogged up from the steam, the air thick with sweet cherry and warm spice. There’s something so incredibly comforting, so deeply *homey*, about a freshly baked cherry pie. And while I love all kinds of pie, finding that perfect balance in a cherry pie – one that’s not too sweet, not too tart, with a crust that shatters perfectly – felt like chasing a culinary unicorn for a while. After lots of tinkering and, let’s be honest, many delicious “failures,” I’ve finally landed on what I truly believe is The Perfect Cherry Pie Recipe. It’s unfussy, just like I like my meals, and delivers a slice of pure joy every single time. It’s about bringing a little soul to your kitchen, without all the fuss!
Why You’ll Love The Perfect Cherry Pie Recipe
Diving into a slice of this pie is like a warm hug, I swear! This isn’t just any pie; it’s *the* pie that brings joy and comfort without making you feel like you need a culinary degree. Here’s why I think you’ll absolutely adore my take on The Perfect Cherry Pie Recipe:
- Seriously Simple Sweet-Tart Magic: We hit that sweet-tart balance just right, so every bite is pure bliss. No cloying sweetness here, just bright, fruity goodness!
- Easy Peasy Prep: Don’t let pie-making scare you! This recipe is straightforward, designed for real home cooks like us.
- Fresh or Frozen, Your Call: Whether it’s peak cherry season or you’re craving pie in the dead of winter, this recipe works beautifully with both fresh and frozen cherries. So versatile!
- Pure Comfort in Every Slice: There’s just something inherently comforting about a bubbling, golden-crusted homemade pie. It’s soul food, through and through.
Ingredients for The Perfect Cherry Pie Recipe
Alright, let’s talk ingredients! For me, a great pie starts with great components. You don’t need anything fancy for my Perfect Cherry Pie Recipe, just good, honest stuff. I’ve broken it down for you so it’s super clear.
For the Crust:
- 2 pie crusts: Now, you can absolutely use your favorite homemade recipe here. (Go on, show off a little!) Or, if you’re like me and sometimes just need to get that pie in the oven, a good quality store-bought one works wonders. No shame in that game!
For the Glorious Filling:
- 6 cups fresh or frozen cherries, pitted: This is key! If you’re lucky enough to have fresh, pop out those pits. If it’s not cherry season, don’t even worry. Frozen works perfectly, and there’s no need to thaw them first – we’ll handle them right out of the bag.
- 1 cup granulated sugar: We’re aiming for sweet-tart, so this amount is just right to balance out those cherries.
- 1/4 cup cornstarch: This is our little thickener! It ensures that beautiful, bubbly filling sets up nicely and doesn’t run all over the plate when you cut into it.
- 1/4 teaspoon almond extract: Trust me on this one, it’s my secret weapon for cherry pie. It just *amplifies* that cherry flavor in the most wonderful, subtle way.
- 2 tablespoons unsalted butter, cut into small pieces: Little dots of butter on top of the filling melt into a rich, luscious sauce. Pure genius!
For that Golden Top:
- 1 egg, beaten (for egg wash): This gives our crust that gorgeous, glossy, golden-brown finish.
- 1 tablespoon coarse sugar (for sprinkling): Adds a beautiful sparkle and a delightful little crunch to every bite. So pretty!

Equipment Needed for The Perfect Cherry Pie Recipe
Okay, before we get our hands sticky with all those lovely cherries, let’s make sure you’ve got your kitchen arsenal ready. Nothing too crazy, promise! You probably have most of this stuff already for making any good pie, but it’s always good to have a checklist.
- 9-inch Pie Plate: Gotta have a home for our beautiful pie! Glass or ceramic works wonderfully.
- Large Mixing Bowl: For tossing all those cherries and their sweet goodness together.
- Measuring Cups and Spoons: Precision is our friend, especially when it comes to sugar and cornstarch.
- Rolling Pin: For getting that crust just right – whether it’s homemade or store-bought.
- Pastry Brush: To paint on that lovely egg wash for a golden glow.
- Whisk or Fork: For beating that egg for our wash.
- Baking Sheet (optional, but recommended!): I always put my pie plate on a baking sheet. Catches any potential drips and makes moving the hot pie in and out of the oven so much easier and safer.
How to Prepare The Perfect Cherry Pie Recipe
Okay, it’s showtime! Gather your ingredients, put on your favorite apron, and let’s get baking. Making The Perfect Cherry Pie Recipe is truly a joy, and I’m going to walk you through it step-by-step, just like I would for a friend in my own kitchen. Don’t stress, we’ll make this delicious!
- Get That Oven Ready: First things first, preheat your oven. You want it nice and hot at 400°F (200°C). It's like warming up to hug a friend, you want your oven to be ready to embrace that pie!
- Prep Your Cherries (and Filling!): If you’re using fresh cherries, now’s the time to pit them. It can be a little messy, but it’s totally worth it! If you’re doing frozen, no need to thaw – just grab ’em from the freezer. In a big bowl, gently combine those beautiful cherries with the granulated sugar, cornstarch (our thickening hero!), and that little splash of almond extract. Give it a good, gentle stir to make sure everything’s coated. It should look perfectly glossy and ready for prime time.
- Crust Time, First Layer: Grab one of your pie crusts. If you made your own flaky pastry, good for you! If it’s store-bought, that’s absolutely fine too. Carefully roll it out and then nestle it into your 9-inch pie plate. Trim off any extra dough around the edges, but leave about a 1/2-inch overhang – we need that for crimping later!
- Fill ‘Er Up!: Pour all that luscious cherry filling into your pie crust. Then, take those small pieces of unsalted butter and dot them evenly over the top of the filling. These little butter bits are going to melt and make the filling even more rich and wonderful.
- The Top Crust Adventure: Now for the second pie crust. You’ve got options here! You can simply drape it over the filling for a classic look (just remember to cut a few slits in the top for steam). Or, if you’re feeling fancy, cut it into strips for a beautiful lattice top, or even use some cute cookie cutters for decorative shapes. Whatever you choose, it’ll be delicious!
- Seal the Deal: Once your top crust is on, it’s time to seal the pie. Crimp the edges of the top and bottom crusts together. My grandma used her thumb and forefinger to make these beautiful fluted edges, and I love doing the same!
- Golden Glow: In a small bowl, whisk that one egg into a nice egg wash. Brush it all over the top crust. This is what gives it that gorgeous, golden sheen. Then, sprinkle that coarse sugar over the top. It adds sparkle and a lovely little crunch!
- Bake Time Begins!: Pop your pie onto a baking sheet (trust me, this saves so much cleanup if it bubbles over!) and into your preheated 400°F (200°C) oven. Let it bake for 20 minutes at this higher temp.
- Lower and Slow: After those first 20 minutes, reduce the oven temperature down to 375°F (190°C). Continue baking for another 35-45 minutes. You’re looking for a beautiful golden-brown crust and a filling that’s visibly bubbling up through those slits or lattice. If your crust starts to get too dark too fast, just gently cover the edges with a bit of aluminum foil.
- Patience, My Friend: This is arguably the hardest part! Once it’s perfectly golden and bubbly, take your pie out of the oven. Now, it’s crucial to let it cool completely on a wire rack. I know, I know, you want to dive in! But giving it a good few hours (seriously, like 3-4 hours, or even longer) lets that delicious filling set up properly. Otherwise, it’ll just be a runny mess, and we don’t want that after all your hard work!
Tips for Baking The Perfect Cherry Pie
Baking pie, especially my perfect cherry pie, is such a comforting thing, and these little tricks I’ve picked up along the way will help you get that “wow!” factor every single time. Trust me, these tips are game-changers for any pie baker!
- Cherry Choices Matter: For that truly “perfect” sweet-tart balance, try to use a mix of sweet and sour cherries if you can find them. If you can only get sweet, a tiny extra squeeze of lemon juice in the filling can brighten it right up.
- Say Goodbye to Soggy Bottoms: No one wants a soggy pie bottom, right? My go-to trick is to make sure your pie crust is nice and cold before it goes in the oven. Also, that initial high-heat blast at 400°F (200°C) helps to set the bottom crust quickly before the filling has a chance to make it wet. A light sprinkle of semolina or crushed cornflakes on the bottom crust before adding the filling can also act as a barrier!
- Achieving that Golden Glow: The egg wash with a sprinkle of coarse sugar isn’t just for looks; it helps with browning! If you notice your crust getting too dark too fast, don’t panic! Just loosely tent a piece of aluminum foil over the pie. Especially common culprits are the edges for burning so a pie shield is perfect.
- Patience, My Dear, Patience!: I know it’s hard, but letting the pie cool completely is non-negotiable. Seriously. It lets the filling set up properly. If you cut into it too soon, it’ll be a beautiful, runny disaster. Give it at least 3-4 hours on a wire rack. I often make mine the night before!
- Lisa’s Little Secret: If you’re using frozen cherries and they seem extra juicy, don’t be afraid to add another tablespoon of cornstarch to the filling mixture. Those little differences in fruit can make a big impact on the final texture!
Serving and Storage Suggestions for The Perfect Cherry Pie
So, you’ve waited patiently, and now your kitchen smells absolutely divine! It’s time for the best part – enjoying your perfectly baked cherry pie. While I’m a firm believer that pie is good any time of day, there are definitely ways to make the experience even better, and to keep that deliciousness going!
Serving Your Slice of Heaven
My absolute favorite way to serve The Perfect Cherry Pie is slightly warm, especially when it’s still just a little gooey from the oven. And if you really want to elevate the experience? A generous scoop of vanilla bean ice cream melting slowly over that warm, sweet-tart filling is just pure magic. Or, if you’re feeling extra fancy, a dollop of freshly whipped cream works wonders too! It’s also fantastic at room temperature, a classic treat worthy of any gathering, or a quiet afternoon with a cup of tea, just like my easy berry crumble.
Keeping Your Pie Perfect: Storage Tips
Now, if by some miracle you have leftovers (it doesn’t happen often in my house!), keeping your pie fresh is easy. Once it’s completely cooled, cover it loosely with plastic wrap or aluminum foil. You can store your cherry pie at room temperature for up to 2 days. If you want to keep it longer, pop it in the fridge for up to 4-5 days. The fridge tends to firm up the crust a bit, but the filling stays delicious.
Reheating for That Fresh-Baked Feel
Craving that warm pie experience again? If your pie has been chilling in the fridge, just pop a slice (or the whole thing, I won’t judge!) into a preheated oven at about 300°F (150°C) for 10-15 minutes, or until warmed through. The crust will crisp up beautifully, and the filling will get all gooey again. Pure perfection!
Common Questions About The Perfect Cherry Pie Recipe
I know when you’re making something as special as The Perfect Cherry Pie Recipe, a few questions might pop up. Don’t worry, I’ve got you covered! Here are some of the most common things people ask me:
Can I use frozen cherries for this pie?
Absolutely, yes! Frozen cherries work beautifully in this recipe. In fact, sometimes I prefer them because they’re already pitted and ready to go! The key is to use them straight from the freezer – don’t thaw them first. This helps them hold their shape better and releases less liquid too quickly, which is great for the pie’s structure. You’ll get that same wonderful sweet-tart flavor, just like in my old-fashioned cherry cobbler!
How do I prevent a soggy bottom crust?
Ah, the age-old pie question! A soggy bottom is the enemy of any good pie, especially this cherry one. My number one tip is to start with a very cold crust. Also, that initial blast of high heat at 400°F (200°C) helps to quickly firm up the bottom crust. If you’re still worried, you can sprinkle a thin layer of fine breadcrumbs or even a tiny bit of semolina on the bottom crust before adding the filling. It acts as a moisture barrier!
What kind of cherries are best for cherry pie?
For me, the “perfect” cherry pie has a lovely sweet-tart balance. So, ideally, a mix of sweet cherries (like Bing or Rainier) and tart cherries (like Montmorency) is divine. If you can only find sweet cherries, a little extra lemon juice in the filling can really brighten it up and give it that zing! If you’re a chocolate lover, you might even like to combine them, a bit like my chocolate cherry cream pie!
How can I tell if my cherry pie is fully baked?
You’re looking for a few things! First, the crust should be a beautiful golden brown all over – not just on the edges. Second, and this is important, the filling should be visibly bubbling up through any vents or lattice on your top crust. Those bubbles mean the cornstarch has activated and the filling is thickening. If it’s not bubbling, it’s not done! Just keep baking until it does.
Can I make this pie ahead of time?
Definitely! You can assemble the pie the day before and then refrigerate it unbaked. Just make sure to cover it loosely with plastic wrap. When you’re ready to bake, pop it straight into a preheated oven, but you might need to add an extra 10-15 minutes to the total baking time since it’s going in cold. Or, bake it fully, let it cool completely, and store it at room temperature (or refrigerated for longer) for up to two days. It reheats beautifully!
Nutritional Information
Just a little note on the nutrition for this amazing pie! While I’ve given you some general ideas, please remember that any nutritional information here is just an estimate. It can totally change based on the specific brands of ingredients you use, how big your slice is (no judgment here!), and any little tweaks you make. So, enjoy your pie, and just know it’s made with love!
Share Your Perfect Cherry Pie Experience
Well, there you have it – my go-to for The Perfect Cherry Pie Recipe! Now it’s your turn. I’d absolutely love to hear all about your pie-making adventures! Did you use fresh or frozen cherries? Did you try a fancy lattice top? Drop a comment below and let me know how it went. And if you share your beautiful creation on Instagram, be sure to tag me! Nothing makes me happier than seeing you bring these recipes to life in your own kitchen. Happy baking, friends!
Print
The Perfect Cherry Pie
- Total Time: 90 min
- Yield: 8 servings 1x
- Diet: Vegetarian
Description
This recipe delivers a classic cherry pie with a flaky crust and a sweet-tart filling.
Ingredients
- 2 pie crusts, homemade or store-bought
- 6 cups fresh or frozen cherries, pitted
- 1 cup granulated sugar
- 1/4 cup cornstarch
- 1/4 teaspoon almond extract
- 2 tablespoons unsalted butter, cut into small pieces
- 1 egg, beaten (for egg wash)
- 1 tablespoon coarse sugar (for sprinkling)
Instructions
- Preheat your oven to 400°F (200°C).
- If using fresh cherries, pit them. If using frozen cherries, do not thaw.
- In a large bowl, combine the cherries, granulated sugar, cornstarch, and almond extract. Mix gently to coat the cherries.
- Roll out one pie crust and carefully place it into a 9-inch pie plate. Trim any excess dough, leaving about a 1/2-inch overhang.
- Pour the cherry filling into the pie crust. Dot the top of the filling with the small pieces of butter.
- Roll out the second pie crust. You can place it whole over the filling, cut it into strips for a lattice top, or use cookie cutters for decorative shapes.
- If using a whole top crust, cut several slits in the top to allow steam to escape.
- Crimp the edges of the top and bottom crusts together to seal.
- Brush the top crust with the beaten egg wash and sprinkle with coarse sugar.
- Bake for 20 minutes at 400°F (200°C).
- Reduce the oven temperature to 375°F (190°C) and continue baking for another 35-45 minutes, or until the crust is golden brown and the filling is bubbly.
- If the crust starts to brown too quickly, cover the edges with aluminum foil.
- Remove the pie from the oven and let it cool completely on a wire rack before slicing and serving. This allows the filling to set properly.
Notes
- For best results, use a combination of sweet and tart cherries.
- If your cherries are very juicy, you may need to add an extra tablespoon of cornstarch.
- Serve warm with a scoop of vanilla ice cream.
- Prep Time: 30 min
- Cook Time: 60 min
- Category: Dessert
- Method: Baking
- Cuisine: American
Nutrition
- Serving Size: 1 slice
- Calories: 350
- Sugar: 45g
- Sodium: 200mg
- Fat: 15g
- Saturated Fat: 7g
- Unsaturated Fat: 8g
- Trans Fat: 0g
- Carbohydrates: 55g
- Fiber: 3g
- Protein: 4g
- Cholesterol: 25mg