 Skip to content

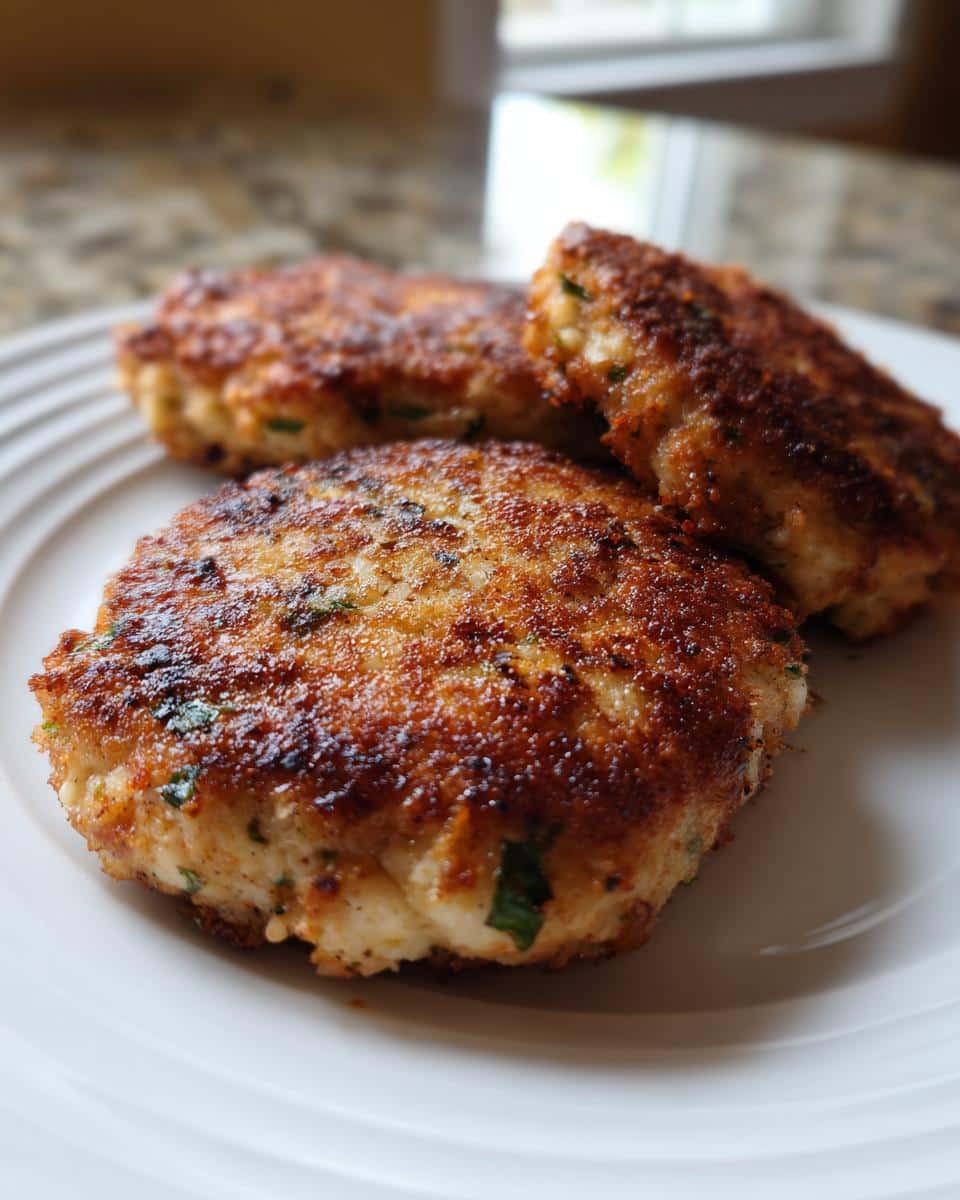
Oh, tuna cakes! My absolute go-to whenever I need something quick, comforting, and just plain delicious. There’s something so wonderfully versatile about these little patties, isn’t there? You see, for me, a good tuna cakes recipe isn’t just about making dinner; it’s about whipping up a meal that feels special without any fuss. I first really started making these when I moved into my first tiny studio apartment in Seattle. Money was tight, time was short, and honestly, cooking felt like a chore after long days. But canned tuna? Always in the pantry! I tinkered and tweaked, and suddenly, these savory, golden-brown patties became my culinary superpower. They’re such a lifesaver, transforming a humble can of tuna into something truly satisfying. Trust me, you’ll want this classic in your weeknight rotation!
Why You’ll Love This Tuna Cakes Recipe
Honestly? Because they are just SO good and so easy! This isn’t just another tuna cakes recipe; it’s *the* recipe you’ll turn to again and again when you need a little kitchen magic. Here’s why you’ll fall head over heels for these:
- Seriously Speedy: From pantry to plate in under 30 minutes. Perfect for those crazy weeknights!
- Budget-Friendly Bliss: Canned tuna is a superstar, and a few other staples turn it into something spectacular without breaking the bank.
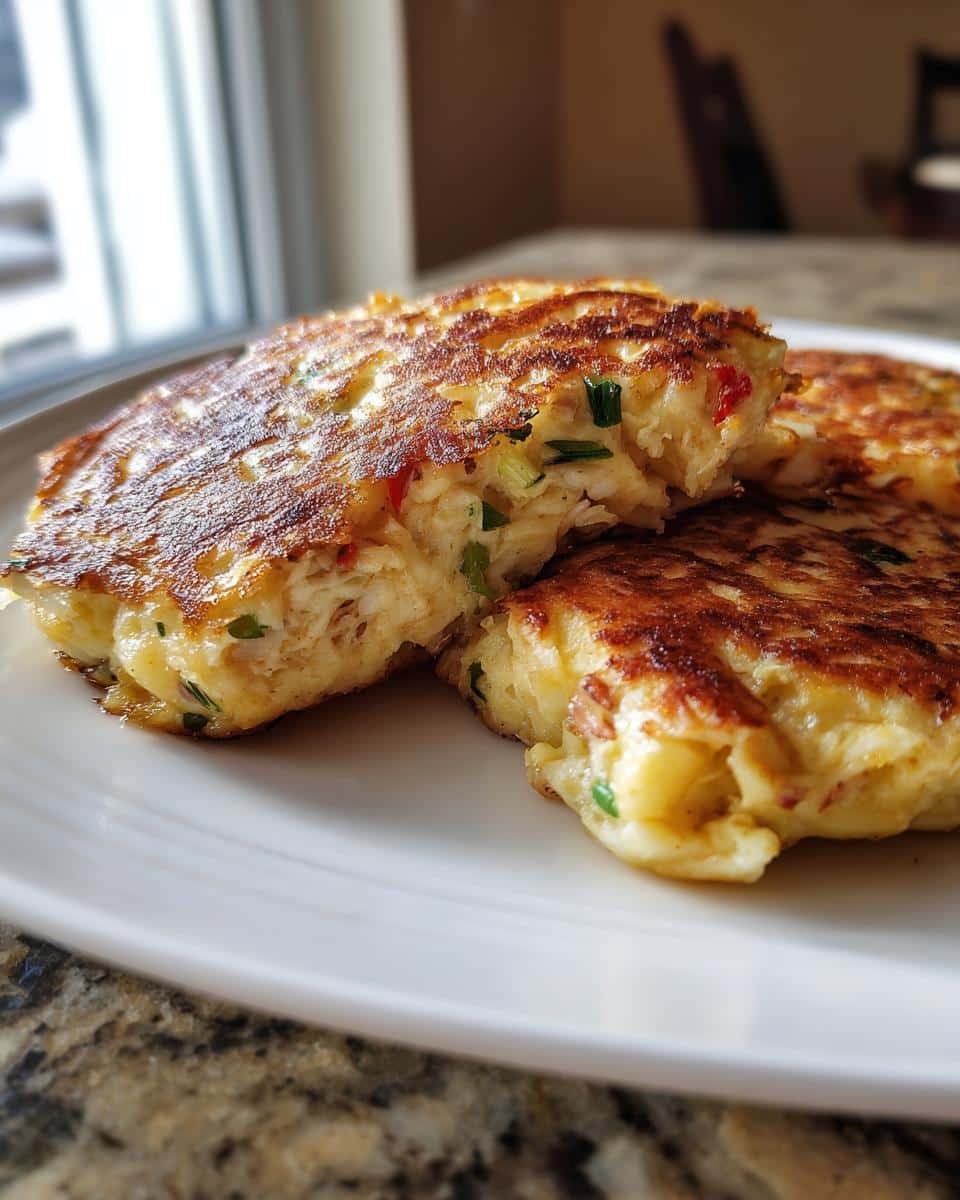
- Comfort in a Patty: Crispy on the outside, tender and flavorful on the inside. It’s pure, simple deliciousness.
- Versatile & Adaptable: They’re fantastic on their own, in a sandwich, or as part of a bigger meal. Just like my canned chicken pizza crust, these prove that pantry staples can be utterly amazing!
- Smart Use of Canned Tuna: It’s such a great way to transform that can of tuna into something everyone will actually crave!
Essential Ingredients for the Best Tuna Cakes Recipe
Okay, let’s talk ingredients! You don’t need anything fancy for these tuna cakes, which is part of their charm. It’s truly a testament to how simple things can create something incredibly satisfying. Here’s exactly what you’ll need to grab from your pantry and fridge:
- 2 (5-ounce) cans tuna, completely drained and flaked (this is super important for texture!)
- 1/2 cup breadcrumbs (I usually just use plain, but panko works too if you want extra crispiness!)
- 1/4 cup mayonnaise (your favorite brand is just fine!)
- 1 large egg, beaten
- 1/4 cup finely chopped celery (don’t skip the crunch!)
- 2 tablespoons finely chopped onion (adds a lovely subtle flavor)
- 1 tablespoon fresh lemon juice (a little zing brightens everything up)
- 1 teaspoon Dijon mustard (my secret weapon for depth!)
- 1/2 teaspoon salt
- 1/4 teaspoon black pepper
- 2 tablespoons olive oil (for pan-frying those beauties!)
Step-by-Step: How to Prepare This Easy Tuna Cakes Recipe
Alright, get ready to make some magic! This easy tuna cakes recipe is seriously straightforward, and I promise you’ll feel like a kitchen pro by the time you’re done. Just follow these steps, and you’ll have golden, delicious tuna cakes ready to devour in no time.
- Prep Your Tuna: First things first, grab those two cans of tuna. You really, *really* want to drain them super well. I usually press a paper towel into the can or use a colander and really squeeze out all the excess water. No one wants soggy tuna cakes! Once it’s drained, flake it up in a large bowl.
- Mix it Up: Now for the fun part! Add your breadcrumbs, mayonnaise, that beaten egg, the finely chopped celery and onion, lemon juice, Dijon mustard (my secret ingredient for a little kick!), salt, and pepper to the bowl with the tuna. Mix everything together super gently. You don’t want to overmix it; just combine it until everything looks happy and incorporated.
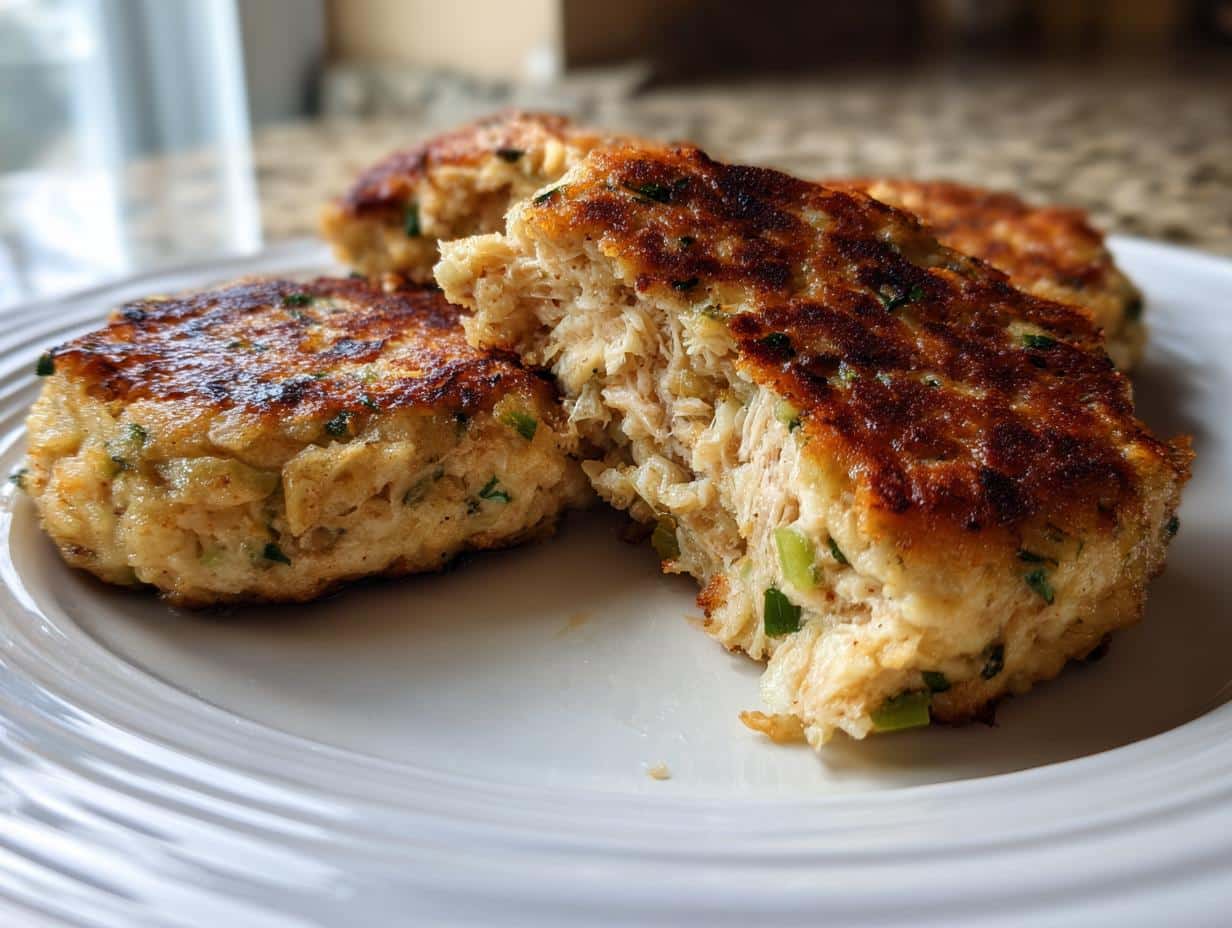
- Form the Patties: Once your mixture is ready, it’s patty-forming time! I usually get about 6-8 patties out of this, roughly 1-inch thick. Don’t make them too thick, or they might not cook through evenly. If the mixture feels a little sticky, a tiny bit of water on your hands can help, but generally, it should be pretty easy to work with.
- Heat the Pan: Get your favorite large non-stick skillet over medium heat and pour in the olive oil. You want it warm, but not smoking. Test it by dropping a tiny crumb of your tuna cake mixture in; if it sizzles gently, you’re good to go!
- Pan-Fry to Perfection: Carefully place your tuna cakes into the hot skillet. Don’t crowd the pan! You might need to cook them in batches. Let them cook for about 3-4 minutes per side. You’re looking for that gorgeous golden-brown crust. That’s where all the delicious crispiness is!
- Serve Hot: Once they’re beautifully golden brown on both sides and heated all the way through, take them off the skillet. Now, this is crucial: serve them immediately! They’re best when they’re fresh and warm.
Tips for Perfect Tuna Cakes Every Time
Making delicious tuna cakes isn’t hard, but a few little tips can really elevate them from “good” to “oh-my-gosh-these-are-amazing!” This tuna cakes recipe is already super solid, but these extra pointers will help you get those perfectly crisp, flavorful patties every single time. Trust me, these are the common sense tricks that make all the difference in the kitchen!
- Drain, Drain, Drain! I can’t stress this enough. Water is the enemy of crispy tuna cakes. After draining, I even press a paper towel against the tuna in the can or in a colander to get out every last drop of liquid. It sounds like a small step, but it makes a huge difference in texture.
- Don’t Be Shy with Seasoning: Taste a tiny bit of the raw mixture (before adding the egg, of course!) if you’re unsure about seasoning. A little extra salt, pepper, or lemon juice can really make the flavors pop.
- Chill Out: If you have time, pop the formed patties into the fridge for 15-20 minutes before frying. This helps them firm up and keeps them from falling apart in the pan.
- Even Handed Patties: Try to make all your patties roughly the same size and thickness. This ensures they cook evenly, and you won’t have some burnt while others are still cold in the middle.
Achieving Golden Brown Pan-Fried Tuna Cakes
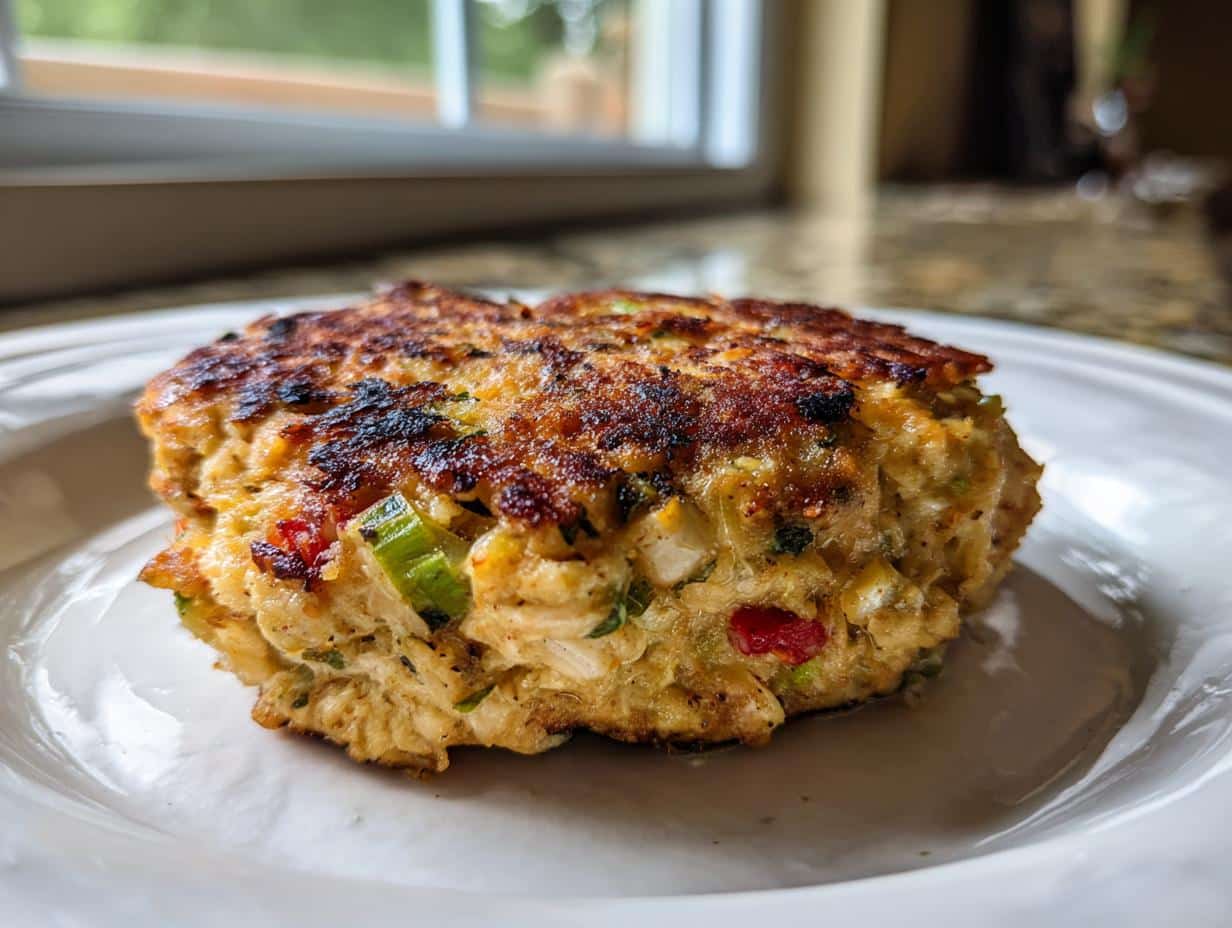
The crust is where a lot of the magic happens with pan-fried tuna cakes! You want that beautiful, golden-brown exterior that gives way to a tender interior. A medium-low heat is your best friend here – too high, and they’ll burn before cooking through; too low, and they’ll soak up too much oil and get greasy. Keep a close eye on them, and don’t rush the process. Flip only when you see those edges turning golden brown and the internal mixture looks a bit set. It’s truly an art to get that perfect crisp!
Variations on Your Classic Tuna Cakes Recipe
Okay, so you’ve mastered the classic tuna cakes recipe – awesome! But guess what? These little beauties are just begging for you to get creative. Once you have the basic technique down, the sky’s the limit for flavor and dietary twists! I love how you can take a foundation and just jazz it up depending on what you have, or what you’re craving. Whether you want to sneak in more veggies, go for a different spice profile, or adapt it for special diets, these tuna cakes are super flexible. For instance, making them keto-friendly or gluten-free is totally achievable with just a few swaps. Think of them as your personal culinary playground!
Healthy Tuna Cakes Recipe Swaps
Want to make your tuna cakes even healthier? It’s totally doable! Instead of regular breadcrumbs, you can swap in whole-wheat breadcrumbs for more fiber, or even use crushed flaxseed meal for an extra omega boost. And if you’re looking to cut down on fat, try using Greek yogurt instead of mayonnaise. It gives a lovely tang and keeps things moist! You can also boost the veggie content with finely grated zucchini or carrots – they just disappear into the mix, adding nutrients without changing the texture much. Every little swap adds up!
Exploring Different Flavors for Tuna Patties
This is where it gets really fun! Don’t be afraid to play around with the seasonings in your tuna patties. A pinch of cayenne or a dash of hot sauce can give them a fantastic kick, almost like my spicy Cajun onion rings. Or, for a Mediterranean vibe, try adding chopped kalamata olives, sun-dried tomatoes, and a sprinkle of oregano. Fresh herbs are your friends here too – dill, parsley, or chives are just divine. For an Asian-inspired twist, a tiny bit of grated ginger, a dash of soy sauce, and a sprinkle of sesame seeds can make these truly unique. Your imagination is the only limit!
Serving Suggestions for Tuna Cakes
You’ve got your beautiful, golden-brown tuna cakes, fresh from the pan. Now what? The possibilities are endless, truly! These aren’t just for a sad plate alone; they are begging for some delicious companions. My absolute favorite way to enjoy them is nestled in a soft bun with a dollop of a zesty sauce, but they’re so versatile. Think fresh, crunchy salads or even some simple roasted veggies. It all depends on your mood and how much effort you feel like putting in!
- Saucy Goodness: A classic tartar sauce is always a winner, but honestly, a simple squeeze of fresh lemon juice is sometimes all you need. You could also whip up a quick aioli, or even serve them with some spicy Sriracha mayo for a kick!
- Fresh Salads: These tuna cakes pair beautifully with a light and crisp side. A vibrant cucumber salad is fantastic, or even a simple green salad with a vinaigrette. Sometimes I just do a pile of mixed greens with some cherry tomatoes and call it a day!
- Creamy Slaw: A cool, creamy coleslaw recipe is another perfect match. The crunch and tang really complement the savory tuna cakes.
- Sandwich Style: Pop them into a brioche bun with some lettuce and tomato for a delicious, easy sandwich.
- Wrap It Up: Go for a lighter lunch by crumbling them into a lettuce wrap or a whole wheat tortilla with some avocado. Yum!
Storage and Reheating Your Tuna Cakes
So, you’ve made a batch of these glorious tuna cakes, and maybe, just maybe, you have a few left over. Good for you for having that kind of self-restraint! Luckily, these aren’t just a one-and-done meal. You can totally enjoy them later, and they’ll still be delicious. To store them, just pop any cooled leftovers into an airtight container and keep them in the fridge. They’ll be fantastic for up to 3 days. When you’re ready for another round, I like to gently reheat them in a non-stick skillet over medium-low heat for a few minutes per side until they’re warmed through and crisp again. You can also pop them in the oven at 350°F (175°C) for about 10-15 minutes, or even an air fryer for a quick re-crisp!
Frequently Asked Questions About This Tuna Cakes Recipe
Okay, I get it! When you’re trying a new recipe, even one as easy as these tuna cakes, questions pop up. That’s totally normal! I’ve gathered some of the most common things people ask me about this delicious canned tuna recipe. Hopefully, these answers will clear up any lingering doubts and get you confidently whipping up a batch of these glorious tuna patties!
Can I make these tuna cakes ahead of time?
Absolutely! That’s one of the best things about this tuna cakes recipe! You can totally mix up the tuna cake mixture and form the patties a day in advance. Just cover them tightly with plastic wrap and store them in the fridge. When you’re ready to cook, just pull them out and pan-fry as usual. Easy peasy!
What kind of tuna is best for tuna cakes?
For these tuna cakes, I really prefer using canned tuna packed in water. Make sure it’s well-drained and flaked. While oil-packed tuna can be flavorful, the extra oil can make the patties a bit greasy and harder to bind. Chunk light or albacore, it’s really up to your preference, but definitely go for the water-packed and give it a good squeeze!
Can I bake or air fry these tuna cakes instead of pan-frying?
You bet! While pan-frying gives them an amazing golden crust, you can definitely bake or air fry these if you prefer. For air fryer tuna cakes, spray them lightly with cooking oil and cook at 375°F (190°C) for about 10-12 minutes, flipping halfway, until golden and crisp. If baking, place them on a parchment-lined baking sheet, spray with oil, and bake at 375°F (190°C) for 15-20 minutes, flipping once, until heated through and golden. They might not be *quite* as crispy as pan-fried, but they’re still super delicious!
Nutritional Information
Just a quick heads-up about the nutrition stuff: all the values you see are just estimates, okay? What’s in your specific tuna cakes can totally change depending on the brands you use and any little tweaks you make to the recipe. So, consider them a handy guide, not gospel! We’re all about delicious food here, not obsessing over every single number.
Print
Classic Tuna Cakes
- Total Time: 23 min
- Yield: 6-8 patties 1x
- Diet: Low Calorie
Description
This recipe provides instructions for making classic tuna cakes using canned tuna, breadcrumbs, mayonnaise, and seasonings. Pan-fried until golden brown, these cakes are simple to prepare.
Ingredients
- 2 (5-ounce) cans tuna, drained and flaked
- 1/2 cup breadcrumbs
- 1/4 cup mayonnaise
- 1 large egg, beaten
- 1/4 cup finely chopped celery
- 2 tablespoons finely chopped onion
- 1 tablespoon fresh lemon juice
- 1 teaspoon Dijon mustard
- 1/2 teaspoon salt
- 1/4 teaspoon black pepper
- 2 tablespoons olive oil (for frying)
Instructions
- In a large bowl, combine the drained and flaked tuna, breadcrumbs, mayonnaise, beaten egg, chopped celery, chopped onion, lemon juice, Dijon mustard, salt, and black pepper. Mix gently until just combined.
- Form the mixture into 6-8 patties, about 1-inch thick.
- Heat the olive oil in a large non-stick skillet over medium heat.
- Carefully place the tuna cakes in the hot skillet. Cook for 3-4 minutes per side, or until golden brown and heated through.
- Serve immediately with your favorite dipping sauce.
Notes
- Tartar sauce or a squeeze of fresh lemon are great options for serving.
- Prep Time: 15 min
- Cook Time: 8 min
- Category: Main Dish
- Method: Pan-Frying
- Cuisine: American
Nutrition
- Serving Size: 1 patty
- Calories: 150
- Sugar: 1
- Sodium: 350
- Fat: 9
- Saturated Fat: 1
- Unsaturated Fat: 7
- Trans Fat: 0
- Carbohydrates: 8
- Fiber: 1
- Protein: 10
- Cholesterol: 40