
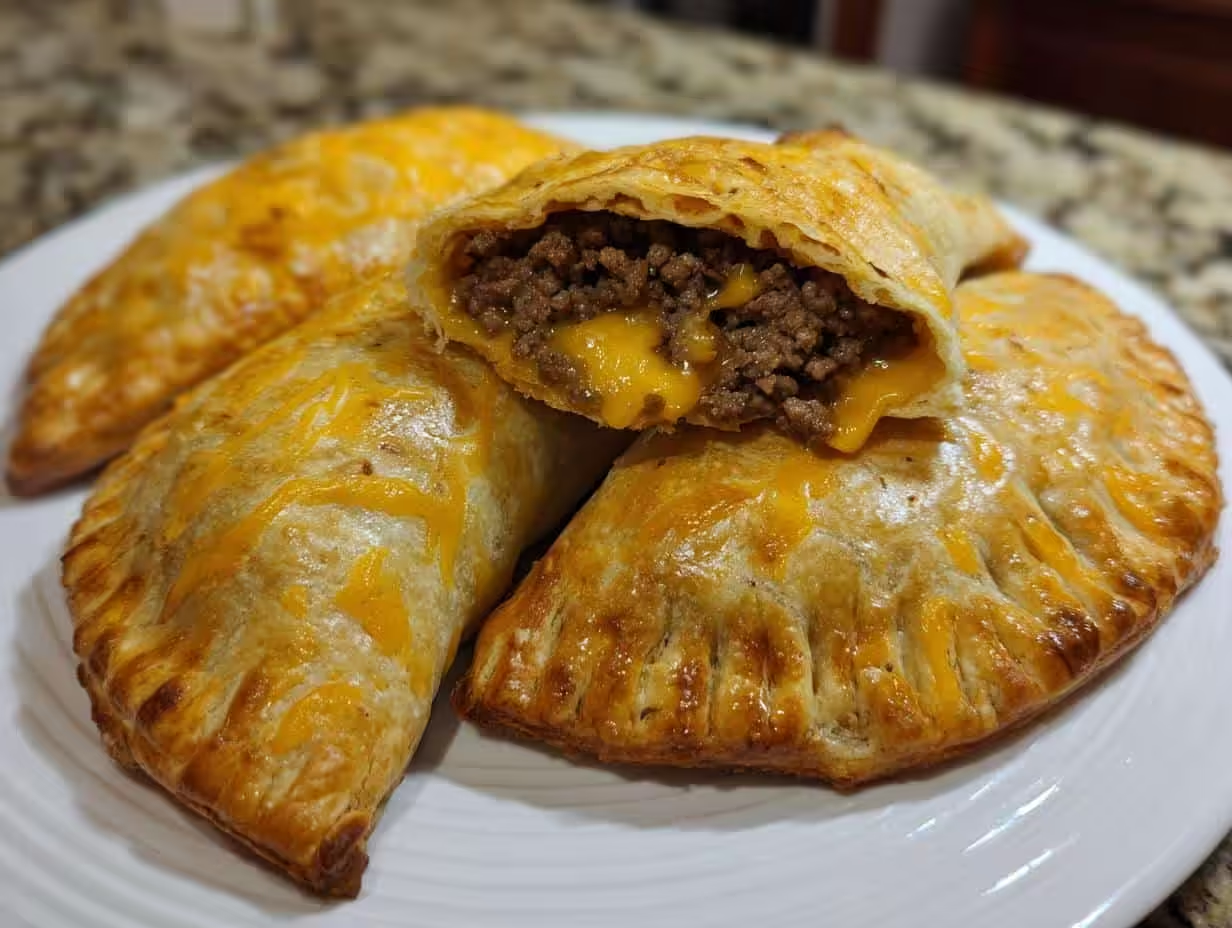
Okay, folks, lemme tell you about my new OBSESSION: 33-Minute Flaky Cheeseburger Pockets! I mean… seriously? Cheeseburgers you can hold in your hand, ready in about the time it takes to watch an episode of your favorite show? Yes, please!
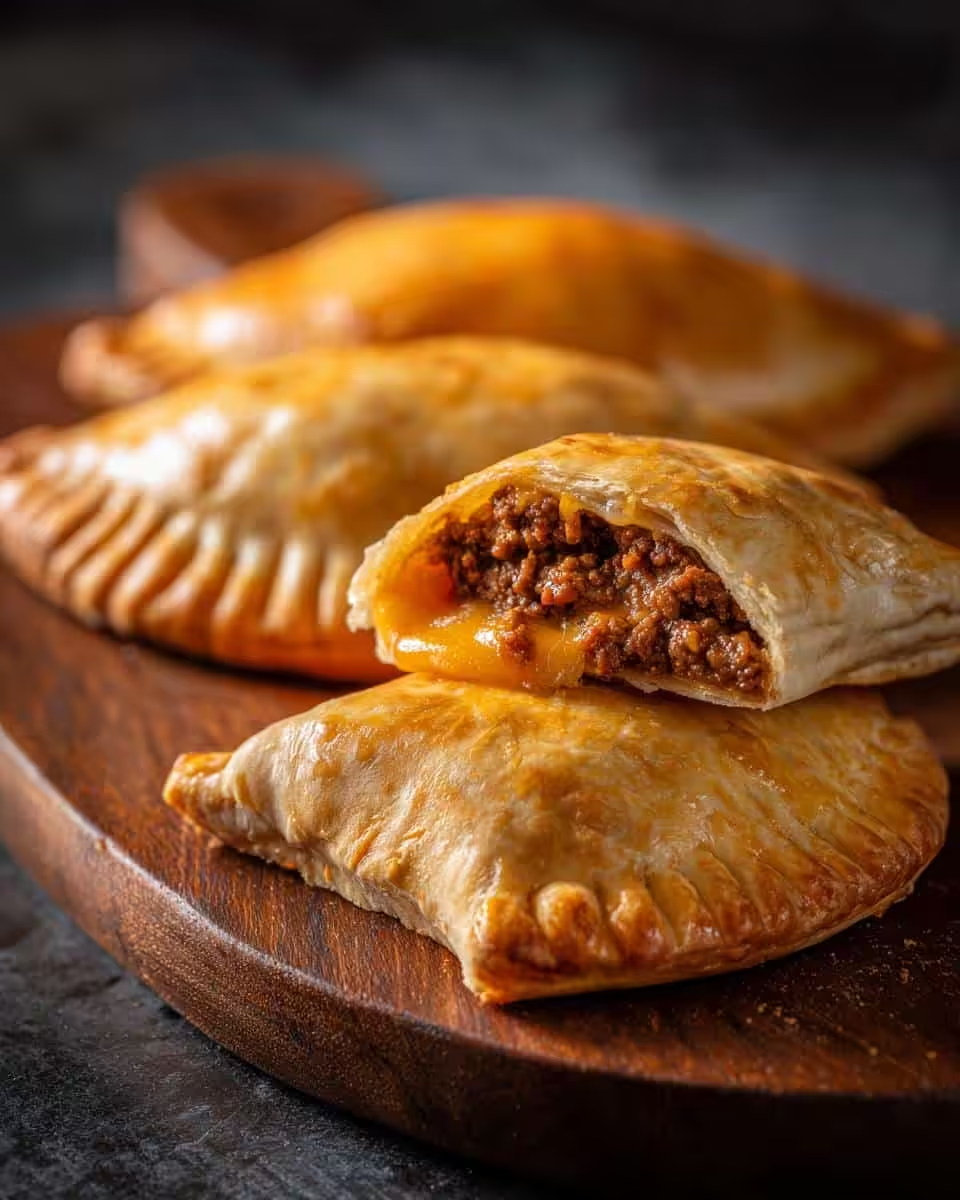
I’ve always been a sucker for a good handheld meal, you know? Something that’s easy to eat on the go, or perfect for a quick dinner when you’re just plain beat. But these ain’t no ordinary pockets. It’s the flaky crust that gets me every time. That, combined with that classic cheeseburger taste… pure heaven!
Now, I didn’t grow up eating fancy stuff. My grandma, bless her heart, always had some kind of comforting, simple food on the table. And that’s what I try to bring to my supper club and my cooking classes – easy, delicious food that doesn’t take all day. And trust me, these 33-Minute Flaky Cheeseburger Pockets DEFINITELY fit the bill. I think even Grandma would have approved!
Why You’ll Love These 33-Minute Flaky Cheeseburger Pockets
Listen, I get it. Life is BUSY. That’s why I’m so hyped about these little guys. You’re gonna love ’em because they’re:
- Fast: Seriously, 33 minutes? That’s FASTER than delivery!
- Flaky: That pie crust is just *chef’s kiss*!
- Cheeseburger-y: All that classic flavor in a neat little package. What’s not to love?
- Kid-Friendly: Even picky eaters gobble these up!
- Totally Customizable: Add your fave toppings, swap out the cheese… make ’em YOURS!
I mean, come on! What’s not to love?

Ingredients for Your 33-Minute Flaky Cheeseburger Pockets
Alright, gather ’round, because we’re about to make some magic! Here’s what you’ll need to whip up a batch of these crazy-good cheeseburger pockets. Don’t worry, it’s nothing too complicated!
- 1 pound ground beef (80/20 is my fave, gives it that juicy flavor!)
- 1 cup shredded cheddar cheese (or whatever cheese makes your heart sing!)
- 1 package (14.1 oz) refrigerated pie crusts (the pre-made kind! We’re keeping it EASY!)
- 1 large egg (for that golden-brown shine!)
- 2 tablespoons sesame seeds (optional, but they add a nice little somethin’ somethin’!)
And hey, don’t be afraid to add your own little twist! That’s what cooking’s all about, right?
How to Make 33-Minute Flaky Cheeseburger Pockets: Step-by-Step Instructions
Okay, listen up, ’cause this is where the rubber meets the road! It might *look* intimidating, but I promise, these cheeseburger pockets are totally doable. Just follow these steps, and you’ll be munching on warm, flaky deliciousness in no time!
- Brown that Beef! First things first, grab a skillet and brown that ground beef over medium heat. Make sure to break it up as it cooks – nobody wants a big ol’ chunk of beef in their pocket! Once it’s browned, drain off any excess grease. Trust me, your pockets will thank you for it.
- Cheese, Please! Now, stir in that glorious shredded cheddar cheese. Get it all melty and mixed in with the beef. Mmm, can you smell it already? If you’re feeling fancy, you could even add a *splash* of your favorite hot sauce here. Just sayin’!
- Roll Out the Dough! Unroll those refrigerated pie crusts on a lightly floured surface. Now, I know some folks like to make their own pie crust, but honestly? Ain’t nobody got time for that on a weeknight! The pre-made stuff works just fine.
- Cut It Out! Use a pizza cutter or a knife to cut each pie crust into circles. You can use a bowl or a cookie cutter as a guide if you want ’em all to be the same size. Don’t worry if they’re not perfect – these are *homemade* pockets, remember? A little rustic charm never hurt nobody.
- Pocket Time! Place a spoonful of that beefy, cheesy mixture in the center of each circle. Don’t overstuff ’em, or they might explode in the oven (oops!).
- Seal the Deal! Fold each circle in half to form a half-moon shape. Press the edges together with a fork to seal ’em up tight. This is *super* important, or all that yummy filling will ooze out. Nobody wants that!
- Egg Wash for the Win! In a small bowl, whisk that egg with a tablespoon of water. Brush each pocket with the egg wash, then sprinkle with sesame seeds (if you’re using ’em). This is what gives ’em that gorgeous golden-brown color.
- Bake ‘Em Up: Alright, preheat your oven to 375°F (190°C). Place the pockets on a baking sheet lined with parchment paper (for easy cleanup!). Bake for 15-18 minutes, or until they’re golden brown and flaky. Keep an eye on ’em, because ovens can be sneaky!
- Cool and Devour! Let the pockets cool for a few minutes before digging in. They’ll be HOT! But trust me, they’re worth the wait. Enjoy these 33-Minute Flaky Cheeseburger Pockets while they are warm!

Tips for Perfect 33-Minute Flaky Cheeseburger Pockets
Wanna take these pockets from “good” to “OMG, these are amazing!”? Of course, you do! Here are my top tips for cheeseburger pocket perfection. I’ve learned these the hard way (a few exploded pockets later, haha!).
- Keep it Cold: Pie crust is finicky! The colder it is, the flakier it’ll be. If you notice the crust getting too soft while you’re working with it, pop it back in the fridge for a few minutes.
- Fork It Good: Sealing those edges *tight* is key to preventing leaks. Press firmly with that fork! You can even crimp the edges if you’re feeling extra fancy.
- Egg Wash is Your Friend: Don’t skip the egg wash! It’s what gives the pockets that beautiful golden-brown color. Plus, it helps the sesame seeds stick. Score!
- Oven Watch: Ovens can be temperamental little beasts. Keep a close eye on those pockets during the last few minutes of baking to make sure they don’t burn.
Follow these tips, and you’ll be a cheeseburger pocket pro in no time!
Ingredient Notes and Substitutions for 33-Minute Flaky Cheeseburger Pockets
Alright, let’s talk ingredients! These 33-Minute Flaky Cheeseburger Pockets are super versatile, so don’t be afraid to swap things out to suit your taste. Here are a few ideas to get you started:
- Ground Beef: Not a beef fan? No problem! Ground turkey or even ground chicken works great. Just make sure to drain off any excess grease after browning. You could even go vegetarian with some crumbled plant-based “beef”!
- Cheese: Cheddar’s classic, but Monterey Jack, Colby, or even a little pepper jack would be yummy! Get creative! I’ve even used a mix of cheddar and Gruyère – fancy, right?
- Pie Crust: Look, I’m all about easy, so I use the refrigerated pie crusts. But if you’re feeling ambitious, go for it and make your own! Just remember, the colder the crust, the flakier the pocket!
The possibilities are endless, really! Just have fun with it and make these pockets your own!

Make-Ahead and Freezer Tips for 33-Minute Flaky Cheeseburger Pockets
Okay, here’s the thing: sometimes you just don’t have 33 minutes to whip up these beauties. But don’t despair! These 33-Minute Flaky Cheeseburger Pockets are AMAZING make-ahead and freezer-friendly. Here’s the lowdown:
To make ahead, assemble the pockets as directed, but don’t bake them. Instead, pop ’em in the fridge for up to 24 hours. When you’re ready to bake, just add a couple of minutes to the baking time.
For longer storage, FREEZE those bad boys! Place the unbaked pockets on a baking sheet and freeze ’em solid. Then, transfer them to a freezer bag. They’ll keep for up to 2 months! When you’re ready to bake, bake ’em straight from frozen, but add about 5-8 minutes to the cooking time. Easy peasy!
Frequently Asked Questions About 33-Minute Flaky Cheeseburger Pockets
Got questions about these 33-Minute Flaky Cheeseburger Pockets? I bet you do! Don’t worry, I’ve got answers! Here are a few of the most common questions I get asked about this recipe:
Can I use different fillings in these pockets?
Absolutely! That’s what’s so great about these pockets – they’re totally customizable! Try adding some chopped onions, bell peppers, or even a little bit of bacon to the beef mixture. You could also swap out the cheddar cheese for another kind, like Monterey Jack or pepper jack. Get creative and have fun with it!
Help! How do I prevent the filling from leaking out?
Ah, the dreaded leak! Here’s the secret: make sure you seal those edges *really* well. Press firmly with a fork to crimp the edges together tightly. Also, don’t overfill the pockets! A little bit of filling goes a long way. If you’re still having trouble, try chilling the pockets in the fridge for a few minutes before baking. This will help the dough firm up and prevent leaks.
Are these pockets good for meal prep?
Heck yeah! These pockets are PERFECT for meal prep! You can make a big batch on Sunday and have them ready to go for lunches or dinners all week long. Just store them in an airtight container in the fridge. To reheat, pop them in the oven or microwave until warmed through. Easy peasy!
Can I make these ahead of time and freeze them?
You betcha! Follow the make-ahead and freezer tips I shared above for the best results. They’re super convenient to have on hand for those nights when you just don’t feel like cooking!
Estimated Nutritional Information
Alright, nutritional info! Keep in mind this is just an estimate, folks! But here’s the lowdown on what you’re likely gettin’ in each 33-Minute Flaky Cheeseburger Pocket (think Calories, Fat, Protein, Carbs, the usual suspects!).
Enjoy Your 33-Minute Flaky Cheeseburger Pockets!
Alright, y’all, dig in and ENJOY these 33-Minute Flaky Cheeseburger Pockets! I hope you love them as much as my family does. Let me know what you think in the comments below! Did you add anything special? Give the recipe a rating, and don’t forget to share your pocket creations on social media!
Print
Crispy Oven Roasted Potatoes and Onions
- Total Time: 65 min
- Yield: 6 servings 1x
- Diet: Vegan
Description
Simple oven roasted potatoes and onions.
Ingredients
- 2 lbs potatoes, peeled and cubed
- 2 large onions, sliced
- 1/4 cup olive oil
- 1 teaspoon salt
- 1/2 teaspoon black pepper
- 1 teaspoon dried oregano
Instructions
- Preheat oven to 400°F (200°C).
- In a large bowl, combine potatoes, onions, olive oil, salt, pepper, and oregano.
- Spread the mixture in a single layer on a baking sheet.
- Roast for 45-50 minutes, or until potatoes are tender and golden brown, flipping halfway through.
- Serve hot.
Notes
- For extra crispiness, parboil the potatoes for 5 minutes before roasting.
- Prep Time: 15 min
- Cook Time: 50 min
- Category: Side Dish
- Method: Roasting
- Cuisine: Mediterranean
Nutrition
- Serving Size: 1 serving
- Calories: 250
- Sugar: 5g
- Sodium: 300mg
- Fat: 12g
- Saturated Fat: 2g
- Unsaturated Fat: 10g
- Trans Fat: 0g
- Carbohydrates: 35g
- Fiber: 4g
- Protein: 4g
- Cholesterol: 0mg