
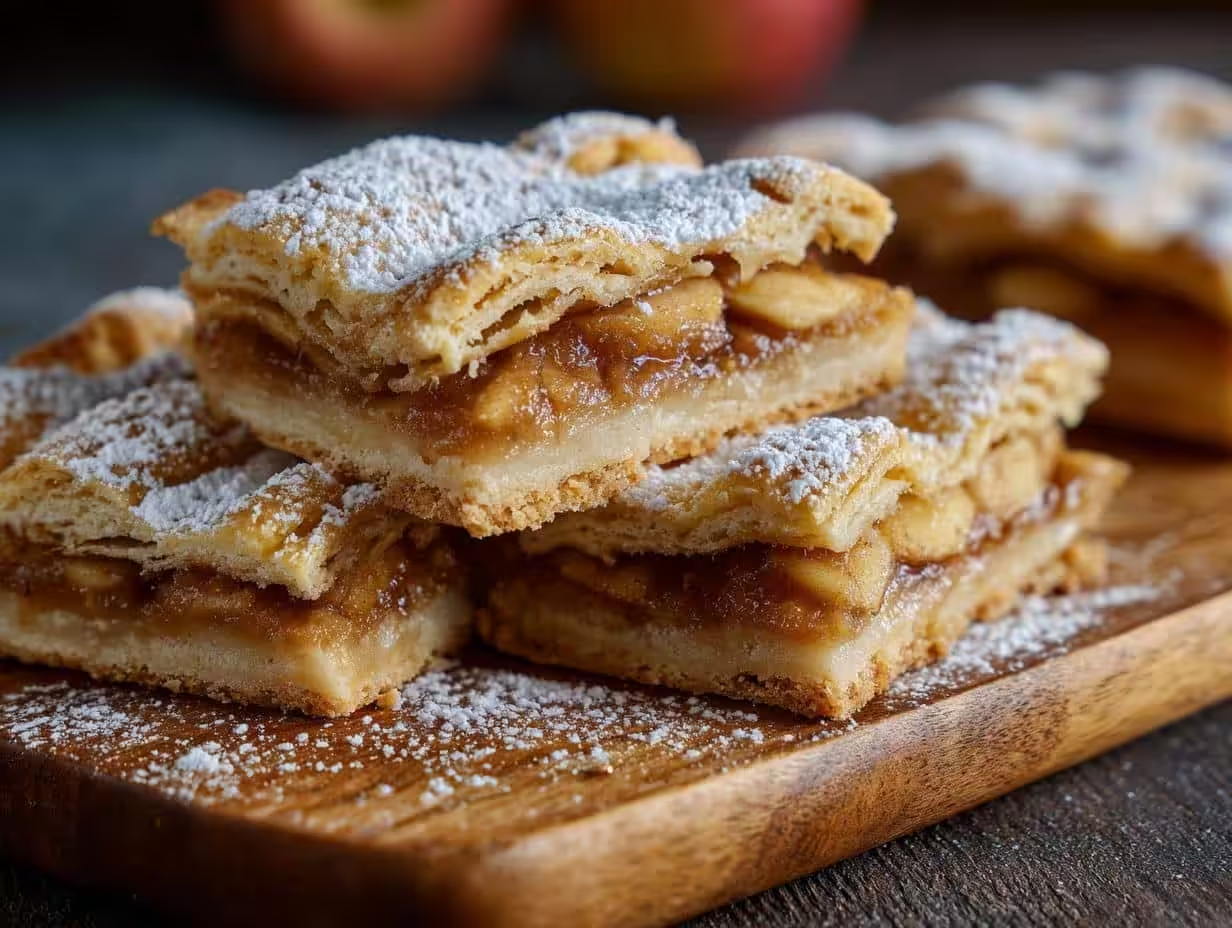
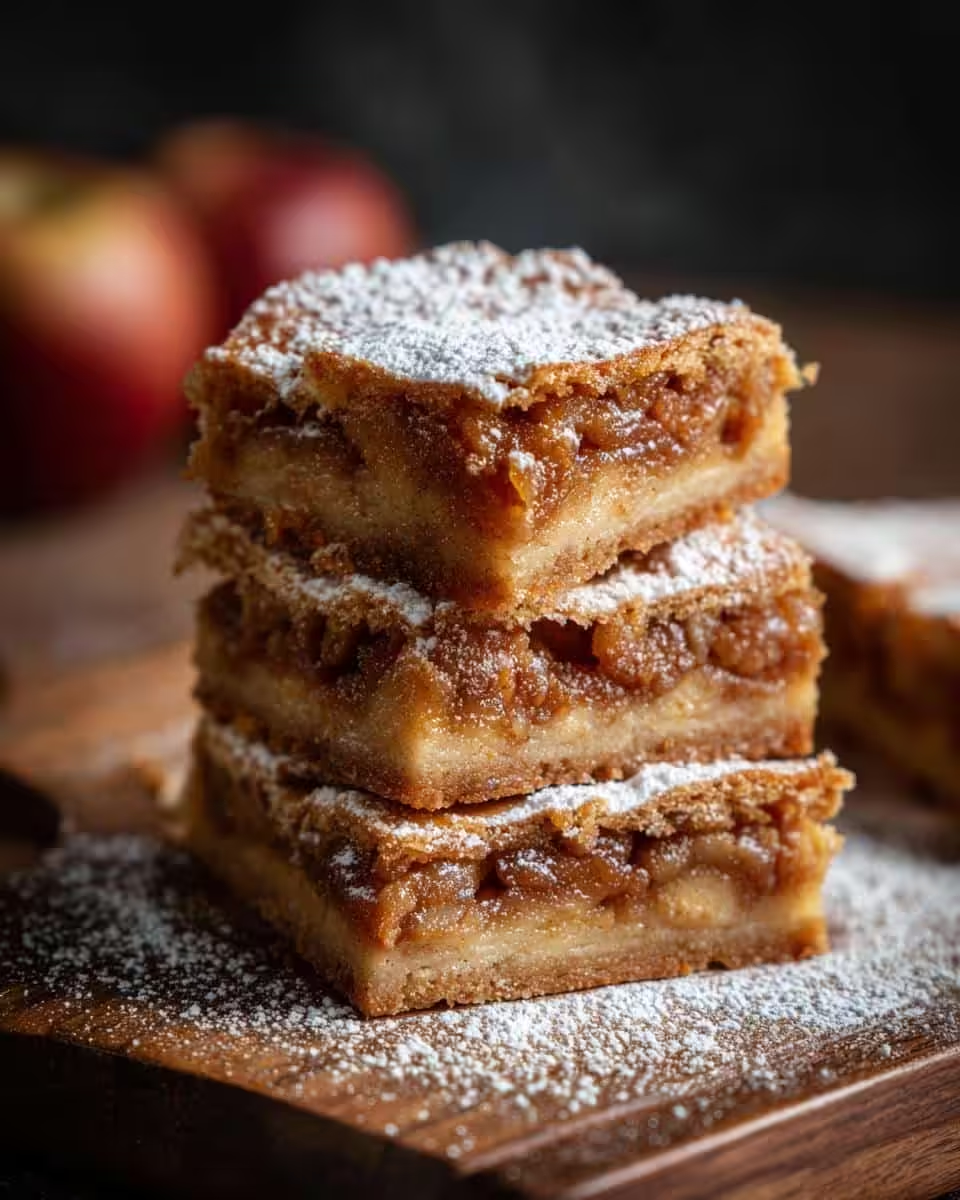
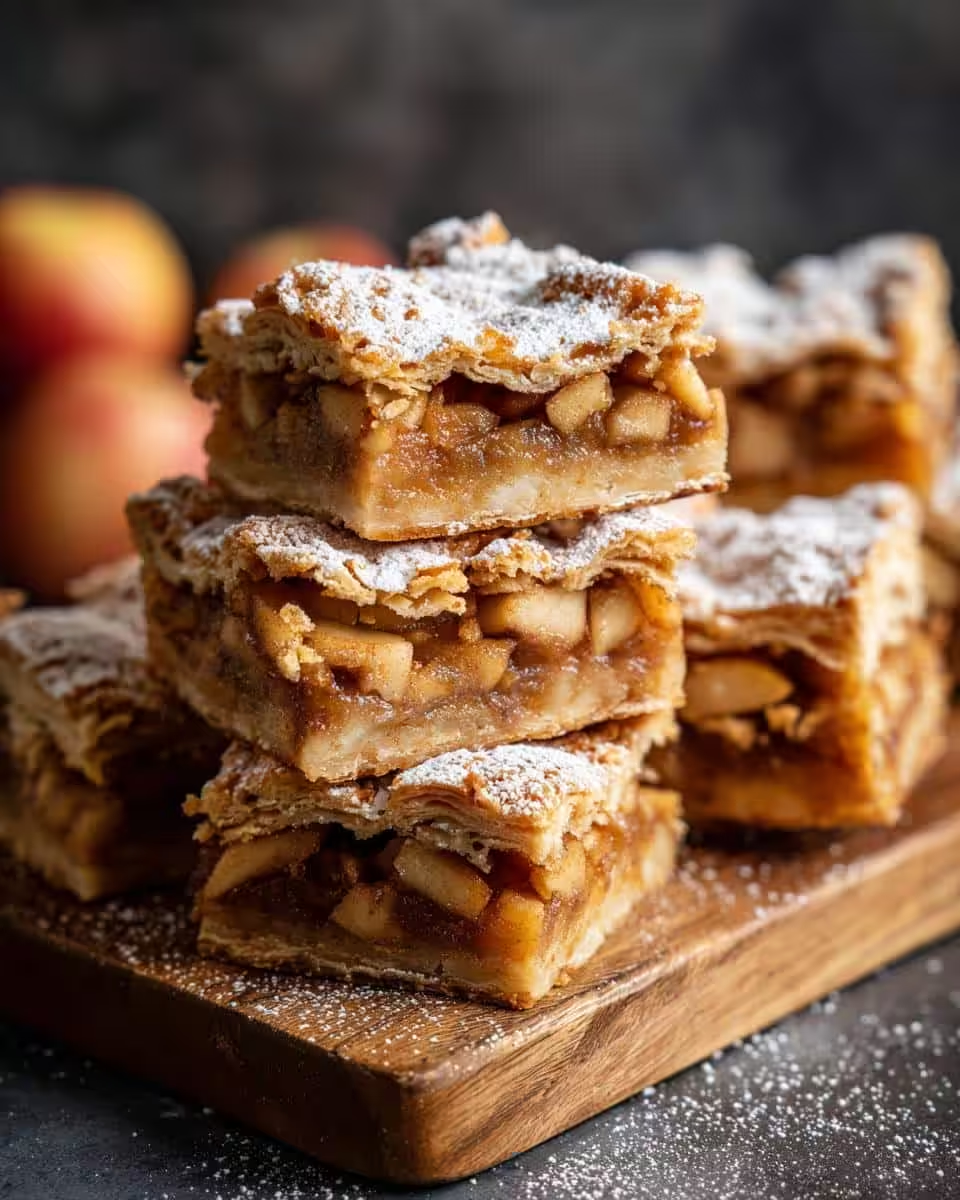
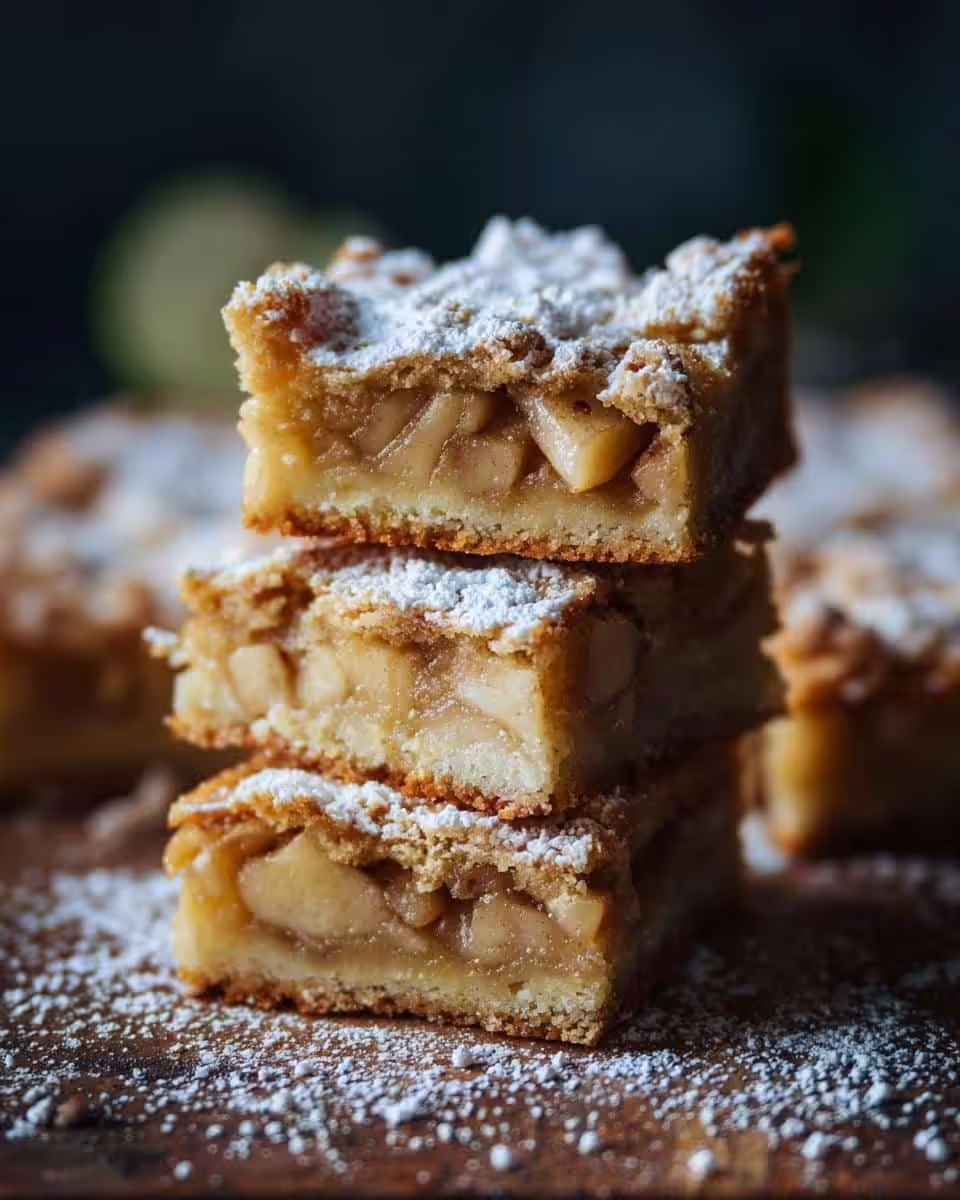
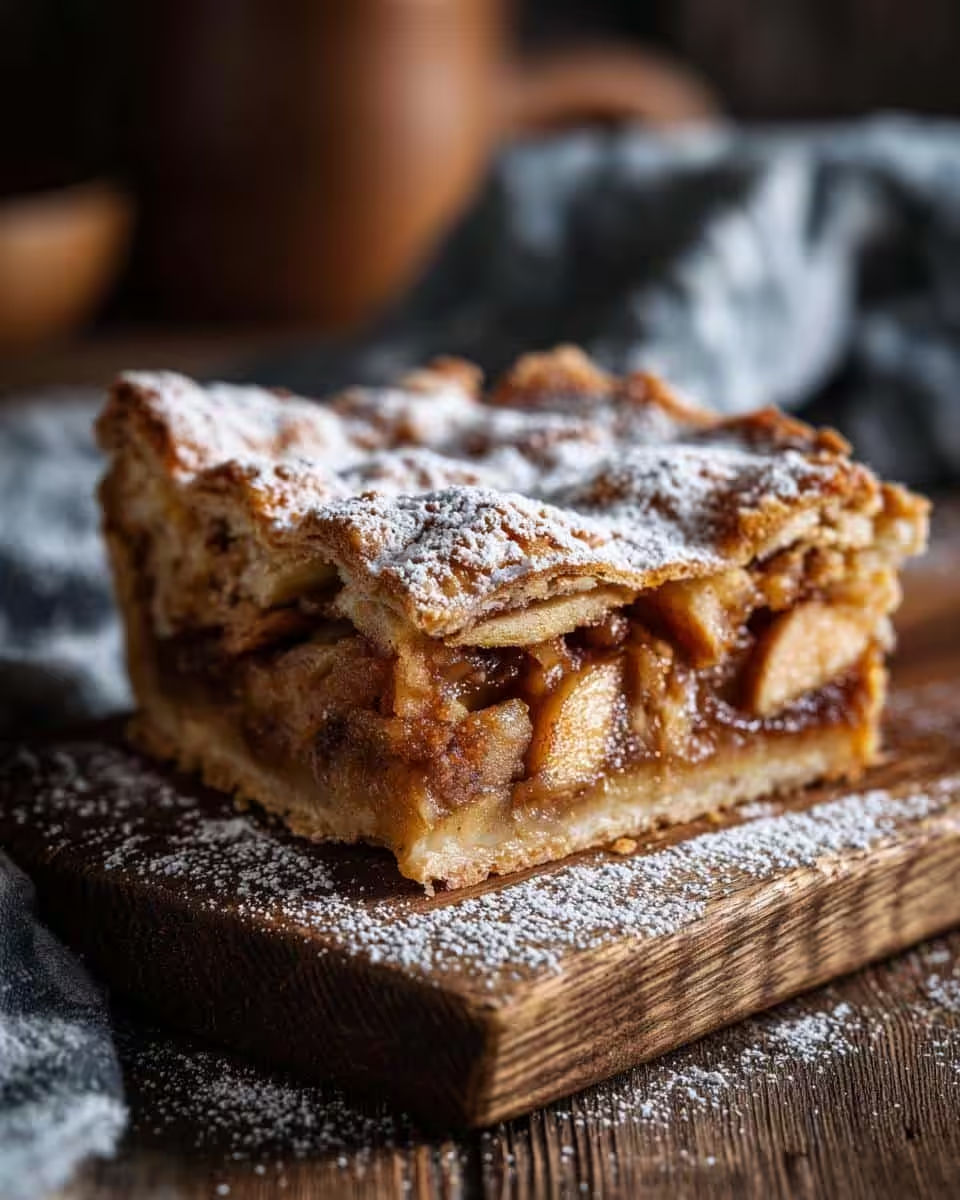
Oh, apple pie. Is there anything more comforting? I’ve always adored it, that warm, cinnamony scent wafting from the oven… But you know what? Sometimes, you just don’t have time for the whole pie production. That’s where these *Buttery Flaky Apple Pie Bars* come in! You get all that amazing apple pie flavor, but in a super simple, handheld form. Trust me, these are a total game-changer.
I remember spending hours in the kitchen with my grandma, carefully crimping the edges of her apple pie. It was special, sure, but also… a *lot* of work! These bars? They’re way easier. Less fuss, less time, and honestly, just as delicious. Perfect for when you need a little slice of autumn without the all-day baking commitment.
Why You’ll Love These Buttery Flaky Apple Pie Bars
Okay, so why should you try these bars? Well, first off, that buttery, flaky crust just melts in your mouth! Then you’ve got that warm, spiced apple filling – it’s sweet, it’s cozy, it’s everything you want in an apple pie. But the best part? They’re SO easy to make. Seriously, way less work than a whole pie. You’ll be totally obsessed, I promise!
Ingredients for Buttery Flaky Apple Pie Bars
Alright, let’s gather our goodies! Here’s what you’ll need to whip up these dreamy Buttery Flaky Apple Pie Bars. I’ve broken it down to make it super easy:
For the Crust:
- 2 ½ cups all-purpose flour
- 1 cup (2 sticks) cold unsalted butter, cut into cubes
- ½ teaspoon salt
- ½ cup ice water
For the Filling:
- 6 medium apples, peeled, cored, and sliced (Granny Smiths or Honeycrisp are my faves!)
- ¾ cup granulated sugar
- ¼ cup all-purpose flour
- 2 teaspoons ground cinnamon
- ¼ teaspoon ground nutmeg
- 2 tablespoons butter, cut into small pieces
How to Make Buttery Flaky Apple Pie Bars: Step-by-Step Instructions
Okay, friend, let’s get baking! Here’s how you make these absolutely irresistible Buttery Flaky Apple Pie Bars. Don’t worry, I’ll walk you through it step-by-step. Trust me, it’s easier than you think!
Step 1: Make the Crust
- First, whisk together the flour and salt in a large bowl. Just a little mixy-mix!
- Now, add the *cold*, cubed butter. This is key! You want it super cold so it doesn’t melt into the flour. Use a pastry blender (or your fingers, if you’re feeling brave!) to cut the butter into the flour until the mixture resembles coarse crumbs. You should still see little bits of butter – that’s what makes it flaky.
- Gradually add the ice water, a tablespoon at a time, mixing until the dough just comes together. Don’t overmix! You want it shaggy, not smooth. Here’s a link to a great guide on flaky pie crust if you need more help!
- Divide the dough in half, flatten each half into a disk, wrap in plastic wrap, and refrigerate for at least 30 minutes. This chilling time is *crucial*! It lets the gluten relax and the butter firm up, which means a flakier crust.
Step 2: Make the Filling
- While the dough is chilling, let’s make that yummy apple filling. In a large bowl, combine the sliced apples, granulated sugar, flour, cinnamon, and nutmeg. Give it a good toss until everything’s evenly coated.
- Dot the apple mixture with the butter pieces. This adds richness and helps the filling thicken up nicely.
Step 3: Assemble and Bake
- Preheat your oven to 375°F (190°C). Get that oven nice and toasty!
- Lightly grease a 9×13 inch baking pan. You could also line it with parchment paper for *extra* easy cleanup – who doesn’t love that?
- On a lightly floured surface, roll out one disk of dough to fit the bottom of the prepared pan. Transfer it to the pan and gently press it into the bottom.
- Pour the apple filling evenly over the crust. Mmm, looking good already!
- Roll out the second disk of dough and either place it over the filling as a whole crust or cut it into strips for a lattice top. I usually go for strips – it just looks so darn pretty! But you do you!
- If you’re using strips, arrange them over the filling in a lattice pattern. Crimp the edges of the top crust (or strips) to the bottom crust to seal.
- Bake for 45-50 minutes, or until the crust is golden brown and the filling is bubbly. Keep an eye on it! If the crust starts to get too brown, you can tent it with foil.
- Let the bars cool completely in the pan before cutting into squares. Trust me, you’ll want to wait. It’s torture, I know, but it helps the filling set up properly so they don’t fall apart.
Tips for Perfect Buttery Flaky Apple Pie Bars
Want to take your Buttery Flaky Apple Pie Bars from good to *amazing*? Of course you do! Here are a few of my go-to tips for baking success. Trust me on these!
- Keep everything COLD: Seriously, this is the golden rule for flaky pie crust. Cold butter, cold water, cold everything! That’s how you get those beautiful, buttery layers.
- Don’t overmix the dough: Overworked dough means tough crust. Mix just until everything comes together, then leave it alone!
- Par-bake the bottom crust (optional): If you’re worried about a soggy bottom (and who isn’t?), par-bake the bottom crust for about 10-12 minutes before adding the filling. Just poke it with a fork a few times first! If you love baked apple recipes, you might also enjoy my apple crisp bars recipe. So yummy and a total snap to make!
- Thicken that filling: Make sure your apple filling isn’t too watery! The flour helps, but you can also add a little cornstarch if needed. Nobody wants a soupy mess, right?
Ingredient Notes and Substitutions for Buttery Flaky Apple Pie Bars
Okay, let’s talk ingredients! Knowing what you can swap out is key, right? Especially when you’re missing something or just wanna try something new! I’ve got you covered with these Buttery Flaky Apple Pie Bars.
First, the apples! Granny Smiths give you that tartness, but Honeycrisp, Braeburn, or even Fuji work great. It really all depends on what tickles your fancy! Want even *more* apple ideas? You could peek at my apple cake recipe. Also, if you’re out of butter, shortening could work in a pinch for the crust, but the flavor won’t be quite the same, ya know? And if you are missing nutmeg? Don’t sweat it! Its flavor can easily be replaced with cinnamon.
Trust me, they’ll turn out amazing no matter what!
Make-Ahead and Storage Tips for Buttery Flaky Apple Pie Bars
Want to get ahead of the game? You can totally make the dough for these Buttery Flaky Apple Pie Bars a day or two in advance! Just keep it wrapped tight in the fridge. The filling can also be prepped a day ahead – just store it in an airtight container.
As for leftovers (if there *are* any!), these bars keep well in an airtight container at room temperature for a couple of days, or in the fridge for up to a week. And guess what? They freeze great too! Just wrap them individually in plastic wrap and store them in a freezer bag. When you’re ready to eat, thaw them overnight in the fridge or pop them in the microwave for a quick warm-up. Perfect for a little apple pie fix any time!
Frequently Asked Questions About Buttery Flaky Apple Pie Bars
Got questions about makin’ these amazing Buttery Flaky Apple Pie Bars? Don’t worry, I’ve got answers! Here are a few of the most common questions I get asked. Let’s get you pie-bar-ready!
Can I use a different type of fruit?
Absolutely! While apple is classic, you could totally swap in pears, peaches, or even berries. Just adjust the sugar to taste, depending on how sweet your fruit is. Imagine Buttery Flaky Peach Pie Bars… yum!
How do I prevent the crust from burning?
Ah, the dreaded burnt crust! If you notice your crust getting too brown, just tent the pan with foil during the last 15-20 minutes of baking. It’ll protect it from getting too dark, while still letting the filling bubble away happily.
Can I make these gluten-free?
You sure can! Just use a gluten-free all-purpose flour blend for the crust. You might need to add a little extra water to get the dough to come together, but it works like a charm. Gluten-free Buttery Flaky Apple Pie Bars for everyone!
Why is my filling so runny?
Runny filling is usually a sign you need a touch more flour (or cornstarch) in the filling mixture. Also, make *sure* you let the bars cool completely before cutting into them! Patience is key. That helps the filling set up just right!
Disclaimer
Okay, folks, just a little note here! The nutritional information I provide is just an estimate. It can vary depending on the specific brands and ingredients you use. And honestly, who measures *everything* perfectly? So, please don’t take my numbers as gospel. Just enjoy those Buttery Flaky Apple Pie Bars – responsibly, of course!
Enjoyed This Recipe? Leave a Comment Below!
Hey there, baking buddies! If you loved these Buttery Flaky Apple Pie Bars as much as I hope you did, drop a comment down below! Rate the recipe, share your tweaks, and tell me how they turned out! And hey, don’t forget to share this yummy goodness with your friends on social media! Happy baking!
Print
Crispy Oven Roasted Potatoes and Onions
- Total Time: 65 min
- Yield: 6 servings 1x
- Diet: Vegan
Description
Simple oven roasted potatoes and onions.
Ingredients
- 2 lbs potatoes, peeled and cubed
- 2 large onions, sliced
- 1/4 cup olive oil
- 1 teaspoon salt
- 1/2 teaspoon black pepper
- 1 teaspoon dried oregano
Instructions
- Preheat oven to 400°F (200°C).
- In a large bowl, combine potatoes, onions, olive oil, salt, pepper, and oregano.
- Spread the mixture in a single layer on a baking sheet.
- Roast for 45-50 minutes, or until potatoes are tender and golden brown, flipping halfway through.
- Serve hot.
Notes
- For extra crispiness, parboil the potatoes for 5 minutes before roasting.
- Prep Time: 15 min
- Cook Time: 50 min
- Category: Side Dish
- Method: Roasting
- Cuisine: Mediterranean
Nutrition
- Serving Size: 1 serving
- Calories: 250
- Sugar: 5g
- Sodium: 300mg
- Fat: 12g
- Saturated Fat: 2g
- Unsaturated Fat: 10g
- Trans Fat: 0g
- Carbohydrates: 35g
- Fiber: 4g
- Protein: 4g
- Cholesterol: 0mg