
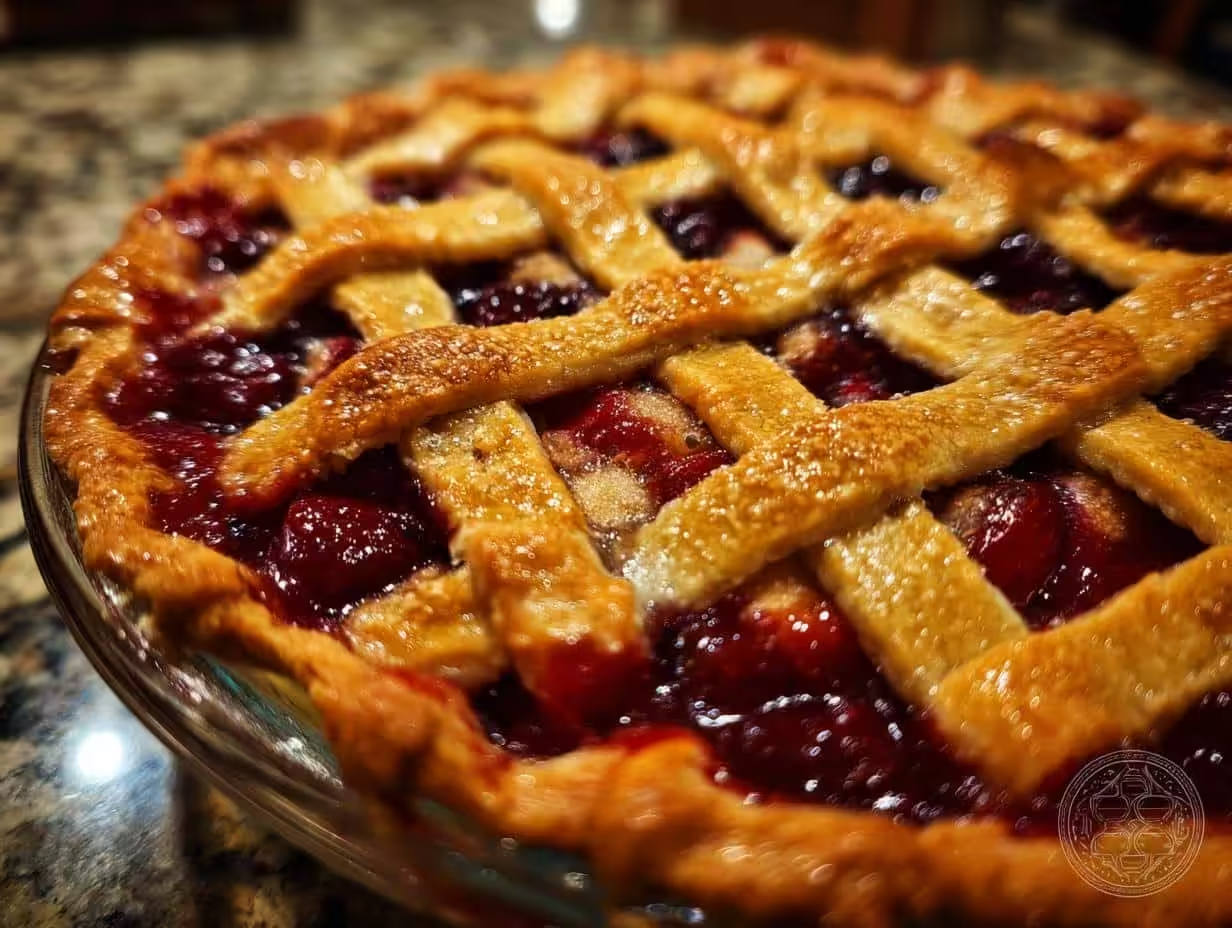
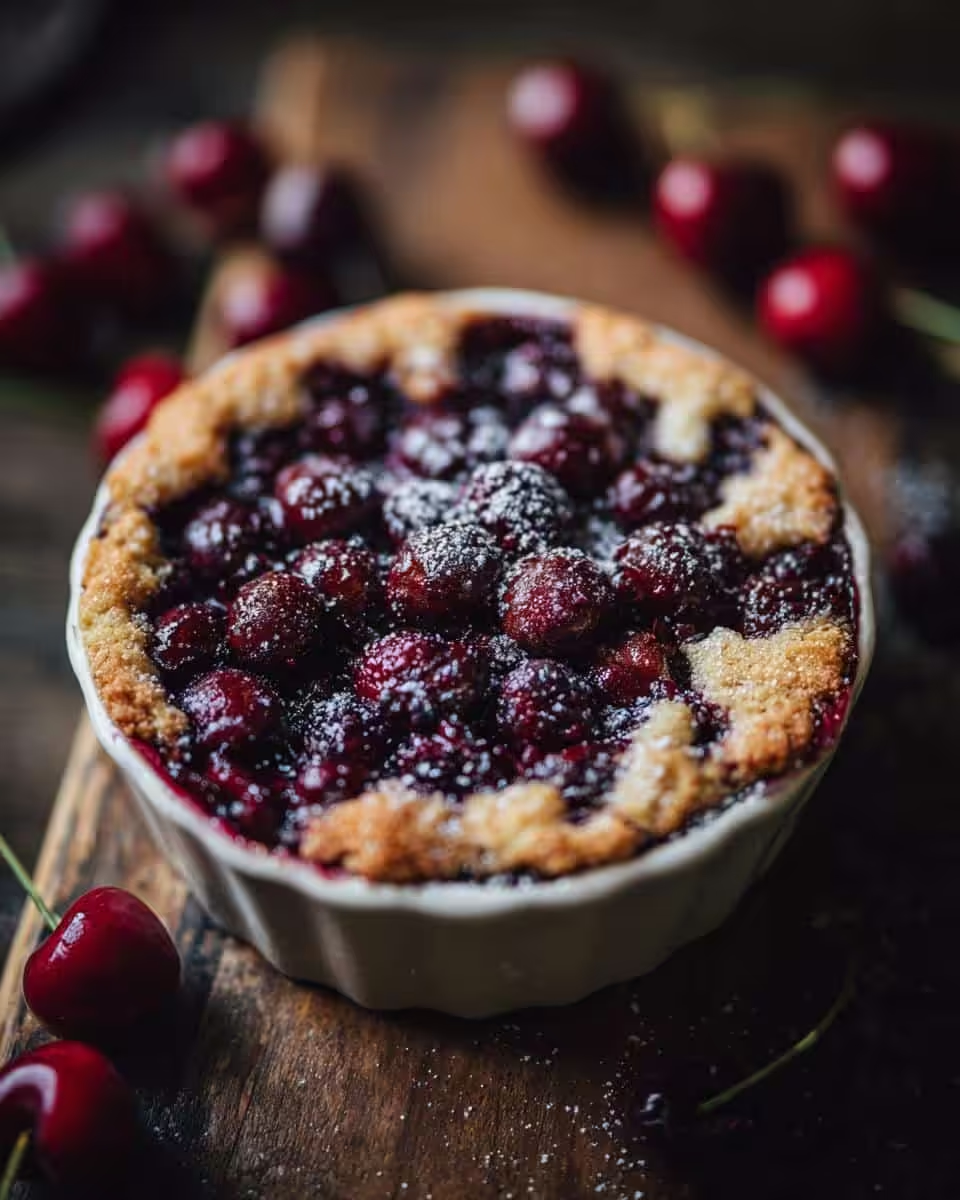
Okay, y’all, let’s talk about something near and dear to my heart: **Cherry Cobbler**. Not just *any* cherry cobbler, but the kind that makes you wanna slap your mama (with love, of course!). Now, I know what you’re thinking: “Another cherry cobbler recipe? Max, what makes yours so special?” Well, darlin’, this isn’t just a recipe; it’s a hug from the inside out, a memory from my childhood, and a guaranteed crowd-pleaser. Forget those fancy desserts that take all day; this bad boy is simple, rustic, and bursting with juicy cherry goodness.
Growing up in Asheville, summers meant cherry season and Grandma’s kitchen filled with the sweet scent of baking cobbler. She had this way of making everything taste like love, and I’m pretty sure a big part of it was that she *meant* it! I didn’t go to culinary school, my grandmother taught me everything I know. This is her recipe with a few tweaks from me. Trust me, once you try this **Cherry Cobbler**, you’ll be hooked!
Why You’ll Adore This Homemade Cherry Cobbler
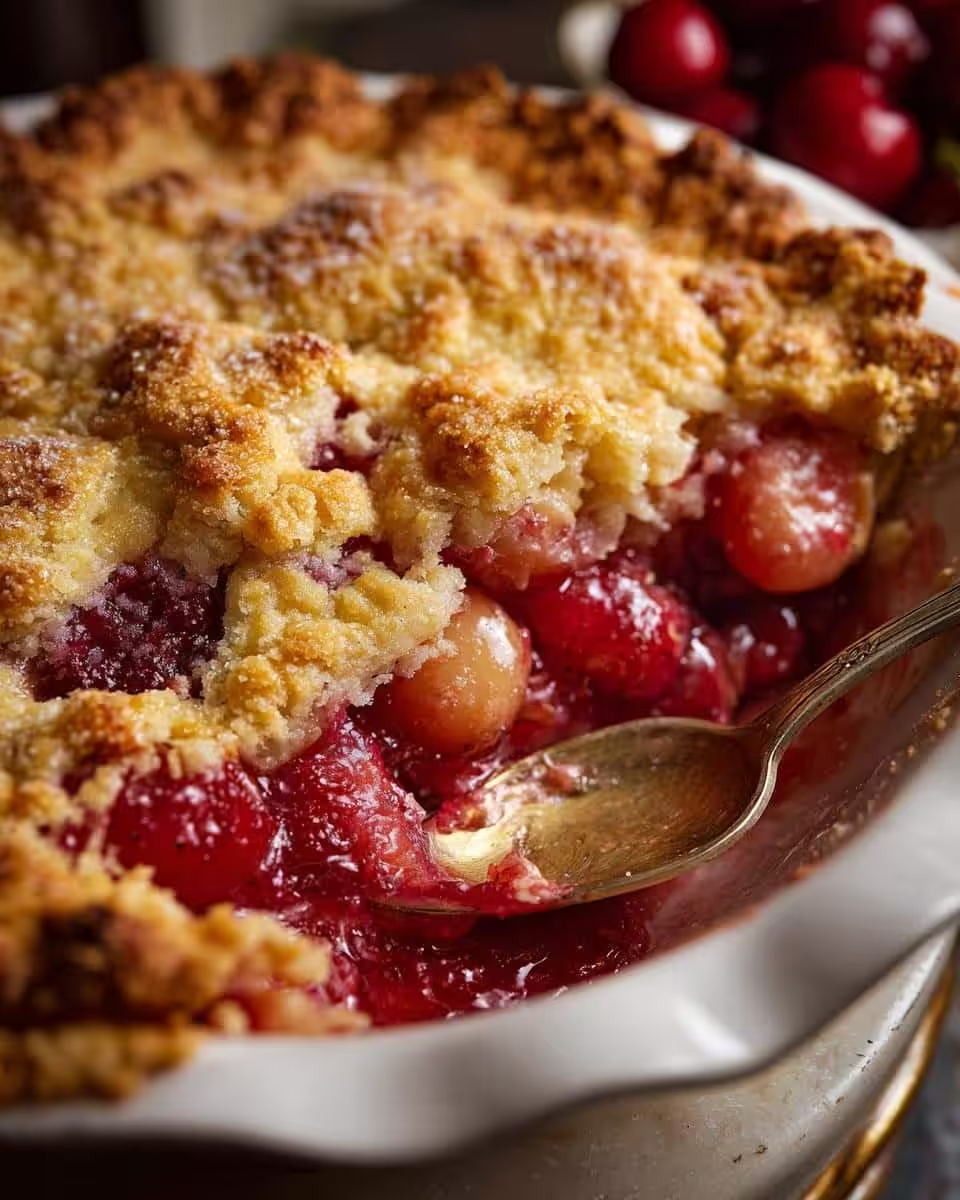
Okay, listen up, buttercups! You’re gonna fall head-over-heels for this cherry cobbler. Why? Well, first off, it’s ridiculously easy. Seriously, if I can do it after a long day of teaching folks how to make biscuits, you can definitely handle it. Plus, the taste? Forget about it! We’re talking sweet, tart cherries bubbling under a golden, crispy topping. And the best part? You probably already have most of the ingredients in your pantry. Quick, easy, and scrumptious – what’s not to love?
Gather Your Ingredients for the Best Cherry Cobbler
Alright, sugar plums, let’s gather everything we need to make this magical cherry cobbler happen! Get ready, because we’re about to create something truly special. Here’s the lowdown:
For the Filling:
- 6 cups fresh or frozen pitted cherries (if using frozen, don’t thaw!)
- ¾ cup granulated sugar (for that perfect sweetness!)
- 2 tablespoons cornstarch (our thickening agent!)
- 1 tablespoon fresh lemon juice (brightens up the flavors, trust me!)
- ½ teaspoon almond extract (Grandma’s secret weapon!)
For the Topping:
- 1 cup all-purpose flour
- 1 cup granulated sugar
- 1 ½ teaspoons baking powder
- ½ teaspoon salt
- ¾ cup milk
- 8 tablespoons (1 stick) unsalted butter, melted (yes, real butter – it makes all the difference!)
See? Nothing too scary. Now, let’s get cooking!
Step-by-Step Guide: How to Make Cherry Cobbler
Alright, my little sweethearts, it’s time to get down to business! Don’t worry, I’m gonna walk you through every single step of this cherry cobbler recipe. And trust me, it’s easier than teaching a hound dog to sit! Just follow along, and you’ll have a bubbling, beautiful cobbler before you know it. Let’s bake!
- Preheat, Preheat, Preheat! First things first, crank that oven up to 375°F (190°C). Gotta have a nice hot box ready for our cherry masterpiece.
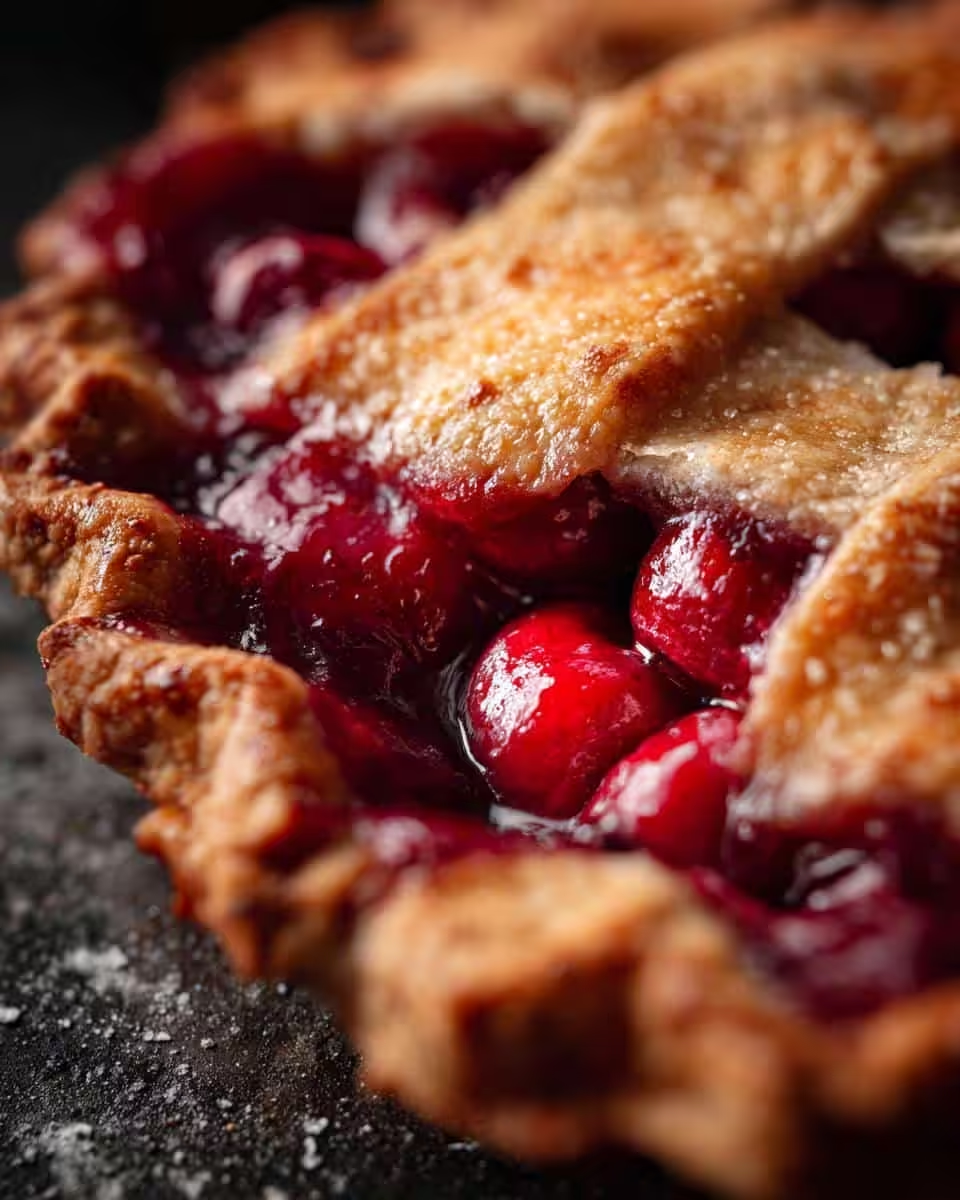
- Cherry Filling Magic: In a large bowl, gently mix together those lovely cherries, sugar, cornstarch, lemon juice, and that *touch* of almond extract. Mix it up good! This is where the magic starts, folks. Careful not to squish the cherries too much, we want them to stay plump and juicy.
- Pour it In! Now, pour that beautiful cherry mixture into a greased 9×13 inch baking dish. I usually use a glass one, but metal works just fine too.
- Topping Time! In another bowl (yes, more dishes, sorry!), whisk together the flour, sugar, baking powder, and salt. Make sure it’s all mixed well; you don’t want any pockets of baking powder.
- Wet Meets Dry: Pour in the milk and melted butter. Stir until *just* combined. Don’t overmix! A few lumps are perfectly fine. We’re going for rustic, not perfect.
- Dollop It On! Drop spoonfuls of the topping evenly over the cherry filling. It doesn’t have to cover every single cherry; in fact, it’s better if it doesn’t. That way, you get those lovely bubbling cherry bits peeking through.
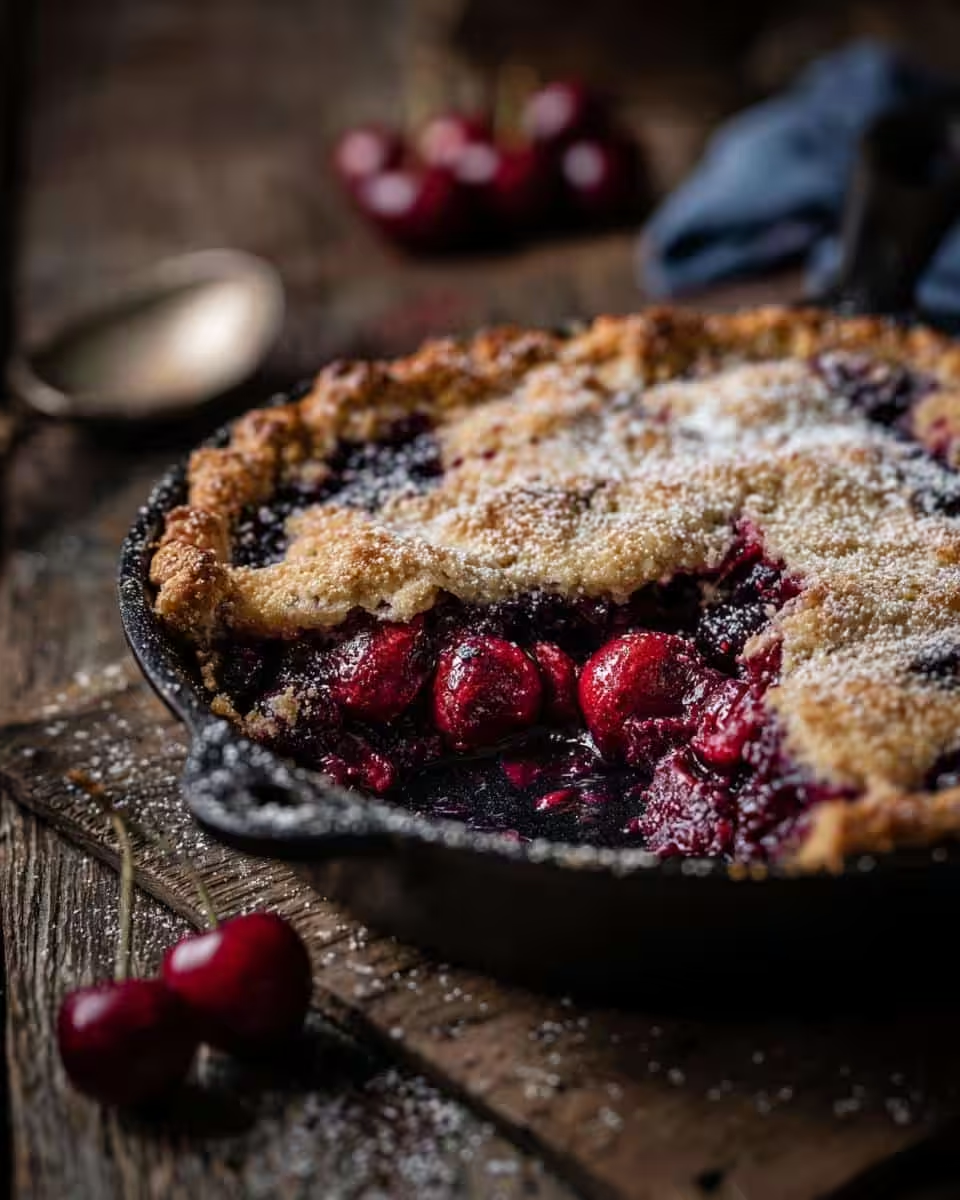
- Bake It ‘Til Golden: Pop that cobbler into the preheated oven and bake for 45-50 minutes. You’re looking for a golden-brown topping and a bubbly, cherry filling. The aroma alone will drive you wild!
- Cool (If You Can Wait!): Once it’s out of the oven, let that cherry cobbler cool for at least 15 minutes before serving. I know, it’s torture, but it’s worth it! This lets the filling thicken up a bit.
- Serve and Devour! Okay, the hardest part is over! Now, grab a big spoon, a scoop of vanilla ice cream (or whipped cream, if you’re feeling fancy), and dig in! Prepare for pure cherry bliss.
Tips for the Perfect Cherry Cobbler Every Time
Alright, listen up, my kitchen comrades! Wanna knock this cherry cobbler outta the park *every* single time? Here are a few of my tried-and-true secrets. First off, don’t skimp on the butter! Real butter makes a world of difference in that topping, trust me. Also, resist the urge to overmix the topping batter; a few lumps are your friends! They’ll give you a more tender, biscuit-like texture. Finally, keep an eye on that cobbler towards the end of baking. If the topping starts to get too brown, just tent it with some foil. Nobody wants a burnt cobbler!
Cherry Cobbler Variations to Try
Okay, sweet thangs, feeling a little adventurous? Wanna mix things up a bit with your cherry cobbler? Well, hold onto your hats, ’cause I’ve got a couple of tasty twists that’ll knock your socks off! First, how about a peach and cherry cobbler? Just swap out half of the cherries for some sliced peaches. Ooh-wee! Or, if you’re feeling extra sassy, sprinkle a little cinnamon or nutmeg into the topping batter. That warm spice really complements the cherries. Go on, get creative!
Serving Suggestions for Your Delicious Cherry Cobbler
Alright, sugar pies, you’ve got this beautiful, bubbly cherry cobbler fresh out of the oven. Now what? Well, let me tell ya, this cobbler is pretty darn amazing all on its own, but a little somethin’ somethin’ on top never hurt nobody! My personal favorite? A big ol’ scoop of vanilla ice cream melting all over that warm cherry goodness. Oh, my stars! Or, if you’re wanting something a little lighter, a dollop of whipped cream or a simple dusting of powdered sugar works wonders too!
Storing and Reheating Your Cherry Cobbler
Alright, buttercups, so you’ve got some leftover cherry cobbler? First off, good for you for practicing moderation! But seriously, to keep it yummy, just cover it loosely with foil or plastic wrap and pop it in the fridge. It’ll stay good for about 3-4 days (if it lasts that long!). To reheat, a scoop in the microwave for about 30-45 seconds usually does the trick. Careful, it gets hot! You can also gently reheat it in the oven at 350°F (175°C) until warmed through.
Frequently Asked Questions About Cherry Cobbler
Got questions about cherry cobbler? Honey, I’ve got answers! Here are a few of the most common head-scratchers that folks ask me, so you can bake with confidence! Let’s get to clearin’ up any confusion so you can bake the perfect cherry cobbler.
Can I use frozen cherries for this recipe?
Absolutely, sugar! Frozen cherries work just as well as fresh. In fact, I sometimes prefer them, especially when cherries aren’t in season. Just toss ’em in frozen – no need to thaw ’em first. It helps keep the filling from getting too watery. Plus, it’s just easier, isn’t it?
How do I prevent the topping from burning?
Ah, a classic concern! If you notice the topping getting too brown while baking, just tent the cobbler with a piece of aluminum foil. That way, the cherries keep bubbling and getting all delicious without the top turning into charcoal. Keep a close eye and trust your instincts!
Can I make this cherry cobbler ahead of time?
You sure can, sweet pea! You can assemble the whole cobbler and keep it in the fridge, unbaked, for up to 24 hours. Just add about 10 minutes to the baking time. Or, you can bake it completely and just reheat it before serving. Both ways work just fine. I always prefer baking it fresh. But hey, sometimes life gets in the way, doesn’t it?
What’s the best way to pit cherries quickly?
Okay, cherry pitting can be a pain, I feel ya! If you don’t have a cherry pitter (and honestly, who does?), a simple trick is to use a clean paper clip or a chopstick. Just poke it through where the stem was to pop the pit out. It’s still a little messy, but way faster than using your fingers! Or just buy them pre-pitted! Life’s too short to spend all day pitting cherries!
Nutritional Information Disclaimer
Now, just a little disclaimer, my loves: the nutritional information provided is just an estimate. It varies depending on the specific ingredients and brands you use. So, don’t come yellin’ at me if your numbers are a little different!
Print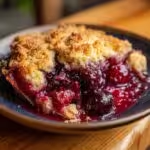
Crispy Oven Roasted Potatoes and Onions
- Total Time: 65 min
- Yield: 6 servings 1x
- Diet: Vegan
Description
Simple oven roasted potatoes and onions.
Ingredients
- 2 lbs potatoes, peeled and cubed
- 2 large onions, sliced
- 1/4 cup olive oil
- 1 teaspoon salt
- 1/2 teaspoon black pepper
- 1 teaspoon dried oregano
Instructions
- Preheat oven to 400°F (200°C).
- In a large bowl, combine potatoes, onions, olive oil, salt, pepper, and oregano.
- Spread the mixture in a single layer on a baking sheet.
- Roast for 45-50 minutes, or until potatoes are tender and golden brown, flipping halfway through.
- Serve hot.
Notes
- For extra crispiness, parboil the potatoes for 5 minutes before roasting.
- Prep Time: 15 min
- Cook Time: 50 min
- Category: Side Dish
- Method: Roasting
- Cuisine: Mediterranean
Nutrition
- Serving Size: 1 serving
- Calories: 250
- Sugar: 5g
- Sodium: 300mg
- Fat: 12g
- Saturated Fat: 2g
- Unsaturated Fat: 10g
- Trans Fat: 0g
- Carbohydrates: 35g
- Fiber: 4g
- Protein: 4g
- Cholesterol: 0mg