
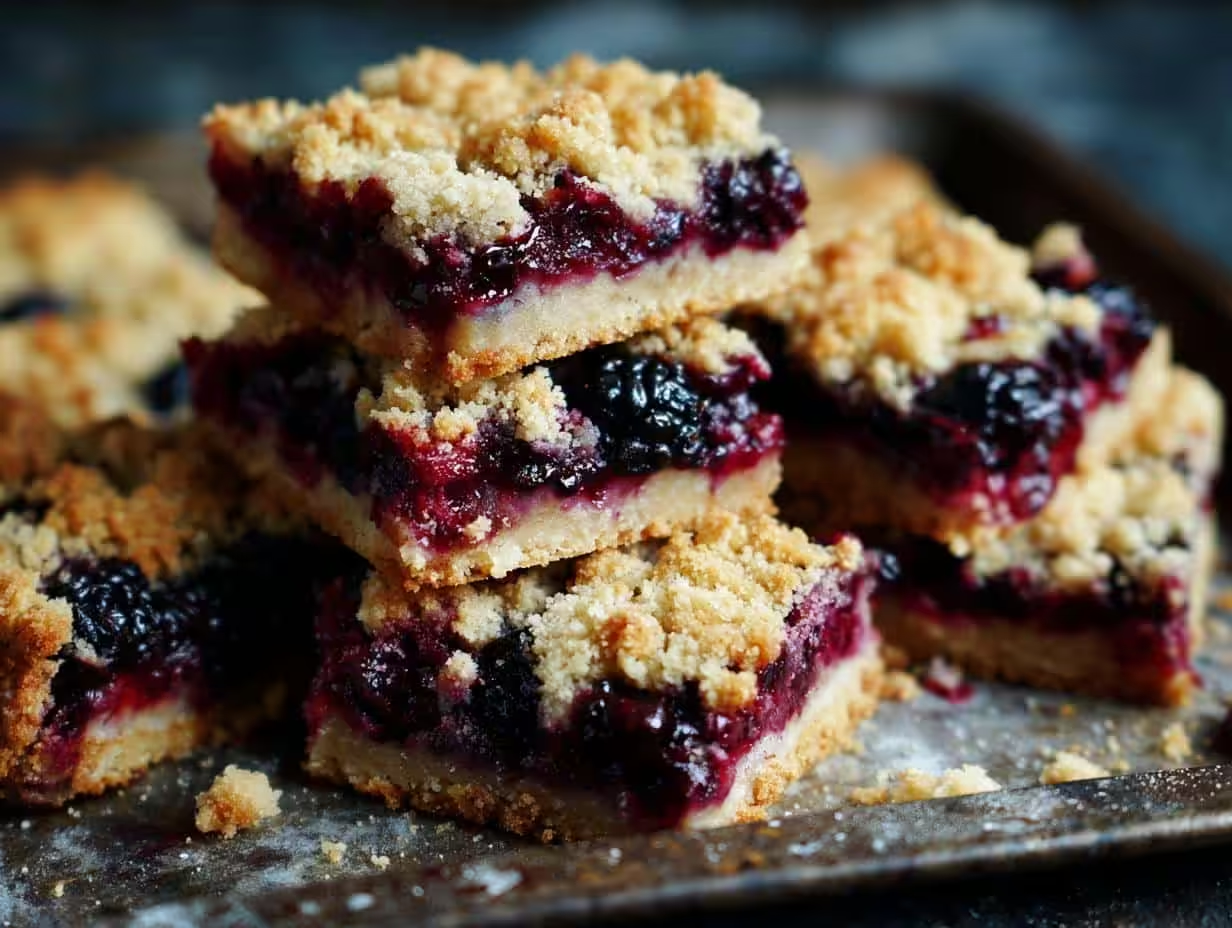
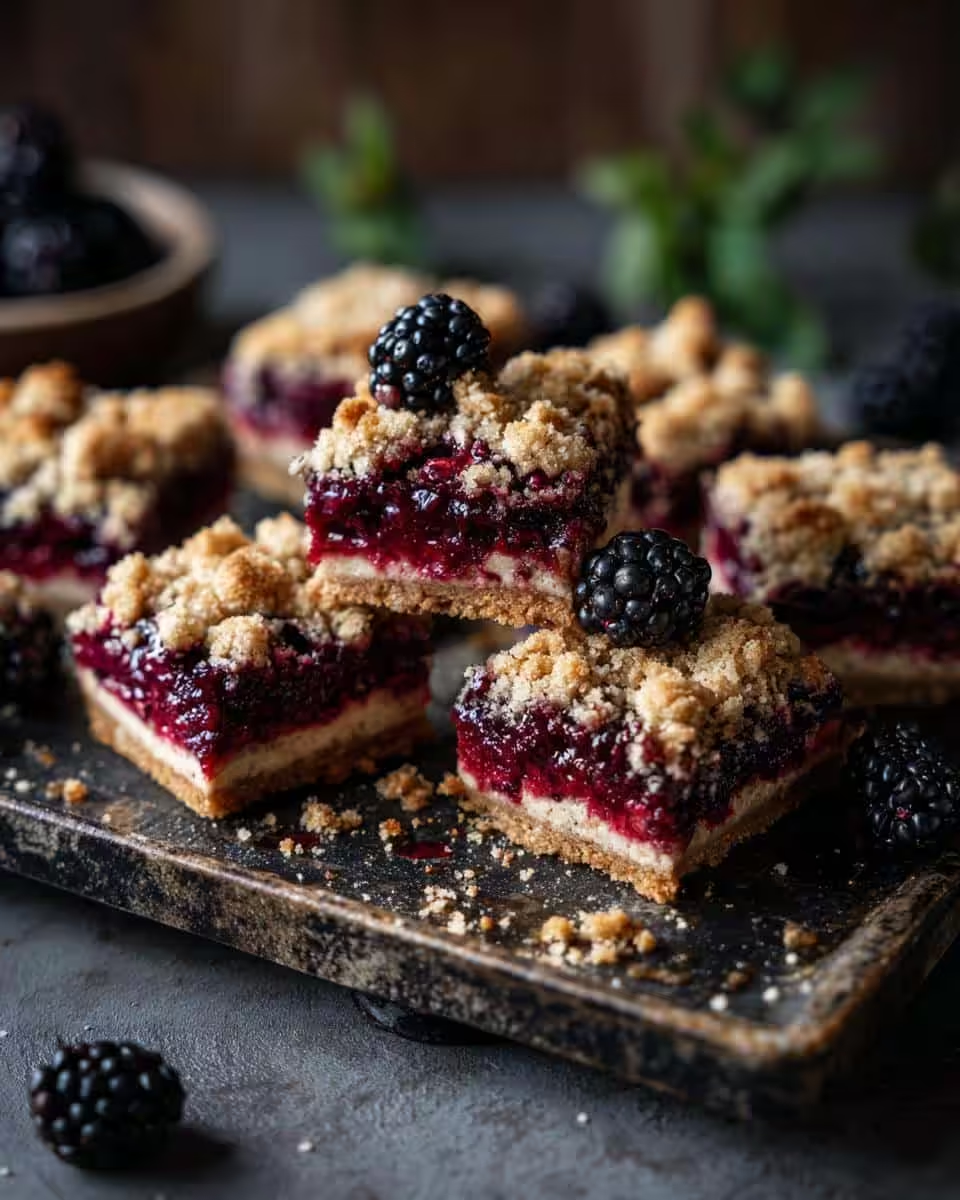
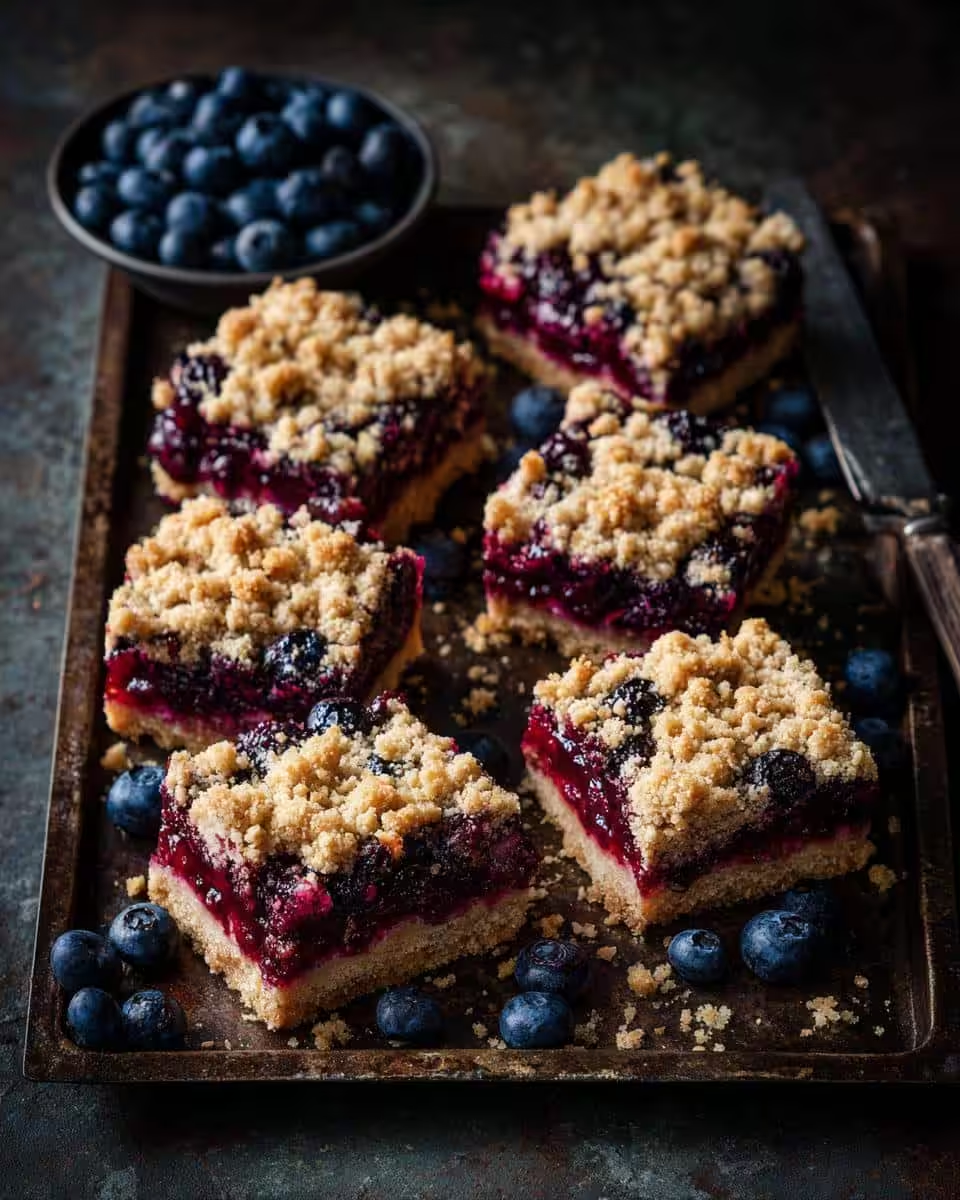
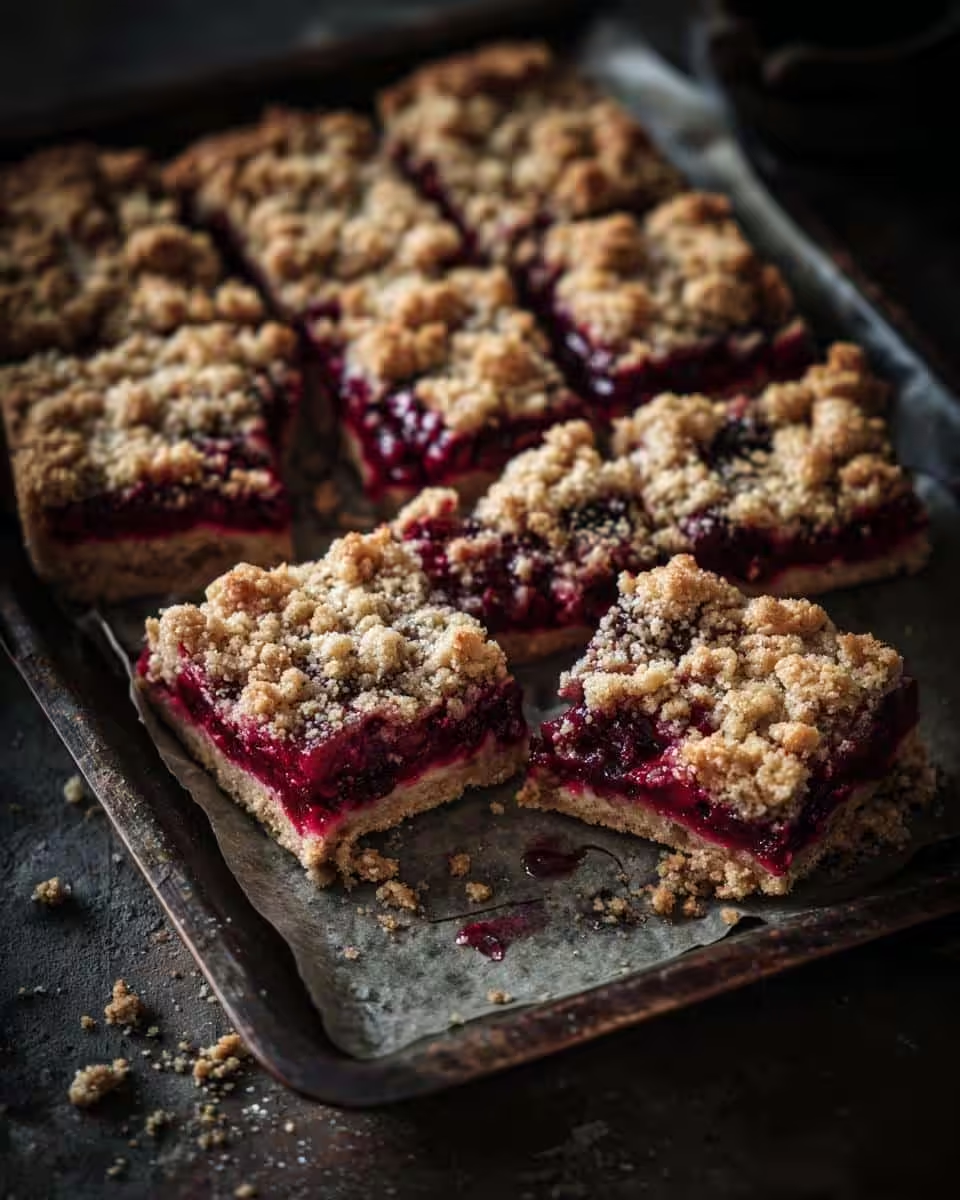
Okay, you guys, let’s talk about crumbles – that warm, gooey, fruit-filled goodness that just screams “comfort food.” But, let’s be honest, sometimes you want that crumble fix without the whole “sitting down with a bowl and spoon” thing, right? That’s where these **Berry Crumble Bars** come in! They’re basically a portable, hand-held version of your favorite berry crumble dessert. And trust me, they are good! They’re perfect for picnics, potlucks, or, you know, just sneaking a sweet treat when you’re on the go. You know how much I love a good fruit dessert!
Growing up in Asheville, my grandma always had some sort of crumble baking in the oven. Apples, peaches, you name it! I’ve tweaked her crumble recipe over the years and put my own spin on it, and these berry crumble bars are the delicious result. They’re quick, easy, and oh-so-satisfying, just how I like it!
Why You’ll Love These Berry Crumble Bars
Seriously, y’all, these bars are kinda magical. Why? Well, let me tell you:
- They’re bursting with juicy berry flavor – think sweet, tart, utterly addictive!
- That crumble topping? It’s perfectly crispy and buttery – a texture explosion in your mouth.
- Super easy to make! No fancy equipment or complicated techniques needed. My kind of baking.
- Portable perfection! Take ’em on picnics, hikes, road trips… crumble goodness anywhere.
- They’re a crowd-pleaser, whether it’s a casual brunch or a holiday get-together. Trust me.
Ingredients for Delicious Berry Crumble Bars
Alright, let’s gather our goodies! Here’s what you’ll need to whip up a batch of these scrumptious berry crumble bars. I’ve broken it down to make it even easier:
For the Crust:
- 1 ½ cups all-purpose flour
- ¾ cup (1 ½ sticks) cold unsalted butter, cut into cubes
- ½ cup packed light brown sugar
- ¼ teaspoon salt
For the Berry Filling:
- 4 cups mixed berries (fresh or frozen – if frozen, no need to thaw!), such as blueberries, raspberries, blackberries, and strawberries
- ¼ cup granulated sugar
- 2 tablespoons cornstarch
- 1 tablespoon lemon juice (freshly squeezed is always best!)
For the Crumble Topping:
- ¾ cup all-purpose flour
- ½ cup rolled oats (the old-fashioned kind!)
- ½ cup packed light brown sugar
- ½ cup (1 stick) cold unsalted butter, cut into cubes
- ½ teaspoon ground cinnamon
That’s it! I bet you’ve got most of these in your pantry already. Now, let’s get baking!
How to Make Berry Crumble Bars: Step-by-Step Instructions
Okay, here’s the fun part! Let’s get down to how you actually make these amazing berry crumble bars. Don’t worry, I’ll walk you through it step-by-step. Trust me, it’s easier than you think!
- Make the Crust: In a large bowl, whisk together the flour, brown sugar, and salt. Add the cold, cubed butter. Now, this is important: use a pastry blender or your fingers (my grandma’s way!) to cut the butter into the flour until the mixture resembles coarse crumbs. Press this mixture evenly into the bottom of an ungreased 9×13 inch baking pan.
- Par-bake that Crust: Pop that crust into a preheated oven at 375°F (190°C) for about 10-12 minutes. We want it lightly golden. This step is key because no one likes a soggy bottom! Let it cool a bit while you get the filling ready.
- Mix the Berry Filling: In a large bowl, gently combine your mixed berries, granulated sugar, cornstarch, and lemon juice. The lemon juice really brightens up the berry flavor – don’t skip it! Give it a good toss so that every berry is coated in the goodness.
- Crumble Time: In another bowl, combine the flour, oats, brown sugar, and cinnamon for the crumble topping. Add the cold, cubed butter and, again, use a pastry blender or your fingers to cut the butter into the dry ingredients until it forms coarse crumbs. This crumble is what makes these bars so irresistible!
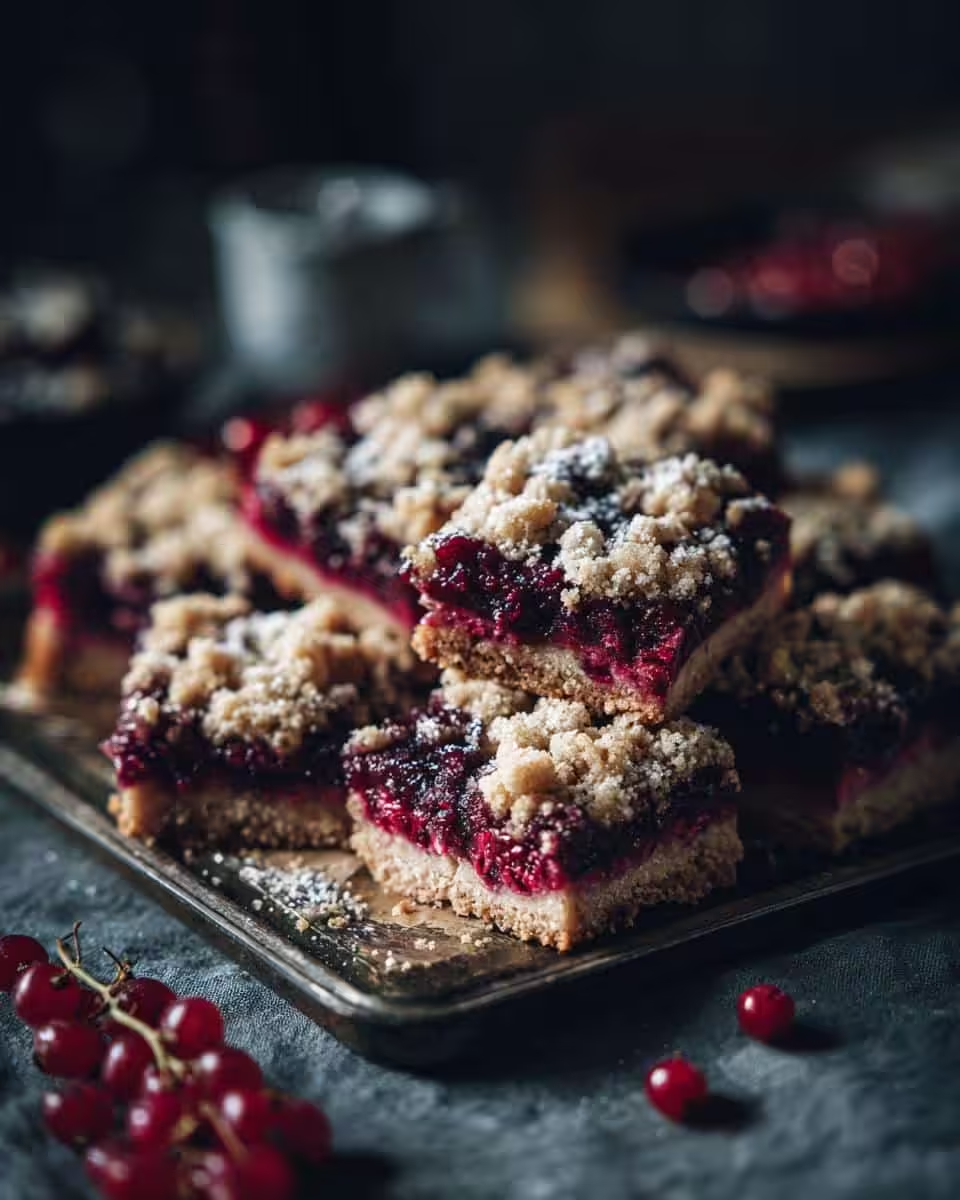
- Assemble and Bake: Pour the berry filling evenly over the par-baked crust. Sprinkle the crumble topping evenly over the berry filling. Don’t be shy! You want a nice, thick layer of crumble.
- Baking Time!: Bake in the preheated oven for 30-35 minutes, or until the topping is golden brown and the berry filling is bubbly. Keep an eye on it – ovens can be tricky! Let the berry crumble bars cool completely in the pan before cutting into squares. I know it’s tempting to dig in right away (believe me, I get it!), but they’ll slice much cleaner if you let them cool.
And there you have it! Delicious, homemade berry crumble bars ready to be devoured. Aren’t you proud of yourself? I am!
Tips for Perfect Berry Crumble Bars
Want your berry crumble bars to be the *best*? Of course, you do! Here are a few little secrets I’ve learned over the years to make sure they turn out perfectly every single time:
- Chill Out: Chilling the crust dough *before* par-baking helps prevent it from shrinking in the oven. Trust me, it makes a difference!
- No Soggy Bottoms: Par-baking the crust is essential for keeping that bottom layer nice and crisp. Don’t skip this step, or you’ll end up with a mushy mess.
- Crumble Texture Magic: Make sure your butter is *cold* when you’re making the crumble topping. This creates those lovely, distinct crumbs. If it gets too warm, pop it in the freezer for a few minutes.
- Don’t Overbake: Keep a close eye on those bars! Overbaking will dry them out. You want the topping golden brown and the filling bubbly.
Follow these tips, and you’ll be a berry crumble bar pro in no time!
Variations on Your Berry Crumble Bars
Okay, so you’ve mastered the basic berry crumble bar recipe? Awesome! Now, let’s get a little adventurous, shall we? One of my favorite things about baking is how easy it is to change things up and make a recipe your own. Here are a few ideas to spark your creativity:
- Berry Bonanza: Experiment with different berry combinations! Try a mix of blueberries and blackberries, or maybe raspberries and strawberries. Get creative!
- Nutty for Crumble: Add some chopped nuts to the crumble topping. Pecans or walnuts would be divine! Just toss them in with the flour and oats.
- Spice it Up: A pinch of nutmeg or cardamom in the crumble topping can add a warm, cozy flavor. Yum!
- Crust Switch-Up: Feeling fancy (or gluten-free)? Try using a gingersnap cookie crust or a gluten-free oat crust. So good!
The possibilities are seriously endless! Don’t be afraid to experiment and find your perfect berry crumble bar combination. Happy baking!
Make-Ahead and Storage Tips for Berry Crumble Bars
Want to get ahead of the game? These berry crumble bars are perfect for making ahead! You can bake them a day or two in advance, then store them in an airtight container at room temperature. They’re still amazing, I promise! And if you wanna freeze ’em? Just wrap them individually in plastic wrap, then toss ’em in a freezer bag. They’ll keep for up to 2 months! When you’re ready to eat ’em, just let them thaw at room temperature. Warm them up in the oven to get that just-baked taste again, if you’re feeling fancy! They’re delicious straight from the freezer too! Don’t tell anyone I said that…
Frequently Asked Questions About Berry Crumble Bars
Got questions about these berry crumble bars? I got answers! Here are a few common questions I get asked all the time:
Can I use frozen berries for the berry filling?
Absolutely! In fact, sometimes I *prefer* frozen berries! No need to thaw them – just toss them in with the other filling ingredients. They might release a little more juice while baking, but the cornstarch will take care of that.
How do I keep the crust from getting soggy?
Ah, the dreaded soggy crust! That’s why we par-bake it, honey. It creates a barrier that prevents the moisture from the berry filling from soaking through. Also, make sure you let the bars cool completely before cutting them.
Can I make these berry crumble bars gluten-free?
Yep! Just swap out the all-purpose flour for a gluten-free blend in both the crust and the crumble topping. You might need to add a little extra liquid to the crust if it seems too dry. Also, make sure your oats are certified gluten-free!
Can I use different fruit in these crumble bars?
Of course! While these are *Berry Crumble Bars*, feel free to experiment with apples, peaches, or even a mix of stone fruits. Just adjust the amount of sugar depending on the sweetness of the fruit. You could also use a can of pie filling, but where’s the fun in that?
Estimated Nutritional Information for Berry Crumble Bars
Okay, here’s the skinny (pun intended!) on the nutritional info. Keep in mind these are just estimates, but each bar clocks in around: Calories: 250, Fat: 12g, Protein: 3g, Carbs: 35g. Good stuff, right?!
Enjoy Your Homemade Berry Crumble Bars!
Alright, y’all, go ahead and dig in! And if you loved these berry crumble bars as much as I do, be sure to leave a comment and rate the recipe below. Oh, and don’t forget to share your baking adventures on social media! I wanna see ’em!
Print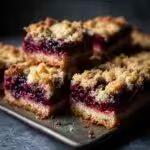
Crispy Oven Roasted Potatoes and Onions
- Total Time: 65 min
- Yield: 6 servings 1x
- Diet: Vegan
Description
Simple oven roasted potatoes and onions.
Ingredients
- 2 lbs potatoes, peeled and cubed
- 2 large onions, sliced
- 1/4 cup olive oil
- 1 teaspoon salt
- 1/2 teaspoon black pepper
- 1 teaspoon dried oregano
Instructions
- Preheat oven to 400°F (200°C).
- In a large bowl, combine potatoes, onions, olive oil, salt, pepper, and oregano.
- Spread the mixture in a single layer on a baking sheet.
- Roast for 45-50 minutes, or until potatoes are tender and golden brown, flipping halfway through.
- Serve hot.
Notes
- For extra crispiness, parboil the potatoes for 5 minutes before roasting.
- Prep Time: 15 min
- Cook Time: 50 min
- Category: Side Dish
- Method: Roasting
- Cuisine: Mediterranean
Nutrition
- Serving Size: 1 serving
- Calories: 250
- Sugar: 5g
- Sodium: 300mg
- Fat: 12g
- Saturated Fat: 2g
- Unsaturated Fat: 10g
- Trans Fat: 0g
- Carbohydrates: 35g
- Fiber: 4g
- Protein: 4g
- Cholesterol: 0mg