
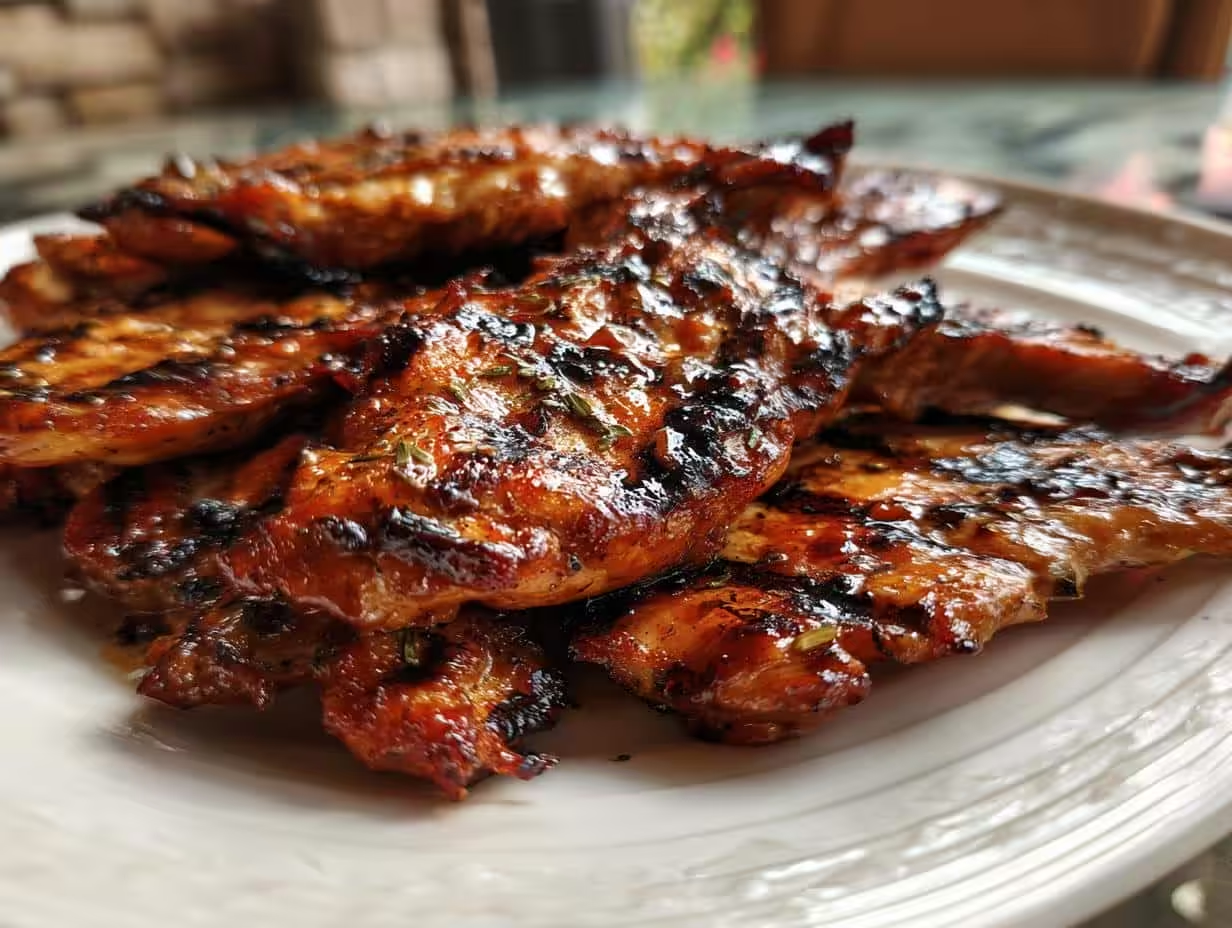
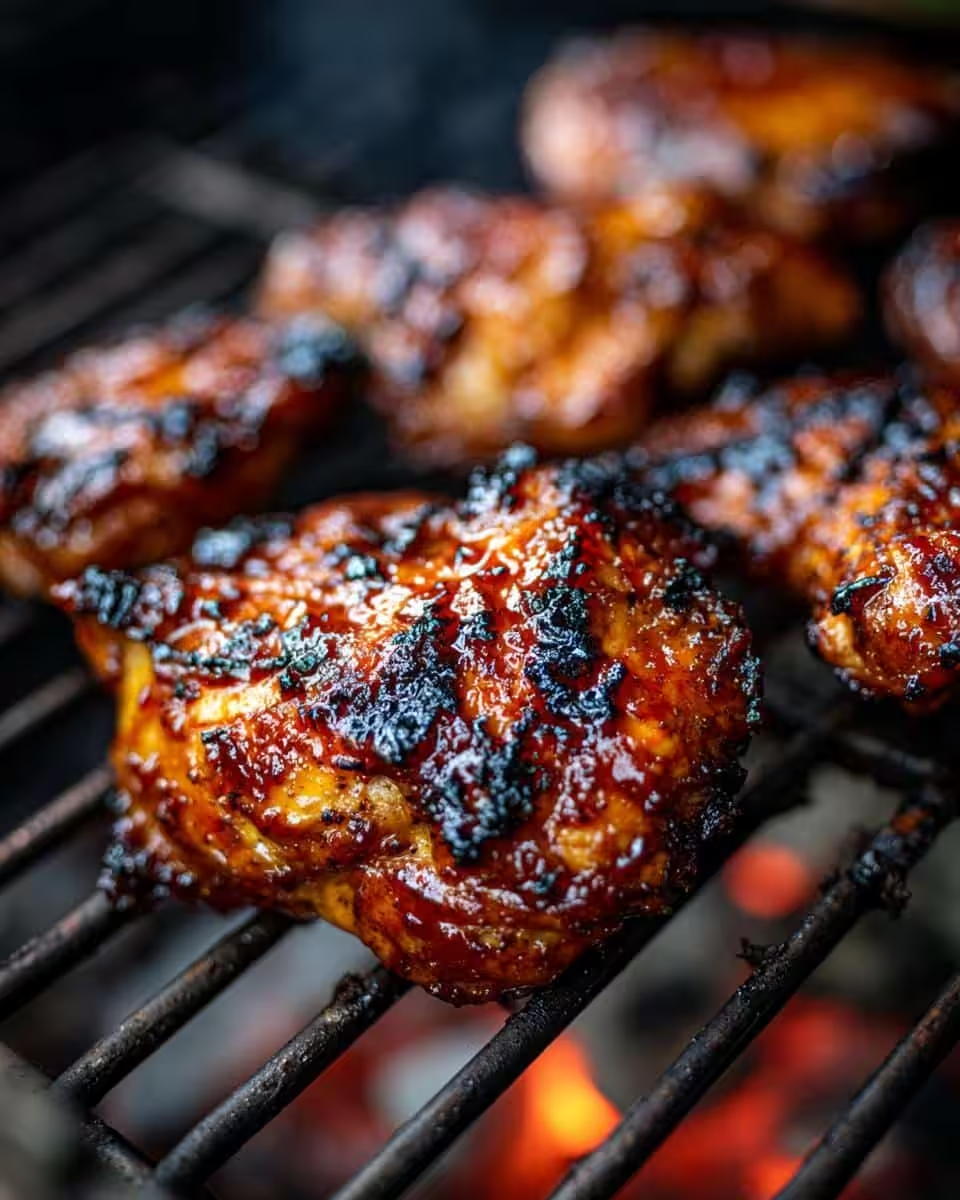
Oh, friends, is there anything more evocative than the smell of grilled chicken wafting through the air, promising juicy, smoky goodness? Now, imagine that with a tropical twist! That’s Huli Huli Grilled Chicken for ya! It’s all about that sweet and savory Huli Huli sauce, that stuff’s pure magic, coating the chicken in a glaze that just begs to be devoured. It all started way back in the 1950s in Hawaii, and trust me, it’s stood the test of time for good reason.
I’ve been messing around with this recipe for ages, trying to capture that authentic Hawaiian flavor without needing, you know, a whole imu pit in my backyard. What I’ve landed on is a super accessible Huli Huli Grilled Chicken recipe perfect for us home cooks. See, I remember the first time I had proper Huli Huli chicken… I was visiting my sister in Oahu, and we grabbed some from a roadside stand. The explosion of flavor? Unforgettable! So, I wanted to bring that experience home, simplified, of course, because ain’t nobody got time for complicated on a weeknight!
Why You’ll Love This Huli Huli Grilled Chicken Recipe
Okay, listen up, because you’re about to discover your new favorite grilling recipe! Here’s why I’m completely obsessed:
- Super simple to make! We’re talking minimal prep time, maximum flavor.
- That Huli Huli sauce? It’s a flavor explosion! Sweet, savory, tangy… the works!
- It’s totally versatile. Chicken thighs, breasts, even wings… you choose!
- Leftovers are amazing! Hello, Huli Huli chicken bowls for lunch!
That’s it! Told ya, it’s awesome!
Essential Ingredients for Huli Huli Grilled Chicken
Alright, let’s gather our goodies! Here’s what you’ll need for *knock-your-socks-off* Huli Huli flavor. Don’t even *think* about skimping on these, okay?
- ½ cup soy sauce (I use low sodium, but you do you!)
- ¼ cup pineapple juice (the *real* stuff, not that sugary syrup!)
- 2 tablespoons brown sugar, packed (adds that gorgeous caramel-y sweetness!)
- 2 tablespoons ketchup (yes, ketchup! Trust me!)
- 1 tablespoon rice vinegar (brings that lovely tang!)
- 1 teaspoon grated fresh ginger (fresh is best here, people!)
- 2 cloves garlic, minced (because garlic makes everything better!)
- ½ teaspoon sesame oil (adds a nutty depth–yum!)
- ¼ teaspoon red pepper flakes (for a *liiiittle* kick!)
- 4 boneless, skinless chicken thighs (or breasts! Whatever floats your boat!)
That’s all there is to it! See? Nothing too crazy. Let’s get cookin’!
Step-by-Step Guide to Making Huli Huli Grilled Chicken
Okay, friends, get ready to transform your kitchen into a little slice of paradise! This Huli Huli Grilled Chicken is seriously easier than you think. Just follow these simple steps, and you’ll be golden!
- **Marinate the chicken (at least 30 minutes, but longer is better!)**: In a bowl, whisk together soy sauce, pineapple juice, brown sugar, ketchup, rice vinegar, ginger, garlic, sesame oil, and red pepper flakes. Add the chicken, making sure it’s fully coated. Cover the bowl and pop it in the fridge. I usually aim for at least 4 hours, or even overnight if I’m planning ahead. The longer it marinates, the more flavor it soaks up!
- **Preheat your grill (medium-high heat):** You’ll want it hot enough to get those gorgeous grill marks, but not so hot that the chicken burns before it cooks through. I like to aim for around 375°F (190°C). You can check out this grilled lobster tail guide for grilling tips, many tips work for chicken too!
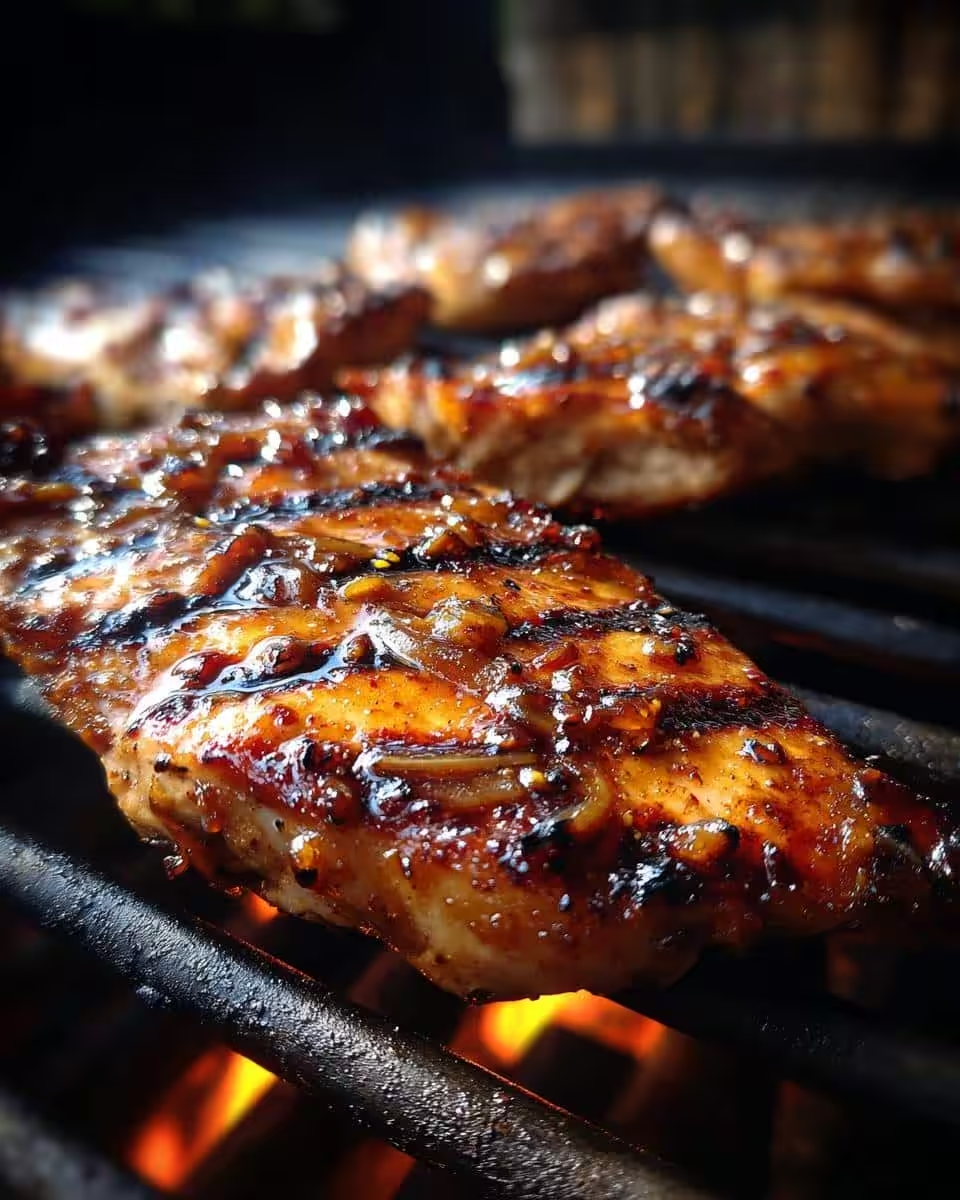
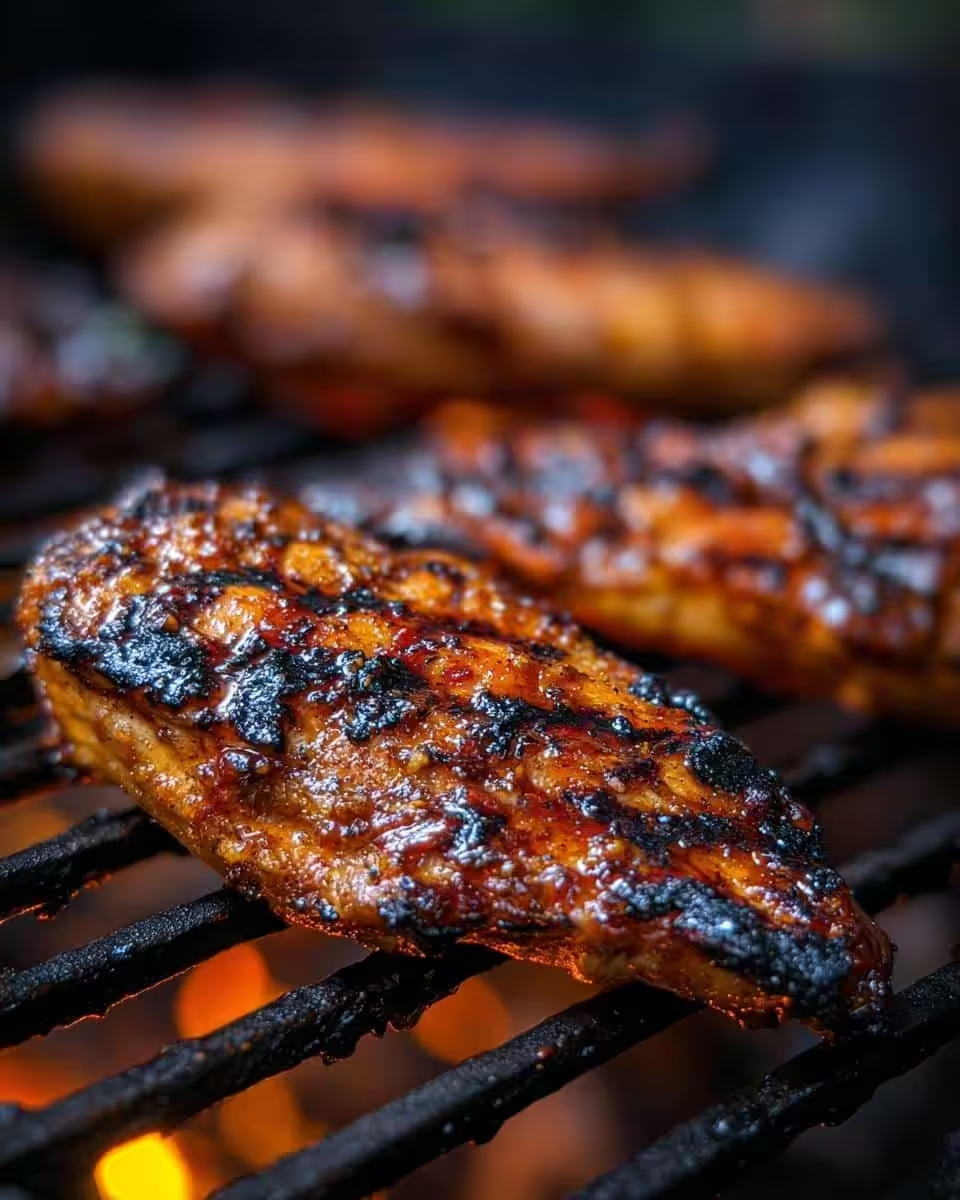
- **Grill the chicken (8-10 minutes per side, or until cooked through):** Place the chicken on the grill and discard the marinade (very important!). Grill for about 8-10 minutes per side, flipping occasionally, until the internal temperature reaches 165°F (74°C). The key is to keep an eye on it and move it to a cooler part of the grill if it starts to char too quickly.
- **Rest the chicken (5-10 minutes):** Once the chicken is cooked, take it off the grill and let it rest for 5-10 minutes before slicing. This allows the juices to redistribute, resulting in super moist chicken. I know, it’s hard to wait, but trust me, it’s worth it!
- **Slice and serve!**: Slice the chicken against the grain and get ready for a flavor explosion! Serve it up with your favorite sides (more on that later!).
And that’s it! Seriously, you just made Huli Huli Grilled Chicken! Give yourself a pat on the back!
Tips for the Best Huli Huli Grilled Chicken
Want to take your Huli Huli Grilled Chicken from good to *OMG-amazing*? Here are a few tricks I’ve learned along the way! These really elevate the flavor… seriously!
- **Don’t skimp on the marinade time!** Seriously, the longer the better. Overnight is ideal, but even a few hours makes a big difference. It’s all about soaking in that flavor.
- **Low and slow is the way to go.** Don’t crank up the heat too high, or you’ll end up with charred chicken that’s raw on the inside. Ugh! Medium heat is your friend.
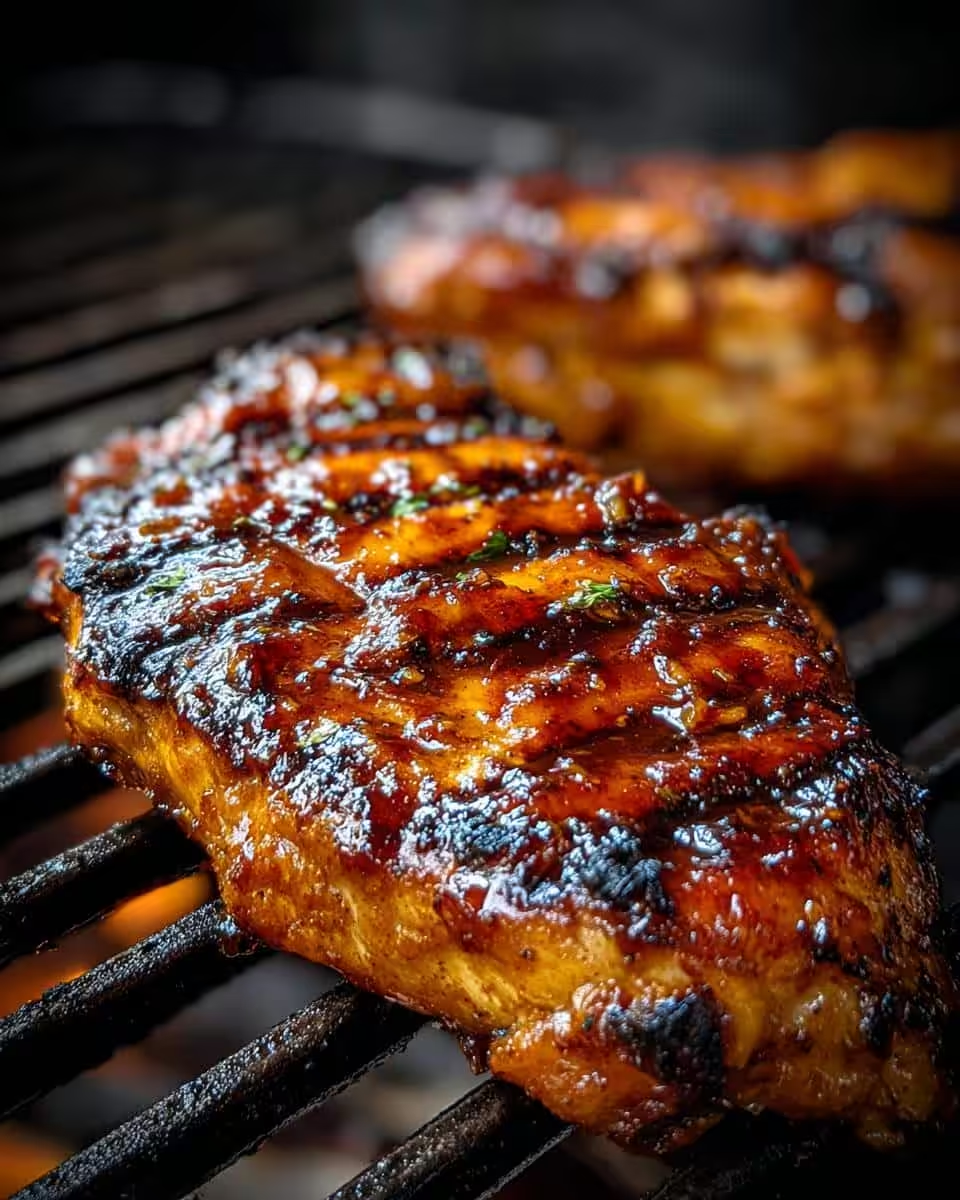
- **Baste, baste, baste!** During the last few minutes of grilling, brush the chicken with some extra marinade (make sure it hasn’t touched raw chicken!). This adds extra flavor and a beautiful glaze. Careful, it splatters!
- **Don’t overcrowd the grill.** Give the chicken some space so it can cook evenly and get those beautiful grill marks.
Follow these tips and you’ll be serving up Huli Huli Grilled Chicken that’ll have everyone begging for more!
Serving Suggestions for Your Huli Huli Grilled Chicken
Okay, you’ve got this gorgeous Huli Huli Grilled Chicken… now what? Don’t worry, I’ve got you covered! You can eat almost anything alongside it, but if you want to create that *real* Hawaiian experience, here’s what I recommend!
My go-to is fluffy white rice. Seriously, it soaks up all that amazing Huli Huli sauce! Also, you just *have* to serve this with some grilled pineapple. The sweetness of the pineapple is a perfect balance to the savory chicken! You can even check out this other recipe to make even more, like Chicken with Pineapple.
And if you’re feeling fancy, whip up some Hawaiian macaroni salad. It’s creamy, dreamy, and oh-so-delicious! Trust me, you won’t regret it!
How to Store Leftover Huli Huli Grilled Chicken
Okay, so you’ve (miraculously!) got leftovers? Wow! Don’t let that delicious Huli Huli Grilled Chicken go to waste! Here’s the lowdown on storing it like a pro. If you’re planning on eating it within 3-4 days, just pop it in an airtight container and stash it in the fridge. When reheating, a quick zap in the microwave works, but for best results, I like to gently warm it in a skillet with a splash of water or broth to keep it moist.
For longer storage, the freezer is your friend! Let the chicken cool completely, then wrap it tightly in plastic wrap and foil (or use a freezer-safe container). It’ll keep for up to 2-3 months. Thaw it overnight in the fridge before reheating, and you’re good to go! See, easy peasy!
Frequently Asked Questions About Huli Huli Grilled Chicken
Got questions about my Huli Huli Grilled Chicken? Don’t sweat it! I’ve rounded up some of the most common questions I get asked, so you can grill with confidence! Let’s see…
Can I use chicken breasts instead of thighs?
Totally! Chicken breasts work great, but remember they can dry out faster than thighs, so keep a close eye on the internal temperature and don’t overcook them. Basting with extra sauce is key to keep them juicy!
What can I substitute for pineapple juice in the marinade?
If you’re out of pineapple juice, apple juice or even orange juice can work in a pinch, but the flavor won’t be quite as authentic. I’ve used it myself in an experiment to try it and it worked just ok!
Can I bake the Huli Huli chicken instead of grilling it?
Yup! Preheat your oven to 375°F (190°C) and bake the marinated chicken on a baking sheet for about 25-30 minutes, or until cooked through. For that lovely glaze, broil it for the last few minutes, keeping a close watch so it doesn’t burn!
How long does the Huli Huli chicken need to marinade?
At least 30 minutes is good, but longer is always better! I usually go for a couple of hours, but overnight is ideal for maximum flavor!
Can I make the Huli Huli sauce ahead of time?
Absolutely! The sauce can be made up to a week ahead of time and stored in the fridge. This is a great way to save time when you’re ready to grill!
Nutritional Information Disclaimer
Please remember, folks, that nutritional info is just an estimate! It can vary wildly depending on the specific ingredients and brands you use. So, take it with a grain of salt, okay?
Enjoy Your Huli Huli Grilled Chicken!
Alright, friends, that’s all there is to it! Now it’s your turn to fire up that grill and give this Huli Huli Grilled Chicken a try. I just know you’re gonna love it! And hey, if you do, I wanna hear all about it! Head on over to my about page and drop me a line, or even better, leave a comment and rating below! Don’t forget to snap a pic and share it on social media – tag me so I can see your amazing creations!
Print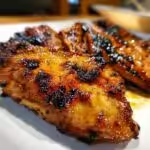
Crispy Oven Roasted Potatoes and Onions
- Total Time: 65 min
- Yield: 6 servings 1x
- Diet: Vegan
Description
Simple oven roasted potatoes and onions.
Ingredients
- 2 lbs potatoes, peeled and cubed
- 2 large onions, sliced
- 1/4 cup olive oil
- 1 teaspoon salt
- 1/2 teaspoon black pepper
- 1 teaspoon dried oregano
Instructions
- Preheat oven to 400°F (200°C).
- In a large bowl, combine potatoes, onions, olive oil, salt, pepper, and oregano.
- Spread the mixture in a single layer on a baking sheet.
- Roast for 45-50 minutes, or until potatoes are tender and golden brown, flipping halfway through.
- Serve hot.
Notes
- For extra crispiness, parboil the potatoes for 5 minutes before roasting.
- Prep Time: 15 min
- Cook Time: 50 min
- Category: Side Dish
- Method: Roasting
- Cuisine: Mediterranean
Nutrition
- Serving Size: 1 serving
- Calories: 250
- Sugar: 5g
- Sodium: 300mg
- Fat: 12g
- Saturated Fat: 2g
- Unsaturated Fat: 10g
- Trans Fat: 0g
- Carbohydrates: 35g
- Fiber: 4g
- Protein: 4g
- Cholesterol: 0mg