
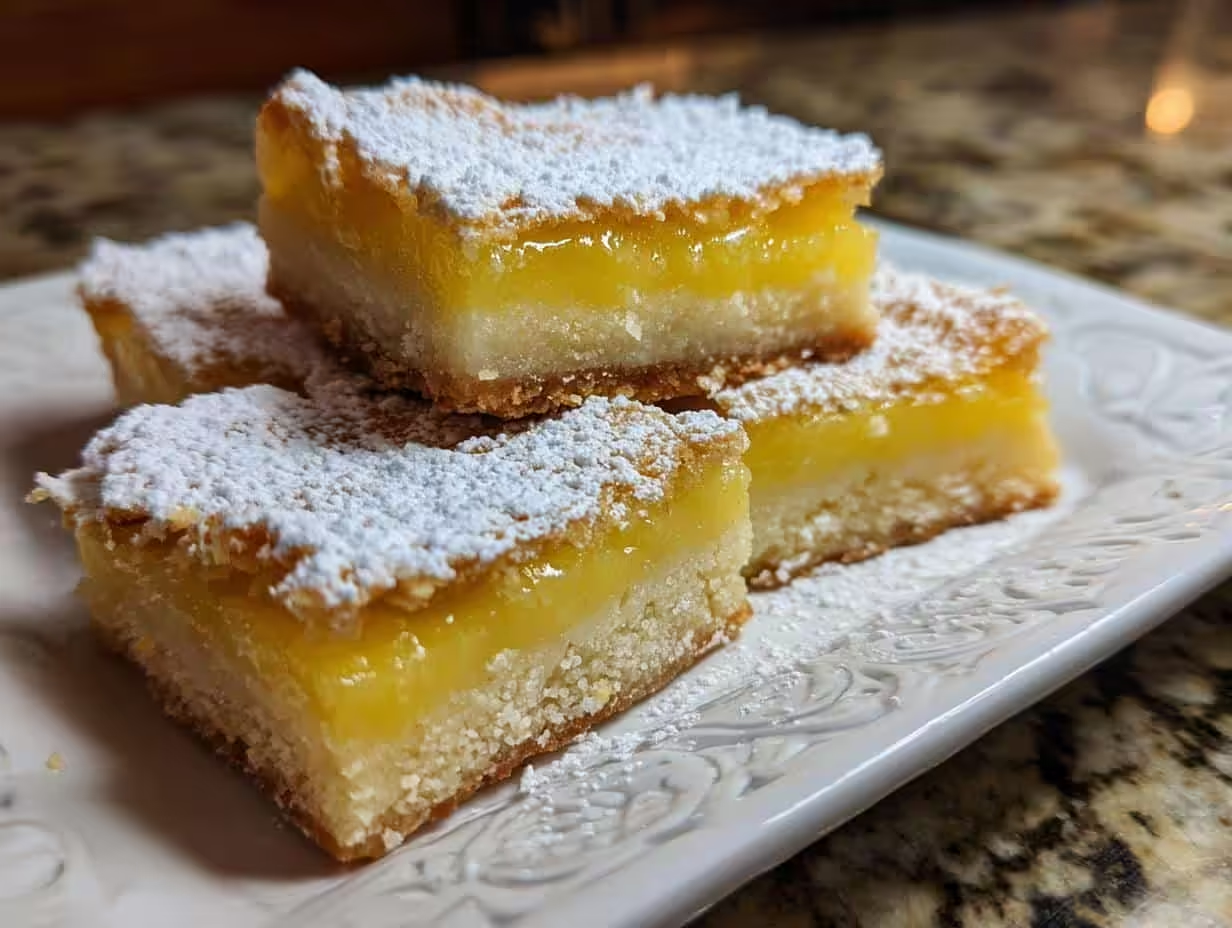
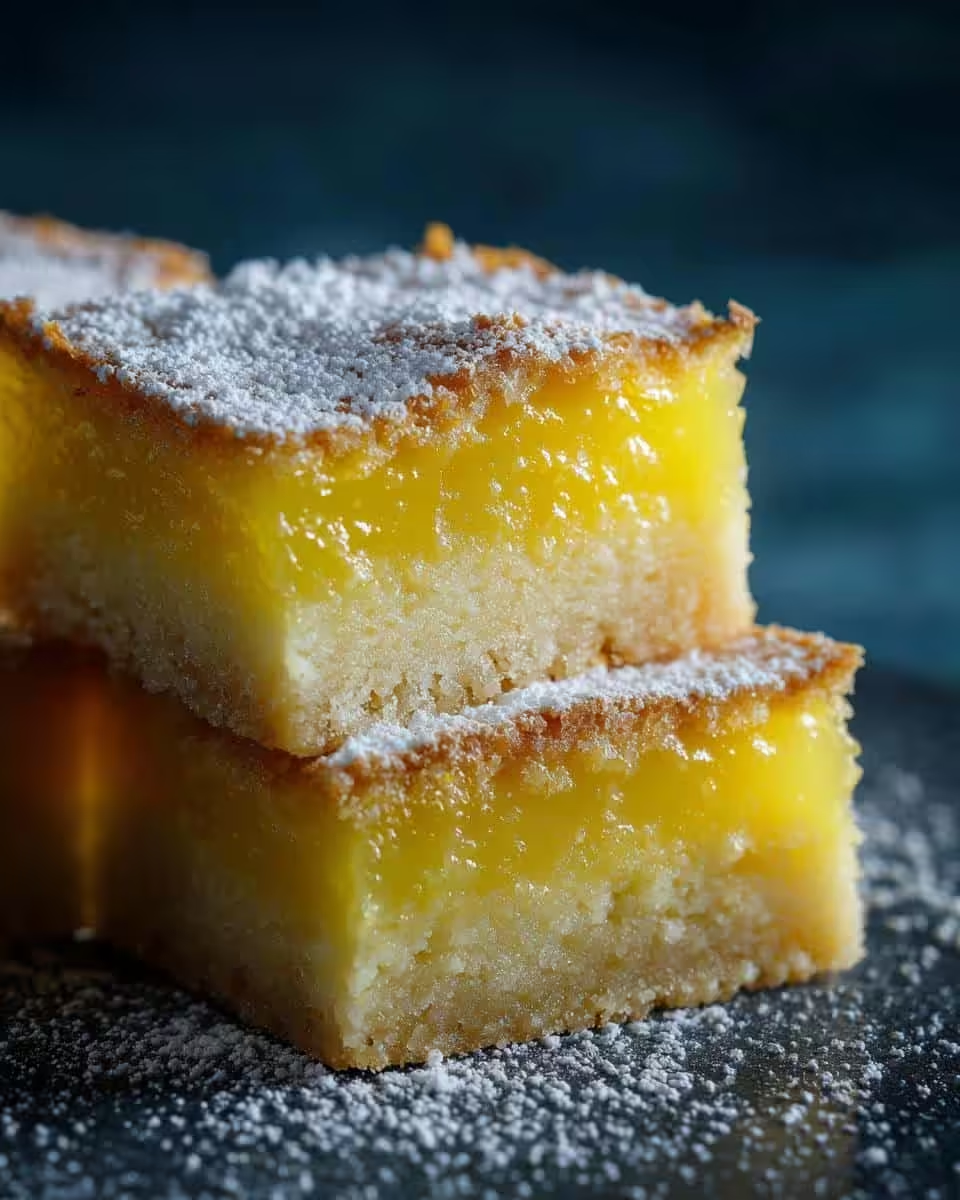
Oh, Lemon Bars! Is there anything quite as sunshine-y and perfect? Seriously, that bright, tangy, sweet combo gets me every time. And the best part? They’re so darn simple to whip up! I swear, these are a total classic for a reason, and my Lemon Bars recipe is one I’ve been tweaking for, well, longer than I care to admit! I’m Maxine, by the way, and making these lemon treats always brings me back to baking with my grandmother. This recipe is perfect for folks that have been baking for years, or those who are brand new to lemon bars.
Why You’ll Love These Lemon Bars
Okay, let me tell you why these Lemon Bars are about to become your new obsession:
- Super Easy: Seriously, if I can do it, you can do it! Minimal fuss, maximum flavor.
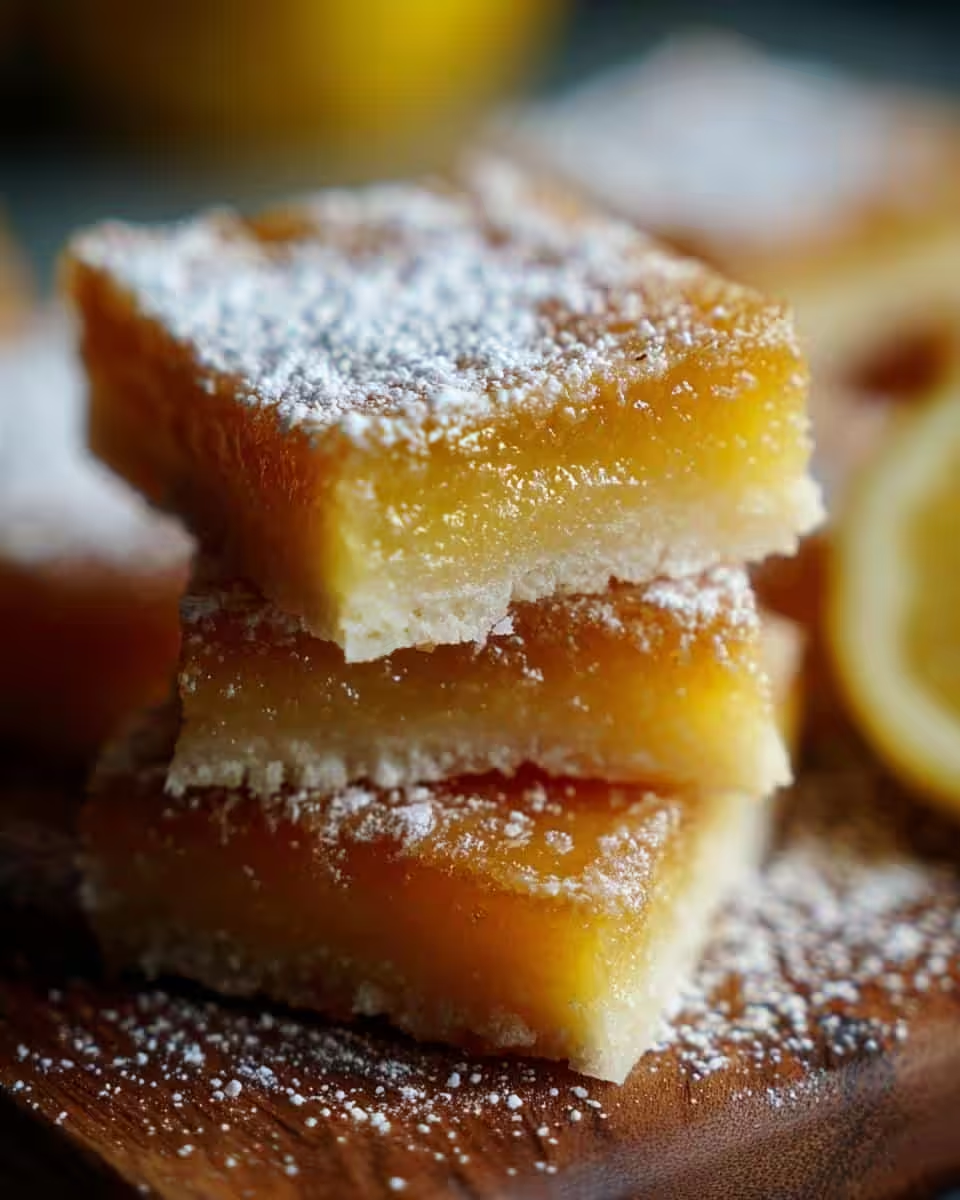
- Bright & Refreshing: That zingy lemon flavor is like a burst of sunshine in every bite. Perfect for a pick-me-up!
- Sweet & Tart Perfection: We’re talkin’ that *ideal* balance, ya know? Not too sweet, not too sour – just right.
- Crowd-Pleaser: Bring these to a potluck or party, and watch ’em disappear. They’re always a hit!
Ingredients for Perfect Lemon Bars
Alright, let’s talk ingredients! This is where the magic starts, and trust me, quality matters. Here’s what you’ll need to make my amazing Lemon Bars:
- For the Crust:
- 1 ½ cups all-purpose flour, sifted. (Trust me, sifting makes a difference!)
- ½ cup (1 stick) unsalted butter, cold and cubed. The colder, the better!
- ⅓ cup powdered sugar.
- Pinch of salt. Just a tiny one!
- For the Filling:
- 4 large eggs.
- 1 ½ cups granulated sugar.
- ½ cup lemon juice, freshly squeezed. None of that bottled stuff, okay?
- ¼ cup all-purpose flour.
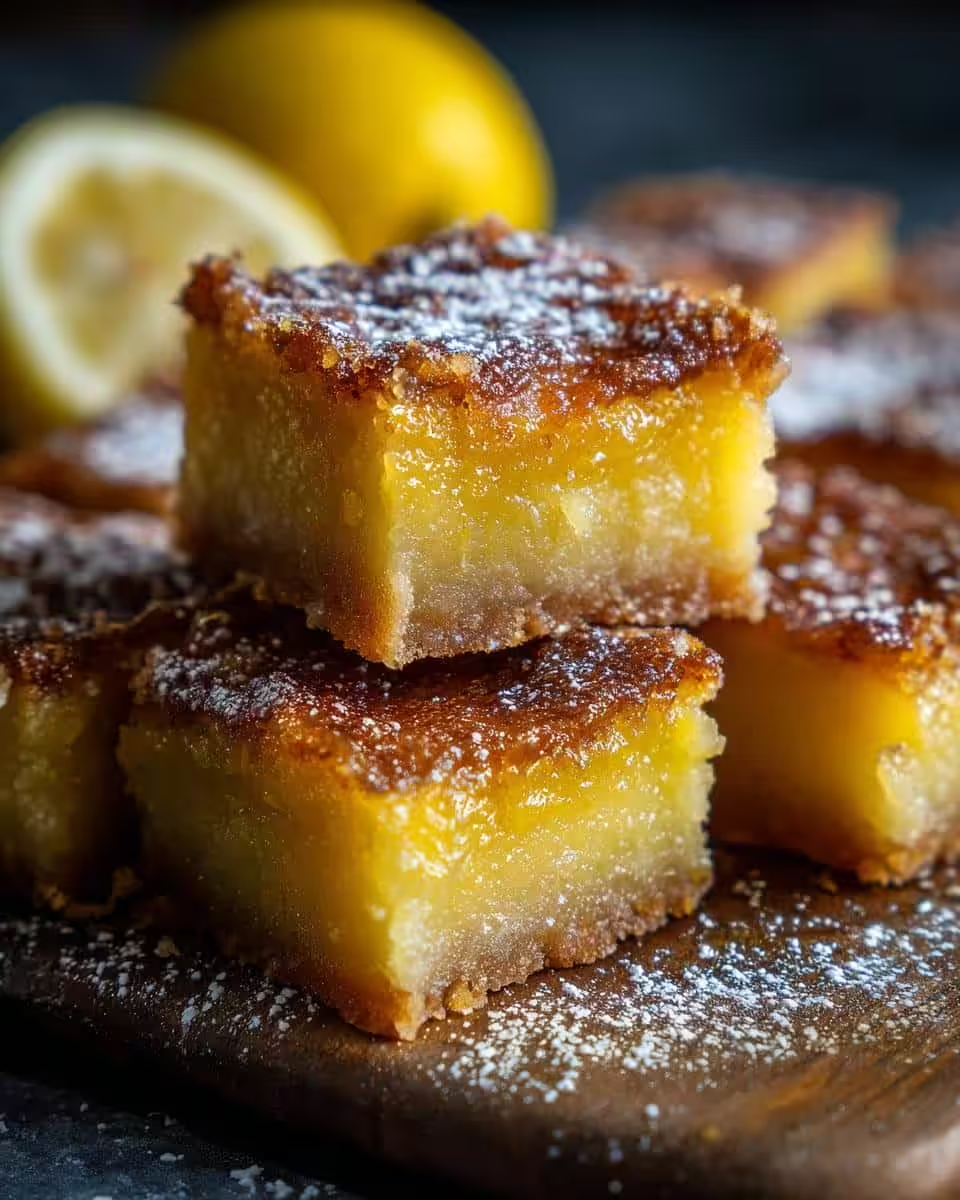
- 2 tablespoons lemon zest. Zest it right before you use it for the best flavor!
- Powdered sugar, for dusting (optional, but highly recommended!).
Make sure everything’s measured properly – baking is a science, after all! And fresh lemon juice? Non-negotiable, my friend. It’s what gives these bars that irresistible zing!
How to Make the Best Lemon Bars
Alright, darlings, let’s get down to business! Here’s how we’re gonna make these Lemon Bars shine. Don’t worry, I’ll walk you through every step – even the tricky parts!
- First things first: Preheat your oven to 350°F (175°C). We want that oven nice and ready!
- **Make the crust:** In a large bowl, whisk together the sifted flour, powdered sugar, and salt. Add the cold, cubed butter. Now, here’s where your hands come in! Use a pastry blender or your fingertips to cut the butter into the flour mixture until it resembles coarse crumbs.
- Press this mixture into the bottom of an ungreased 9×13 inch baking pan. Press it firmly! Prick the crust all over with a fork (this prevents it from puffing up too much).
- Bake the crust for 18-20 minutes, or until it’s lightly golden. Keep a close eye on it! You want it lightly golden, not burnt.
- **Make the filling:** While the crust is baking, let’s get started on that luscious lemon filling. In a large bowl, whisk together the eggs and granulated sugar until smooth. Whisk in the flour, then add the fresh lemon juice and lemon zest. Mix until everything is just combined. Don’t overmix!
- Pour the filling over the warm, pre-baked crust.
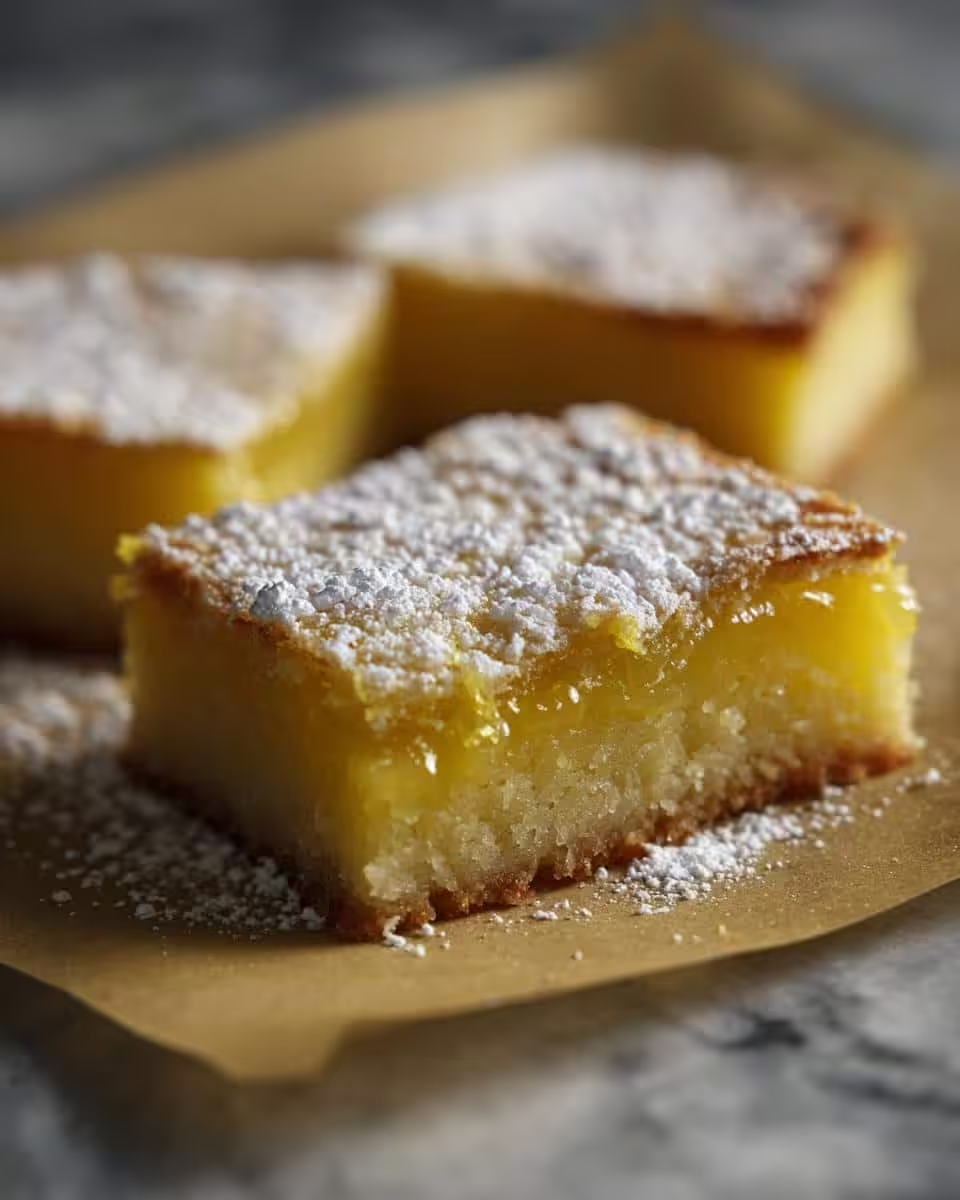
- Bake for another 20-25 minutes, or until the filling is set (it should still have a *slight* wiggle in the center – that’s how you know it’s perfect!). Careful not to overbake!
- Let the Lemon Bars cool completely in the pan on a wire rack. This is crucial! The filling needs time to set properly.
- Once cooled, dust generously with powdered sugar. This is my favorite part!
- Cut into squares and prepare to be amazed!
See? Not so scary, right? Just follow these steps, and you’ll be enjoying the most amazing Lemon Bars you’ve ever tasted in no time!
Tips for Making the Best Lemon Bars Every Time
Okay, so you wanna take your Lemon Bar game to the *next level*? I got you! Here are a few tricks I’ve learned over the years that’ll guarantee perfect bars every single time:
- **Preventing a Soggy Crust:** Par-baking is KEY! And make sure you prick that crust with a fork before baking. That little trick prevents it from puffing up and getting weird.
- **The Perfect Filling:** Don’t overbake! A slight wiggle in the center means it’s ready. It’ll set up perfectly as it cools.
- **Clean Cuts Every Time**: Patience, my friend! Let those bars cool completely before slicing. Using a warm, clean knife also helps get those clean cuts. Sometimes I even run the knife under hot water between slices.
- **Zest Wisely**: Only zest the very outer layer of the lemon peel! The bitter white pith underneath will mess with the delicate flavors you’re working to create.
Trust me, these little tweaks make a HUGE difference!
Storing and Serving Your Delicious Lemon Bars
Alright, you’ve made these incredible Lemon Bars… now what? Here’s the lowdown on keepin’ ’em fresh and servin’ ’em up right! These Lemon Bars are delicious served chilled or close to room temperature.
- **Storing:** Keep those beauties in an airtight container in the fridge. They’ll stay good for about 3-4 days… if they last that long!
- **Serving:** A dusting of powdered sugar is a must, in my book! I love adding a few fresh berries on the side, too – the tartness is just *chef’s kiss*!
Honestly, they’re perfect on their own, but a little extra never hurts, right? Enjoy every bite!
Frequently Asked Questions About Lemon Bars
Got questions about Lemon Bars? Don’t worry, I’ve got answers! Here are some common questions I get asked all the time. Baking is fun, but it requires that you follow directions.
Can I use bottled lemon juice?
Okay, I’m gonna be real with you: fresh lemon juice is *always* better. Bottled juice just doesn’t have that same bright, zingy flavor. But, if you’re in a pinch, yeah, you *can* use it. Just know it won’t be quite as amazing! And definitely skip the zest if you’re going that route.
How do I prevent the crust from sticking?
Ah, the dreaded sticky crust! Make sure you’re using a good quality pan, and don’t skip the part where you press the crust in firmly. If you’re still worried, line the bottom of the pan with parchment paper before pressing in the crust. Easy fix!
How long do Lemon Bars last?
If stored properly (in an airtight container in the fridge), your Lemon Bars should last about 3-4 days. But let’s be honest, they probably won’t last that long because you’re going to eat them. Seriously, these lemon bars are good!
Can I freeze Lemon Bars?
Yep! You can totally freeze Lemon Bars. Wrap them tightly in plastic wrap, then place them in a freezer-safe container. They’ll keep for about 2-3 months. When you’re ready to eat them, just thaw them in the fridge overnight. Dust with powdered sugar before serving – they might need a little refresh!
Lemon Bars Ingredient Substitutions
So, maybe you’re out of an ingredient or have some dietary needs? No sweat! Here are a couple of easy swaps to make these Lemon Bars work for you. I have to say, these are *my* tips, and I can’t guarentee perfect results!
- Out of regular flour? Use a gluten-free blend! Just make sure it’s a 1-to-1 replacement.
- Dairy-free? Swap the butter for a good quality vegan butter substitute. They’ve come a long way, trust me!
- Not feeling the powdered sugar for the crust? Don’t sweat it. Just omit that and add a dash of vanilla to the dough.
Baking is all about making it your own, so don’t be afraid to experiment a little! Just remember that Lemon Bars are very exact with ingredient amounts.
Disclaimer for Lemon Bars Nutritional Information
A quick note, y’all: any information about nutrition is just a general estimate. Actual values will change based on the brands you use when you’re making these lemon bars. So get out there and bake!
Enjoyed These Lemon Bars? Leave a Review!
Hey, if you loved these Lemon Bars as much as I do, I’d be over the moon if you left a comment! Tell me how they turned out for you or even share a picture of your baking masterpiece; I would love to see how it went! Ratings are also welcome!
Print
Crispy Oven Roasted Potatoes and Onions
- Total Time: 65 min
- Yield: 6 servings 1x
- Diet: Vegan
Description
Simple oven roasted potatoes and onions.
Ingredients
- 2 lbs potatoes, peeled and cubed
- 2 large onions, sliced
- 1/4 cup olive oil
- 1 teaspoon salt
- 1/2 teaspoon black pepper
- 1 teaspoon dried oregano
Instructions
- Preheat oven to 400°F (200°C).
- In a large bowl, combine potatoes, onions, olive oil, salt, pepper, and oregano.
- Spread the mixture in a single layer on a baking sheet.
- Roast for 45-50 minutes, or until potatoes are tender and golden brown, flipping halfway through.
- Serve hot.
Notes
- For extra crispiness, parboil the potatoes for 5 minutes before roasting.
- Prep Time: 15 min
- Cook Time: 50 min
- Category: Side Dish
- Method: Roasting
- Cuisine: Mediterranean
Nutrition
- Serving Size: 1 serving
- Calories: 250
- Sugar: 5g
- Sodium: 300mg
- Fat: 12g
- Saturated Fat: 2g
- Unsaturated Fat: 10g
- Trans Fat: 0g
- Carbohydrates: 35g
- Fiber: 4g
- Protein: 4g
- Cholesterol: 0mg