
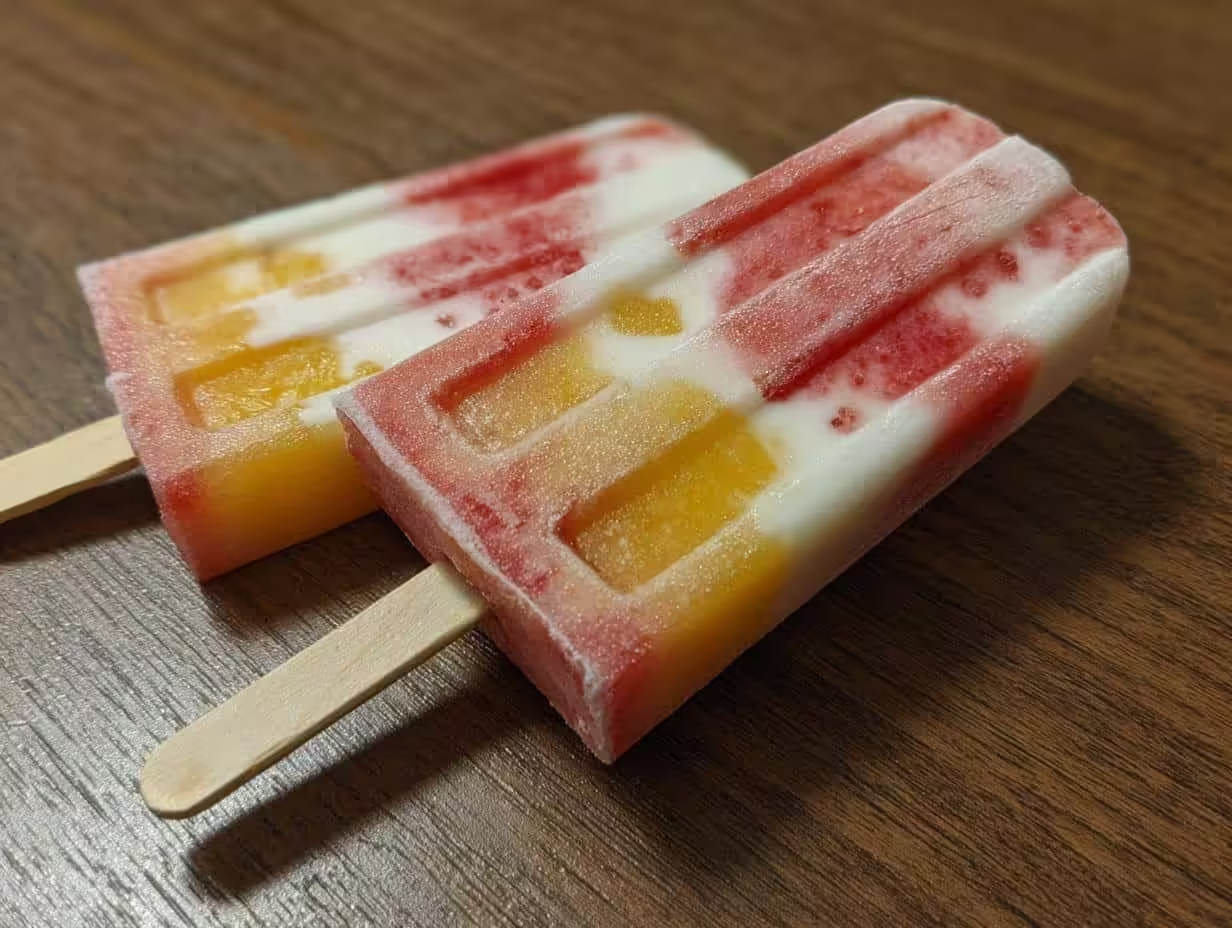
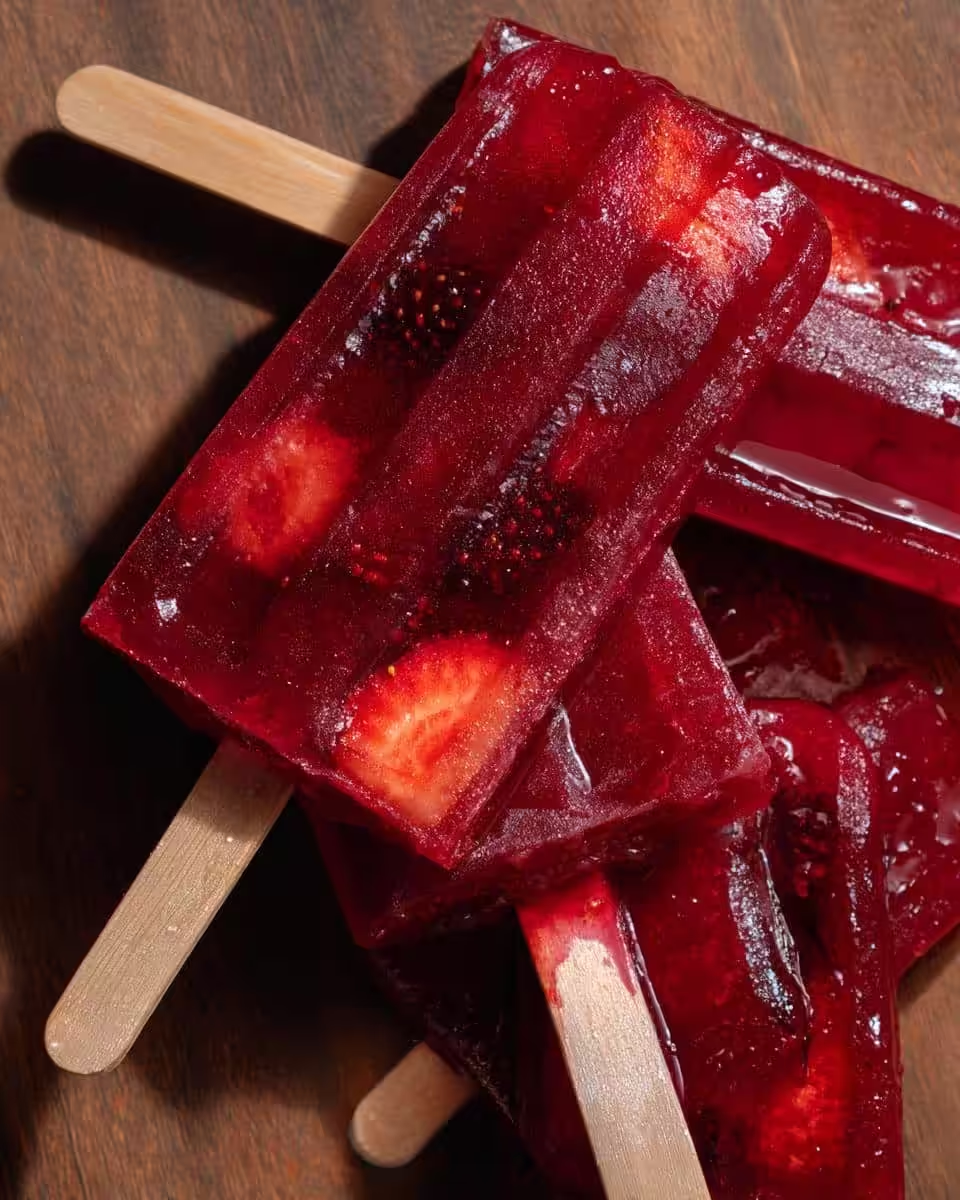
Summer in Asheville means one thing: finding delicious ways to beat the heat! And what’s more fun (or more refreshing!) than whipping up a batch of your very own **fruit popsicles**? Now, I know what you’re thinking: “Store-bought’s easier, Max.” But trust me, these homemade popsicles are on a whole other level. They’re bursting with fresh, vibrant flavor, totally customizable, and you know *exactly* what’s going into them. No weird additives or mystery ingredients here! Plus, making them takes me back to simpler times. As I’m Maxine Holloway, I’ve been running a small supper club out of my home and teaching cooking classes that focus on seasonal ingredients; crafting really good food is what I do best.
Why You’ll Love These Homemade Fruit Popsicles
Okay, friends, let me tell you why you NEED to make these fruit popsicles. It’s about more than just a sweet treat! Here’s the scoop:
- **Super Easy:** Seriously, if you can blend, you can do this.
- **Taste Explosion:** Forget those bland, store-bought things. These are packed with real fruit flavor. So refreshing!
- **Customize It!** Got picky eaters? Allergies? No problem! You control every single ingredient.
- **Kid (and Adult!) Approved:** My grandkids go crazy for these, and honestly, so do I! They’re perfect for everyone.
Basically, these fruit popsicles are a win-win-win-WIN! Let’s get to it!
Ingredients for Delicious Fruit Popsicles
Alright, let’s gather our goodies for these amazing fruit popsicles! Nothing too fancy, I promise. Freshness is key here, though, so grab the ripest, juiciest fruit you can find. Here’s what you’ll need:
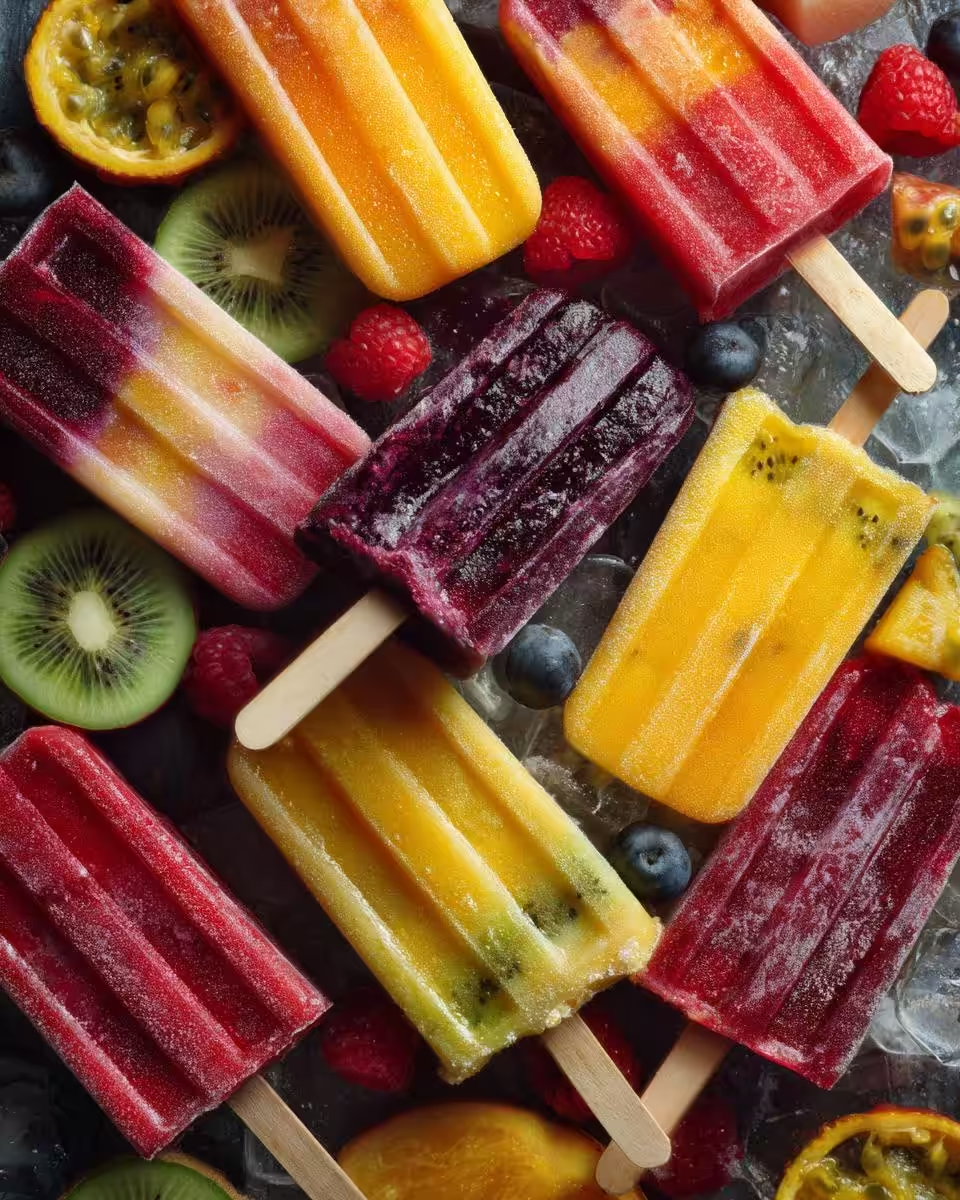
- 3 cups of your favorite fruit (fresh or frozen). I usually do a mix! How about 1 cup strawberries (hulled), 1 cup blueberries, and one cup of mango chunks? Yum!
- 1 cup of liquid. You can use coconut water, apple juice, or even just plain ol’ water in a pinch.
- Optional: A squeeze of fresh lemon or lime juice. This really brightens up the flavors!
- Sweetener (optional!): If your fruit isn’t super sweet, a tablespoon or two of honey or agave syrup does the trick. But taste it first! You might not even need it.
That’s it! See? Simple. Now, if you want to get *really* fancy, we can talk swirls and layers later. But for now, let’s stick to the basics and make some seriously good fruit popsicles!
How to Make Refreshing Fruit Popsicles: Step-by-Step Instructions
Okay, friend, here comes the fun part! Making these fruit popsicles is so easy, it’s practically foolproof. Just follow these steps, and you’ll be chillin’ with a delicious popsicle in no time!
- Prep Your Fruit: Wash and chop your chosen fruit into small, manageable pieces. Remember, if you’re using frozen fruit, you can use it straight from the freezer! No need to thaw.
- Blend It Up! Toss your fruit into a blender or food processor. Pour in your liquid – coconut water, apple juice, whatever floats your boat! Add a squeeze of lemon or lime juice if you’re feeling zesty. If you’re using a sweetener, now’s the time to add that too.
- Puree Until Smooth (Ish): Blend everything until it’s nice and smooth. Now, I like leaving a few small chunks of fruit for texture, but that’s totally up to you. It’s your popsicle adventure!
- Taste Test! This is crucial! Give your fruit mixture a taste. Does it need more sweetness? A little more zing from the citrus? Adjust as needed until it’s perfect for *your* taste buds.
- Pour into Molds: Carefully pour the mixture into your popsicle molds, leaving a little space at the top. If you’re using molds with sticks, insert them now. If not, you can usually add them after the popsicles are partially frozen.
- Freeze ‘Em! Now comes the hardest part: waiting! Place your filled popsicle molds in the freezer. The freezing time depends on your freezer and the size of your molds, but it usually takes at least 4-6 hours, or even better, overnight. Trust me, patience is a virtue here!
- Unmold and Enjoy! Once your fruit popsicles are frozen solid, it’s time to set them free! Run the molds under warm water for a few seconds to loosen the popsicles. Gently wiggle them out, and ta-da! You’ve got yourself a refreshing, homemade fruit popsicle. Now, go find a shady spot and enjoy! Careful – they melt fast in the sun!
Tips for the Best Homemade Fruit Popsicles
Alright, let’s talk tips! Making fruit popsicles is easy-peasy, but a few little tricks can take them from good to *outrageous*. So listen up, buttercup!
- Blend Smart: Frozen fruit can be a bit tough on your blender. Start slow and pulse it a few times before going full blast. You don’t want to burn out your motor! Been there, done that. Oops!
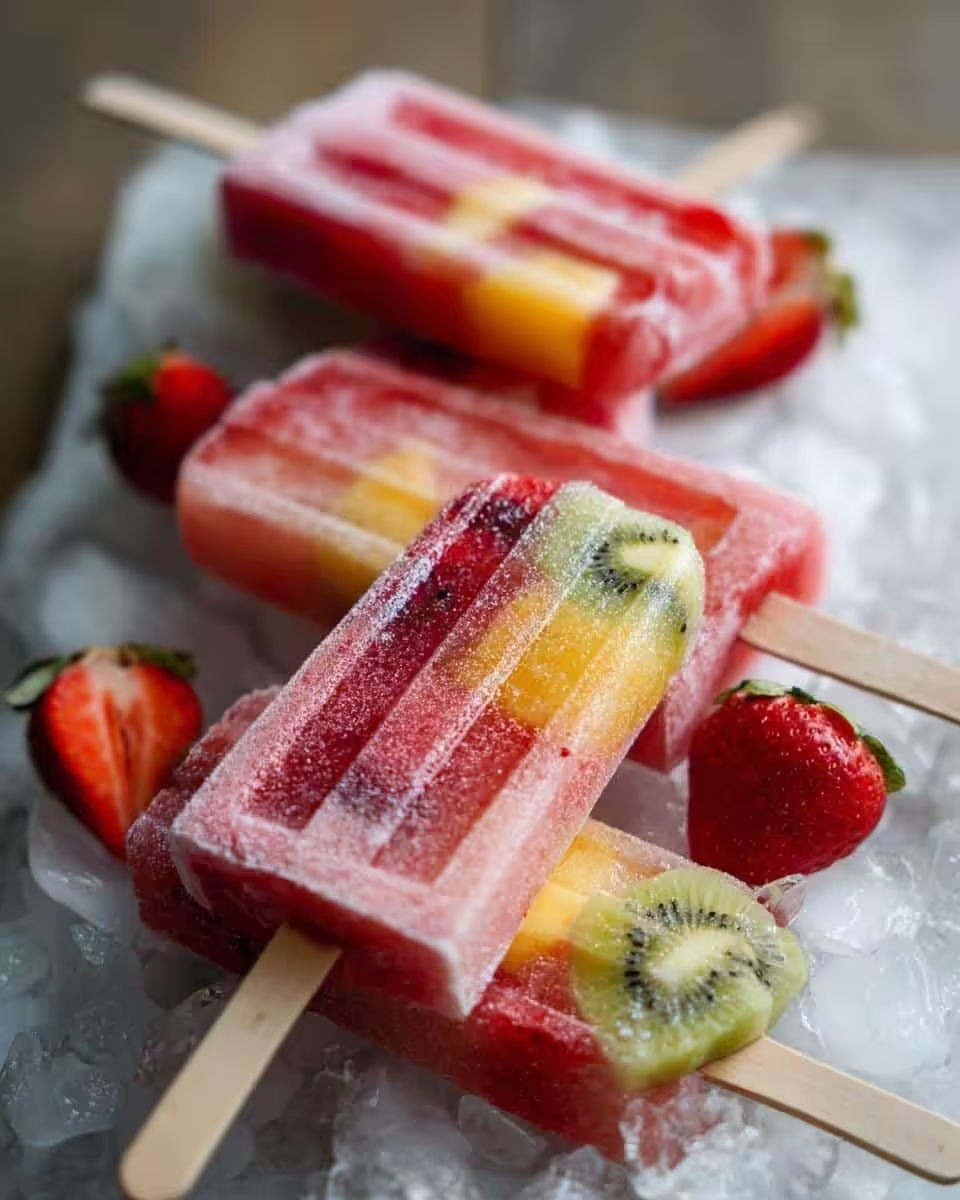
- Layer Like a Pro: Want those fancy layered popsicles? Pour in a little bit of one fruit mixture, freeze for about an hour, then add another layer. Repeat until your mold’s full!
- Banish Ice Crystals: A little bit of lemon juice helps prevent those pesky ice crystals from forming. Also, don’t refreeze melted popsicles – they’ll get icy.
- Unmolding Magic: If your popsicles are stubborn, try dipping the mold in warm water for 20-30 seconds. They should slide right out. Don’t overheat – you want to loosen, not melt!
Follow these tips, and you’ll be a fruit popsicle master in no time! Hmmm, now I might put that on a t-shirt…
Creative Variations for Your Fruit Popsicles
Okay, so you’ve mastered the basic fruit popsicle. Bravo! But hold on, because the fun’s just beginning! This is where you get to be a mad scientist (but with fruit!). Let’s brainstorm some crazy-delicious variations, shall we?
- **Tropical Tango:** Mango, pineapple, a splash of coconut milk, and a tiny pinch of ginger. Close your eyes, and you’re on a beach in Hawaii!
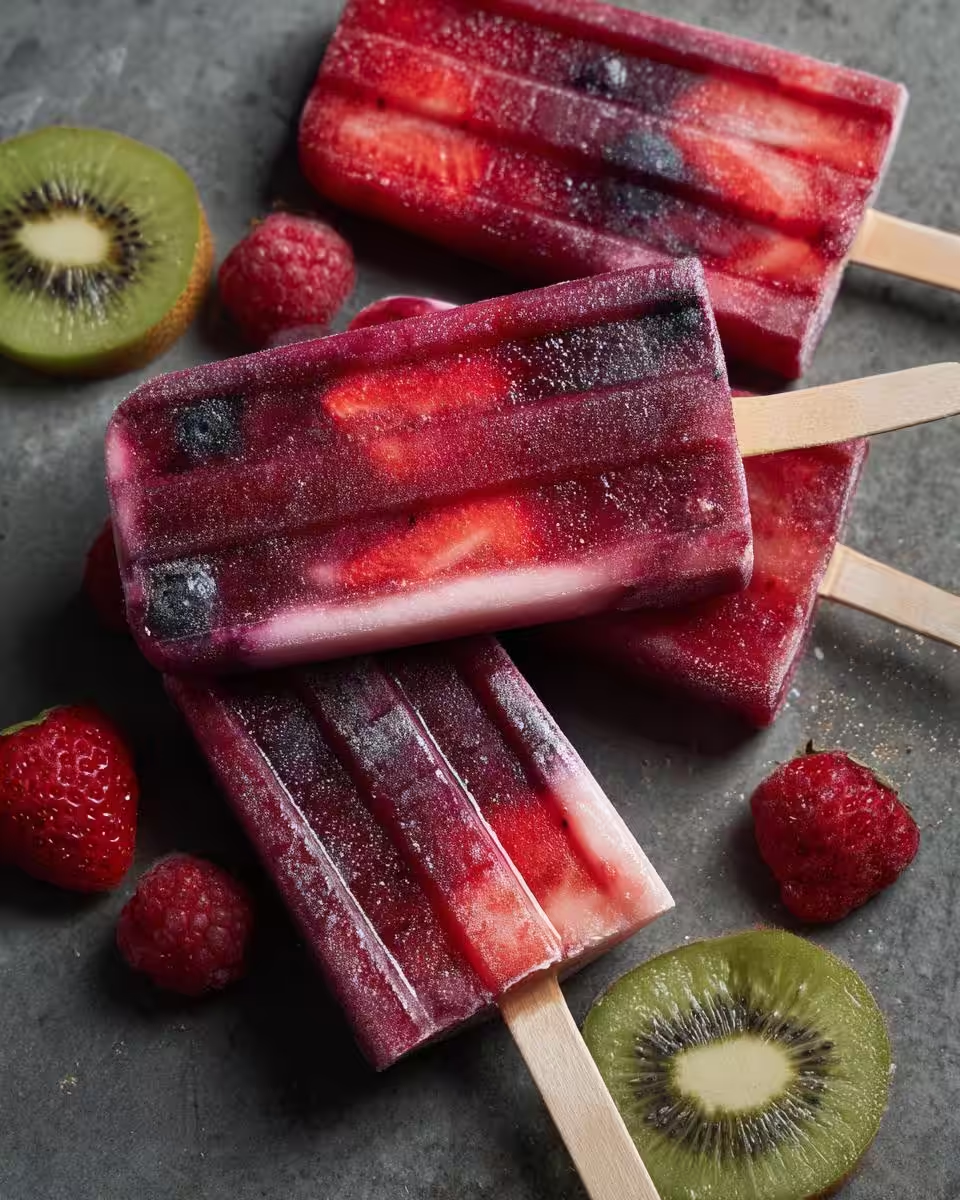
- **Berry Blast:** Strawberries, raspberries, blueberries, and a dollop of Greek yogurt. It has the smoothie vibe, but frozen!
- **Citrus Zing:** Lemon, lime, orange, and a sprig of mint. So invigorating! Careful though, it’s a little tart!
- **Sweet and Spicy**: Blend peaches with a pinch of cayenne pepper and a drizzle of honey. Trust me. It sounds weird, but it works beautifully!
- **Choco-Banana Bonanza:** Bananas, cocoa powder, and a few mini chocolate chips. It is almost like a healthy fudgesicle!
Honestly, the possibilities are endless! Don’t be afraid to experiment. That’s how you discover your next favorite thing. Now, go get creative!
Make-Ahead and Storage Tips for Fruit Popsicles
Alright, you’ve made your fruit popsicles, and they’re a hit! Now, how do you keep ’em that way? Here’s the lowdown on make-ahead and storage, so you can enjoy frosty goodness whenever the mood strikes!
- Freezer Time: Fruit popsicles will keep in the freezer for about 2-3 months. After that, they might start to lose some flavor and texture. But honestly, in my house, they never last that long!
- Wrap It Up! The best way to prevent freezer burn is to wrap individual popsicles in plastic wrap or beeswax food wrap after they’re frozen solid.
- Container Crazy: Another option is to store the wrapped popsicles in an airtight container. This keeps them organized and prevents them from sticking together.
Follow these simple tips, and you’ll have delicious, refreshing fruit popsicles on hand all summer long! Now, if you’ll excuse me, I hear my freezer calling my name…
Frequently Asked Questions About Fruit Popsicles
Got questions about making the perfect fruit popsicles? Don’t sweat it! I’ve got answers. Here are some of the most common questions I get asked, so you can popsicle like a pro!
Can I use frozen fruit for fruit popsicles?
Absolutely! Frozen fruit is fantastic, especially if your favorite fruit isn’t in season. It actually helps make the popsicles extra frosty, too! Just toss it right into the blender – no need to thaw.
How do I prevent ice crystals in my homemade fruit popsicles?
Ah, the dreaded ice crystals! A little lemon or lime juice can work wonders. Also, try not to refreeze melted popsicles. They’ll end up icy and sad. And remember that using ripe fruit will help keep that sugary goodness balanced.
How long do fruit popsicles last in the freezer?
Well, if my grandkids have anything to say about it, not long at all! But seriously, they’ll stay good for about 2-3 months if properly wrapped. After that, the flavor might fade a bit.
Can I use different popsicle molds?
Definitely! Get creative with your molds. I’ve used everything from classic popsicle molds to ice cube trays to small paper cups. Just make sure they’re freezer-safe, and have fun with it!
Nutritional Information Disclaimer
Okay, friends, one quick but important note! The nutritional info provided is just an estimate. It can vary depending on the exact fruits and brands you use in your fruit popsicles. So, take it with a grain of salt, okay?
Enjoy Your Homemade Fruit Popsicles
There you have it, friends! Homemade fruit popsicles that’ll make you the hero of summer. Now, I want to hear from you! What fruity combinations did you create? Did you add any wild and crazy ingredients? Leave a comment below and let me know!
And hey, if you loved this recipe (and I know you will!), give it a rating! Share your popsicle masterpiece on social media – tag me, so I can see your creations. Happy popsicle-making!
Print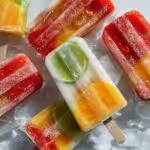
Crispy Oven Roasted Potatoes and Onions
- Total Time: 65 min
- Yield: 6 servings 1x
- Diet: Vegan
Description
Simple oven roasted potatoes and onions.
Ingredients
- 2 lbs potatoes, peeled and cubed
- 2 large onions, sliced
- 1/4 cup olive oil
- 1 teaspoon salt
- 1/2 teaspoon black pepper
- 1 teaspoon dried oregano
Instructions
- Preheat oven to 400°F (200°C).
- In a large bowl, combine potatoes, onions, olive oil, salt, pepper, and oregano.
- Spread the mixture in a single layer on a baking sheet.
- Roast for 45-50 minutes, or until potatoes are tender and golden brown, flipping halfway through.
- Serve hot.
Notes
- For extra crispiness, parboil the potatoes for 5 minutes before roasting.
- Prep Time: 15 min
- Cook Time: 50 min
- Category: Side Dish
- Method: Roasting
- Cuisine: Mediterranean
Nutrition
- Serving Size: 1 serving
- Calories: 250
- Sugar: 5g
- Sodium: 300mg
- Fat: 12g
- Saturated Fat: 2g
- Unsaturated Fat: 10g
- Trans Fat: 0g
- Carbohydrates: 35g
- Fiber: 4g
- Protein: 4g
- Cholesterol: 0mg