
A Happy Father’s Day printable cake topper is a simple and effective way to personalize a Father’s Day cake and express your love. These printable toppers offer a quick DIY solution, allowing you to create a beautiful cake decoration without the need for advanced baking skills or expensive equipment. They can transform a simple cake into a memorable centerpiece for the special day.
| Prep Time | 15 minutes |
|---|---|
| Cook Time | N/A |
| Total Time | 15 minutes |
| Servings | 1 cake |
| Difficulty | Easy |
| Cuisine | American |
Why This Recipe Works
This tutorial is effective because it gives you everything you need for a personalized touch to your Father’s Day cake. The convenience of printable templates eliminates the time-consuming process of creating a topper from scratch. Because the process is easily customized, you can reflect your father’s favorite colors, interests, and even include a special message.
It’s user-friendly, and perfect for those who enjoy crafting but don’t want to spend a lot of time on it. The ability to instantly download, print, and assemble the cake topper saves time and allows you to focus on other parts of the Father’s Day celebration. I’ve used this method for years, and it consistently delivers a visually appealing cake decoration.
Ingredients
The materials required for crafting a Happy Father’s Day printable cake topper are minimal. This straightforward guide is designed to make the creation fun and easy. Here are the materials that you’ll need.
| Ingredient | Quantity | Notes |
|---|---|---|
| Printable Template | 1 | Download from a reliable source or create your own design. See below for options. |
| Cardstock Paper | 1-2 sheets | Choose a sturdy paper, at least 65 lb weight |
| Scissors or Craft Knife | 1 | For precise cutting, a craft knife is best. |
| Wooden Skewers or Cake Pop Sticks | 2-3 | To attach the topper to the cake. |
| Tape or Glue | As needed | Double-sided tape or craft glue works well. Hot glue is not recommended for this project. |
| Optional: Laminating Sheets | As needed | For extra durability if desired. |
| Optional: Glitter, Stickers, Embellishments | As desired | Give finishing touches to your topper! |
Step-by-Step Instructions
Here are the step-by-step instructions. This guide will help you create a delightful and personalized cake topper in no time. Following these steps ensures your Father’s Day cake will be a hit.
-
Download and Print the Template
Find a suitable printable template online, either free or paid. Look for designs that fit your Father’s Day theme. Print the design on cardstock for a sturdy and professional finish. Ensure your printer settings are set to high quality.
-
Cut Out the Design
Carefully cut out the printed design using scissors or a craft knife. If the design has intricate details, take your time and be precise. Clean-cut edges give a polished look to the final product. Discard any excess paper carefully.
-
Assemble the Topper
Attach the wooden skewers or cake pop sticks to the back of the cut-out design using tape or glue. Ensure the sticks are centered for balance and stability. If using multiple layers, stack them and secure them together for added visual effect.
-
Adding Embellishments (Optional)
Add some finishing touches to really make your topper unique. Use glitter, stickers, or other embellishments to enhance the design. Allow the glue to dry completely if you’ve used any.
-
Insert into the Cake
Once everything is dry, carefully insert the wooden skewers or sticks into the top of the cake. Position the topper to ensure it looks balanced and visually appealing. You can insert the skewers deep enough to secure the topper or leave some showing.
This process offers a great way to personalize your Father’s Day celebration. By adhering to each step, you can construct a special, customized cake topper.
Chef Tips for Perfect Results
These chef tips guarantee that your Happy Father’s Day printable cake topper is a success. Each tip will help you create a professional-looking, customized topper.
- Use high-quality cardstock paper to prevent bending or tearing.
- For added durability, laminate the printed template before cutting.
- Choose a font and color scheme that matches your Dad’s preferences or the party theme.
- When cutting, go slowly to get a clean edge. A craft knife is excellent for detailed cuts.
- Adjust the size of the template to fit your cake dimensions.
- If you’re using multiple layers, use spacers to add dimension.
Common Mistakes to Avoid
Knowing common mistakes can help you side-step these issues. Avoiding these mistakes ensures your cake topper will look amazing.
- Using flimsy paper: Always print on cardstock to avoid a floppy topper. Replace with thicker paper.
- Cutting roughly: Rushed cuts will ruin the look. Take your time, and slowly make each cut. If the design has complex parts, consider using a craft knife for accuracy.
- Poor gluing: The topper can fall apart if the glue isn’t strong enough. Use a strong paper glue or tape to bond the skewers and cutouts of your template. Replace with stronger adhesive.
- Printing with low resolution: Low-resolution prints appear blurry. Check print setting. Try a higher quality print or use a fresh printer cartridge.
- Forgetting to measure: Measure your cake size beforehand. Ensure your topper’s dimensions. Recalibrate template size before you print.
Variations and Substitutions
If you’d like to try a different spin on the project, here are some variations. Feel free to use more or less of any element outlined below.
| Ingredient | Substitution | Impact on Flavor |
|---|---|---|
| Cardstock Paper | Photo Paper | Can enhance the image quality, but it might be more delicate. |
| Wooden Skewers | Cake Pop Sticks | Cake pop sticks have a rounded tip and may be easier to insert into the cake. |
| Glue | Double-Sided Tape | Tape offers a quick alternative and avoids drying time, but glue gives greater hold. |
| Printable Template | Hand-Drawn Design | Embrace the handmade touch with unique, custom art. |
By experimenting with the above variations, one can craft unique results that best fit their individual needs.
Serving Suggestions and Pairings
A Happy Father’s Day printable cake topper elevates any cake for the holiday. Think about matching colors and interests to achieve the best results.
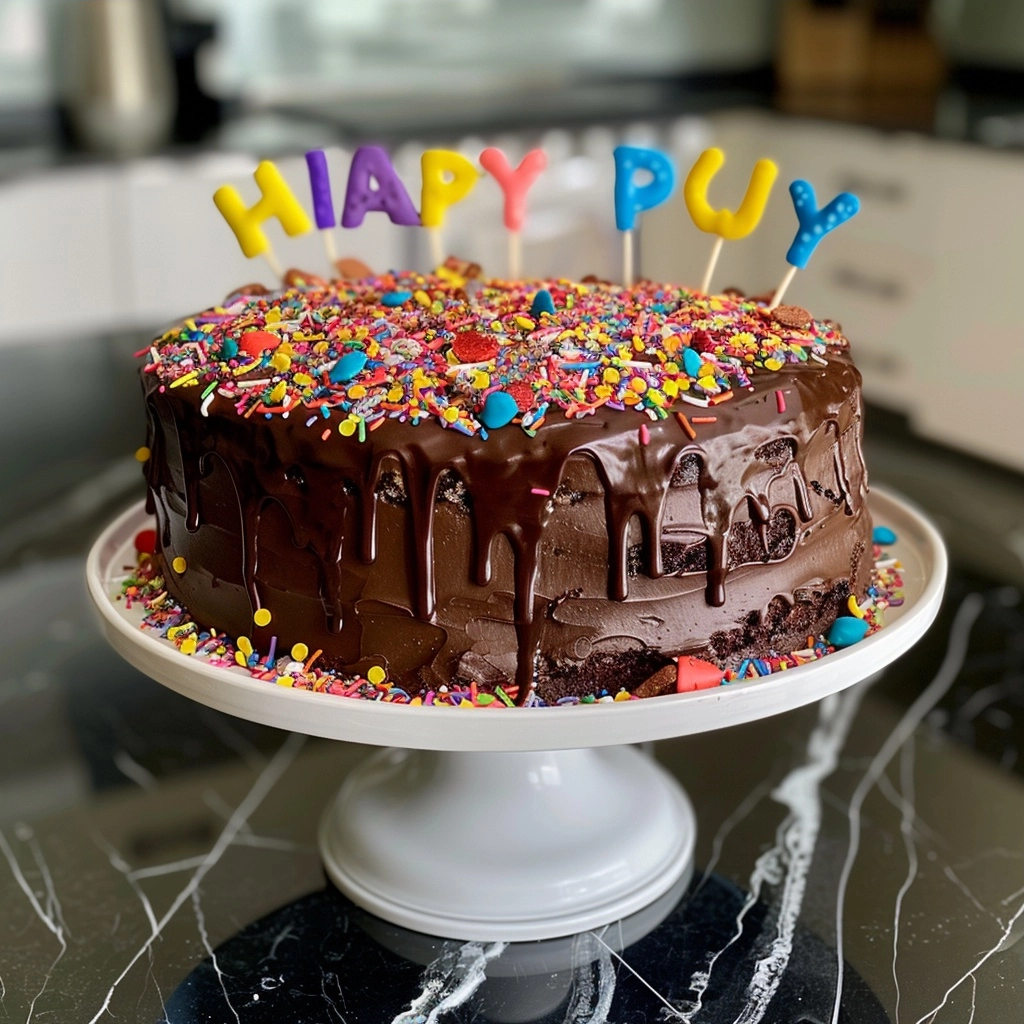
- Pair a chocolate cake with a topper that highlights a sports theme, perfect for a dad who loves to watch games.
- Attach a vibrant, colorful topper to a vanilla cake.
- Use a “World’s Best Dad” topper on a cake decorated with Dad’s favorite color.
Pairing is important. Your choice of cake, decoration, and a beautiful topper will help make it complete. Consider the guest of honor’s personality and preferences.
Storage and Reheating
Since this project is a decoration, traditional storage isn’t really necessary. However, it’s good to keep it until the next day if you are cleaning up after the party.
| Method | Duration | Instructions |
|---|---|---|
| Room Temperature | Up to 24 hours | Store the topper in a safe place, possibly in a box, away from moisture and direct sunlight. |
| Flat Storage | Indefinitely | Store flat, away from humidity, to prevent bending or damage. |
Nutritional Information
This tutorial is for a decorative element. Nutritional facts aren’t applicable. The values are an estimate and do not include the cake, frosting, and other toppings. Approximate values.
| Nutrient | Amount per Serving |
|---|---|
| Calories | N/A |
| Protein | N/A |
| Fat | N/A |
| Carbohydrates | N/A |
| Fiber | N/A |
| Sugar | N/A |
| Sodium | N/A |
Frequently Asked Questions
Can I use pre-made toppers instead of a Happy Father’s Day printable cake topper?
Yes, you can absolutely use ready-made cake toppers. Pre-made toppers save time and offer a variety of professionally designed options. Printable toppers allow for personalization. Both options can make a beautiful cake for Dad.
How do I ensure a Happy Father’s Day printable cake topper is the perfect size for my cake?
Measure the diameter of your cake and the height you want the topper to be for best results. Adjust the printable template size before printing to ensure it fits perfectly. This will prevent any issues on Father’s Day.
The Happy Father’s Day printable cake topper is bending. How can I fix this?
If your topper is bending, you can try several things. Firstly, use a thicker cardstock paper to start with. If it’s already printed, you can reinforce the back with another layer of cardstock, or use a thin piece of cardboard to provide extra support.
Can I make the Happy Father’s Day printable cake topper ahead of time?
Yes, you can absolutely make your cake topper ahead of the Father’s Day celebration. Prepare your topper a few days in advance. Store it flat in a dry place to prevent any bending until you’re ready to use it for your Father’s Day cake.
How can I make the Happy Father’s Day printable cake topper more festive?
Make a festive topper by adding fun elements. Consider using glitter glue, stickers, or small embellishments to enhance the design. Choosing bright colors and playful fonts adds a festive atmosphere.
Make sure you also check out some other great ideas and inspiration here: [insert internal link] and [insert internal link] – you’ll want to take a look!
Printable cake toppers are a great way to celebrate. You now possess the knowledge. Go ahead, create a stunning, customized cake topper and celebrate the special father figure in your life. With this guide, a simple cake can be transformed into a highlight of your Father’s Day celebration. For additional inspiration, visit [external authority link] and [external authority link].
Print
Happy Father’s Day Chocolate Layer Cake
- Total Time: 55
- Yield: 12 slices 1x
- Diet: Vegetarian
Description
A rich, moist chocolate layer cake with buttercream frosting, perfect for Father’s Day celebrations paired with a printable cake topper. Easy to assemble and guaranteed to impress.
Ingredients
2 cups all-purpose flour
1 ½ cups granulated sugar
¾ cup unsweetened cocoa powder
2 tsp baking powder
1 tsp baking soda
¼ tsp salt
2 eggs, at room temperature
1 ½ cups milk
½ cup canola oil
2 tsp vanilla extract
1 cup buttermilk
1 cup powdered sugar
½ cup unsalted butter, softened
1 tsp vanilla extract
2–4 tbsp milk
Instructions
Preheat oven to 350°F (175°C). Grease and flour two 9-inch round cake pans.
In a bowl, whisk together flour, sugar, cocoa powder, baking powder, baking soda, and salt.
Add eggs, milk, oil, vanilla, and buttermilk. Mix until smooth and glossy.
Divide batter evenly between pans. Bake for 30-35 minutes or until a toothpick inserted comes out clean.
Cool cakes completely. In a separate bowl, beat butter until creamy. Gradually add powdered sugar and mix. Add vanilla and 2 tbsp milk; adjust consistency with additional milk.
Use frosting to assemble and frost both layers and outer edges. Insert wooden skewer/cake pop stick through topper into cake center for decoration.
Notes
Freeze unbaked batter for up to 1 month.
For halal compliance, use plant-based butter if needed.
Laminate topper if handling moist cake surfaces.
Store in airtight container at room temperature for 3 days.
- Prep Time: 20
- Cook Time: 35
- Method: Baking
- Cuisine: American
Nutrition
- Serving Size: 1 slice (1/12 of cake)
- Calories: 350
- Sugar: 42g
- Sodium: 380mg
- Fat: 18g
- Saturated Fat: 10g
- Carbohydrates: 48g
- Fiber: 2g
- Protein: 4g
- Cholesterol: 50mg