
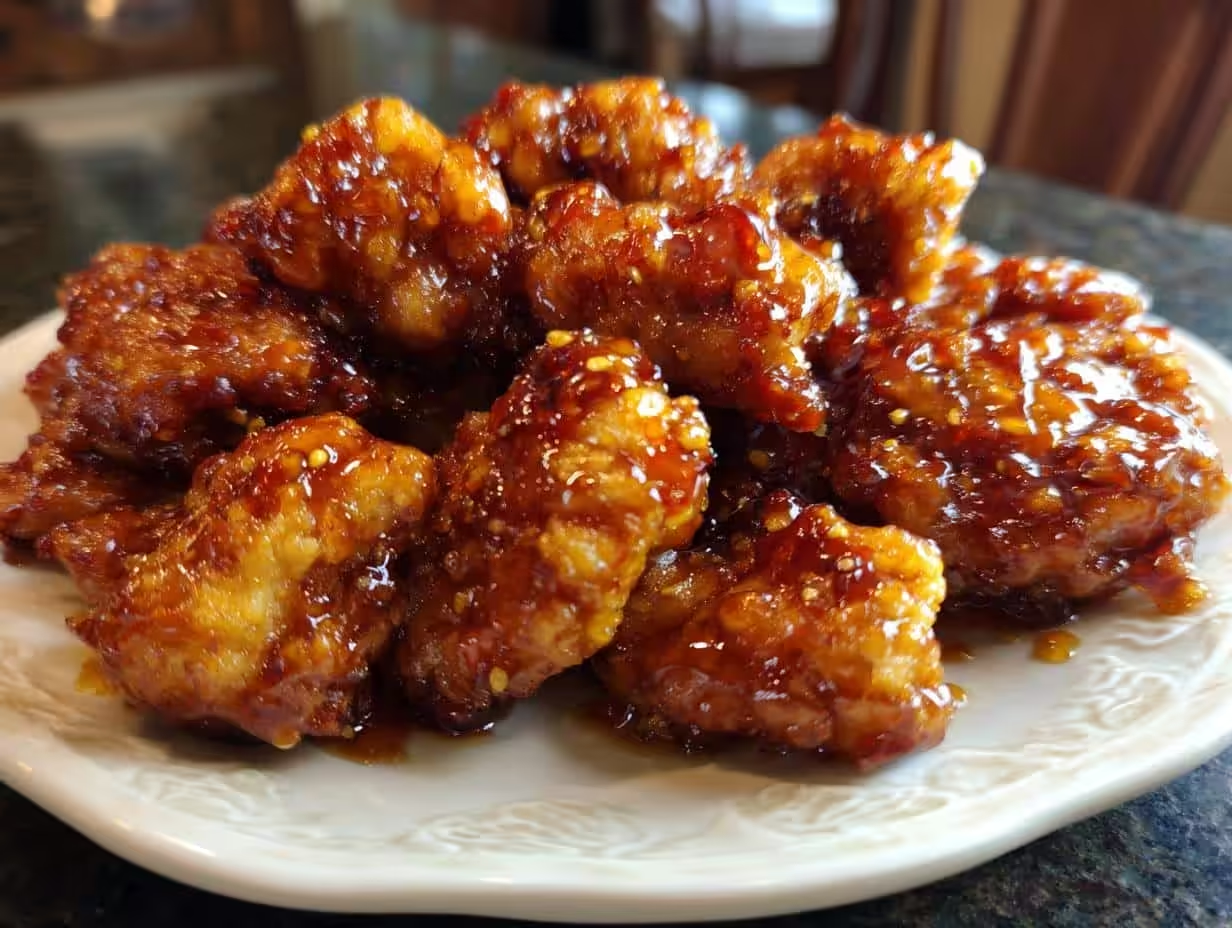
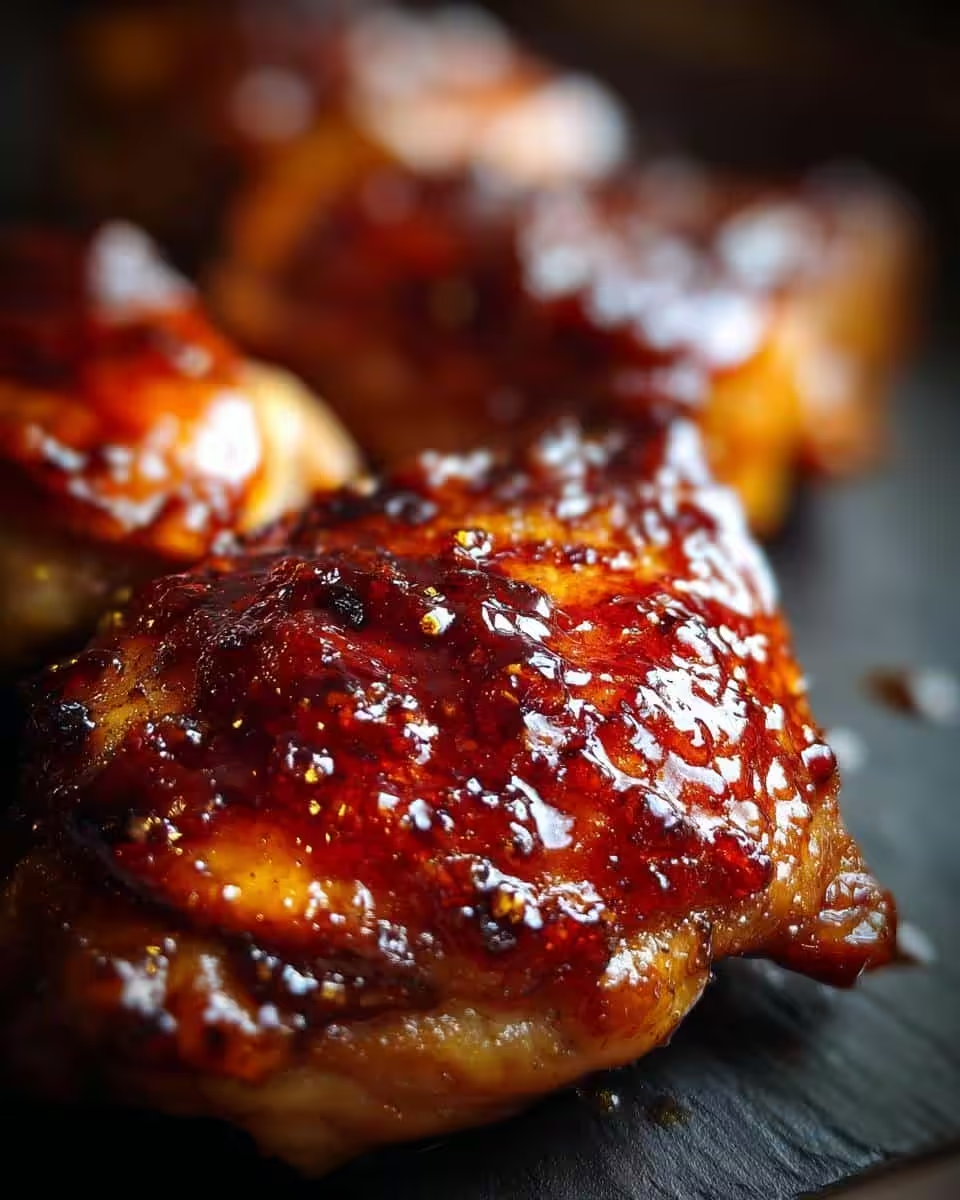
Okay, let’s be real – who doesn’t love chicken? And *especially* when you get that perfect balance of sweet and savory going on! I’ve been whipping up this Honey Chicken recipe for my supper club folks for ages, and trust me, it’s a guaranteed crowd-pleaser. What I really love about this recipe is that it’s way easier than ordering takeout, and honestly, it tastes even better (and it’s healthier, too!).
See, my grandmother—bless her heart—always said the best meals are the ones you can throw together without a fuss, but still make everyone happy. This Honey Chicken is kinda like that. It’s quickly become a family favorite. It’s got that sweet honey glaze everyone loves, but baked instead of fried so you don’t feel guilty. It’s pure comfort food and ready faster than you can say “delivery fee!”
Why You’ll Love This Honey Chicken Recipe
Okay, so why should you make *my* Honey Chicken? Here’s the deal:
- Super easy to make – even on a busy weeknight!
- The flavor? Outta sight! Seriously, that sweet and savory combo is addictive.
- Way healthier than takeout. Seriously — you control the ingredients!
- Kids (and adults!) gobble it up. Finally, a meal everyone agrees on.
- Ready in under an hour. Boom! Dinner is served.
Ingredients for the Best Honey Chicken
Alright, listen up! Here’s what you’ll need to make this Honey Chicken sing:
- 1 ½ lbs boneless, skinless chicken breasts, cut into bite-sized chunks – about 1-inch is perfect.
- ½ cup all-purpose flour – for getting that nice crispy coating.
- 2 large eggs, beaten – gotta get that chicken ready to grab the flour!
- ½ cup honey – the star of the show, of course!
- ¼ cup soy sauce – brings the savory party to the sweet.
- 2 tablespoons ketchup – trust me on this one!
- 1 tablespoon rice vinegar – for a little tang.
- 1 teaspoon garlic powder – garlic makes everything better, right?
- ½ teaspoon ginger powder – adds a nice warmth.
- Optional: sesame seeds and chopped green onions for garnish – pretty *and* tasty.
How to Make Honey Chicken: Step-by-Step Instructions
Okay, here’s where the magic happens! Don’t worry, it’s easier than you think. Just follow my steps, and you’ll have amazing Honey Chicken in no time.
- First, get your oven preheating to 375°F (190°C). Trust me, you want it nice and hot before the chicken goes in!
- Next, grab three shallow dishes. In the first, put your flour. In the second, beat your eggs.
- Now comes the fun part. Dip each piece of chicken in the egg, then dredge it in the flour. Make sure it’s all coated – that’s what makes it crispy!
- Lay the coated chicken pieces on a baking sheet lined with parchment paper. This prevents sticking and makes cleanup a breeze!
- Bake for about 20-25 minutes, or until the chicken is cooked through. You want the juices to run clear when you poke it with a fork. No one wants raw chicken!
- While the chicken’s baking, let’s whip up that glorious honey sauce. In a saucepan, whisk together the honey, soy sauce, ketchup, rice vinegar, garlic powder, and ginger powder.
- Bring the sauce to a simmer over medium heat, stirring constantly. You don’t want it to burn! Let it simmer for about 5 minutes, or until it thickens slightly.
- Once the chicken is cooked, take it out of the oven and pour that amazing honey sauce all over it! Make sure every piece gets a good coating.
- If you want to be fancy (and who doesn’t?), sprinkle some sesame seeds and chopped green onions on top. Instant restaurant vibes!
- Serve immediately and prepare for compliments!
Tips for Perfect Honey Chicken
Alright, wanna take your Honey Chicken from “good” to “OMG AMAZING”? Here’s my secret sauce – well, secret *tips* – for getting it perfect every single time:
- **Don’t skip the parchment!** Seriously, that stuff is a lifesaver. It keeps the chicken from sticking to the pan and makes cleanup a breeze.
- **Watch the oven!** Every oven’s different, so keep an eye on that chicken. You want it cooked through, but not dried out. Start checking for doneness around 20 minutes.
- **Taste the sauce!** Before you pour it over the chicken, give it a taste. Too sweet? Add a splash more soy sauce. Not enough zing? A tiny bit more rice vinegar will do the trick.
- **Crispy Chicken Hack:** Want extra crispy chicken? After coating with flour, let the chicken sit for 10 minutes before baking. This helps the coating adhere better!
Serving Suggestions for Your Honey Chicken
Okay, you’ve got this amazing Honey Chicken… now what do you serve it with? Trust me, you want something that soaks up that delicious sauce! My go-to is fluffy white rice—it’s a classic for a reason. But hey, don’t be afraid to mix it up!
Noodles are also fantastic, especially those thin Asian-style noodles. For a healthier option, steamed broccoli or green beans are perfect – plus, they add a pop of color! A simple side salad with a light vinaigrette can also balance out the sweetness of the chicken. Honestly, you can’t go wrong!
Make-Ahead and Storage Tips for Honey Chicken
Okay, so you’ve got leftovers (if you’re lucky!) or you wanna prep ahead? No sweat! This Honey Chicken is actually pretty awesome the next day (or even the day after!).
For leftovers, just pop it in an airtight container in the fridge. It’ll keep for about 3-4 days. When you’re ready to eat, you can reheat it in the microwave (easy-peasy!) or in a skillet over medium heat. If you’re using the skillet, add a splash of water to keep it from drying out – nobody likes dry chicken!
Want to get ahead of the game? You can totally prep the sauce a day or two in advance. Just store it in the fridge and give it a good whisk before you heat it up. Freezing isn’t ideal since the sauce texture can change a bit, but it’s doable. Just make sure it’s cooled completely before you freeze it. Thaw it overnight in the fridge and reheat gently!
Frequently Asked Questions About Honey Chicken
Got Honey Chicken questions? I’ve got answers! Here are a few things folks often ask me:
Can I use chicken thighs instead of breasts for extra flavor?
Absolutely! Chicken thighs are a fab substitute. You’ll get a richer, more flavorful Honey Chicken ’cause thighs have more fat. Just make sure you trim off any excess skin before coating them in the flour, and check to see if the cooking time is altered due to changes in size. The internal temperature should be 165°F (74°C) to be safe.
How do I thicken my honey sauce in a jiffy?
Easy peasy! If your honey sauce isn’t thickening up enough, mix a teaspoon of cornstarch with a tablespoon of cold water. Then, whisk that into the simmering sauce. It’ll thicken right up in a minute or two! Stir constantly tho’ – you don’t want any lumps!
Can I make this Honey Chicken gluten-free, Max?
You betcha! Just swap the regular all-purpose flour for a gluten-free blend. And be sure to use gluten-free soy sauce (tamari is a great option!). The rest of the recipe’s naturally gluten-free, so you’re all set to enjoy!
Can I add veggies in the oven with the Honey Chicken?
Yep! Toss some broccoli florets or bell pepper pieces with a little olive oil, salt, and pepper. Then, arrange them around the chicken on the baking sheet for the last 15 minutes of cooking time. That way, they’ll be tender-crisp and soak up some of that yummy honey sauce. Easy peasy!
Honey Chicken Nutritional Information Disclaimer
Y’all, just a heads-up: the nutritional info I provide is just an estimate. It can change a bunch depending on the exact ingredients and brands you use! So, take it with a grain of salt, okay?
Enjoy Your Homemade Honey Chicken!
Alright y’all, that’s it! I hope you give this Honey Chicken recipe a shot. It’s truly a winner, and I know you’re gonna love it as much as my family and supper club folks do. Let me know what you think in the comments below! And hey, if you whip it up and post a picture, tag me – I wanna see your creations!
Print
Crispy Oven Roasted Potatoes and Onions
- Total Time: 65 min
- Yield: 6 servings 1x
- Diet: Vegan
Description
Simple oven roasted potatoes and onions.
Ingredients
- 2 lbs potatoes, peeled and cubed
- 2 large onions, sliced
- 1/4 cup olive oil
- 1 teaspoon salt
- 1/2 teaspoon black pepper
- 1 teaspoon dried oregano
Instructions
- Preheat oven to 400°F (200°C).
- In a large bowl, combine potatoes, onions, olive oil, salt, pepper, and oregano.
- Spread the mixture in a single layer on a baking sheet.
- Roast for 45-50 minutes, or until potatoes are tender and golden brown, flipping halfway through.
- Serve hot.
Notes
- For extra crispiness, parboil the potatoes for 5 minutes before roasting.
- Prep Time: 15 min
- Cook Time: 50 min
- Category: Side Dish
- Method: Roasting
- Cuisine: Mediterranean
Nutrition
- Serving Size: 1 serving
- Calories: 250
- Sugar: 5g
- Sodium: 300mg
- Fat: 12g
- Saturated Fat: 2g
- Unsaturated Fat: 10g
- Trans Fat: 0g
- Carbohydrates: 35g
- Fiber: 4g
- Protein: 4g
- Cholesterol: 0mg