
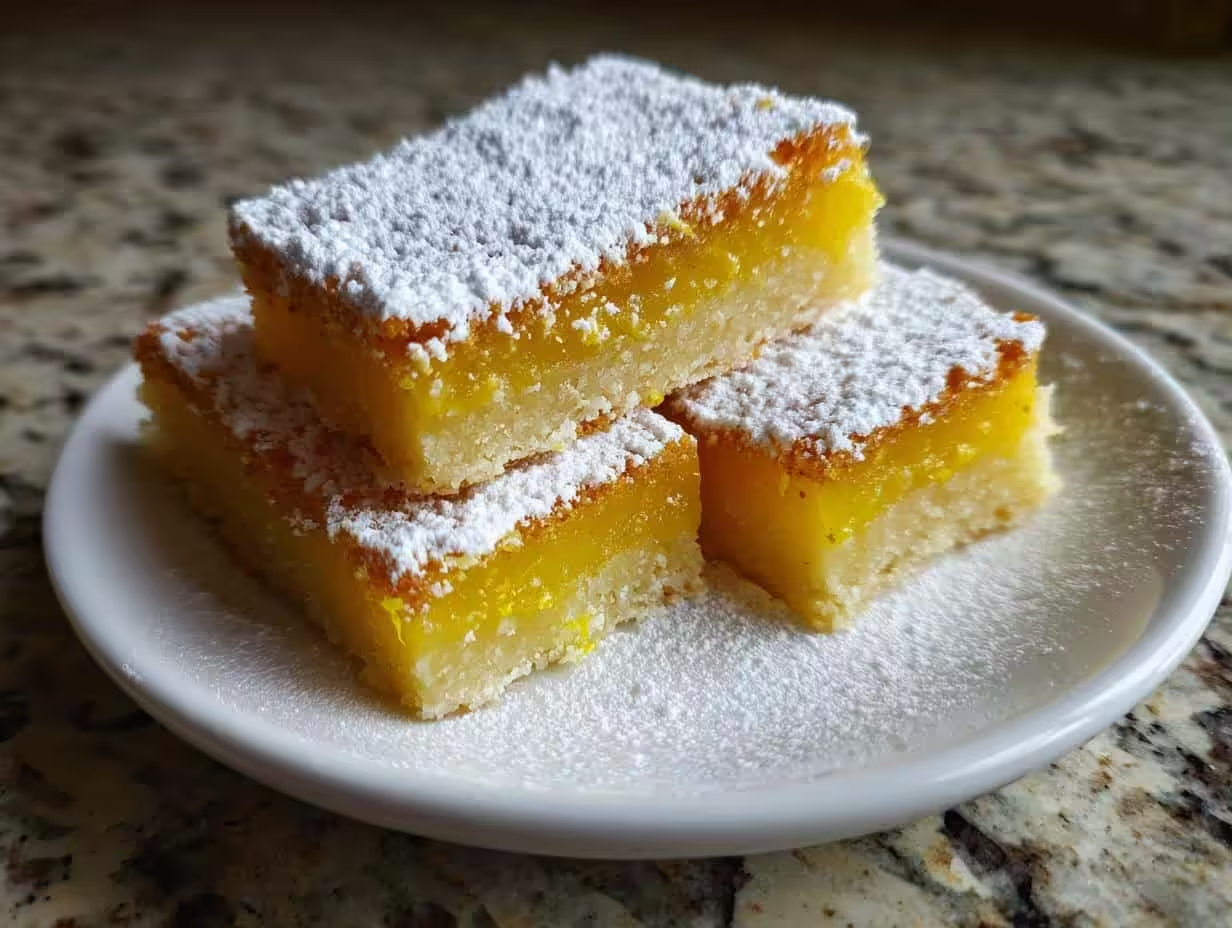
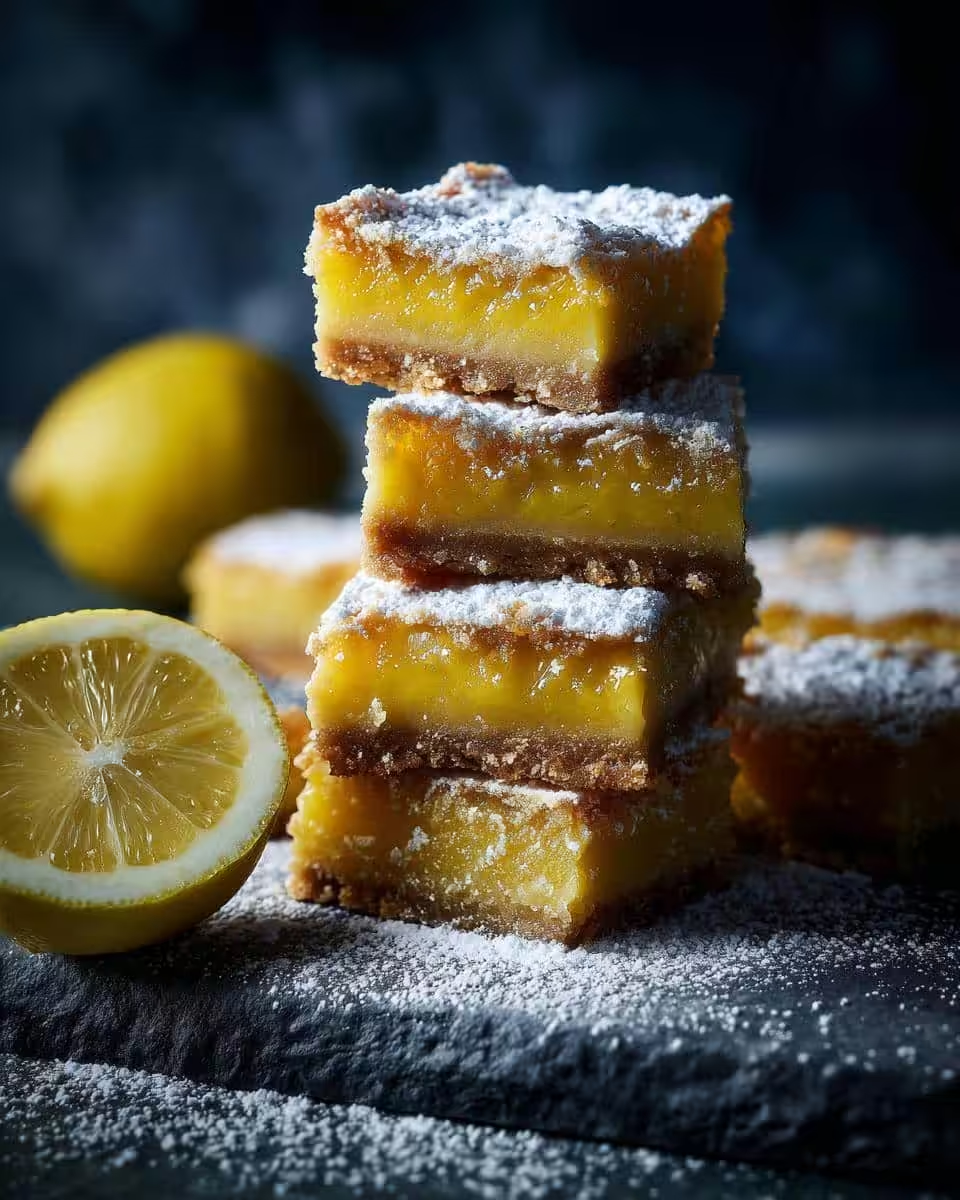
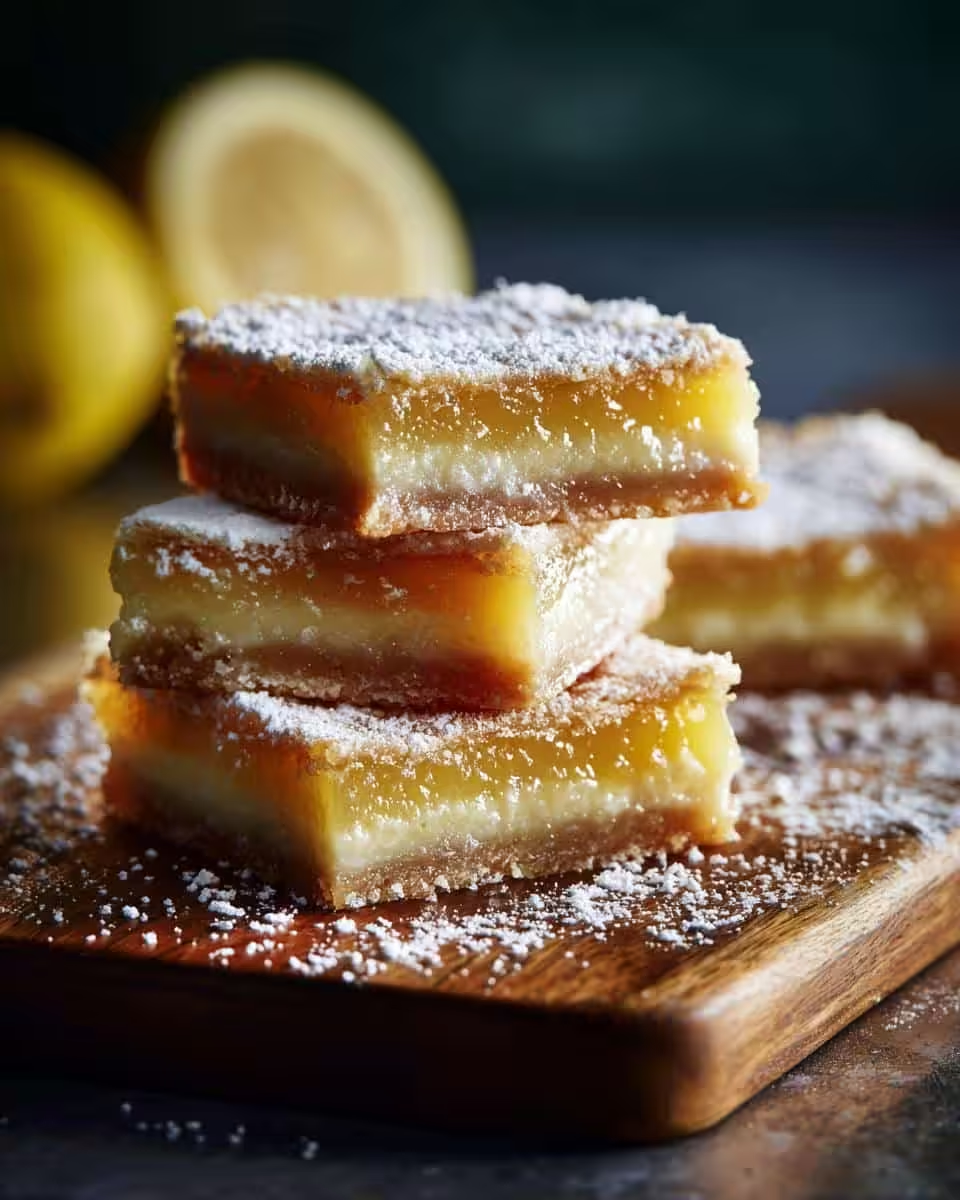
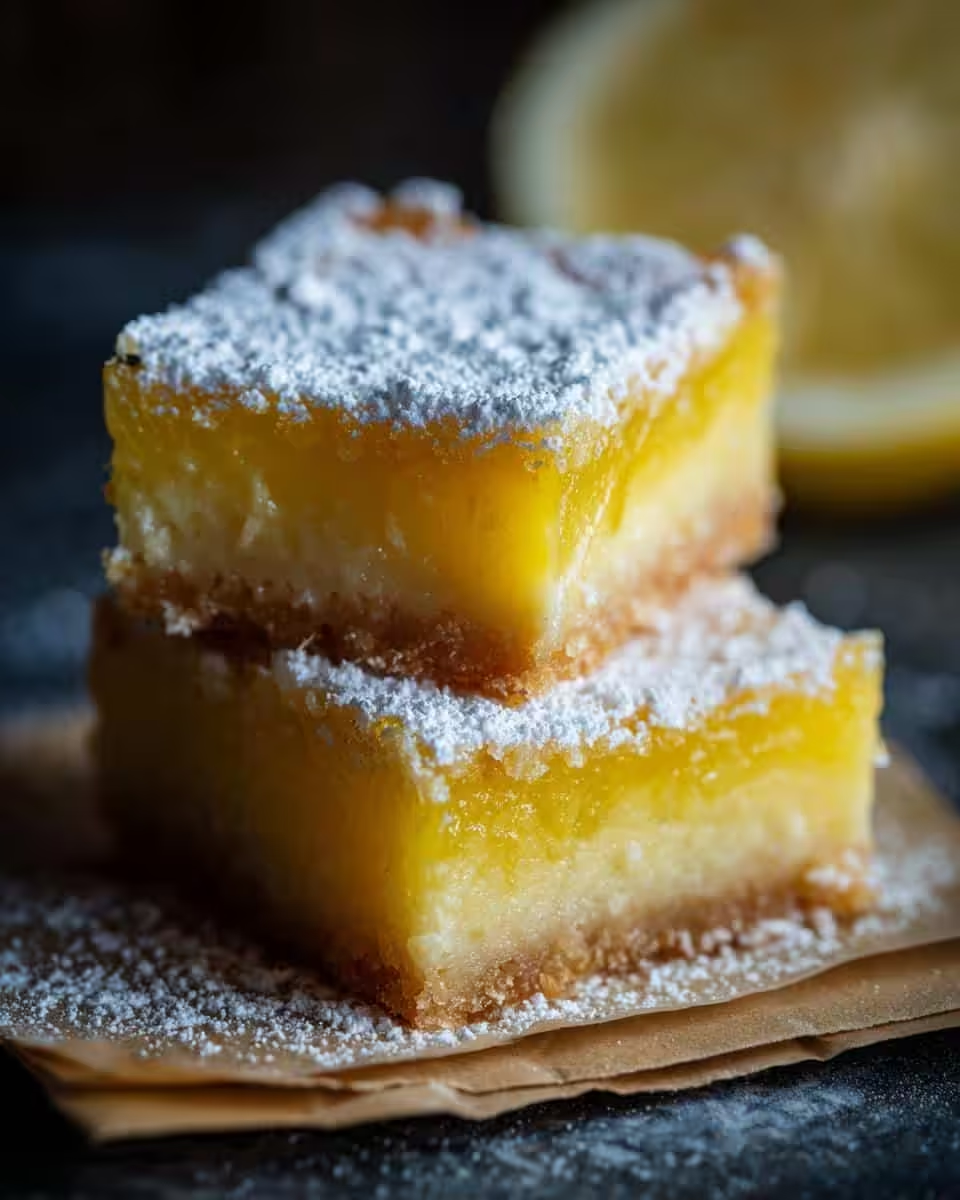
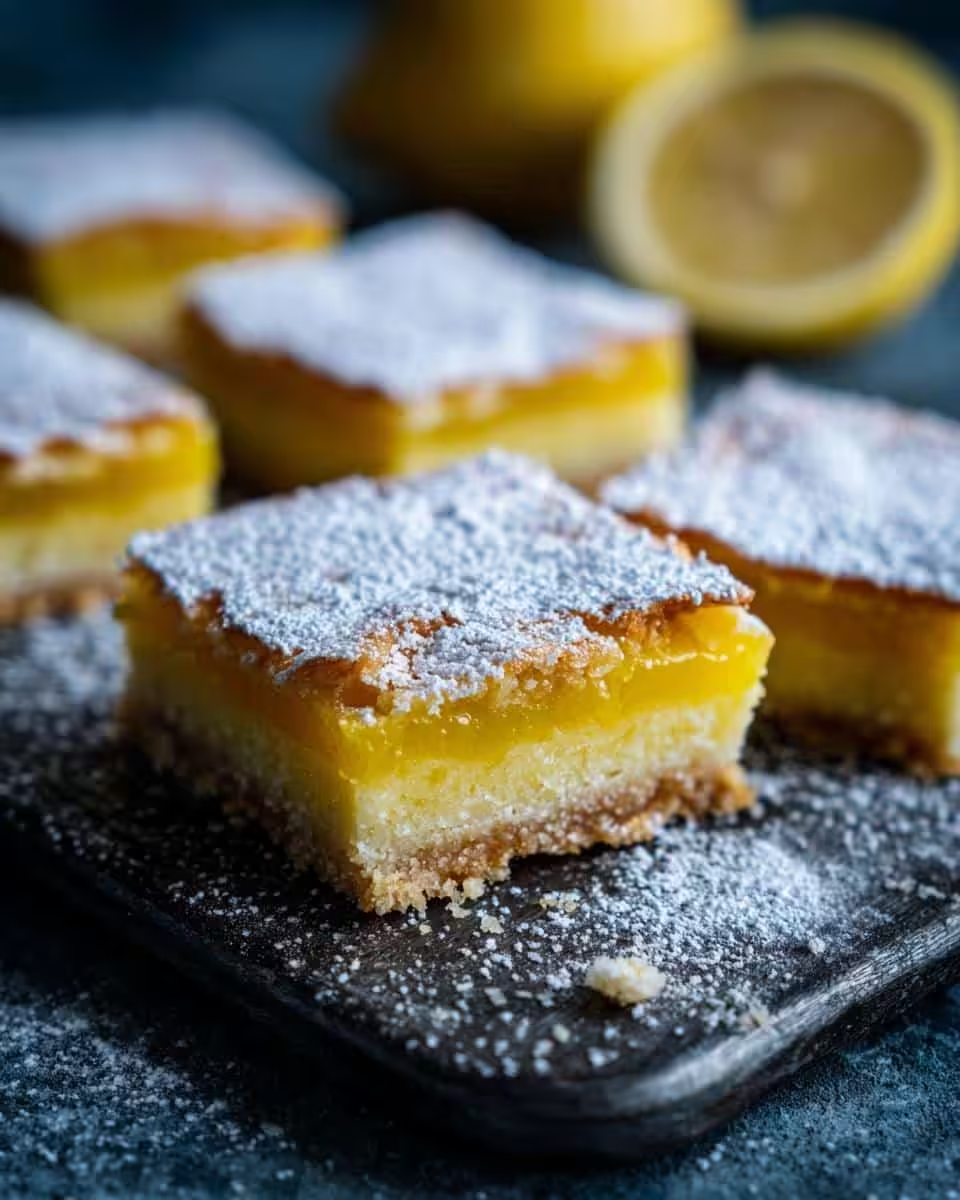
Alright, y’all, let me tell you about my *thing* for lemon bars. It’s borderline obsessive, I admit! But seriously, a perfectly tangy, sweet lemon bar? That’s pure bliss right there. It’s funny, ’cause growing up in Asheville, I thought baking was all about biscuits and cornbread. Well, my grandma – bless her heart – she showed me that a little citrus can bring just as much comfort as any Southern classic. And these Lemon Bars? My version is all about that perfect balance – a buttery, crumbly crust and a smooth, zesty filling that’ll make your tastebuds sing! After years of tweaks I think you’ll love them too.
Why You’ll Love These Lemon Bars
Okay, so why should you try my lemon bar recipe? Lemme tell ya:
- Super Easy: Seriously! Even if you’re a beginner, these are practically foolproof.
- That Lemony Zing: It’s like sunshine in a bar! The perfect balance of sweet and tart.
- Crowd-Pleaser: Bring these to any party, and watch ’em disappear. Trust me.
- Perfect Any Time: Afternoon treat? Dessert? Heck, even breakfast (don’t judge!). These lemon bars work ANY time.
Ingredients for Perfect Lemon Bars
Alright, let’s gather our goodies! Here’s what you’ll need for the most scrumptious lemon bars EVER. Don’t skimp on the good stuff, okay?
For the Crust:
- 1 ½ cups all-purpose flour
- ½ cup (1 stick) unsalted butter, cold and cubed
- ½ cup powdered sugar
- ¼ teaspoon salt
For the Filling:
- 1 ½ cups granulated sugar
- ¼ cup all-purpose flour
- ¼ teaspoon baking powder
- ½ teaspoon salt
- 4 large eggs
- ½ cup fresh lemon juice (from about 3-4 lemons)
- 2 tablespoons lemon zest (from about 3-4 lemons)
- Powdered sugar, for dusting (optional, but highly recommended!)
Make sure your butter is nice and cold for that crust. It makes ALL the difference. And fresh lemon juice and zest are a must – no bottled stuff allowed!
How to Make Lemon Bars: Step-by-Step Instructions
Okay, darlings, let’s get baking! Just follow these simple steps, and you’ll have a batch of irresistible lemon bars in no time. Don’t worry, I’ll walk you through it!
- Prep Time! Preheat the oven: First things first, preheat your oven to 350°F (175°C). This is *crucial*. Also, grease and flour (or line with parchment paper) an 8×8 inch baking pan. Trust me on this one – nobody wants stuck lemon bars.
- Make the Crust: In a large bowl, whisk together the flour, powdered sugar, and salt. Cut in the cold, cubed butter using a pastry blender (or your fingers, like my grandma used to!) until the mixture resembles coarse crumbs. Press this mixture evenly into the bottom of your prepared pan.
- Bake the Crust (Partially!): Pop that crust into the preheated oven and bake for 18-20 minutes, or until it’s lightly golden brown. Keep an eye on it – you don’t want it to get *too* brown, just set.
- Whisk the Filling Goodies: While the crust is baking, let’s make the filling! In a large bowl, whisk together the granulated sugar, flour, baking powder, and salt. Add the eggs one at a time, whisking well after each addition. Then, stir in the lemon juice and lemon zest. The mixture might look a little curdled at first, but don’t worry — it’ll all come together in the oven.
- Pour and Bake: Once the crust is ready, pour the lemon filling evenly over the hot crust. Return the pan to the oven and bake for another 25-30 minutes, or until the filling is set. The center should still have a *slight* jiggle, but it should be firm around the edges. Careful not to overbake; you don’t want rubbery lemon bars!
- Cool Completely (Patience, Grasshopper!): This is the hardest part – let the lemon bars cool completely in the pan on a wire rack. Seriously, don’t even *think* about cutting them until they’re completely cool. This helps the filling set properly. I usually let them cool for at least 2 hours, but longer is even better.
- Dust and Cut: Once cooled, dust generously with powdered sugar (because why not?). Then, cut into squares and serve.
And that’s it! You’ve just made the most amazing lemon bars. Now, go grab a cup of tea (or coffee, or whatever floats your boat) and enjoy!
Tips for the Best Lemon Bars
Want to take your lemon bars from good to *whoa*? Here are a few little secrets I’ve picked up over the years:
- Cold Butter is Key: Seriously, don’t even *think* about using softened butter for the crust. Cold butter creates those flaky layers that make the crust so darn good.
- Don’t Overbake: A slight jiggle in the center is what you’re after. Overbaked lemon bars are dry and sad.
- Patience is a Virtue: I know it’s tempting to dig in right away, but let those lemon bars cool completely before cutting. This prevents a gooey mess.
- Taste Test the Tartness: Some lemons are more tart than others! If you like a sweeter bar, increase the sugar in the filling by a tablespoon or two.
Variations on Classic Lemon Bars
Okay, so you’ve mastered the classic lemon bar? Awesome! Now, let’s get a little wild! There are tons of ways to riff on this recipe and make it your own. Get creative, y’all!
- Lime Bars: Swap out the lemon juice and zest for lime! It’s a slightly different flavor, but equally delicious.
- Orange Bars: You guessed it – orange juice and zest instead of lemon. These are a little sweeter and milder.
- Add Berries: Toss some fresh blueberries, raspberries, or blackberries into the filling before baking. The berries add a burst of juicy sweetness that complements the lemon perfectly.
- Chocolate Drizzle: Once the bars are cooled, drizzle them with melted dark or white chocolate. ‘Cause chocolate makes everything better, right?
Don’t be afraid to experiment! Baking is all about having fun and finding what *you* love. So go ahead, put your own spin on these lemon bars and let me know what you come up with!
Make-Ahead and Storage Tips for Lemon Bars
Want to get ahead of the game? Good news: lemon bars are totally make-ahead friendly! You can bake them a day or two in advance and store them in an airtight container at room temperature. They’ll still be delicious! For longer storage, pop ’em in the fridge for up to a week. Wanna freeze ’em? Just wrap the cooled bars tightly in plastic wrap and then in foil, and they’ll keep for up to two months. Thaw them in the fridge overnight before dusting with powdered sugar and serving. Easy peasy lemon squeezy!
Frequently Asked Questions About Lemon Bars
Got lemon bar questions? Don’t sweat it! I’ve rounded up some of the most common things folks ask me about these sunny squares. Hopefully, this’ll clear up any confusion and get you baking with confidence!
Why are my lemon bars soggy?
Oh no, soggy bars are a bummer! Usually, it’s ’cause they weren’t baked long enough, or they weren’t cooled completely before cutting. Make sure the filling is set around the edges with just a slight jiggle in the middle. And seriously, resist the urge to cut ’em while they’re still warm!
Can I use bottled lemon juice?
Okay, I *really* recommend using fresh lemon juice if you can. Bottled juice just doesn’t have the same bright, zesty flavor. But, in a pinch, yeah, you *can* use it. Just know that your lemon bars might not be as fabulous as they could be! For some more great lemon dessert ideas, check out this article.
My crust is too hard! What did I do wrong?
Hmm, a hard crust could be from a few things. Maybe you overworked the dough (which develops too much gluten). Or maybe you baked it for too long during that pre-bake stage. Be gentle when pressing the crust into the pan, and keep a close eye on it in the oven!
How do I prevent the filling from sinking to the bottom?
This can happen sometimes! Make sure your crust is properly pre-baked before pouring in the filling. A slightly warm crust helps the filling “grab” onto it and stay put. Also, be sure the filling is well-mixed before pouring it over.
Estimated Nutritional Information for Lemon Bars
Just so you know, here’s a *very* rough estimate of the nutritional info for one lemon bar (calories, fat, protein, carbs, the usual). Keep in mind, it’s just an estimate, okay?
Enjoy Your Homemade Lemon Bars
Alright, sweethearts, go forth and bake some sunshine! And hey, if you whip up a batch, leave a comment below and let me know how they turned out! Share a pic too – I’d love to see your creations!
Print
Crispy Oven Roasted Potatoes and Onions
- Total Time: 65 min
- Yield: 6 servings 1x
- Diet: Vegan
Description
Simple oven roasted potatoes and onions.
Ingredients
- 2 lbs potatoes, peeled and cubed
- 2 large onions, sliced
- 1/4 cup olive oil
- 1 teaspoon salt
- 1/2 teaspoon black pepper
- 1 teaspoon dried oregano
Instructions
- Preheat oven to 400°F (200°C).
- In a large bowl, combine potatoes, onions, olive oil, salt, pepper, and oregano.
- Spread the mixture in a single layer on a baking sheet.
- Roast for 45-50 minutes, or until potatoes are tender and golden brown, flipping halfway through.
- Serve hot.
Notes
- For extra crispiness, parboil the potatoes for 5 minutes before roasting.
- Prep Time: 15 min
- Cook Time: 50 min
- Category: Side Dish
- Method: Roasting
- Cuisine: Mediterranean
Nutrition
- Serving Size: 1 serving
- Calories: 250
- Sugar: 5g
- Sodium: 300mg
- Fat: 12g
- Saturated Fat: 2g
- Unsaturated Fat: 10g
- Trans Fat: 0g
- Carbohydrates: 35g
- Fiber: 4g
- Protein: 4g
- Cholesterol: 0mg