
Alright, y’all, let’s talk rhubarb! Specifically, let’s talk about the best darn **rhubarb crisp** recipe you’re ever gonna try. Now, I know what you might be thinkin’: “Rhubarb? Isn’t that, like, super tart?” Well, yes, it *can* be. But that’s exactly what makes this crisp so amazing! The tart rhubarb, baked under a buttery, crumbly topping… oh man, my grandma used to make this every spring, and the smell alone would bring everyone runnin’ to the kitchen! I have fond memories in Asheville with my grandmother making a rhubarb crisp. It’s the perfect mix of tart and sweet. I’m gonna share all my secrets for gettin’ it just right, so even if you’re a rhubarb newbie, you can whip up a crisp that’ll have everyone beggin’ for seconds!
Why You’ll Adore This Rhubarb Crisp
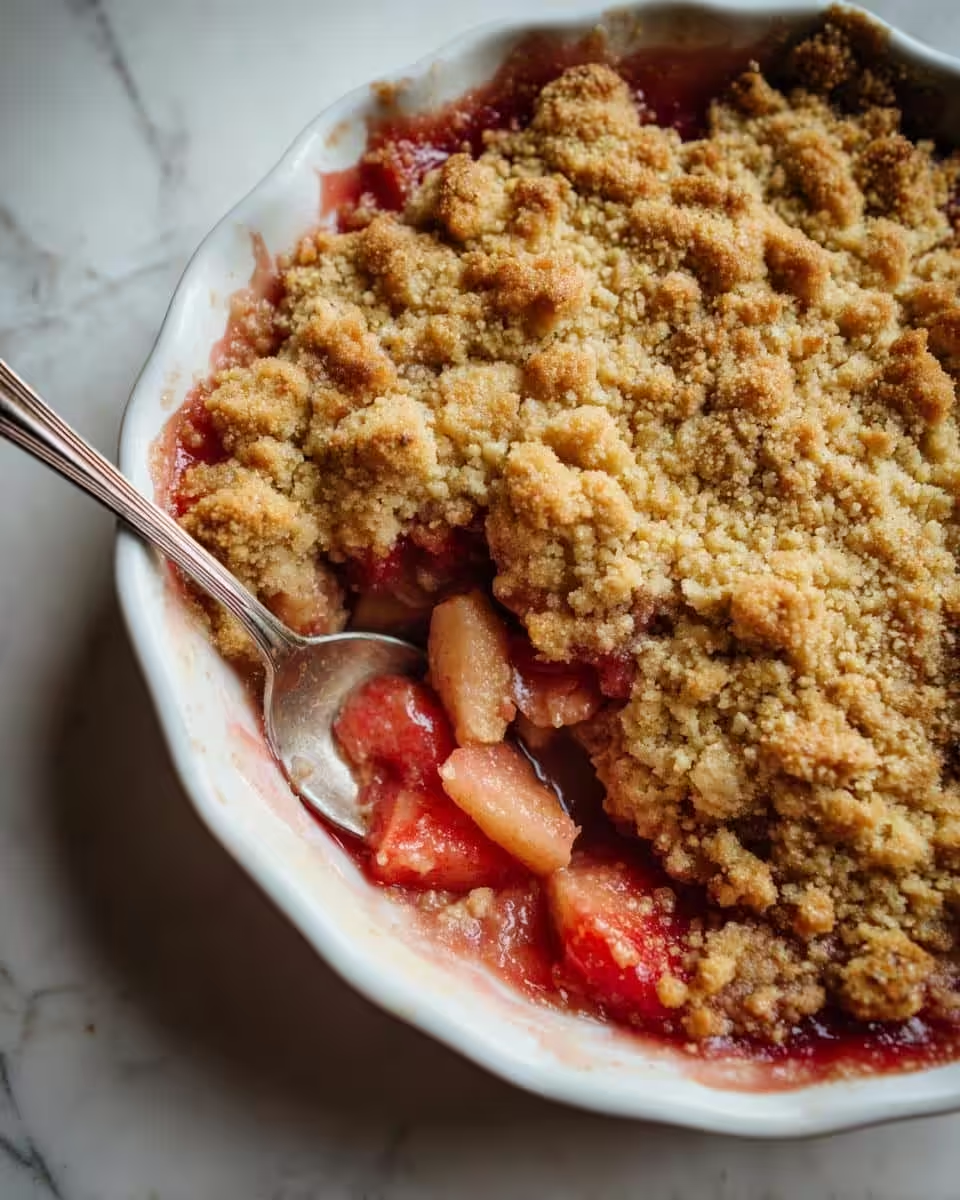
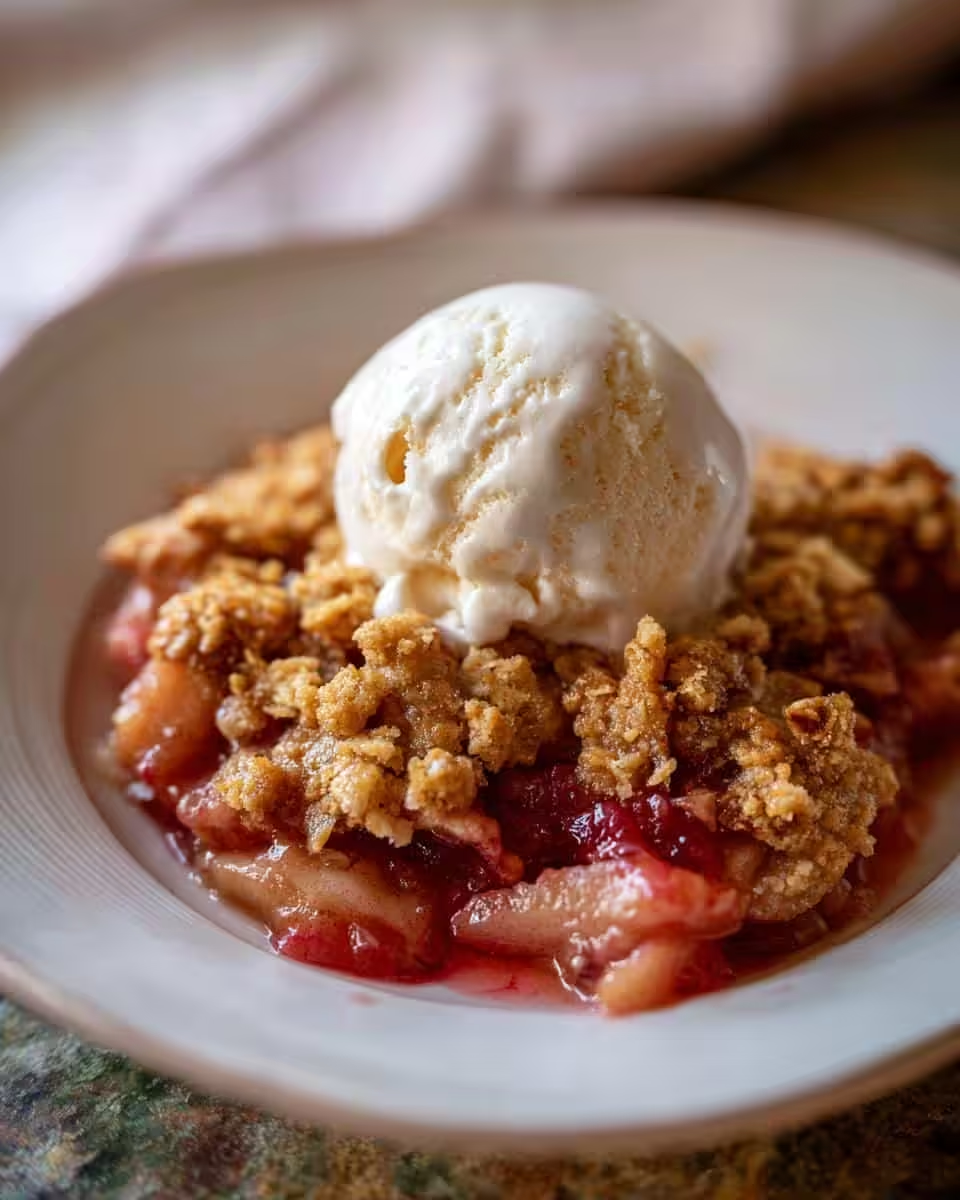
Okay, picture this: warm, bubbly rhubarb filling, topped with a golden-brown, buttery crumble… Need I say more? Seriously, this Rhubarb Crisp is gonna become your new go-to dessert, and here’s why:
- It’s ridiculously easy! Seriously, if I can do it, you can definitely do it.
- The perfect balance of tart and sweet. That rhubarb tang is just *chef’s kiss*!
- That crumbly topping? Oh man, it’s melt-in-your-mouth delicious.
- It’s a great way to use up that rhubarb from your garden (or the farmer’s market!).
- Plus, it’s just so comforting. Like a warm hug in a bowl!
Ingredients for the Best Rhubarb Crisp
Alright, let’s gather our goodies! Here’s what you’ll need to make my Grandma’s famous rhubarb crisp. Don’t skimp on the good stuff, trust me, it makes all the difference!
- For the Rhubarb Filling:
- 4 cups chopped rhubarb (about 1 pound – fresh or frozen, doesn’t matter!)
- ¾ cup granulated sugar (adjust to your sweetness preference, rhubarb can be tart!)
- 2 tablespoons all-purpose flour (just a lil’ bit to thicken things up)
- 1 teaspoon vanilla extract (makes everything better, right?)
- For that Heavenly Crisp Topping:
- 1 cup all-purpose flour
- 1 cup packed light brown sugar (dark brown works too, for a richer, molasses-y flavor)
- ¾ cup rolled oats (the old-fashioned kind, not instant!)
- ½ teaspoon ground cinnamon (warm and cozy, just like Grandma’s kitchen)
- ½ cup (1 stick) cold unsalted butter, cut into small cubes (gotta be cold!)
And that’s it! See? Nothing too scary. Let’s get baking!
Step-by-Step Guide to Making Rhubarb Crisp
Okay, darlin’s, time to get our hands dirty (not literally, unless you’re wrestling with the rhubarb!). Just follow these steps, and you’ll have a bubbling, golden Rhubarb Crisp in no time. Don’t worry if you don’t get it perfect the first go ’round; even my “oops!” crisps taste amazing!
- Prep Time!: First things first, preheat your oven to 375°F (190°C). Gotta get that oven nice and toasty! And grab a 9-inch square baking dish – that’s my go-to, but anything close in size will work just fine.
- Mix That Filling: In a large bowl (I always use Grandma’s old ceramic one – wouldn’t bake without it!), gently toss together your chopped rhubarb, granulated sugar, flour, and vanilla extract. Make sure everything’s evenly coated. This is important! We don’t want any pockets of plain flour!
Go ahead and pour that rhubarb mixture into your baking dish, spreading it out evenly. - Craft Your Crumble: Now for the fun part – the crumble! In another bowl (yes, another one, sorry!), whisk together the flour, brown sugar, oats, and cinnamon. Now, here comes the tricky part: cut in the cold butter. You can use a pastry blender for this, or just get in there with your fingers! I won’t judge!
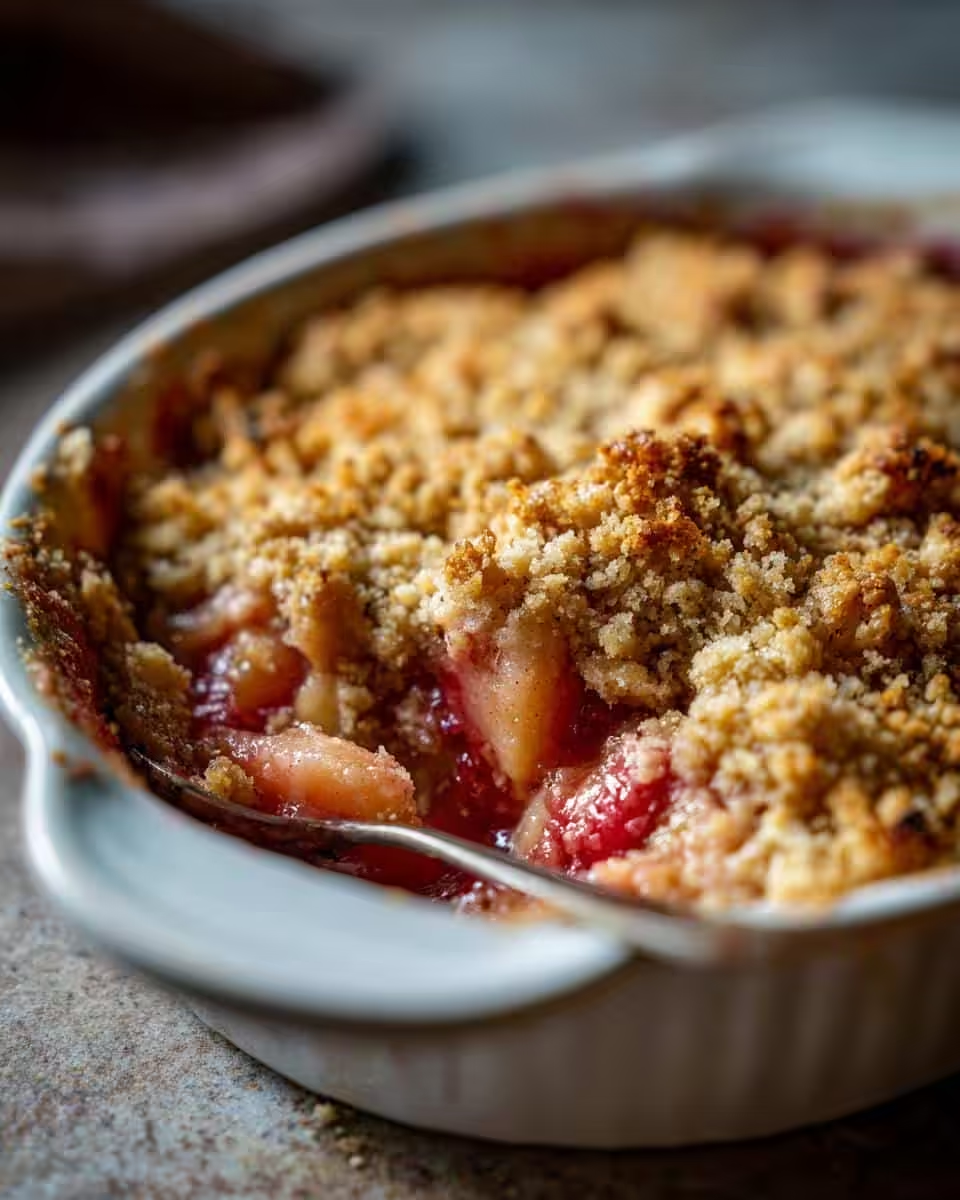
You’re lookin’ for a crumbly mixture, with the butter in pea-sized pieces. The cold butter is *key* here, so don’t let it get too warm! - Top It Off: Sprinkle that glorious crumble topping evenly over the rhubarb filling. Be generous – we want every bite to have that buttery goodness!
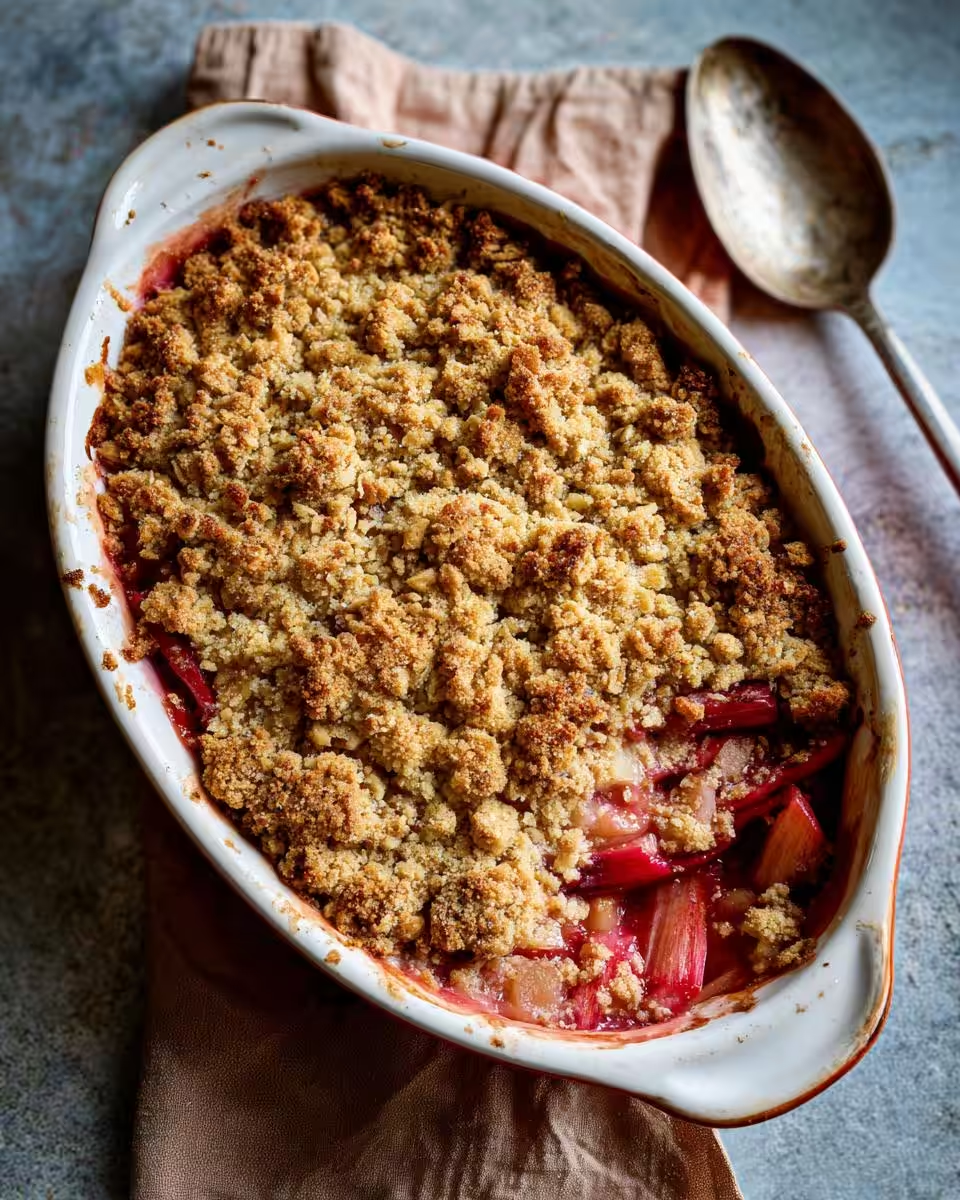
- Bake It ‘Til Golden: Pop that crisp into the preheated oven and bake for 45-50 minutes, or until the topping is golden brown and the filling is bubbly. Keep a close eye on it towards the end, as ovens can vary. You’ll know it’s ready when the topping is nice and golden and you see the rhubarb bubbling around the edges. Mmmhhmm!
- Cool (If You Can Wait!): Let the crisp cool for at least 15 minutes before serving. Trust me, it’s worth the wait! But, honestly, who am I kidding? I usually sneak a bite straight from the oven. Just be careful not to burn your tongue!
Tips for the Perfect Rhubarb Crisp
Want to take your rhubarb crisp from “good” to “OMG, this is amazing!”? Here are a few extra tips and tricks I’ve learned over the years. These will help ya make the perfectly crips *rhubarb crisp* every time!
- Cold Butter is Your Best Friend: Seriously, don’t skip this one! Cold butter in the topping is what creates those lovely, crumbly bits. If the butter gets too warm, the topping will be greasy and sad.
- Don’t Overbake: Overbaking will dry out the rhubarb filling and make the topping too hard. Keep a close eye on it, and pull it out when the topping is golden brown and the filling is bubbly.
- Let it Rest: I know it’s tempting to dive right in, but letting the crisp cool for a bit before serving allows the filling to thicken slightly and the flavors to meld together. Plus, you’re less likely to burn your tongue!
Ingredient Notes and Substitutions for Rhubarb Crisp
Okay, so ya wanna tweak this recipe a bit? No problem! I’m all about makin’ things your own. Here are a few notes on the ingredients and some swap-out ideas:
- Rhubarb: Obvious, right? But hey, if you can’t find rhubarb (or just aren’t a fan), try cranberries or even sliced apples! The flavor *will* be different, but still yummy.
- Sugar: I usually use granulated for the filling, but brown sugar adds a nice caramel-y thing. Sweetener options I have tried include honey and maple syrup. Just adjust to taste!
- Butter: Now, butter’s the best for that topping, hands down. But in a pinch, you could use coconut oil or even a vegan butter substitute.
- Flour: All-purpose does the trick, but if you’re gluten-free, use a good gluten-free blend. I’ve had good luck with almond flour, too..
Just have fun and experiment! That’s what cookin’s all about!
Make-Ahead and Storage Tips for Your Rhubarb Crisp
Wanna get a jump start on dessert? I hear ya! You can totally prep this Rhubarb Crisp ahead of time. Just mix the filling and topping separately, then store them in the fridge. When you’re ready to bake, simply assemble and pop it in the oven. Leftovers (if there *are* any!) can be stored in the fridge for up to 3 days. Honestly, though, they never last that long at my house!
Frequently Asked Questions About Rhubarb Crisp
Got rhubarb riddles? Crisp conundrums? Don’t you worry your pretty little head! I’ve got answers to all your burning Rhubarb Crisp questions right here.
Can I use frozen rhubarb for this rhubarb crisp recipe?
You betcha! Frozen rhubarb works just as well as fresh in this recipe. Just thaw it a bit and drain off any excess liquid before mixing it with the other filling ingredients. No one will ever know! Also, frozen fruit is the best option when rhubarb isn’t in season.
How do I keep the rhubarb crisp topping from burning?
Ah, the age-old question! If you notice the topping is browning too quickly, tent the crisp with foil during the last 15-20 minutes of baking. This will protect it from the heat and prevent it from burning. Also, ensure you are not overfilling the *fruit crisp* with extra crumbles.
Can I add nuts to the crumb topping?
Oh, absolutely! A handful of chopped pecans or walnuts would be a delish addition to the crumb topping. Just toss ’em in with the other dry ingredients before cutting in the butter. Adds a little crunch and nutty flavor. Just amazing!
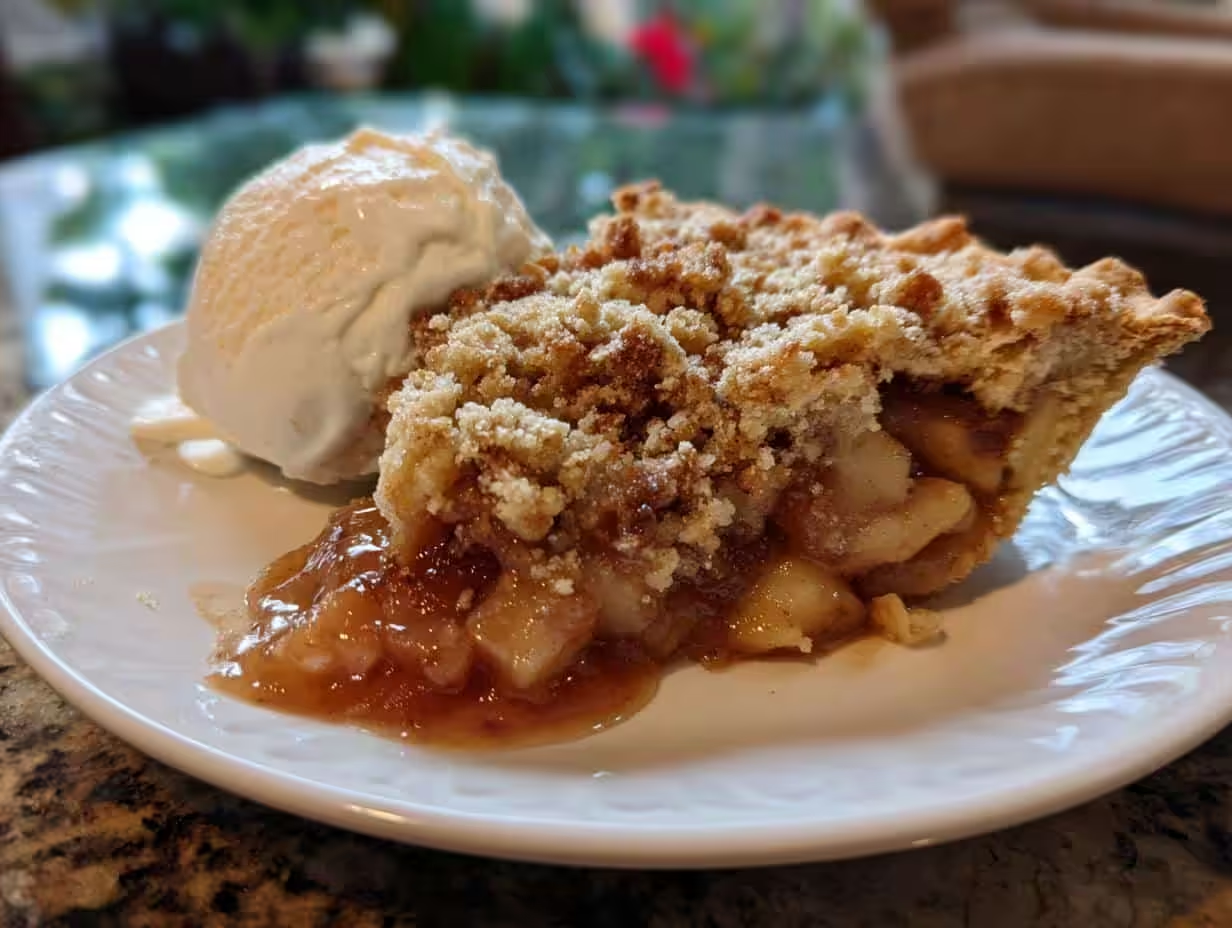
What’s the best way to serve this rhubarb crisp?
Warm, with a big scoop of vanilla ice cream, of course! Or a dollop of whipped cream. Or both! Honestly, there’s no wrong way to enjoy a good Rhubarb Crisp. It’s perfection! And for a unique twist, serve with a drizzle of caramel sauce!
Estimated Nutritional Information for Rhubarb Crisp
Alright, y’all, now for the nitty-gritty! Just a heads-up: the nutritional info you see below is just an estimate, okay? It can vary a lot depending on the exact ingredients you use (brands, specific measurements, etc.). So, don’t take it as gospel! It’s just a general idea to give you a sense of what you’re eatin’!
Enjoyed This Rhubarb Crisp? Leave a Comment and Rate!
Hey y’all! If you loved this Rhubarb Crisp recipe as much as I do, please leave a comment and give it a rating! Your feedback means the world to me. It helps other folks find this delicious dessert, and it lets me know what you think. Happy baking!
Print
Crispy Oven Roasted Potatoes and Onions
- Total Time: 65 min
- Yield: 6 servings 1x
- Diet: Vegan
Description
Simple oven roasted potatoes and onions.
Ingredients
- 2 lbs potatoes, peeled and cubed
- 2 large onions, sliced
- 1/4 cup olive oil
- 1 teaspoon salt
- 1/2 teaspoon black pepper
- 1 teaspoon dried oregano
Instructions
- Preheat oven to 400°F (200°C).
- In a large bowl, combine potatoes, onions, olive oil, salt, pepper, and oregano.
- Spread the mixture in a single layer on a baking sheet.
- Roast for 45-50 minutes, or until potatoes are tender and golden brown, flipping halfway through.
- Serve hot.
Notes
- For extra crispiness, parboil the potatoes for 5 minutes before roasting.
- Prep Time: 15 min
- Cook Time: 50 min
- Category: Side Dish
- Method: Roasting
- Cuisine: Mediterranean
Nutrition
- Serving Size: 1 serving
- Calories: 250
- Sugar: 5g
- Sodium: 300mg
- Fat: 12g
- Saturated Fat: 2g
- Unsaturated Fat: 10g
- Trans Fat: 0g
- Carbohydrates: 35g
- Fiber: 4g
- Protein: 4g
- Cholesterol: 0mg