
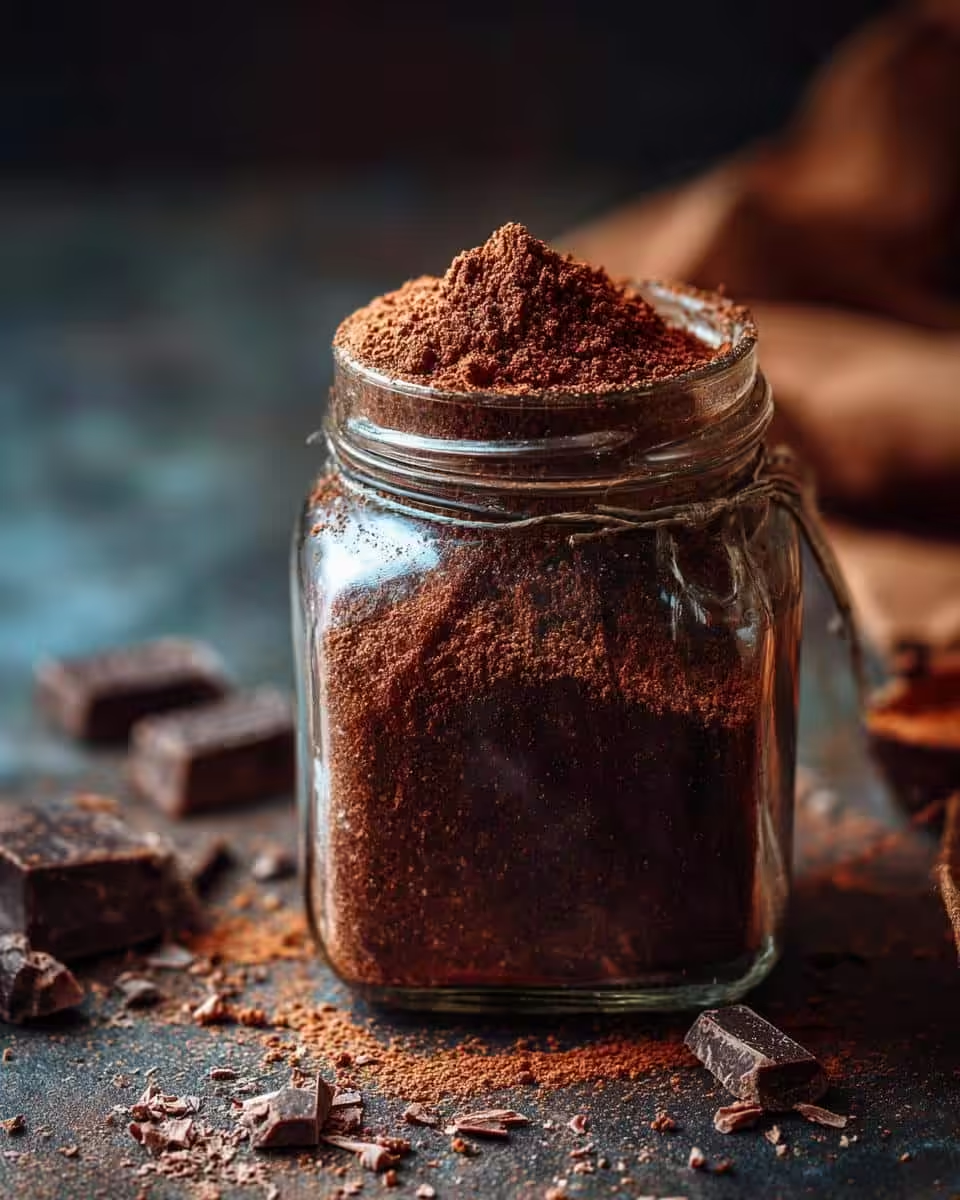
There’s just something about a mug of hot cocoa when the weather turns, isn’t there? Those grey skies and chilly winds practically *beg* for a warm, comforting drink. But let’s be honest – those store-bought hot cocoa mixes? They’re often… lacking. That’s why I’m so excited to share my recipe for **Rich & Creamy Homemade Hot Cocoa Mix**! Trust me, once you try this, you’ll never go back to the pre-packaged stuff. It’s seriously richer, creamier, and just plain better than anything you can buy.
My favorite part is knowing exactly what goes into it – no weird additives or artificial flavors, just pure chocolatey goodness. And you can tweak it to your heart’s content! A little extra chocolate? A dash of cinnamon? Totally up to you. You know, I’ve been whipping up comforting recipes like this for years, both at my supper club and in my cooking classes. There’s a real joy in creating something that warms people from the inside out, and this hot cocoa mix? It’s pure comfort in a cup. I even remember the first time I got the recipe *just* right. My kids were little, and we had a total hot cocoa mustache situation going on – pure bliss!
Why You’ll Love This Rich & Creamy Homemade Hot Cocoa Mix
Okay, so why should you ditch the store-bought stuff and make your own? Let me tell ya:
- Taste Explosion: Seriously, the flavor is just *so* much better. Richer, deeper, more chocolatey.
- Ingredient Power: You control *everything* that goes in. No sneaky additives!
- Wallet-Friendly: Making your own mix is way cheaper in the long run. Think of all the fancy marshmallows you can buy with the savings!
- Make it YOURS!: Wanna add a pinch of sea salt? Go wild! This recipe is your blank canvas.
What You Need to Make Rich & Creamy Homemade Hot Cocoa Mix
Alright, let’s gather our goodies! Here’s what you’ll need to create this amazing hot cocoa mix. Don’t skimp on the quality – it really makes a difference!
- 1 cup Dutch-processed cocoa powder: Trust me, Dutch-processed is the way to go. It’s got a smoother, less acidic flavor than regular cocoa.
- 1 ½ cups granulated sugar: For that perfect touch of sweetness. Adjust to your liking, of course!
- ½ cup powdered sugar: This is my secret weapon! It adds extra creaminess and helps the mix dissolve like a dream.
- ½ teaspoon salt: Just a pinch! It balances the sweetness and enhances the chocolate flavor.
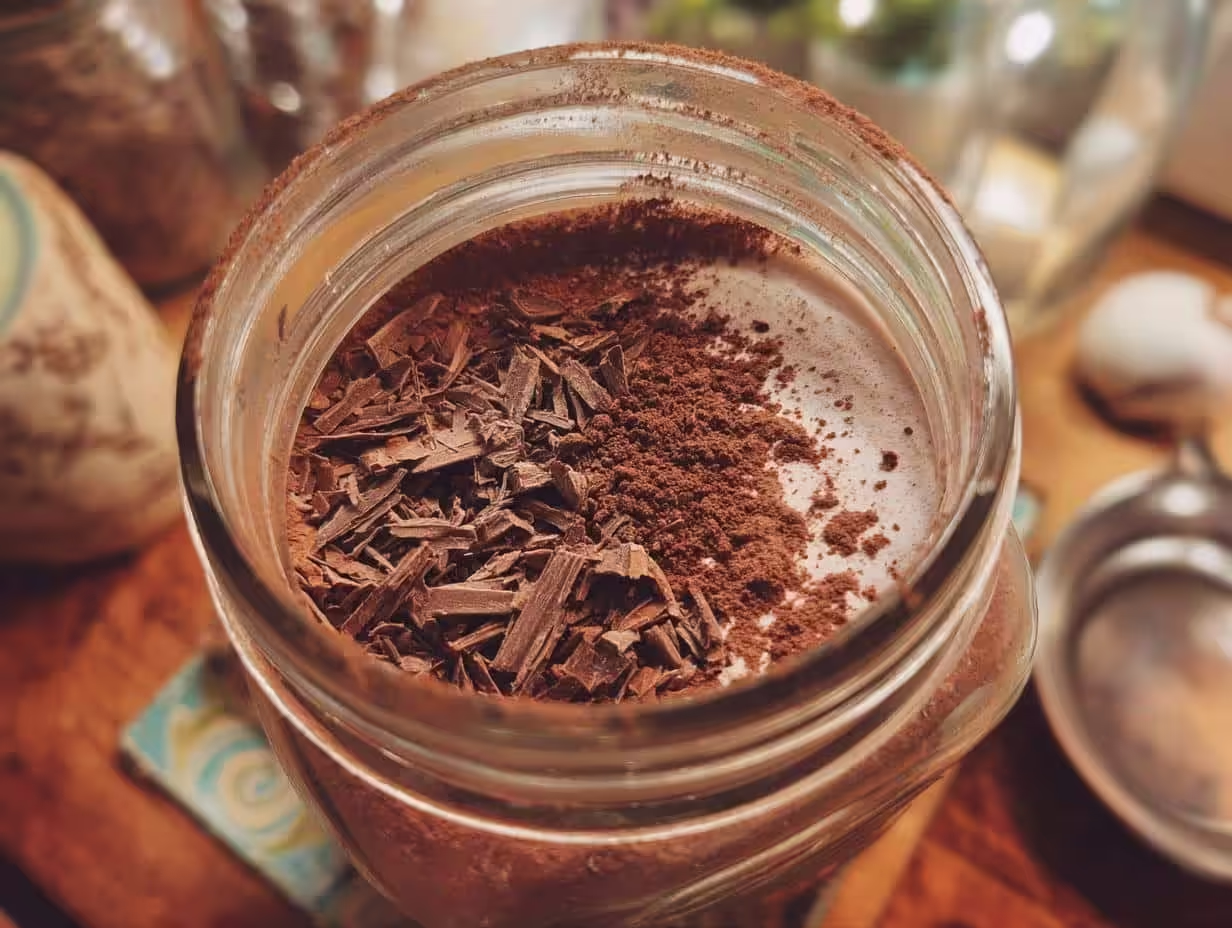
- Optional, but HIGHLY recommended: ½ cup finely chopped bittersweet chocolate. This will make your hot cocoa extra decadent!
Equipment Needed for Your Rich & Creamy Homemade Hot Cocoa Mix
Okay, before we dive in, let’s make sure we’ve got all our tools ready. Nothing’s worse than realizing you’re missing something halfway through! You’ll need:
- Mixing bowls: A couple of different sizes is always helpful.
- Measuring cups and spoons: Gotta be precise, or else!
- A whisk: To get everything nicely combined.
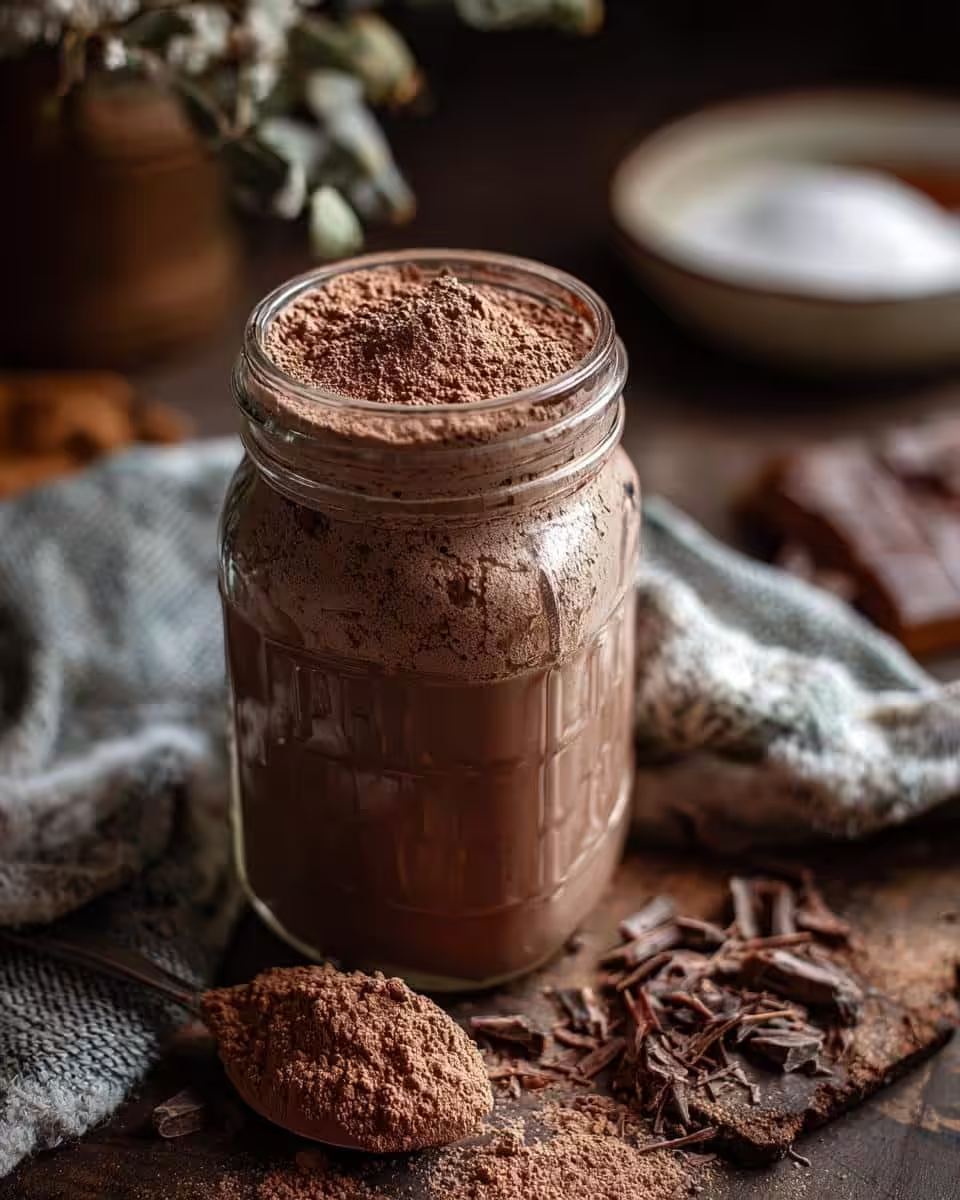
- Airtight containers: For storing your glorious hot cocoa mix. Mason jars are my go-to!
- Optional: A food processor. This isn’t essential, but it can help get a super fine, even mix. But don’t worry if you don’t have one – it’ll be delicious either way!
How to Prepare Your Rich & Creamy Homemade Hot Cocoa Mix
Alright, time to get mixing! This is seriously the easiest thing ever. Ready? Let’s go!
- Grab your biggest mixing bowl. You’ll want plenty of room to work.
- Dump in the cocoa powder, granulated sugar, powdered sugar, and salt. Yep, all at once! Don’t be shy.
- Whisk, whisk, whisk! Get in there and combine all those dry ingredients until they’re evenly distributed. You don’t want any pockets of cocoa hiding at the bottom!
- (Optional, but oh-so-good) Stir in the chopped chocolate. This adds an extra layer of richness that’s just divine. Make sure the chocolate is finely chopped so it mixes in evenly.
- Give it one last good whisk. Just to make sure everything’s perfectly combined.
- Transfer the mix to your airtight containers. I love using mason jars, but any airtight container will do. Just make sure it’s clean and dry!
And that’s it! Seriously, that’s all there is to it. Now, when you’re ready for a mug of hot cocoa, just add a few tablespoons of the mix to a cup of hot milk (or water, if you’re feeling wild), stir until dissolved, and enjoy! I usually use about 2-3 tablespoons per cup, but you can adjust it to your own taste. Trust me, you are so ready for this!
Tips for the Best Rich & Creamy Homemade Hot Cocoa Mix
Okay, listen up, because this is where the magic *really* happens! I’ve got a few tricks up my sleeve to take your **Rich & Creamy Homemade Hot Cocoa Mix** from “delicious” to “OMG, what’s your secret?!”
- Ratio is key!: Start with 2 tablespoons of mix per cup of hot milk (or water). But honestly? Taste as you go! Wanna more chocolate? Add a bit. Like it sweeter? More mix! Hot cocoa is personal, after all!
- Warm the milk, don’t boil it!: Scalded milk just doesn’t taste as good. Trust me on this.
- Whisk like you mean it!: Nobody wants clumps of cocoa powder in their drink! Whisk until everything is completely dissolved and smooth. And hey, it’s a good arm workout, too!
- Marshmallows are mandatory (almost)!: Okay, maybe not *mandatory*, but highly encouraged! My favorite? Toasted marshmallows. Just sayin’.
Ways to Customize Your Rich & Creamy Homemade Hot Cocoa Mix
Okay, so you’ve got the basic recipe down. Now for the fun part – making it *your own*! Don’t be afraid to experiment and get creative. Here are a few ideas to get you started:
- Peppermint Party: Add a few drops of peppermint extract for a festive, holiday-inspired twist.
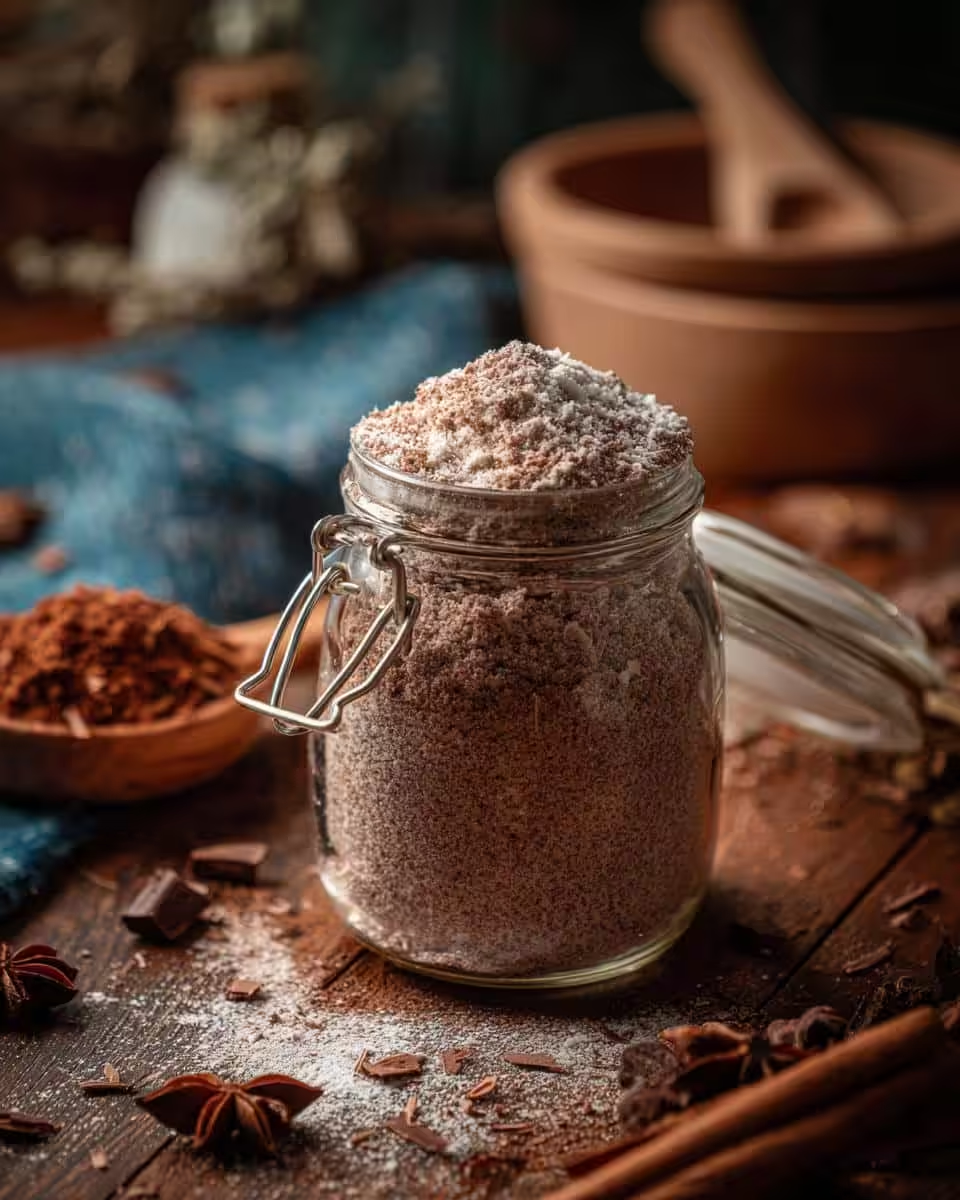
- Spice It Up: A pinch of cinnamon or chili powder can add warmth and depth. Careful with the chili powder, though – a little goes a long way!
- Vegan Vibes: Use a plant-based milk powder (like coconut or almond) instead of dairy. It works like a charm!
How to Store Your Rich & Creamy Homemade Hot Cocoa Mix
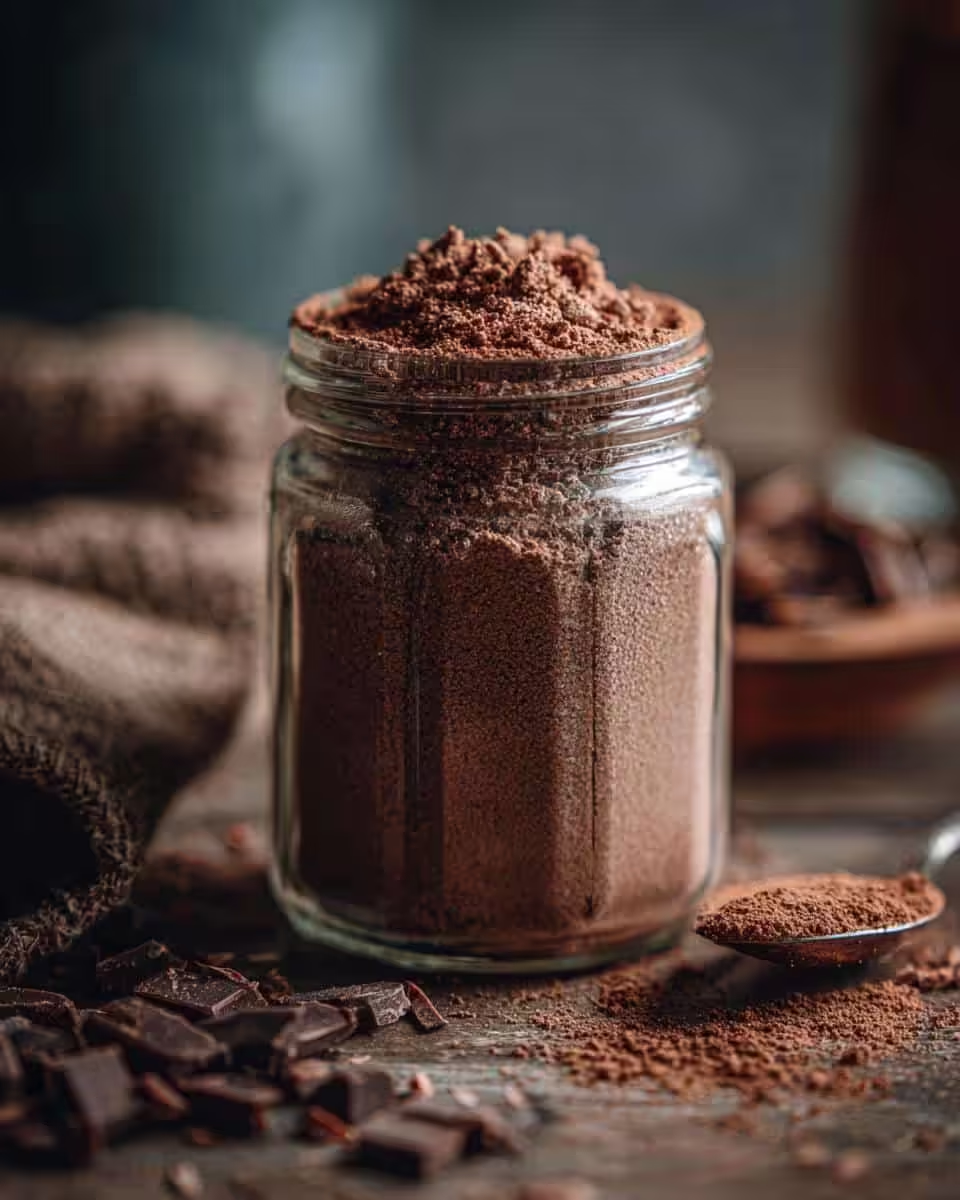
Alright, you’ve made this crazy-delicious hot cocoa mix, and now you wanna make sure it stays that way, right? Here’s the deal: airtight is your BEST friend. Seriously, grab those mason jars, or any container with a tight-fitting lid. Pop your mix in there, and stash it away in a cool, dry place – think your pantry, not above the stove! It’ll happily stay good for up to 6 months… if it lasts that long! (Mine never does!)
Frequently Asked Questions About Rich & Creamy Homemade Hot Cocoa Mix
Got questions? I’ve got (hopefully!) answers! Here are a few things folks often ask me about my hot cocoa mix:
What’s the best milk for hot cocoa?
Ooh, good question! I’m a whole milk kinda gal – it makes the hot cocoa super creamy. But honestly, it’s whatever you like best! Skim milk works, almond milk works, oat milk? You bet! Just remember, the richer the milk, the richer the cocoa.
How long does hot cocoa mix last? What’s the hot cocoa mix shelf life?
Stored properly (airtight container, cool and dry place), this mix will stay good for up to 6 months. But let’s be real, it’ll probably be gone way before then! If you see any clumping or notice a weird smell, it’s probably time to toss it.
How can I make hot cocoa less sweet?
Easy peasy! Just reduce the amount of granulated sugar in the mix. Start with ¼ cup less and taste it. Wanna be even *less* sweet? Scale back on the powdered sugar too. Or try it Crockpot style– warm and delicious, without the fuss!.
Can I use regular cocoa powder instead of Dutch-processed?
You *can*, but the flavor will be a bit different and the color might be a little lighter. Dutch-processed cocoa is less acidic and has a smoother, more mellow flavor. If you use regular cocoa, you might want to add a tiny pinch of baking soda to the mix to neutralize the acidity, but be super careful – a little goes a looooong way!
Nutritional Information Disclaimer
Hey, just a quick heads-up! The nutritional information here is just an estimate, okay? It’ll totally vary depending on the exact ingredients and brands you use. So, don’t take it as gospel!
Print
Crispy Oven Roasted Potatoes and Onions
- Total Time: 65 min
- Yield: 6 servings 1x
- Diet: Vegan
Description
Simple oven roasted potatoes and onions.
Ingredients
- 2 lbs potatoes, peeled and cubed
- 2 large onions, sliced
- 1/4 cup olive oil
- 1 teaspoon salt
- 1/2 teaspoon black pepper
- 1 teaspoon dried oregano
Instructions
- Preheat oven to 400°F (200°C).
- In a large bowl, combine potatoes, onions, olive oil, salt, pepper, and oregano.
- Spread the mixture in a single layer on a baking sheet.
- Roast for 45-50 minutes, or until potatoes are tender and golden brown, flipping halfway through.
- Serve hot.
Notes
- For extra crispiness, parboil the potatoes for 5 minutes before roasting.
- Prep Time: 15 min
- Cook Time: 50 min
- Category: Side Dish
- Method: Roasting
- Cuisine: Mediterranean
Nutrition
- Serving Size: 1 serving
- Calories: 250
- Sugar: 5g
- Sodium: 300mg
- Fat: 12g
- Saturated Fat: 2g
- Unsaturated Fat: 10g
- Trans Fat: 0g
- Carbohydrates: 35g
- Fiber: 4g
- Protein: 4g
- Cholesterol: 0mg