
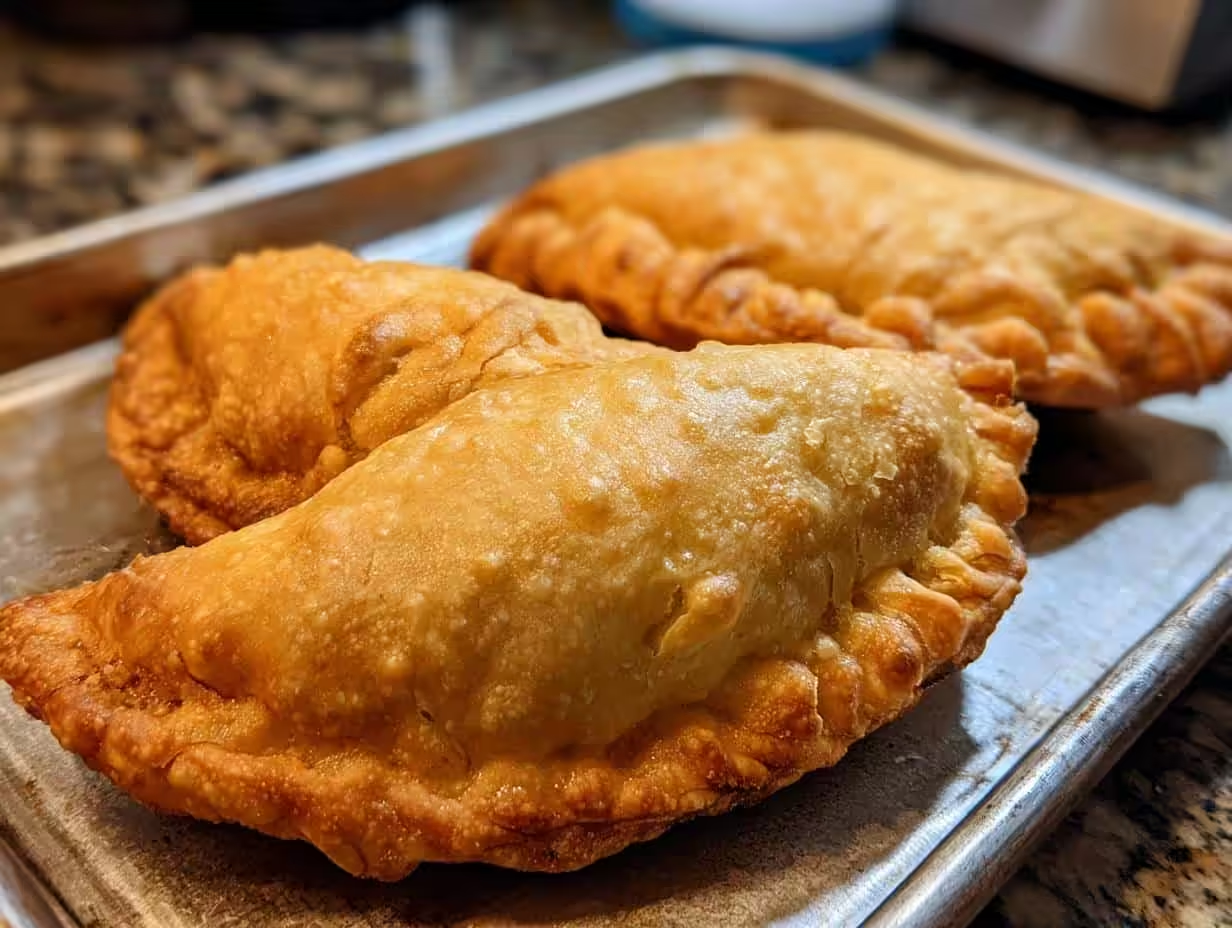
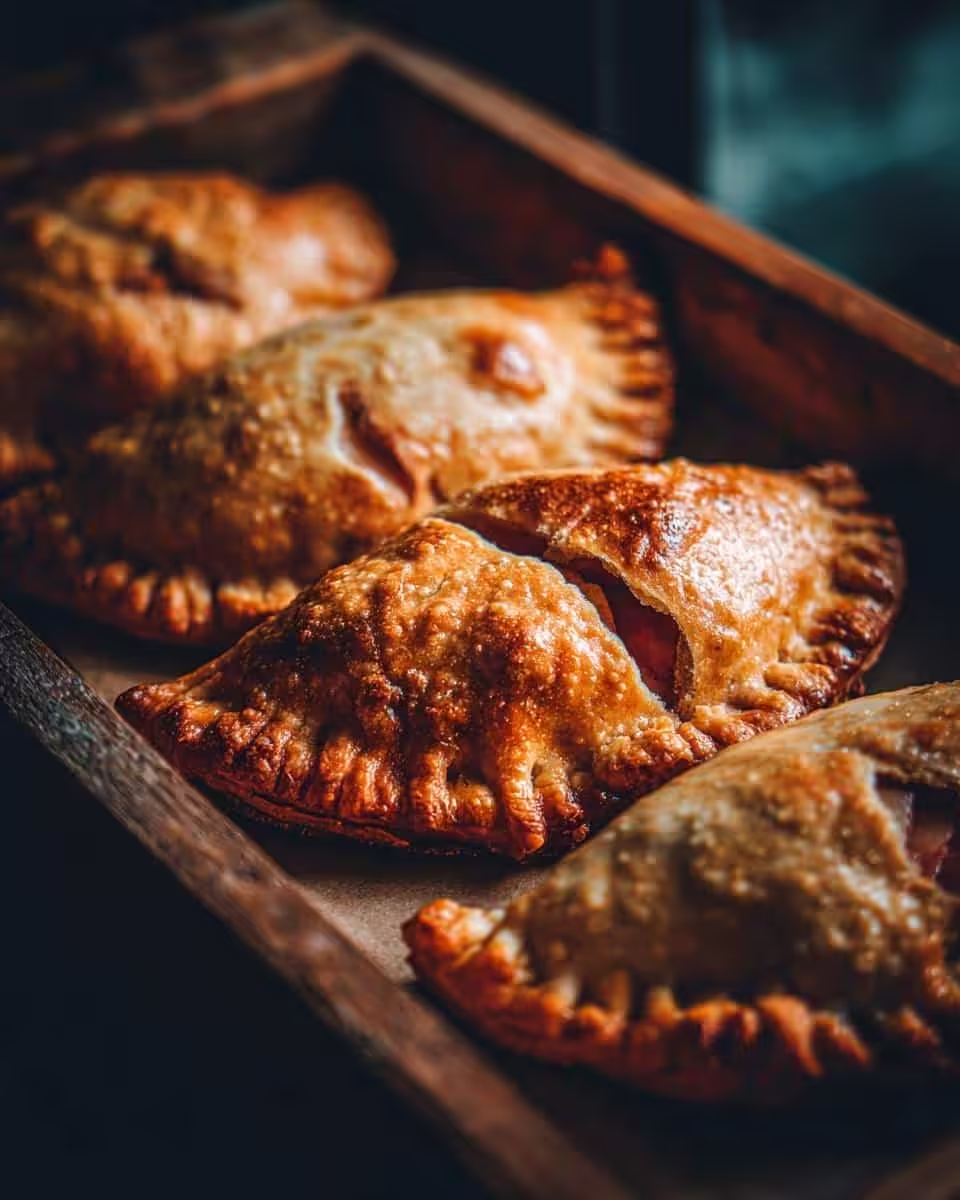
Alright, y’all, gather ’round because I’m about to share the secret to those *shatteringly crisp old-fashioned fried apple pies* that’ll have everyone begging for more. It all started way back when I was a little ‘un clinging to my Grandma’s apron strings in her Asheville kitchen. The smell of cinnamon and apples simmering on the stove? Pure magic, I tell ya! Now, after years of tweaking and perfecting *her* recipe, I’m ready to let you in on the fun. From my supper club to your kitchen, let’s make some memories with these irresistible Southern treats, alright?
Why You’ll Adore These Shatteringly Crisp Old-Fashioned Fried Apple Pies
Okay, friend, let me tell you *why* you’re about to fall head-over-heels for these little pies. First off, that shatteringly crisp crust? It’s pure perfection. Then you bite in, and you get a burst of warm, spiced apples that’ll remind you of simpler times. Plus, they’re surprisingly easy to whip up! Seriously, even if you’re not a seasoned baker, you’ll nail this, I promise. And, oh yeah, they’re downright addictive. Good luck eating just one!
Gather Your Ingredients for Shatteringly Crisp Old-Fashioned Fried Apple Pies
Alright, sugar, let’s gather what you need, shall we? For the *Dough*, you’ll want: 2 1/2 cups all-purpose flour – plus extra for dusting, of course; 1 teaspoon salt; 1 cup (that’s 2 sticks!) of icy-cold unsalted butter, cut into cubes (and I mean *cold* – pop it back in the fridge if it gets too warm!); 1/2 cup of ice water. Now, for that heavenly *Filling*: 6 medium apples (Granny Smith or Honeycrisp are my faves!), peeled, cored, and diced; 1/2 cup granulated sugar; 1/4 cup packed light brown sugar; 2 tablespoons all-purpose flour; 1 teaspoon ground cinnamon; 1/4 teaspoon ground nutmeg; 2 tablespoons unsalted butter; and a splash (about a tablespoon) of lemon juice. Finally, vegetable oil or shortening for frying—and powdered sugar for dusting, ’cause everything’s better with a little sparkle!
Step-by-Step Guide: Making Shatteringly Crisp Old-Fashioned Fried Apple Pies
Okay, darlin’, let’s get down to business! This might seem like a lot of steps, but trust me, it’s easier than wrangling a greased pig. Just take it one step at a time, and you’ll be enjoying those shatteringly crisp old-fashioned fried apple pies before you know it!
Step 1: Make the Dough (and Chill Out!)
First things first, grab that flour and salt and whisk ’em together in a large bowl. Next, toss in your *cold* butter cubes. Use a pastry blender (or your fingertips if you’re feeling brave!) to cut the butter into the flour until it looks like coarse crumbs with some pea-sized butter pieces still hanging around. Now, drizzle in the ice water, a little at a time, mixing until the dough just comes together. Don’t overmix! Form it into a disc, wrap it in plastic wrap, and chill in the fridge for at least 30 minutes. Seriously, don’t skip the chill time, or your dough will be a sticky mess. Trust me, I’ve learned the hard way!
Step 2: Get That Apple Filling Cookin’
While the dough’s doing its thing, let’s tackle that apple filling. In a large skillet, melt the 2 tablespoons of butter over medium heat. Add the diced apples, granulated sugar, brown sugar, flour, cinnamon, nutmeg, and lemon juice. Stir it all up and cook until the apples are tender and the filling has thickened – about 10-15 minutes. Give it a taste and add a pinch more cinnamon if you’re feeling fancy! Remove from heat and let it cool completely. This is important – hot filling will melt your dough. Patience, my dear!
Step 3: Roll, Fill, and Seal the Deal
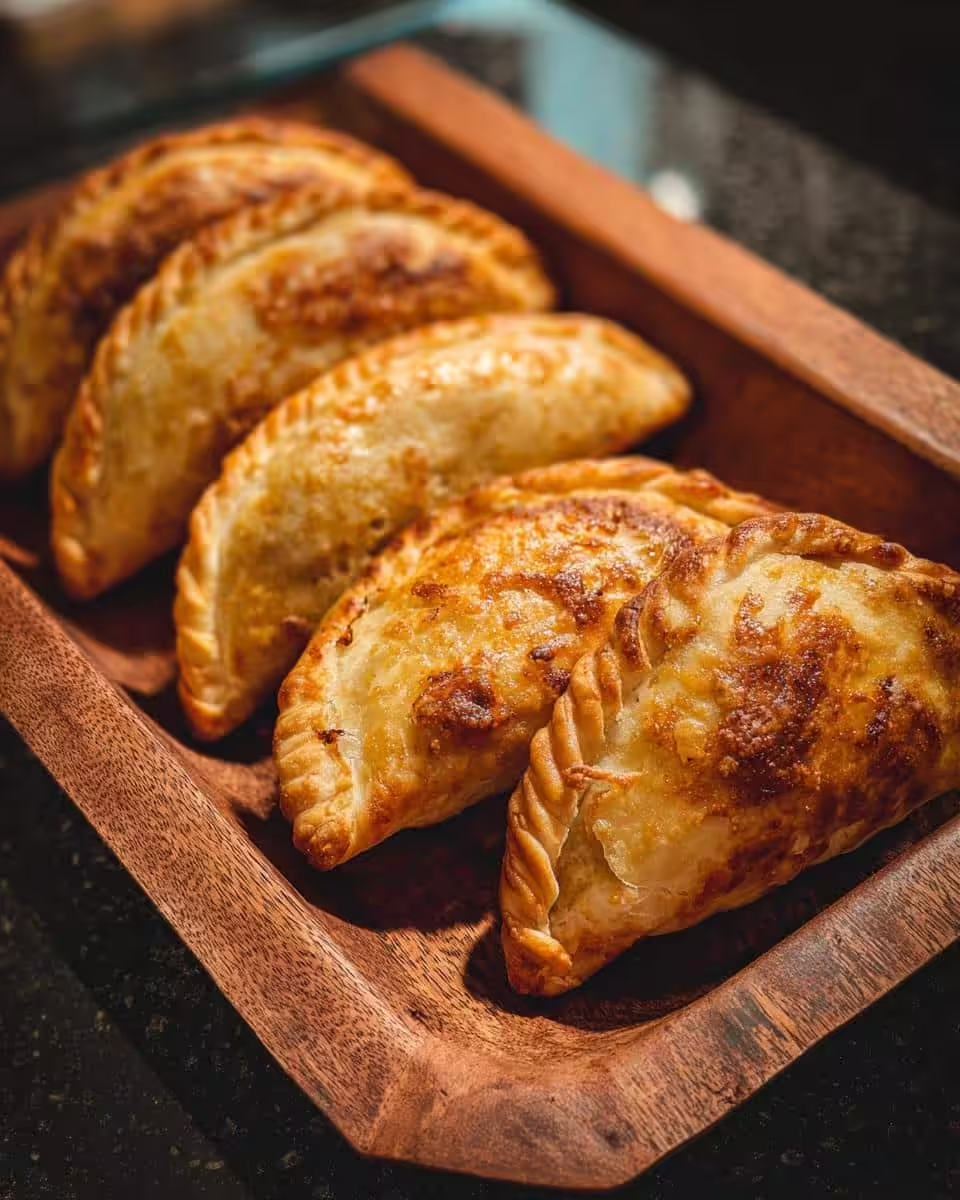
Lightly flour your work surface. Roll out the chilled dough to about 1/8-inch thickness. Use a biscuit cutter or a small saucer (about 4-inch diameter) to cut out circles. Place a spoonful (don’t overfill!) of the cooled apple filling in the center of each circle. Now, fold the dough over to form a half-moon shape. Crimp the edges with a fork to seal them tight – you don’t want that precious filling escaping! Pro tip: a little egg wash (egg beaten with water) along the edges before folding helps them stick together like glue.
Step 4: Fry ‘Em Up!
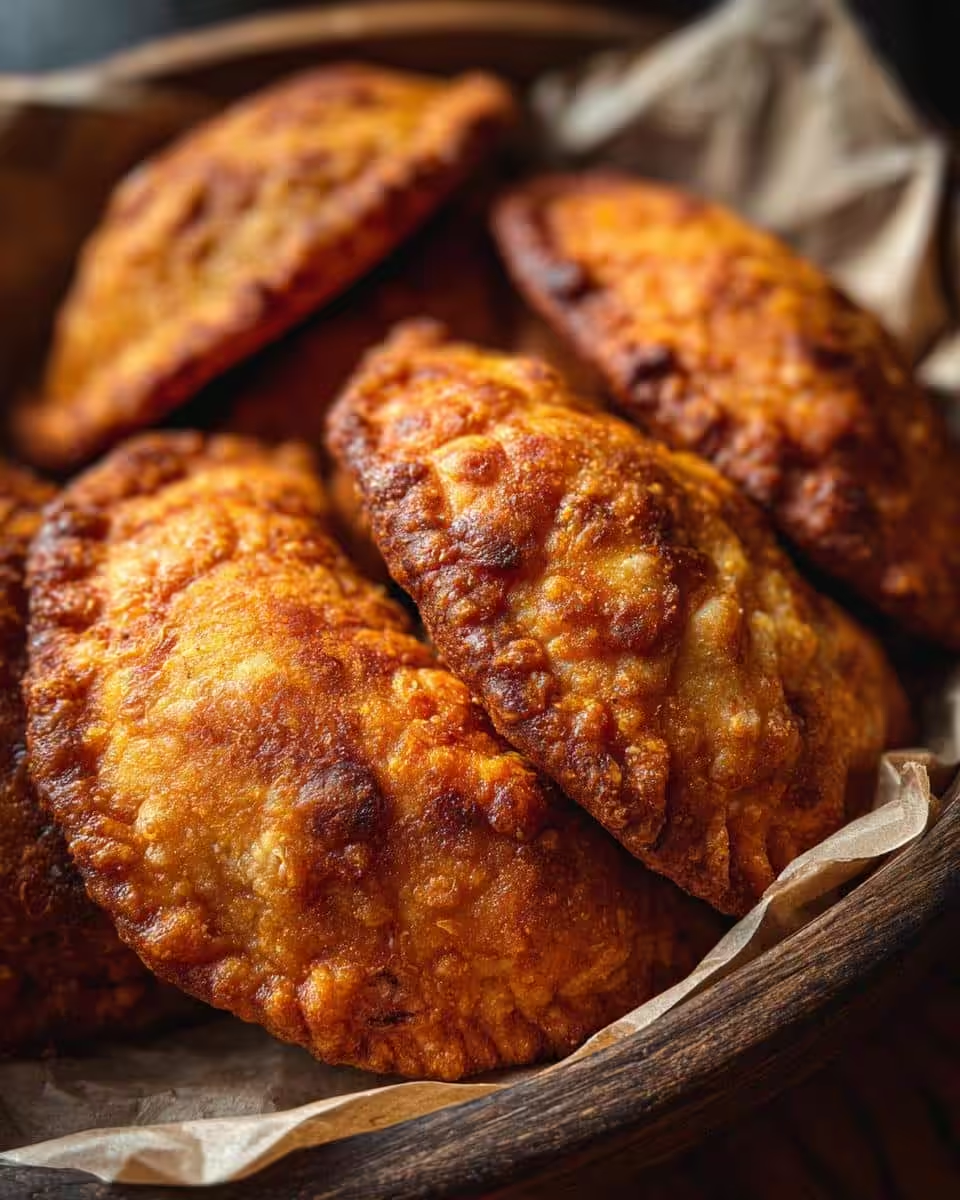
Pour about 2 inches of vegetable oil (or shortening) into a deep skillet or pot. Heat over medium-high heat until the oil reaches 350°F (175°C). If you don’t have a thermometer, drop a tiny piece of dough in – it should sizzle and turn golden brown in about a minute. Carefully place a few pies into the hot oil, being careful not to overcrowd the pan. Fry for 2-3 minutes per side, or until golden brown and shatteringly crisp (that’s the goal, right?). Remove the pies with a slotted spoon and place them on a wire rack lined with paper towels to drain off any excess oil. Careful, that oil is hot!
Step 5: Dust and Devour!
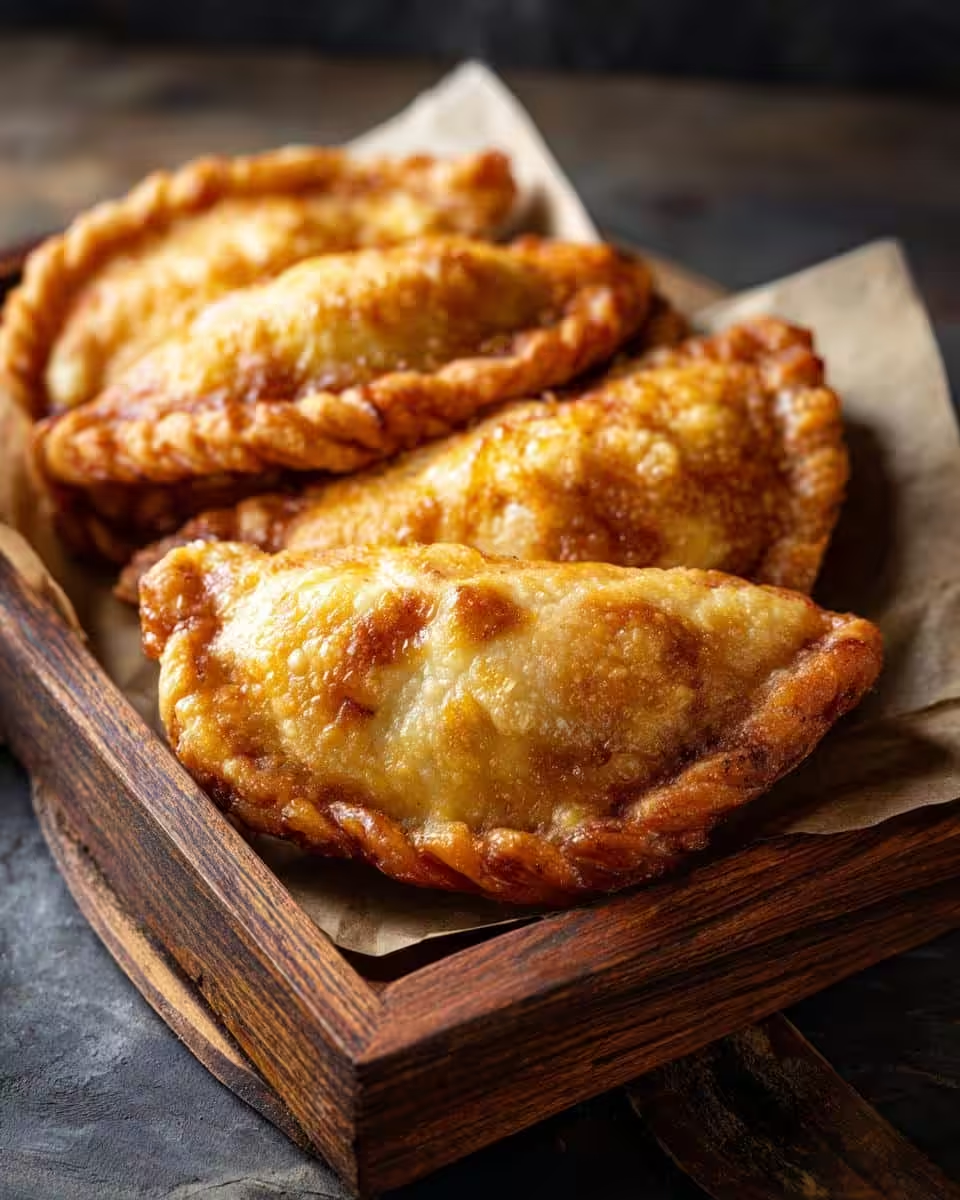
While the pies are still warm (but not too hot to handle!), dust them generously with powdered sugar. And there you have it! Shatteringly crisp old-fashioned fried apple pies ready to be devoured. Honestly, my favorite part is that first bite – that perfect crunch followed by the warm, sweet apple filling. Just heavenly!
Tips for Perfect Shatteringly Crisp Old-Fashioned Fried Apple Pies
Alright, you’ve got the basics down, but let’s talk about taking these apple pies from good to *mind-blowingly* amazing!
Here’s a few secrets I’ve learned over the years. First, always keep your oil temperature consistent. Too low, and you’ll end up with soggy pies. Too high, and they’ll burn before the inside is cooked – nobody wants that!
Also, don’t overcrowd the pan when frying. Give those little pies some room to breathe, so the hot oil can work its magic evenly.
For that shatteringly crisp crust? Try adding a tablespoon of vodka (yes, vodka!) to your dough. It evaporates during frying, leaving a super crispy texture.
And lastly, let those pies cool slightly on a wire rack before dusting with powdered sugar. This keeps the sugar from melting right away and gives you that pretty, snowy finish!
Ingredient Spotlight: The Apples in Your Shatteringly Crisp Old-Fashioned Fried Apple Pies
Okay, y’all, let’s talk apples! Not just *any* apple will do for these fried pies. My go-to is Granny Smith. They’ve got that perfect tartness that balances the sweetness of the filling, and they hold their shape like champs when cooked. Honeycrisp is another winner – super crisp and juicy, but they can get a little softer when fried. Avoid apples that get mushy. You want that little bit of texture with every single bite!
Make-Ahead and Storage Tips for Your Old-Fashioned Fried Apple Pies
Life’s busy, I get it! The beauty of these fried apple pies is that you can totally break down the process. Make the dough a day or two ahead and keep it snug in the fridge. You can even cook the apple filling in advance – it keeps beautifully! Just store it separately from the dough. When you’re ready to fry, simply assemble and cook them up. Leftovers? Store ’em in an airtight container. To reheat, pop ’em in a warm oven for a few minutes to crisp ’em up again. Honestly, they’re still delicious the next day…if they last that long!
Frequently Asked Questions About Shatteringly Crisp Old-Fashioned Fried Apple Pies
Got questions about these little apple pie gems? Don’t you worry, I’ve got answers! These are the questions I see most often.
Can I bake these instead of frying them?
Well, technically, yes, you could bake them. But they won’t be quite the same! Baking will give you a softer crust, not that signature shatteringly crisp texture we’re after. If you *do* bake, aim for 375°F (190°C) for about 15-20 minutes, or until golden brown. But trust me, frying is where the magic happens!
What if I don’t have a deep-fry thermometer?
No thermometer? No problem! Just drop a tiny piece of dough into the oil. If it sizzles gently and turns golden brown in about a minute, your oil’s ready to roll. If it browns too quickly, your oil’s too hot; if it just sits there, it’s too cool. Adjust the heat accordingly, darlin’.
Can I use a different kind of filling?
Absolutely! While I’m partial to apple, you could use cherries, blueberries, peaches…whatever tickles your fancy and tastes good to the season. Just make sure the filling isn’t too watery, or your crust will get soggy. You probably want to adjust the amount of sugar too depending on what fruit you use.
My fried apple pies are splitting open while frying. What am I doing wrong?
Splitting pies usually means one (or both!) of two things: either you’ve overfilled them (easy to do!), or the edges aren’t sealed properly. Be sure to crimp those edges really well with a fork, and don’t be shy about using a little egg wash to help them stick. Now the filling won’t burst out during frying.
Nutritional Information (Disclaimer)
Alright, y’all, a quick note about nutritional info. The figures provided are estimates. Keep in mind, the calories and all that good stuff can vary depending on the brands of ingredients you use and how heavy-handed you are. So, take it with a grain of salt, okay?
Enjoy Your Shatteringly Crisp Old-Fashioned Fried Apple Pies!
There you have it, friends! I hope these shatteringly crisp old-fashioned fried apple pies bring as much joy to your kitchen as they do to mine and tell me how they came out, I’m serious now! If you loved this recipe, please leave a comment and rating below or share it with your loved ones. Happy frying!
Print
Crispy Oven Roasted Potatoes and Onions
- Total Time: 65 min
- Yield: 6 servings 1x
- Diet: Vegan
Description
Simple oven roasted potatoes and onions.
Ingredients
- 2 lbs potatoes, peeled and cubed
- 2 large onions, sliced
- 1/4 cup olive oil
- 1 teaspoon salt
- 1/2 teaspoon black pepper
- 1 teaspoon dried oregano
Instructions
- Preheat oven to 400°F (200°C).
- In a large bowl, combine potatoes, onions, olive oil, salt, pepper, and oregano.
- Spread the mixture in a single layer on a baking sheet.
- Roast for 45-50 minutes, or until potatoes are tender and golden brown, flipping halfway through.
- Serve hot.
Notes
- For extra crispiness, parboil the potatoes for 5 minutes before roasting.
- Prep Time: 15 min
- Cook Time: 50 min
- Category: Side Dish
- Method: Roasting
- Cuisine: Mediterranean
Nutrition
- Serving Size: 1 serving
- Calories: 250
- Sugar: 5g
- Sodium: 300mg
- Fat: 12g
- Saturated Fat: 2g
- Unsaturated Fat: 10g
- Trans Fat: 0g
- Carbohydrates: 35g
- Fiber: 4g
- Protein: 4g
- Cholesterol: 0mg