
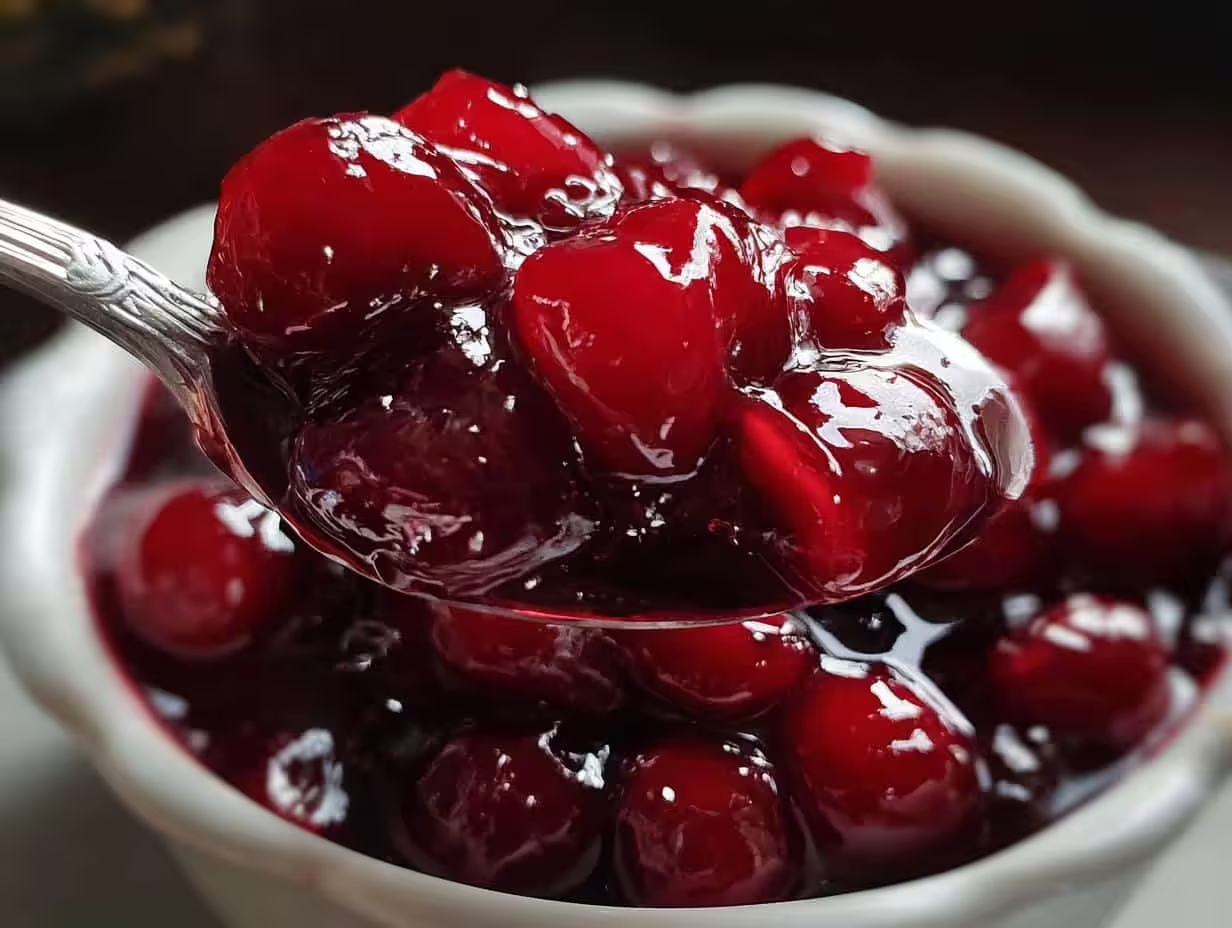
Okay, let’s talk pie disasters, because trust me, I’ve been there! There’s nothing more disappointing than slicing into a beautiful homemade cherry pie only to find a watery mess staring back at you. We’ve all been there, right? That’s why I’m so excited to share my secrets to creating a perfect, thick, and juicy homemade cherry pie filling that will **stop runny pies** in their tracks! This isn’t just some random recipe I found online; it’s the culmination of years of baking (and, ahem, a few pie fails!), plus a little bit of wisdom passed down from my amazing Grandma. You know, she taught me that the best baking comes from the heart, and using good ingredients certainly helps! Seeing as I’m Maxine Holloway, and most people call me Max, you know you’re getting a real homemade pie filling here, not some factory stuff. I’ve been running my little supper club here in Asheville, North Carolina for years, and *this* cherry pie filling is my secret weapon. So, ditch the store-bought goop, grab some cherries, and let’s get baking!
Why You’ll Love This Recipe to Stop Runny Pies!
Okay, so why should *you* spend your precious time making *this* cherry pie filling? Well, here’s the deal:
- Perfectly thick fruit pie filling every single time. No more watery surprises!
- It’s easy peasy! Simple ingredients, straightforward method. Even if you’re a beginner, you got this!
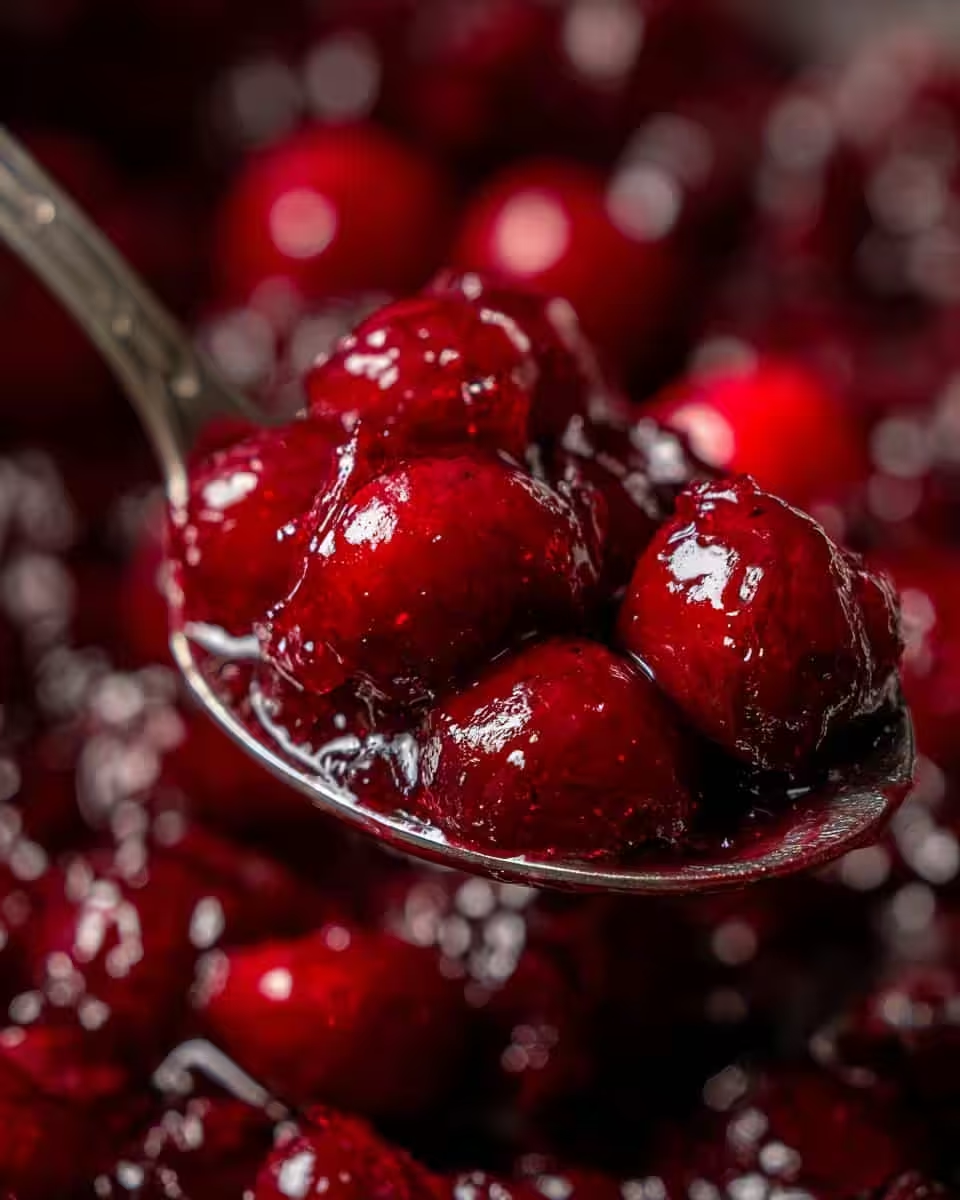
- The taste! Oh my, the taste! That homemade flavor will knock your socks off and impress everyone. Seriously.
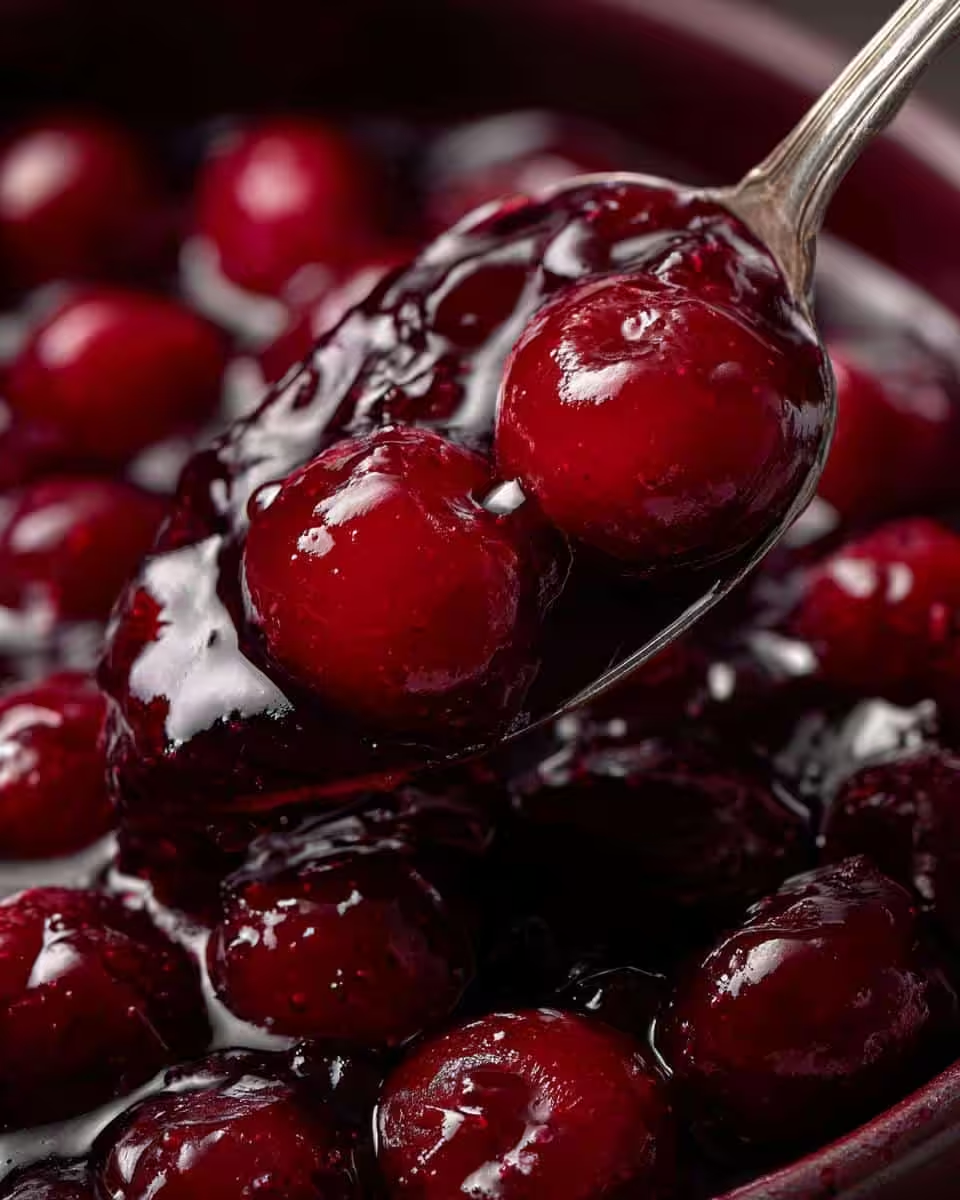
- It’s the *best* use for fresh, seasonal cherries. Nothing beats that burst of summer in every bite.
Trust me, folks will be begging you for the recipe. It’s *that* good!
Ingredients for Thick & Juicy Homemade Cherry Pie Filling
Alright, let’s gather our goodies! Here’s what you’ll need for the most amazin’ cherry pie filling *ever*:
- 6 cups fresh or frozen cherries (pitted, please!)
- ¾ cup granulated sugar (adjust to your sweetness preference!)
- ¼ cup cornstarch (this is our thickening superstar!)
- 2 tablespoons lemon juice (freshly squeezed is best, trust me!)
- ½ teaspoon almond extract (optional, but oh-so-good!)
- Pinch of salt (just a tiny one to balance the sweetness)
Now, if you’re in a pinch and using canned cherry pie filling, that’s okay too! Just grab about 2 cans (the regular size) and maybe cut back a bit on the sugar. You do you!
How to Prepare Cherry Pie Filling to Stop Runny Pies!
Okay, here’s where the magic happens! Follow these steps, and you’ll be on your way to cherry pie perfection. Don’t worry if it seems like a lot; it’s easier than you think!
- **Get that oven ready!** Preheat your oven to 400°F (200°C). We’re building a pie later, but you need to get cooking now!
- **Mix the dry stuff:** In a large bowl, whisk together the sugar and cornstarch until they’re totally combined. This is super important! You don’t want any lumps of cornstarch in your filling, trust me.
- **Cherry time!** Add your pitted cherries to the bowl. If they’re frozen, no need to thaw ’em. Just toss them in right from the freezer.
- **Get juicy!** Pour in the lemon juice and almond extract (if you’re using it). Give everything a gentle stir to coat the cherries evenly. Be careful not to squish the cherries too much!
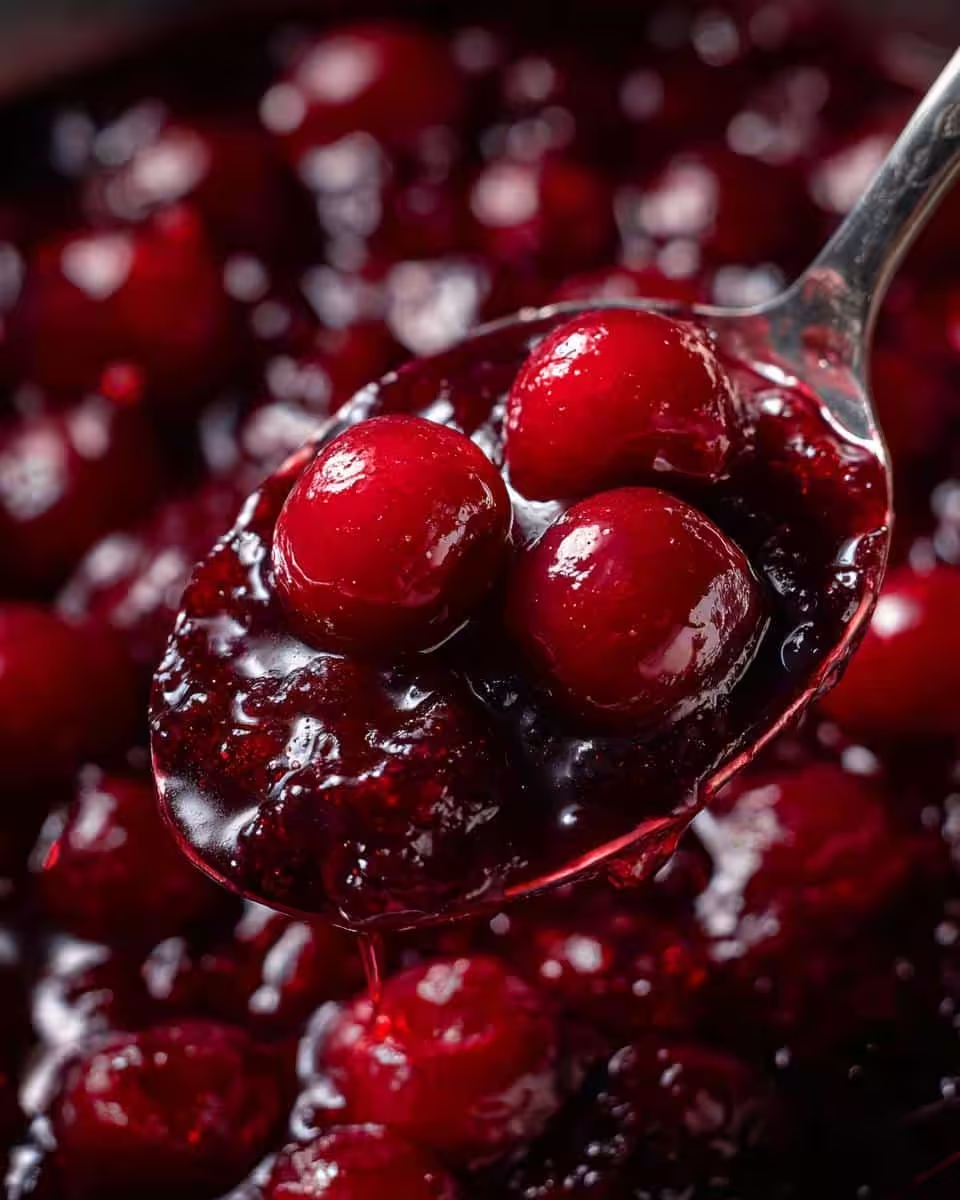
- **Cook it down!** Pour the cherry mixture into a saucepan (medium). Bring it to a boil over medium heat, stirring constantly. Careful, it splatters a bit! Once boiling, reduce the heat to low and let it simmer for about 5-8 minutes, or until the filling has thickened up nicely. You’ll know it’s ready when it coats the back of a spoon.
- **Cool completely!** Remove the saucepan from the heat and let the filling cool completely *before* adding it to your pie crust. This is a *must*! Warm filling will make your crust soggy. Nobody wants a soggy crust! It’s best to factor in about two hours so you don’t rush it. The filling will thicken further as it cools.
And that’s it! You’ve got yourself a beautiful, thick, and juicy cherry pie filling that’s ready to go. Now, go bake that pie!
Tips for Success to Stop Runny Pies!
Want to make sure your cherry pie filling is a total knockout? Here are a few of my tried-and-true tips. These are just things I’ve learned the hard way, so hopefully, you can skip the pie fails!
- Mix it up! Using both sweet and tart cherries gives the filling a wonderful depth of flavor. Trust me on this one.
- Cornstarch is key, but don’t go overboard! If your cherries are super juicy, you might need a *tad* more cornstarch. If they’re not so juicy, use a little less. You’ll want to test for this as you go through the cooking process.
- Keep an eye on it! Don’t overcook the filling. It’ll become way too thick, and nobody wants cherry paste. Remove it from the heat when it coats the back of a spoon and let it thicken as it cools.
- Let it *really* cool! I can’t stress this enough. Patience is a virtue when it comes to pie. Warm filling = soggy crust. Give what needs to cool, the time to cool.
Follow these simple tips, and you’ll be on your way to a perfect cherry pie every time!
Ingredient Notes and Substitutions for Cherry Pie Filling
Okay, so you’re lookin’ at the ingredient list and thinkin’, “Hmm, can I swap this? What if I don’t have that?” Don’t sweat it! Here are my notes on those ingredients and some easy-peasy substitutions if you need ’em. I know how it get can when you’re missing something in your pantry!
- **Lemons:** Fresh lemon juice is *always* best, the brightness it brings really lifts the whole filling. But, hey, if you only have bottled lemon juice on hand, that’ll work too. It just won’t have that same zing, ya know?
- **Cornstarch:** If you’re all out of cornstarch, don’t panic! Arrowroot powder is a great substitute. Use the same amount. You won’t even notice the difference!
- **Almond Extract:** Not a fan of almond extract? No problem! Vanilla extract works beautifully, or you could even try a little rum extract for a fun twist. Go wild!
- **Cherries:** Don’t be afraid to play around with different types of cherries! Rainier cherries are the sweetest, whereas Montmorency are tart. If you blend these together you’ll get the perfect balance of both!
The most important thing is to have fun and make it your own pie! Don’t be afraid to experiment a little!
Frequently Asked Questions About Stop Runny Pies!
Got questions? I got answers! Here are some of the most common questions I get asked about making cherry pie filling. Don’t worry, there’s no such thing as a silly question when it comes to pie!
Can I use frozen cherries for cherry pie filling?
Absolutely! I actually use frozen cherries more often than fresh. They’re usually more readily available, especially when cherries aren’t in season. Just toss them in frozen, no need to thaw! You *might* need to cook the filling a tad longer since frozen cherries release more moisture. Just keep an eye on it!
How do I prevent my cherry pie from being too runny?
Ah, the million-dollar question! The key is the cornstarch. Make sure you use enough, and that you cook the filling long enough for it to thicken properly. Letting the filling cool completely before adding it to the crust is also critical. Don’t skip the cooling, folks!
Can I make cherry pie filling ahead of time?
You betcha! This cherry pie filling is fantastic to make ahead. Just whip it up, let it cool completely, and then store it in an airtight container in the fridge for up to 3 days. When you’re ready to bake your pie, just pull it out and go for it! If anything, the flavors meld together even better when it sits for a day or two!
Do I have to use almond extract?
Nope, the almond extract is totally optional. I just like that hint of almond flavor that compliments the cherries wonderfully. But, if you’re not a fan, or you don’t have any on hand, just leave it out! Vanilla extract is a fine substitute, or you could use a tiny splash of rum.
Serving Suggestions for Your Homemade Cherry Pie
Alright, you’ve got this gorgeous, thick cherry pie filling… now what? Well, let me tell ya, it’s pretty darn good all on its own! But, if you want to take it to the *next level*, here are a few of my favorite ways to serve it.
- Warm it up and top it with a scoop of vanilla ice cream. Classic for a reason! The hot and cold combo is just heavenly.
- Pile on the whipped cream! Homemade whipped cream is the *best*, of course, but store-bought works in a pinch. Or, ya know, get fancy with a dollop of Greek yogurt.
- Grab a cup of coffee or tea! There’s nothing better than a slice of warm cherry pie with a hot drink on a chilly evening.
And, if you wanna get *really* Southern, try serving it with these homemade biscuits! Talk about a flavor explosion! Yum!
Storage & Reheating Instructions for Cherry Pie Filling
Okay, so you’ve made this amazing cherry pie filling, and you happen to have some leftovers (lucky you!). Here’s how to keep it fresh and get it ready for its next delicious adventure.
- Store any leftover cherry pie filling in an airtight container. Pop it in the refrigerator for up to 3 days.
- To reheat it, just gently warm it up in a saucepan over low heat. Stir it every so often. You can also use the microwave. Just nuke it in short bursts so it doesn’t bubble over!
Easy peasy! Now you can enjoy that cherry goodness again and again!
Nutritional Information Disclaimer
Please remember, folks, that the nutritional info here is just an estimate. It can change a bunch depending on the exact ingredients and brands you use. So, take it with a grain of salt, okay?
Print
Crispy Oven Roasted Potatoes and Onions
- Total Time: 65 min
- Yield: 6 servings 1x
- Diet: Vegan
Description
Simple oven roasted potatoes and onions.
Ingredients
- 2 lbs potatoes, peeled and cubed
- 2 large onions, sliced
- 1/4 cup olive oil
- 1 teaspoon salt
- 1/2 teaspoon black pepper
- 1 teaspoon dried oregano
Instructions
- Preheat oven to 400°F (200°C).
- In a large bowl, combine potatoes, onions, olive oil, salt, pepper, and oregano.
- Spread the mixture in a single layer on a baking sheet.
- Roast for 45-50 minutes, or until potatoes are tender and golden brown, flipping halfway through.
- Serve hot.
Notes
- For extra crispiness, parboil the potatoes for 5 minutes before roasting.
- Prep Time: 15 min
- Cook Time: 50 min
- Category: Side Dish
- Method: Roasting
- Cuisine: Mediterranean
Nutrition
- Serving Size: 1 serving
- Calories: 250
- Sugar: 5g
- Sodium: 300mg
- Fat: 12g
- Saturated Fat: 2g
- Unsaturated Fat: 10g
- Trans Fat: 0g
- Carbohydrates: 35g
- Fiber: 4g
- Protein: 4g
- Cholesterol: 0mg