
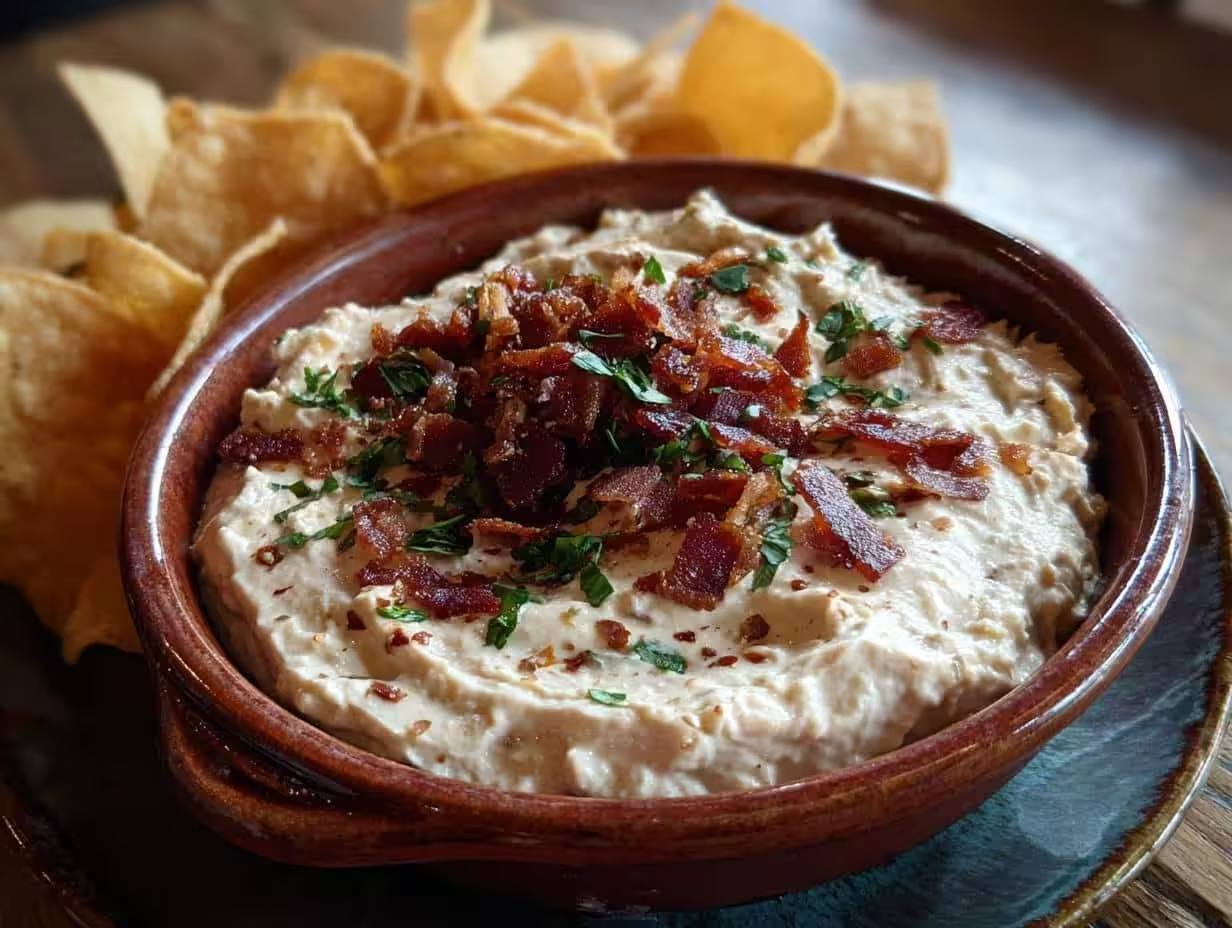
Let’s be honest, who doesn’t love a good dip? From backyard barbecues to cozy nights in, there’s just something about scooping up deliciousness with your favorite chip or veggie stick! But let me tell you, once you’ve tasted *The Best Homemade Caramelized Onion Dip*, you’ll never reach for the store-bought stuff again. Seriously! This isn’t just any onion dip; it’s got a depth of flavor that those tubs in the grocery store can only dream about.
I remember last summer, I brought this dip to our family reunion, and it was gone in, like, 10 minutes flat! Even Uncle Jerry, who insists he “doesn’t do dips,” was sneaking spoonfuls. That’s when I knew I had to share my secret for *The Best Homemade Caramelized Onion Dip* with the world!
Why You’ll Love *The Best Homemade Caramelized Onion Dip*
Okay, so why should you spend the time making this dip instead of grabbing something off the shelf? Here’s the lowdown:
- Flavor, Flavor, Flavor: Seriously, the caramelized onions are where it’s at. They bring this incredible sweetness and depth that you just can’t get from powdered onion.
- Easy Peasy: Don’t let “caramelized” scare you off! It’s mostly hands-off cooking. You just gotta be patient, and trust me, it’s worth it.
- Crowd-Pleaser Guaranteed: I’ve never met anyone who didn’t love this dip. It’s always the first thing to disappear at parties. Always!
Ingredients for *The Best Homemade Caramelized Onion Dip*
Alright, let’s talk ingredients! Nothing too crazy here, just good quality stuff that’ll make this dip sing. Here’s what you’ll need:
- Yellow Onions: You’ll want about 3 large yellow onions, thinly sliced. Trust me, yellow onions are the way to go for that classic caramelized flavor.
- Sour Cream: Gotta go full fat here, folks! One cup of full-fat sour cream is what gives the dip that creamy tang.
- Mayonnaise: Same deal with the mayo – one cup of full-fat mayonnaise. Don’t skimp, it makes a difference!
- Fresh Chives: About 1/4 cup of fresh chives, finely chopped. They add a nice little pop of freshness.
- Garlic Powder: Just 1/2 teaspoon of garlic powder for that subtle garlicky background note.
- Onion Powder: Another 1/2 teaspoon of onion powder, because, well, we’re making onion dip!
- Salt: To taste, of course! Start with 1/2 teaspoon and adjust as needed.
- Black Pepper: Freshly ground black pepper, to taste. About 1/4 teaspoon to start.
See? Nothing complicated, right? Just simple ingredients that, when combined, create *The Best Homemade Caramelized Onion Dip* you’ve ever tasted!

How to Make *The Best Homemade Caramelized Onion Dip*: Step-by-Step
Okay, ready to make some magic? Here’s how to whip up *The Best Homemade Caramelized Onion Dip*, step by glorious step. Don’t worry, I’ll walk you through it!
- Caramelize Those Onions: This is the most important part, so pay attention! Grab a large skillet (I like cast iron for this). Add a tablespoon of olive oil and set it over medium-low heat. Add your thinly sliced onions and a pinch of salt. Now, here’s the key: cook them low and slow. Like, *really* slow. Stir them occasionally, but mostly just let them hang out and do their thing. This process will take about 30-40 minutes. You’re looking for them to be a deep golden brown color, super soft, and sweet. Don’t rush this! If they start to burn, lower the heat even more!
- Cool the Onions: Once your onions are beautifully caramelized, take them off the heat and let them cool completely. Trust me on this – you don’t want to add hot onions to your sour cream and mayo!
- Mix It All Together: In a medium bowl, combine the cooled caramelized onions, sour cream, mayonnaise, garlic powder, onion powder, salt, and pepper. Give it a good stir until everything is well combined.
- Chill Out: Cover the bowl with plastic wrap and pop it in the fridge for at least 2 hours. This allows the flavors to meld together and the dip to thicken up. I usually make mine the day before I need it – it’s even better that way!
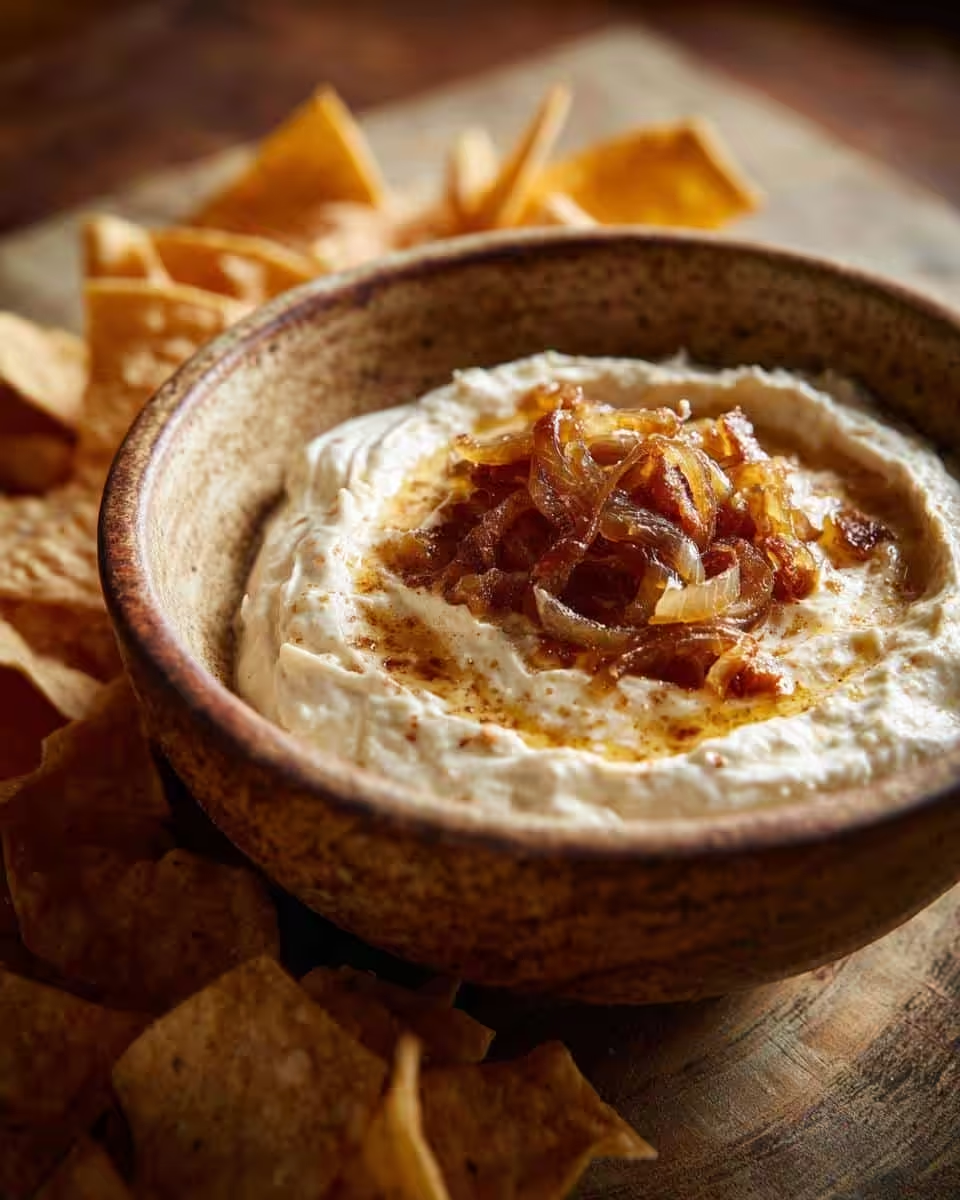
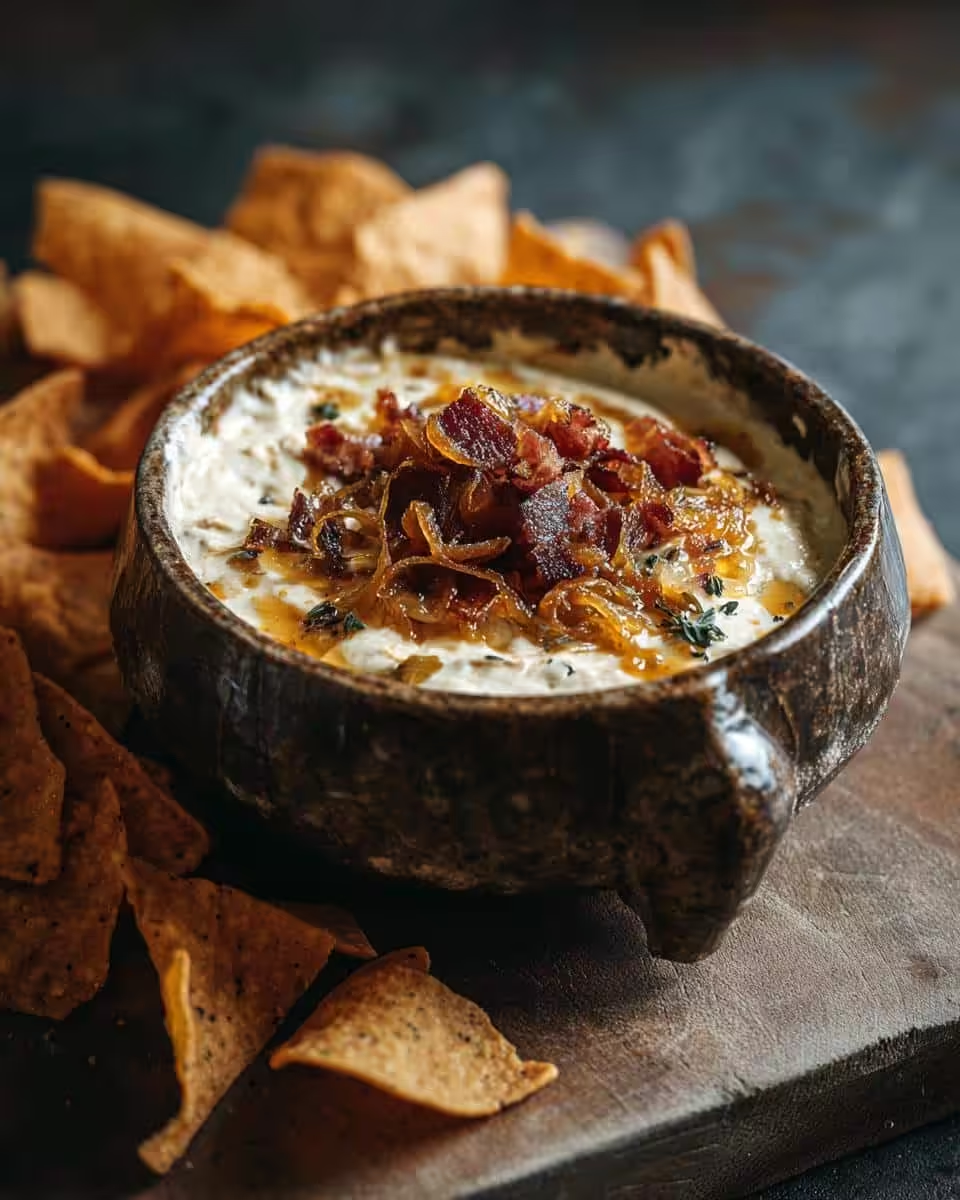
- Garnish and Serve: Just before serving, stir in your chopped fresh chives. Give it a final taste and adjust the salt and pepper if needed. Then, grab your favorite dippers and get ready to enjoy *The Best Homemade Caramelized Onion Dip* of your life!
See? Not so scary, right? Those caramelized onions take a little time, but the rest is a breeze!
Tips for Perfecting *The Best Homemade Caramelized Onion Dip*
Want to take your dip from “good” to “OMG amazing?” Here are a few of my secrets:
- Low and Slow is the Way to Go: Seriously, don’t crank up the heat to rush those onions! You’ll end up with burnt, bitter onions instead of sweet, caramelized goodness. Patience, my friend, patience!
- Quality Matters: Splurge a *little* on good quality, full-fat sour cream and mayonnaise. You can really taste the difference! Trust me on this one.
- Season to Taste: Don’t be afraid to play around with the seasoning! Add a pinch more garlic powder if you’re a garlic fiend, or a little extra pepper if you like a kick. It’s your dip, make it your own!
- Don’t Skip the Chill Time: Letting the dip chill in the fridge for at least a couple of hours is crucial for the flavors to meld. It’s even better if you can make it a day ahead!
Follow these tips, and you’ll be serving up *The Best Homemade Caramelized Onion Dip* like a pro in no time!
Serving Suggestions for *The Best Homemade Caramelized Onion Dip*
Okay, so you’ve made *The Best Homemade Caramelized Onion Dip*… now what do you serve it with? Don’t worry, I’ve got you covered! This dip is seriously versatile, so the possibilities are endless. But here are a few of my go-to serving suggestions to get you started:
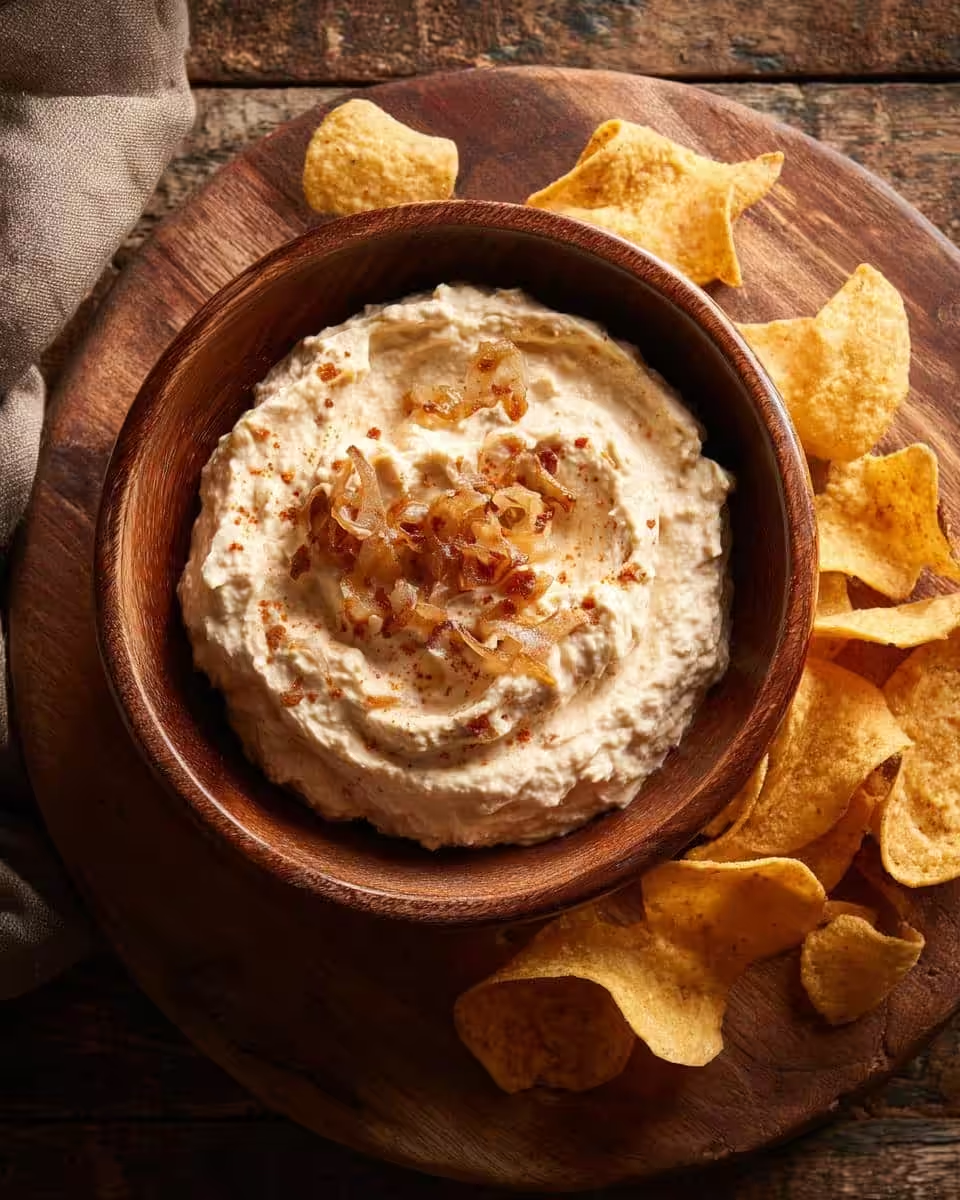
Of course, you can’t go wrong with classic potato chips! Kettle chips are my personal favorite, the sturdier the better for scooping up all that deliciousness. But tortilla chips, pita chips, even those fancy wavy chips? They all work!
Want to get a *little* bit healthier? Try serving it with some fresh veggies! Carrot sticks, celery sticks, cucumber slices, bell pepper strips… you name it! Or, go all out and add it to a killer charcuterie board!
Honestly, this dip is perfect for any occasion. Game day? Check. Backyard barbecue? Check. Just a regular Tuesday night snack attack? Check! The bowl will be scraping the bottom, I garauntee it!
Make-Ahead and Storage Instructions for *The Best Homemade Caramelized Onion Dip*
Good news, y’all! *The Best Homemade Caramelized Onion Dip* is a fantastic make-ahead dish. In fact, I usually *recommend* making it at least a few hours before you plan to serve it (or even the day before!). The flavors just meld together so beautifully when they have a little time to hang out in the fridge.
To store leftovers (if you even *have* any!), just pop it in an airtight container and keep it in the fridge. It’ll stay good for up to 3-4 days. Sadly, this dip doesn’t freeze well, so I don’t recommend trying that.
So go ahead and make a batch (or two!) ahead of time. One less thing to worry about when you’re getting ready for your party!
Frequently Asked Questions About *The Best Homemade Caramelized Onion Dip*
Got questions about makin’ *The Best Homemade Caramelized Onion Dip*? I figured you might! Here’s the scoop on some common questions I get asked ALL the time! If you need some garlic flavor, check out this great garlic aioli recipe, too.
Can I use a different type of onion?
While yellow onions are my go-to for their sweetness and caramelizing abilities, you *could* use white onions in a pinch. Red onions? Mmm, I wouldn’t recommend it. They’re a bit too strong and can overpower the other flavors. But hey, if you’re feeling adventurous, go for it! Just don’t say I didn’t warn ya!
How long does this dip last?
In my house? About 20 minutes flat! Okay, seriously, if you store it properly in an airtight container in the fridge, *The Best Homemade Caramelized Onion Dip* will stay good for about 3-4 days. But trust me, it’s so yummy, it probably won’t last that long!
Can I make this dip vegan?
Yep, you sure can! Just swap out the sour cream and mayonnaise for your favorite plant-based alternatives, like a cashew cream or a vegan mayo. The taste will be slightly different, but still totally delicious! Just make sure the vegan substitutes can “stand-up” to the mixing or you’ll end up with a soup!
Can I caramelize the onions ahead of time?
Absolutely! This is a great way to break up the process and save some time. Just caramelize the onions as directed, let them cool completely, and store them in an airtight container in the fridge for up to 2-3 days. Then, when you’re ready to make the dip, just grab ’em and go!
Nutritional Information Disclaimer
Okay, so here’s the deal: I’m a home cook, not a nutritionist! The nutritional information provided for *The Best Homemade Caramelized Onion Dip* is just an estimate. It can totally vary depending on the specific ingredients and brands you use. So, take it with a grain of salt, okay?
I just don’t want you thinking I’ve got it all down exactly with my ingredients versus your particular grocery store’s. I wanna provide the recipe with no liability on my side. Sounds fair, right?
Enjoy Your *Homemade Caramelized Onion Dip*
Well, there you have it! *The Best Homemade Caramelized Onion Dip*, ready for your snackin’ pleasure! I really hope you give this recipe a try – I just know you’re gonna love it as much as my family does! And if you do make it, please oh please, let me know what you think!
Leave a comment below, rate the recipe (those stars are mighty helpful!), or even share a photo on social media! I love seeing your creations! And hey, while you’re at it, check out my About Me page– I love hearing from folks so drop me a line!
Happy dippin’, y’all!
Print
Crispy Oven Roasted Potatoes and Onions
- Total Time: 65 min
- Yield: 6 servings 1x
- Diet: Vegan
Description
Simple oven roasted potatoes and onions.
Ingredients
- 2 lbs potatoes, peeled and cubed
- 2 large onions, sliced
- 1/4 cup olive oil
- 1 teaspoon salt
- 1/2 teaspoon black pepper
- 1 teaspoon dried oregano
Instructions
- Preheat oven to 400°F (200°C).
- In a large bowl, combine potatoes, onions, olive oil, salt, pepper, and oregano.
- Spread the mixture in a single layer on a baking sheet.
- Roast for 45-50 minutes, or until potatoes are tender and golden brown, flipping halfway through.
- Serve hot.
Notes
- For extra crispiness, parboil the potatoes for 5 minutes before roasting.
- Prep Time: 15 min
- Cook Time: 50 min
- Category: Side Dish
- Method: Roasting
- Cuisine: Mediterranean
Nutrition
- Serving Size: 1 serving
- Calories: 250
- Sugar: 5g
- Sodium: 300mg
- Fat: 12g
- Saturated Fat: 2g
- Unsaturated Fat: 10g
- Trans Fat: 0g
- Carbohydrates: 35g
- Fiber: 4g
- Protein: 4g
- Cholesterol: 0mg