
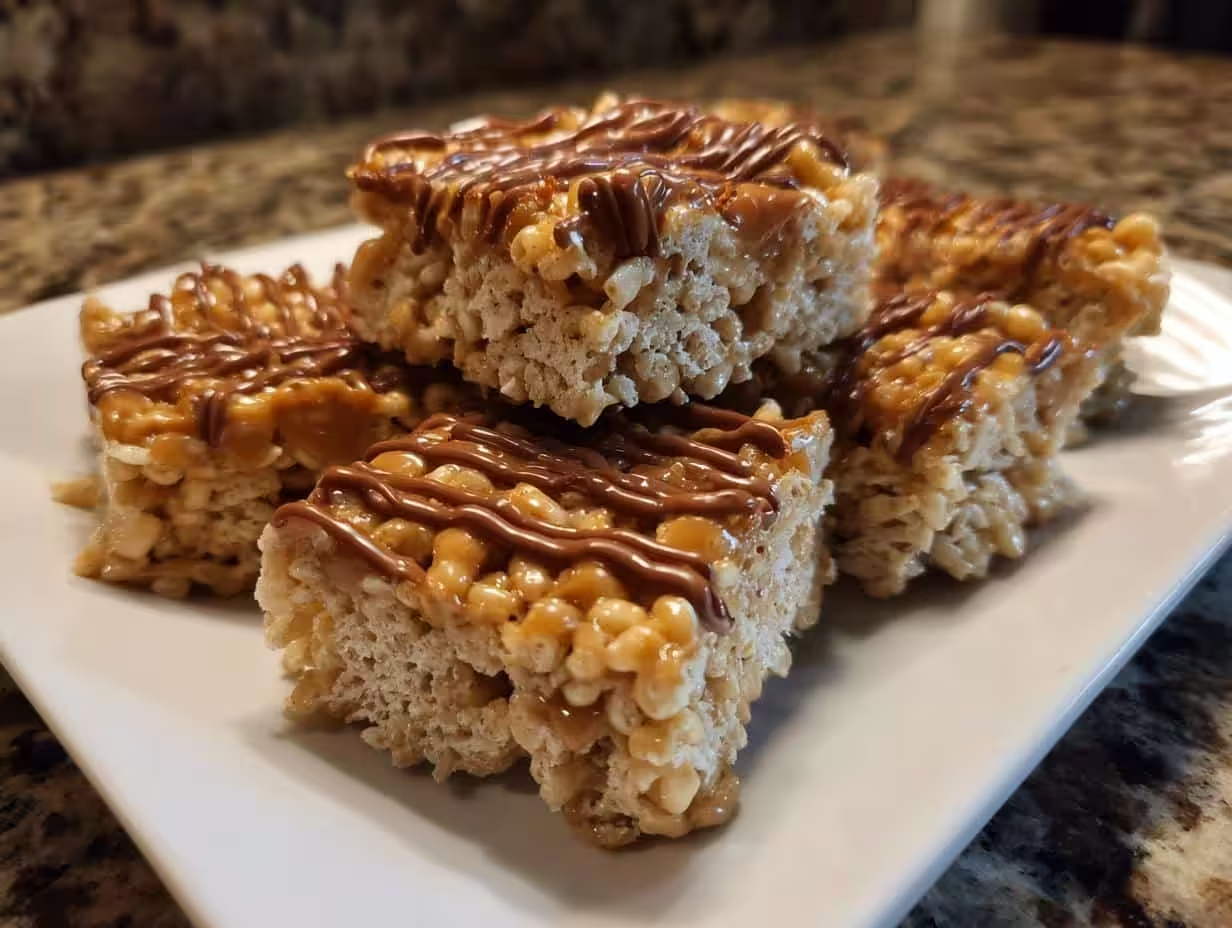
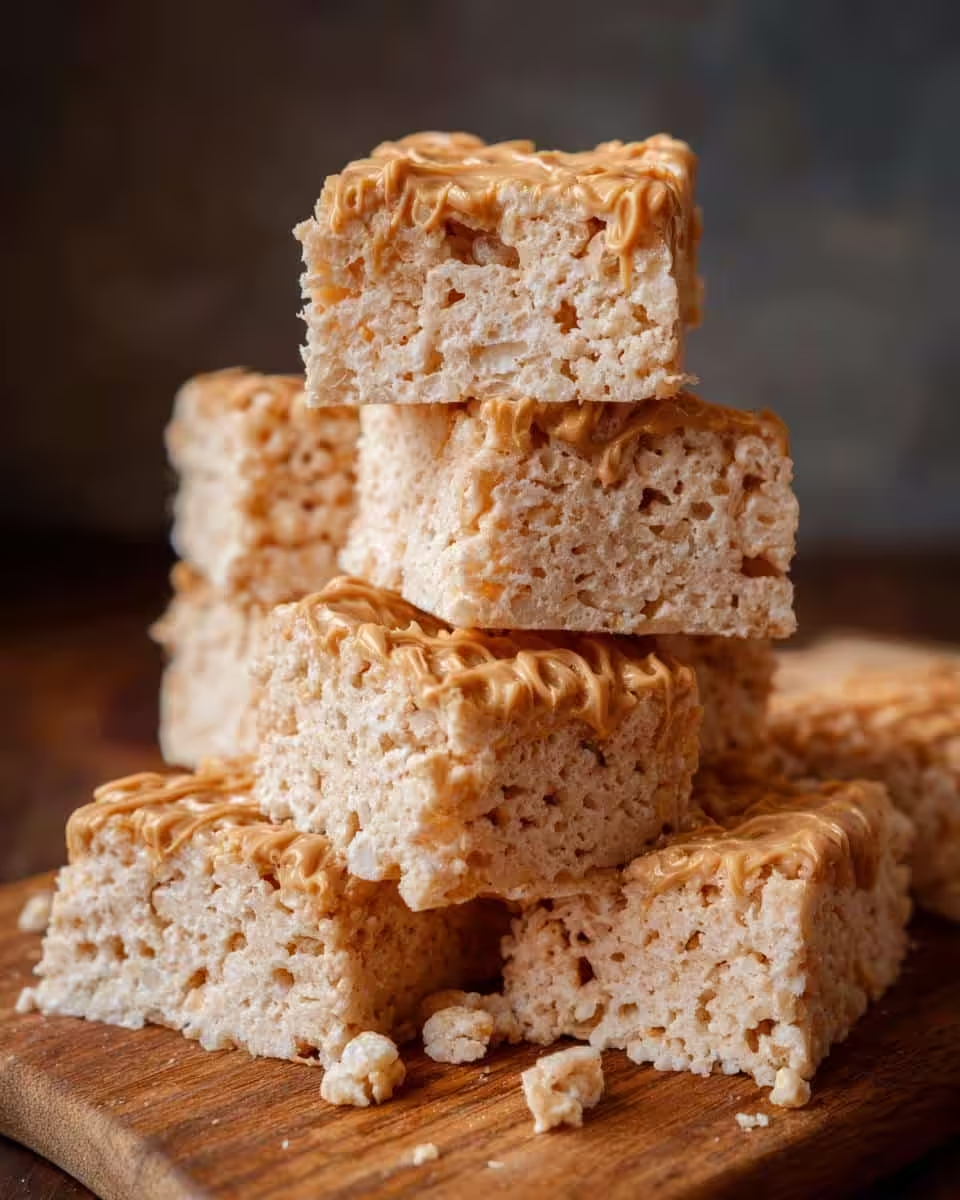
Okay, listen up, folks! If you’re anything like me, you believe that sometimes, you just NEED a treat, and it needs to be FAST. And peanut buttery. And, dare I say, absolutely the best. That’s where my recipe for Ultimate Chewy Peanut Butter Rice Krispie Treats comes in. Forget those bland, boring squares you’ve had before. We’re talking seriously gooey, intensely peanut buttery goodness that’ll have you sneaking back to the pan for “just one more” (trust me, I’ve been there… a LOT). These aren’t just Rice Krispie treats; they’re an experience. I should know, after years in my grandmother’s kitchen, I’ve learned a thing or two. So, grab your ingredients, and let’s get started. These are about to become a new favorite!
Why You’ll Love These Ultimate Chewy Peanut Butter Rice Krispie Treats
Seriously, what’s not to love? But if you need convincing, here’s why these treats are about to become your new obsession:
- Ridiculously Easy: We are talking, like, melt-and-mix easy. No baking required!
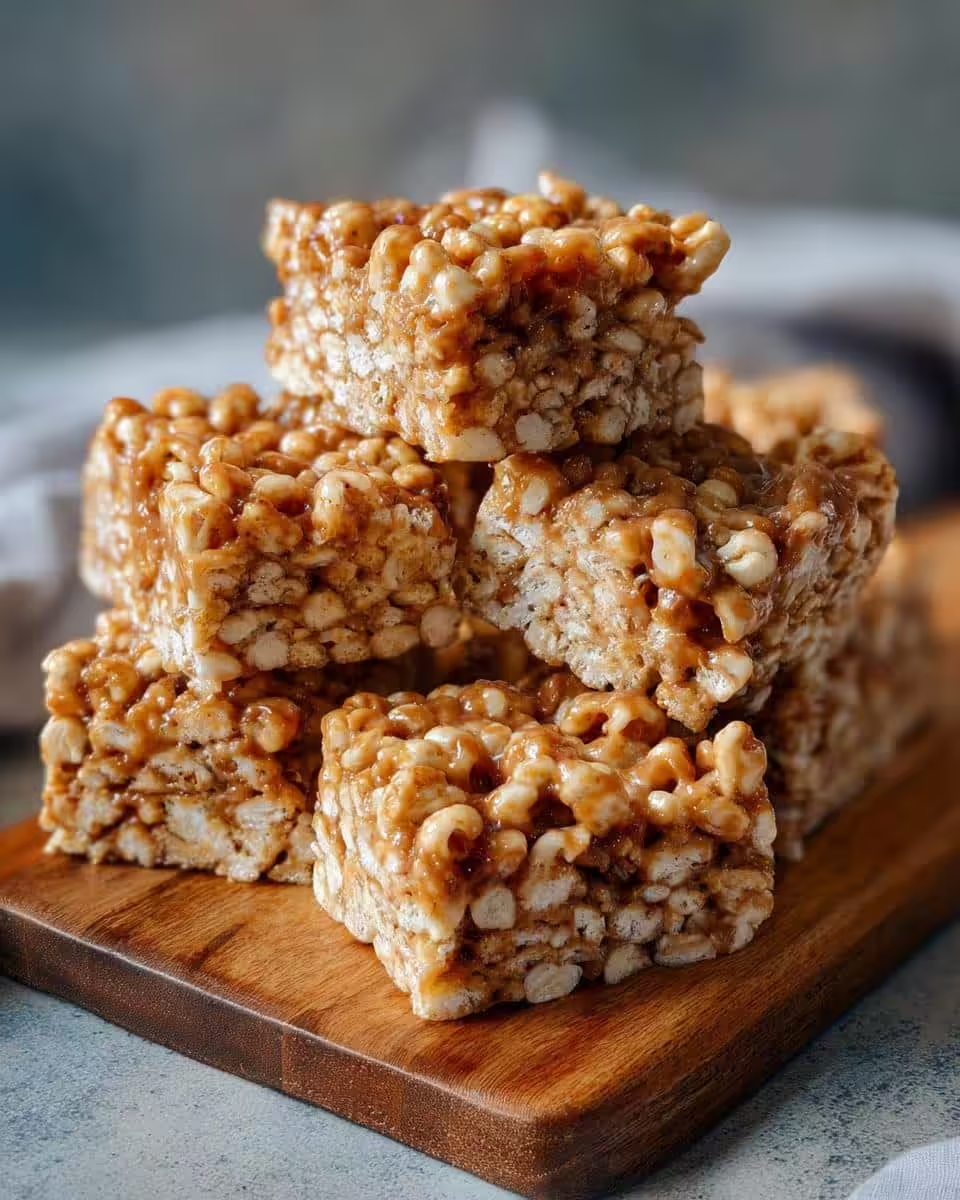
- Out-of-this-World Chewy: That’s the *ultimate* part, right? Perfectly chewy, never hard.
- Peanut Butter Power: If you adore peanut butter, prepare to be amazed. It’s the star of the show.
- Kid (and Adult!) Approved: These disappear fast, no matter who you’re feeding.
Ingredients for the Ultimate Chewy Peanut Butter Rice Krispie Treats
Alright, gather ’round, because grabbing the right ingredients is KEY to peanut butter Rice Krispie treat perfection. Don’t skimp, don’t substitute (unless I say it’s okay!), and make sure everything’s fresh. Trust me on this one. Here’s what you’ll need:
- 5 tablespoons salted butter
- 1 (10-ounce) package mini marshmallows
- 1 cup creamy peanut butter (not the natural kind, trust me!)
- 6 cups Rice Krispies cereal
See? Simple, right? But each ingredient plays a *super* important role in achieving that ultimate chewiness and intense peanut butter flavor. You’ll want to have everything measured out and ready to go before you start melting things – it makes the whole process so much smoother. Okay, ready to get cooking?
How to Make Ultimate Chewy Peanut Butter Rice Krispie Treats
Okay, buckle up, buttercup, because this is where the magic happens! I’m gonna walk you through how to make these Ultimate Chewy Peanut Butter Rice Krispie Treats step-by-step. Don’t worry, it’s easier than folding laundry (and way more rewarding). Just follow along, and you’ll be munching on peanut buttery goodness in no time!
-
Melt the butter: Grab a large saucepan (I like using my big, trusty non-stick one… less mess!). Stick your butter in there and melt it over low heat. And I mean *low*. We don’t want to burn the butter; that adds a nasty taste. Just nice and melty, like liquid gold. This usually takes about 2-3 minutes, so keep an eye on it!
-
Marshmallow Mania: Pour in the whole bag of mini marshmallows. Stir them with the melted butter until they’re completely melted and smooth. Now, here’s a tip: keep stirring constantly! Marshmallows are little stinkers and love to stick and burn if you ignore them. Keep that heat low and stir, stir, stir until it’s all one gooey, glorious mess. We’re talking about 5-7 minutes here. If you are really struggling you can add a tablespoon of milk or water here, but try not to. It can change the taste.
-
Peanut Butter Power-Up: Remove the saucepan from the heat (important!) and stir in the peanut butter until it’s fully combined and the mixture is smooth. Oh, the smell at this point? Heavenly! Make sure you’re scraping the bottom of the pan to get all that peanut buttery goodness mixed in.
-
Cereal Time: Pour in the Rice Krispies cereal. Gently fold them into the peanut butter marshmallow mixture until they’re evenly coated. Don’t just dump them in and start smashing! We want to keep the cereal nice and crispy, ya know? This might take a minute or two, but be patient and gentle.
-
Press and Cool: Lightly grease a 9×13 inch baking pan (or line it with parchment paper for super easy removal… I LOVE parchment paper). Pour the Rice Krispie mixture into the pan and gently press it down evenly. Don’t press too hard, or you’ll end up with hard treats. Just a gentle, even press will do the trick.
-
Cooling Time (the hardest part!): Let the Rice Krispie treats cool completely before cutting them into squares. This usually takes about 30 minutes to an hour. I know, it’s torture, but trust me, it’s worth the wait! If you try to cut them while they’re still warm, they’ll be a gooey mess. I sometimes pop them in the fridge for 20 minutes to speed things up, but don’t leave them in there for too long, or they’ll get hard.
-
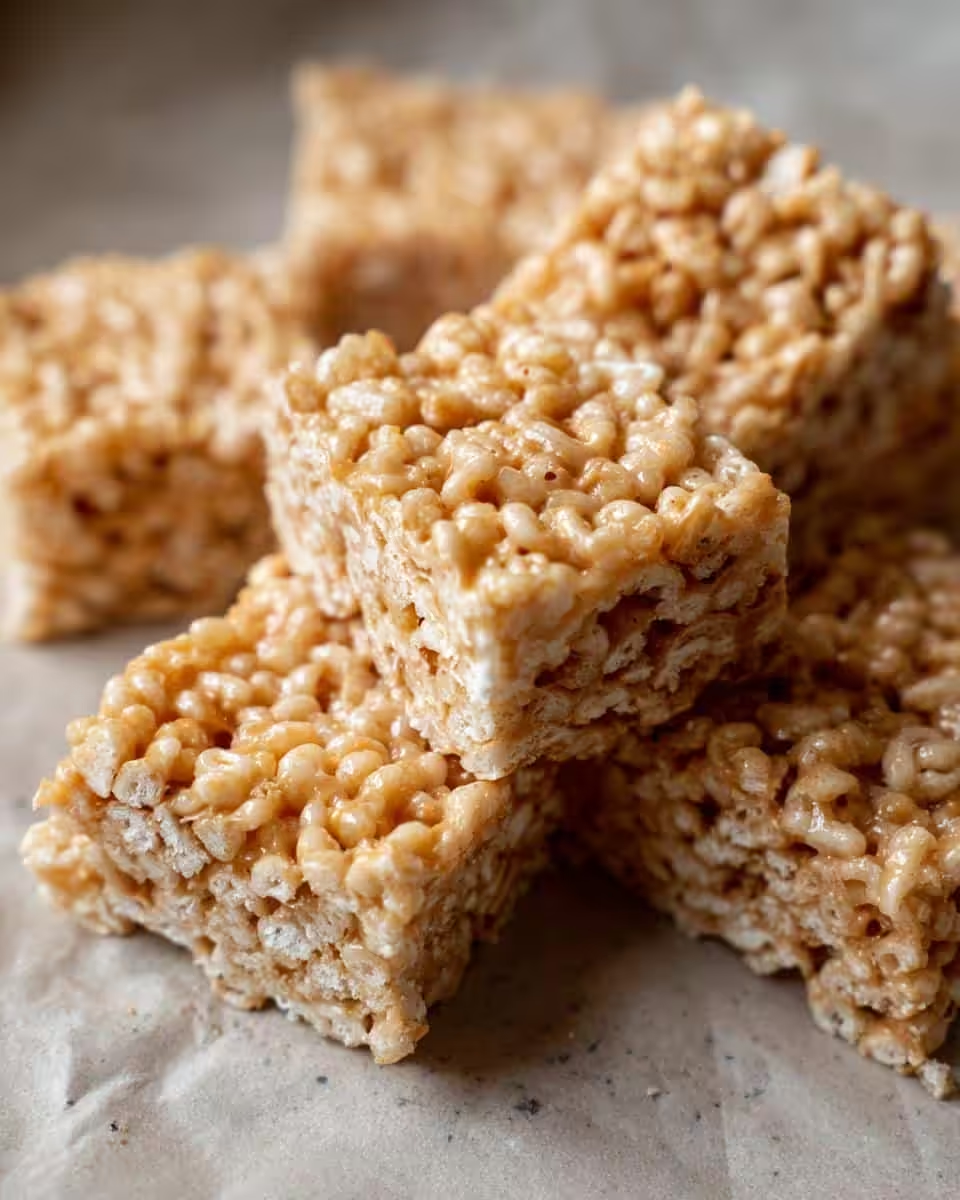
Cut and Enjoy!: Once they’re cool, cut them into squares and prepare to be amazed! Seriously, these Ultimate Chewy Peanut Butter Rice Krispie Treats are dangerously addictive.
Tips for the Most Amazing Ultimate Chewy Peanut Butter Rice Krispie Treats
Okay, you’ve got the basics down, but wanna take these bad boys from “good” to “OMG!”? Here’s my secret stash of tips for truly *ultimate* peanut butter Rice Krispie treat glory:
- Fresh Marshmallows are Your Friend: Seriously, don’t use that bag that’s been lurking in the back of your pantry for who-knows-how-long. Fresh marshmallows melt better and make for a chewier treat.
- Even Pressure is Key: When pressing the mixture into the pan, use a piece of parchment paper or plastic wrap over your hand to prevent sticking and get a nice, even surface. Nobody wants lopsided treats!
- Clean Cuts for Presentation (and Sanity): Let them cool COMPLETELY. Then, use a sharp knife or a pizza cutter to make clean, even cuts. Run the knife under hot water and dry it between cuts for extra-pretty squares.
I remember one time I tried to rush the cooling process (because, let’s be honest, I’m impatient!), and I ended up with a sticky, peanut butter-y mess all over my hands. Lesson learned: patience, my friends, patience! But you know what? Even that messy batch tasted amazing, so you really can’t go wrong. Happy treat-making!
Variations for Your Peanut Butter Rice Krispie Treats
Alright, so you’ve mastered the *ultimate* version, huh? Feeling a little adventurous? Good! Because that’s how new flavors are born! The sky’s the limit, folks, but here are a few fun twists that I just *know* you’re gonna love:
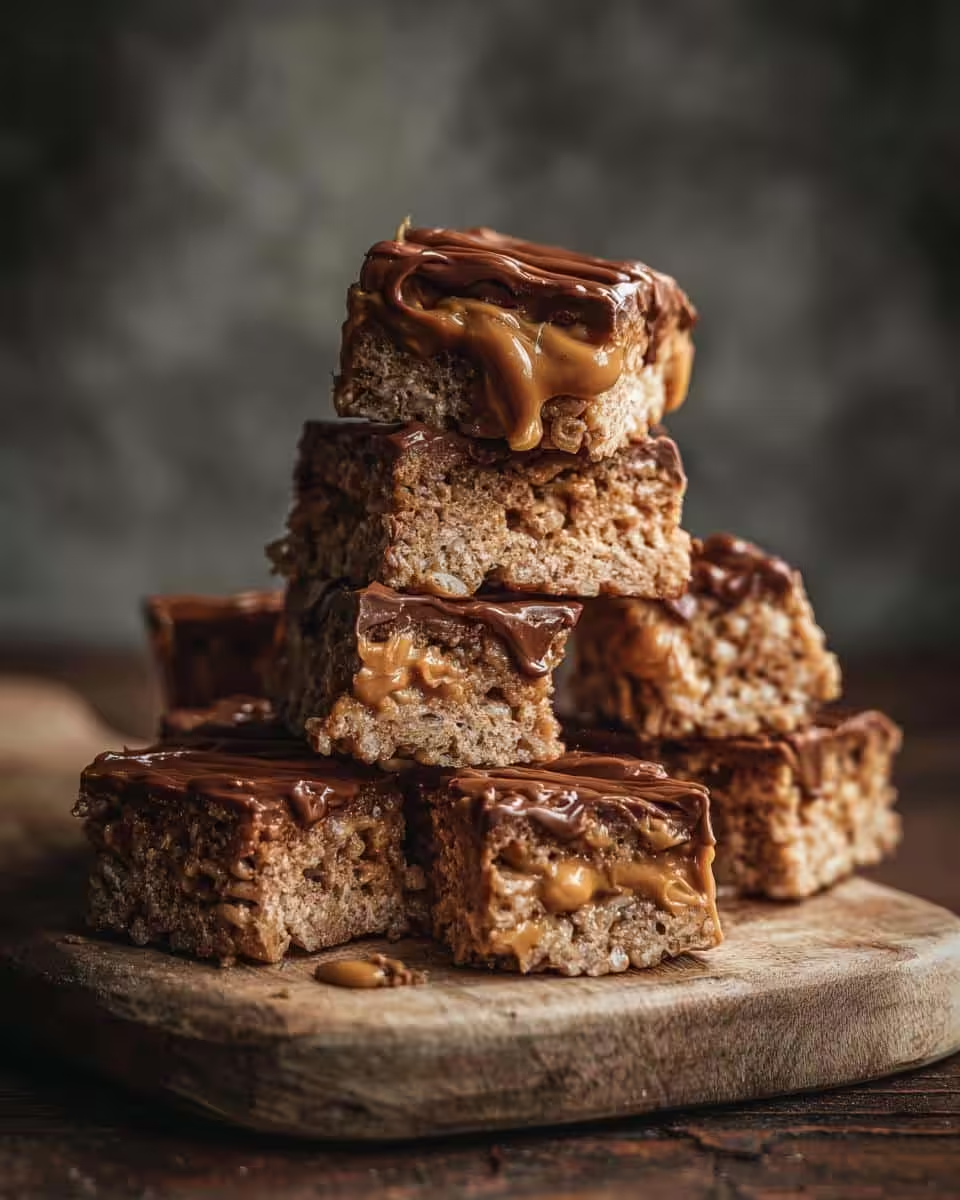
- Chunk It Up: Swap the creamy peanut butter for chunky! That added texture is seriously delicious!
- Chocolate Craze: Stir in a cup of chocolate chips (milk, dark, white… go wild!) after you’ve mixed in the cereal. Who doesn’t love peanut butter and chocolate?
- Cereal Swap: Rice Krispies are classic, but try using Cocoa Krispies for a chocolatey vibe. Or, for a golden twist, try Golden Grahams!
Go ahead, get creative! And hey, promise me you’ll tell me if you invent something amazing!
Storing Your Ultimate Chewy Peanut Butter Rice Krispie Treats
Okay, so, you’ve somehow managed *not* to eat the entire pan in one sitting (I salute you!). Now, let’s talk storage to keep these babies fresh and chewy. The best way? Just pop ’em in an airtight container at room temperature. They’ll stay yummy for about 2-3 days… if they last that long! Refrigeration isn’t really needed, and can actually make them a bit hard, so I usually skip that method.
Frequently Asked Questions About Peanut Butter Rice Krispie Treats
Got questions? Of course you do! Everyone’s got questions when it comes to making the *perfect* peanut butter Rice Krispie Treats. So, let’s dive into some FAQs, so you can whip up a batch of these babies without a worry!
How long do these ultimate chewy peanut butter Rice Krispie treats stay fresh?
Honestly, they disappear pretty fast in my house! But seriously, if stored in an airtight container at room temperature, they’ll stay chewy and delicious for about 2-3 days. After that, they might start to get a little stale, but they’ll still be edible (if they last that long!).
Can I use natural peanut butter?
Okay, so this is a tricky one. While I *love* natural peanut butter on, like, sandwiches and apples, it doesn’t work as well in this recipe. Natural peanut butter tends to be oilier, which can make the treats greasy and less chewy. If you absolutely *must* use it, try stirring it REALLY well and measuring carefully, but I still recommend the regular creamy kind for the best results, but I would’nt recommend it.
Can I make these ahead of time?
You sure can! Peanut butter Rice Krispie treats are great for making ahead. Just make them as directed, let them cool, and store them in an airtight container at room temperature. They’re perfect for parties, potlucks, or just a little something something to satisfy your sweet tooth whenever you need it.
Can I freeze these?
Freezing is definitely an option! Wrap the cooled treats tightly in plastic wrap, then place them in a freezer-safe bag or container. They can be frozen for up to 2 months. When you’re ready to eat them, let them thaw at room temperature. Just be aware that freezing might slightly alter the texture, making them a little less chewy.
Can I substitute anything for Rice Krispies cereal?
Absolutely! While Rice Krispies are the classic choice, feel free to experiment with other cereals. As mentioned before, Cocoa Krispies or Golden Grahams are great options for adding different flavors. Just make sure the cereal is relatively light and airy so the treats don’t get too dense.
Nutritional Information Disclaimer
Hey there! Just a quick note: all nutritional info’s approximate, okay? Calorie counts depend on the brands and exact amounts you use. So just take it as a general guide!
Enjoy Your Ultimate Chewy Peanut Butter Rice Krispie Treats
Alright, my friend, that’s all there is to it! Go forth and make these glorious Ultimate Chewy Peanut Butter Rice Krispie Treats. And when you do, be sure to snap a pic and show me! I wanna see those peanut buttery masterpieces, and leave a comment letting me know what you think!
Print
Crispy Oven Roasted Potatoes and Onions
- Total Time: 65 min
- Yield: 6 servings 1x
- Diet: Vegan
Description
Simple oven roasted potatoes and onions.
Ingredients
- 2 lbs potatoes, peeled and cubed
- 2 large onions, sliced
- 1/4 cup olive oil
- 1 teaspoon salt
- 1/2 teaspoon black pepper
- 1 teaspoon dried oregano
Instructions
- Preheat oven to 400°F (200°C).
- In a large bowl, combine potatoes, onions, olive oil, salt, pepper, and oregano.
- Spread the mixture in a single layer on a baking sheet.
- Roast for 45-50 minutes, or until potatoes are tender and golden brown, flipping halfway through.
- Serve hot.
Notes
- For extra crispiness, parboil the potatoes for 5 minutes before roasting.
- Prep Time: 15 min
- Cook Time: 50 min
- Category: Side Dish
- Method: Roasting
- Cuisine: Mediterranean
Nutrition
- Serving Size: 1 serving
- Calories: 250
- Sugar: 5g
- Sodium: 300mg
- Fat: 12g
- Saturated Fat: 2g
- Unsaturated Fat: 10g
- Trans Fat: 0g
- Carbohydrates: 35g
- Fiber: 4g
- Protein: 4g
- Cholesterol: 0mg