
Hey there, sweet friends! Let’s talk about the *Ultimate No-Bake Dirt Cake* – the superstar of easy desserts. Seriously, who doesn’t love a recipe where you can skip the oven and still end up with something totally amazing? I especially adore it. Give me simple, comforting recipes any day! Back in the day, Momma and I would make what we think was this dirt cake for my birthday, layering it up so high. I can almost feel the crunchy cookies as I type.
This dirt cake is PERFECT if you’re baking with kids, too, or need to throw together a dessert for a party. It’s guaranteed to be a hit. Now, let’s dive headfirst into this deliciously simple recipe!
Why You’ll Love This Ultimate No-Bake Dirt Cake
Okay, so you might be wondering why *this* dirt cake is the one you NEED to try. Trust me, it’s a winner! Here’s why:
- Super easy to make – even the kiddos can help!
- No oven needed! Hello, summer dessert!
- Totally customizable. Wanna add candy? Go for it!
- Always a crowd-pleaser. Seriously, watch it disappear!
Gather Your Ingredients for the Ultimate No-Bake Dirt Cake
Alright, let’s get our goodies together! This *Ultimate No-Bake Dirt Cake* is so simple, and the ingredient list isn’t scary at all, promise! No hunting the world for obscure stuff.
Here’s what you’ll need:
- 1 (15 ounce) package chocolate sandwich cookies (like Oreos), finely crushed
- 1 (8 ounce) package cream cheese, softened
- 1/2 cup (1 stick) unsalted butter, softened
- 3 cups powdered sugar
- 1 (3.4 ounce) package instant vanilla pudding mix
- 3 cups cold milk
- 1 (12 ounce) container frozen whipped topping, thawed
- Gummy worms, for garnish (because, c’mon, they’re essential!)
Yep, that’s it! Now, let’s get down to business!
How to Make the Ultimate No-Bake Dirt Cake: Step-by-Step Instructions
Okay, buckle up, buttercups! This is where the magic happens. Making the *Ultimate No-Bake Dirt Cake* is ridiculously easy, but let’s walk through it step-by-step so you can feel like a true dessert wizard. Ready?
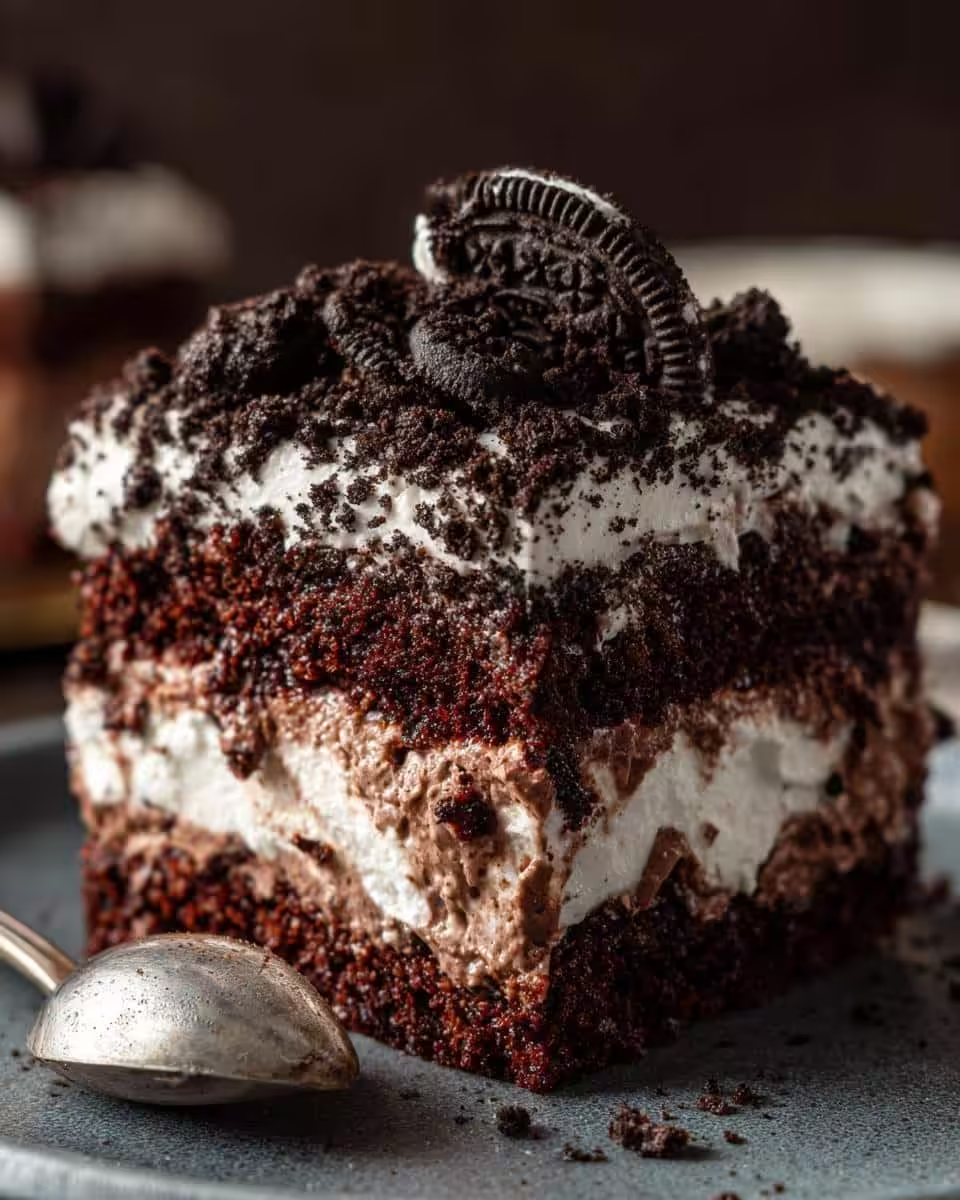
- Crush those cookies! First things first, you gotta crush those chocolate sandwich cookies. I usually toss them into a big zip-top bag and go at ’em with a rolling pin. It’s great for stress relief, too, haha! You want them pretty finely crushed – think “sandy dirt,” not big chunks.
- Cream together the cream cheese and butter. In a large bowl (or a stand mixer if you’re fancy!), beat together your softened cream cheese and softened butter until it’s super smooth and creamy. Seriously, no lumps allowed! This is the base of our surprisingly flavorful, almost-cheesecake-y layer, so don’t skimp.
- Add the powdered sugar. Gradually add in the powdered sugar, one cup at a time, beating after each addition. You’ll want to scrape down the sides of the bowl every so often to make sure everything gets mixed in properly. Trust me, powdered sugar clouds are NOT fun to breathe in!
- Make the pudding. In a separate bowl, whisk together the instant vanilla pudding mix and cold milk until it starts to thicken – usually about 2-3 minutes. Let it sit for a minute or two to set up a bit more. We don’t want it runny!
- Gently fold in the whipped topping. Okay, this is important: GENTLY fold in the thawed whipped topping into the pudding mixture. Don’t overmix it; you want to keep it light and airy. Overmixing will make your dirt cake kind of sad and soupy, and nobody wants that!
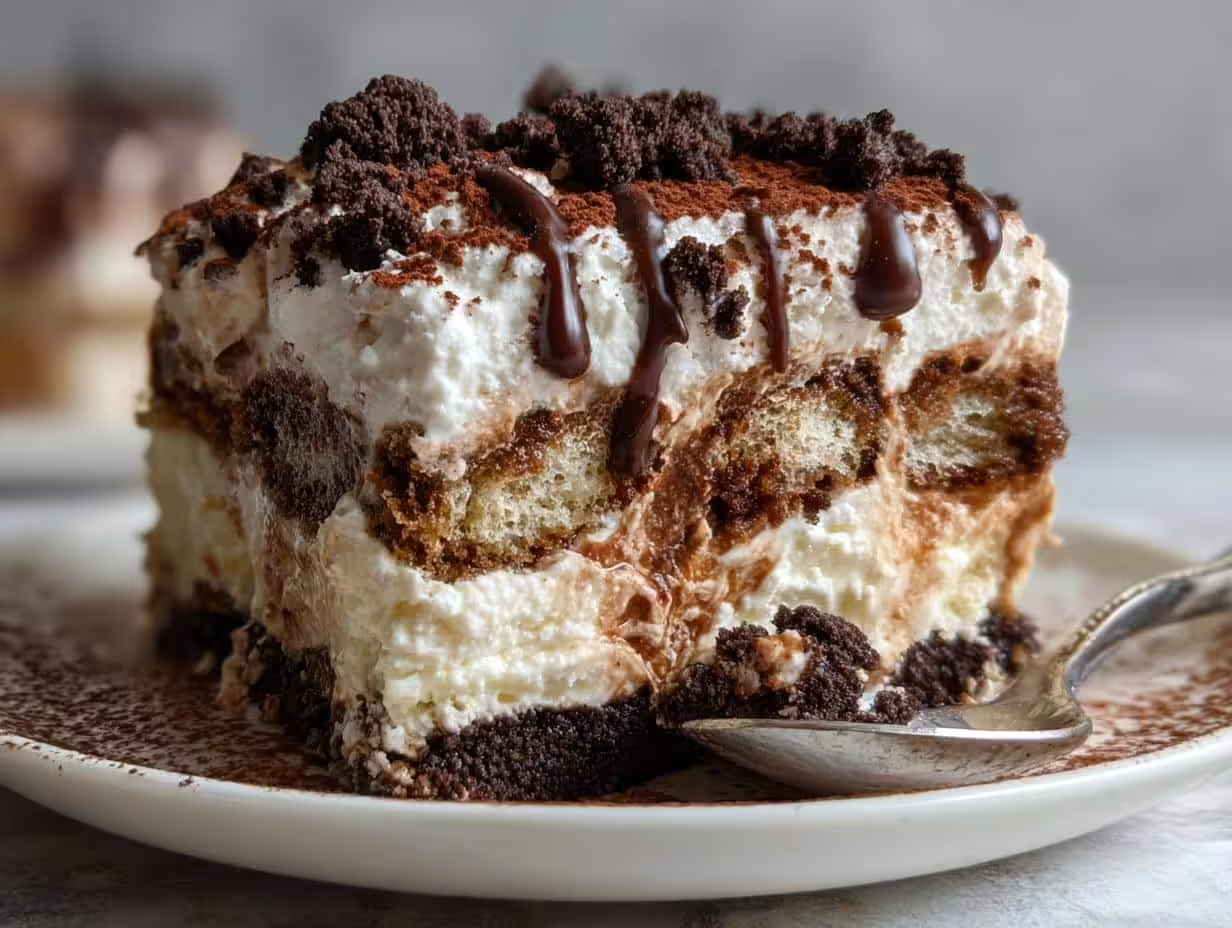
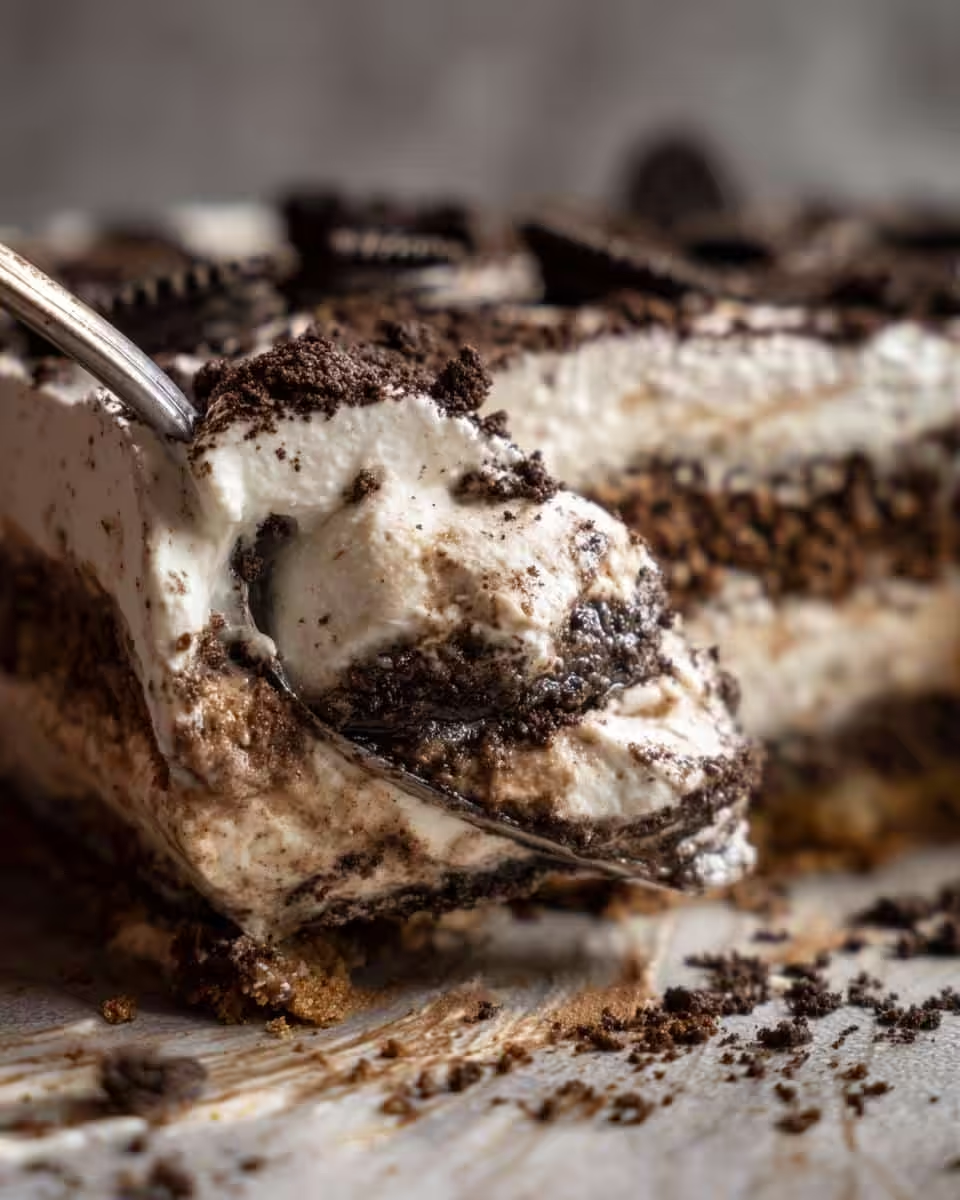
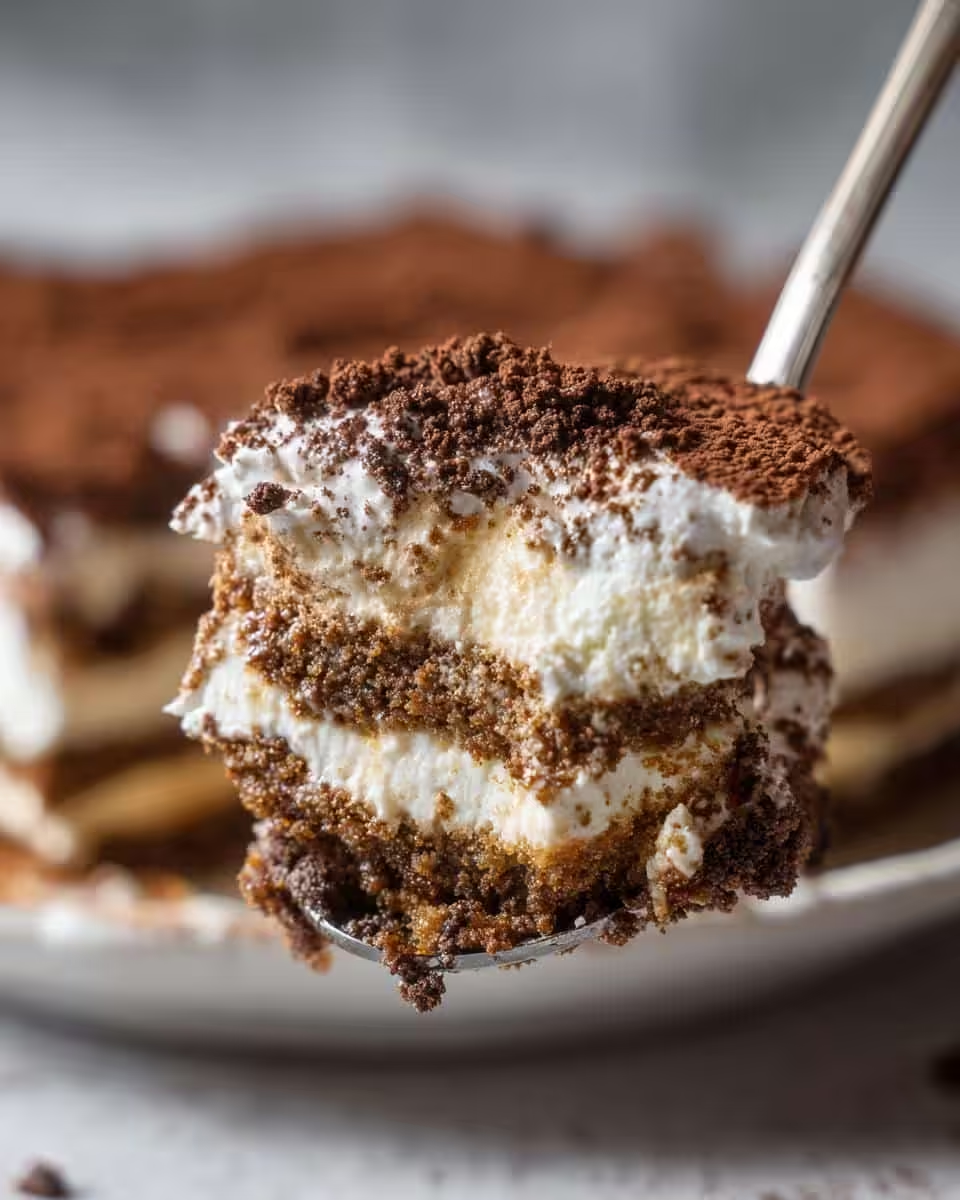
- Layer it all up! Now for the fun part! In a large trifle bowl (or a 9×13 inch pan, whatever you’ve got!), layer about 1/3 of the crushed cookies on the bottom. Then, spread half of the cream cheese mixture over the cookies, followed by half of the pudding mixture. Repeat the layers: cookies, cream cheese, pudding. Top with the remaining crushed cookies.
- Chill out! Cover your *Ultimate No-Bake Dirt Cake* and refrigerate for at least 4 hours, but preferably overnight. This gives the cookies time to soften and the flavors to meld together. Patience, my friend, patience!
- Get wormy! Just before serving, decorate with gummy worms. You can get creative here! Stick ’em in the “dirt,” have them crawling up the sides – whatever makes you giggle. And ta-daaa – it’s done!
See? Told ya it was easy! Now get ready to dig in!
Tips for the Most Delicious Ultimate No-Bake Dirt Cake
Wanna take your *Ultimate No-Bake Dirt Cake* from “good” to “OMG AMAZING!”? Here are a few tricks I’ve picked up over the years:
- **Cookie Choice Matters:** While classic chocolate sandwich cookies are the go-to, don’t be afraid to experiment! Golden Oreos, chocolate chip cookies (uh, yeah, like this ones!), or even graham crackers work beautifully.
- **Smooth Pudding is Key:** Nobody likes lumpy pudding! Whisk the pudding mix and milk vigorously to prevent clumps. If you still get a few, don’t sweat it – just press the mixture through a fine-mesh sieve before folding in the whipped topping.
- **Soften that Cream Cheese!** Seriously, this is a game-changer. If your butter, and especially cream cheese, comes straight from the fridge, it is simply not going to combine with sugar. Not well, anyway. Leaving it to soften till it’s melty is the key to getting a super creamy texture in that layer.
- **Let It Chill!** I know it’s tempting to dig in right away, but chilling the dirt cake for at least 4 hours (or overnight!) makes a HUGE difference. It allows the cookies to soften and the flavors to meld together. Trust me; it’s worth the wait!
Variations on This Ultimate No-Bake Dirt Cake Recipe
Okay, so you’ve mastered the classic *Ultimate No-Bake Dirt Cake*. Now what? Time to get a little wild! Here are a few fun twists to try:
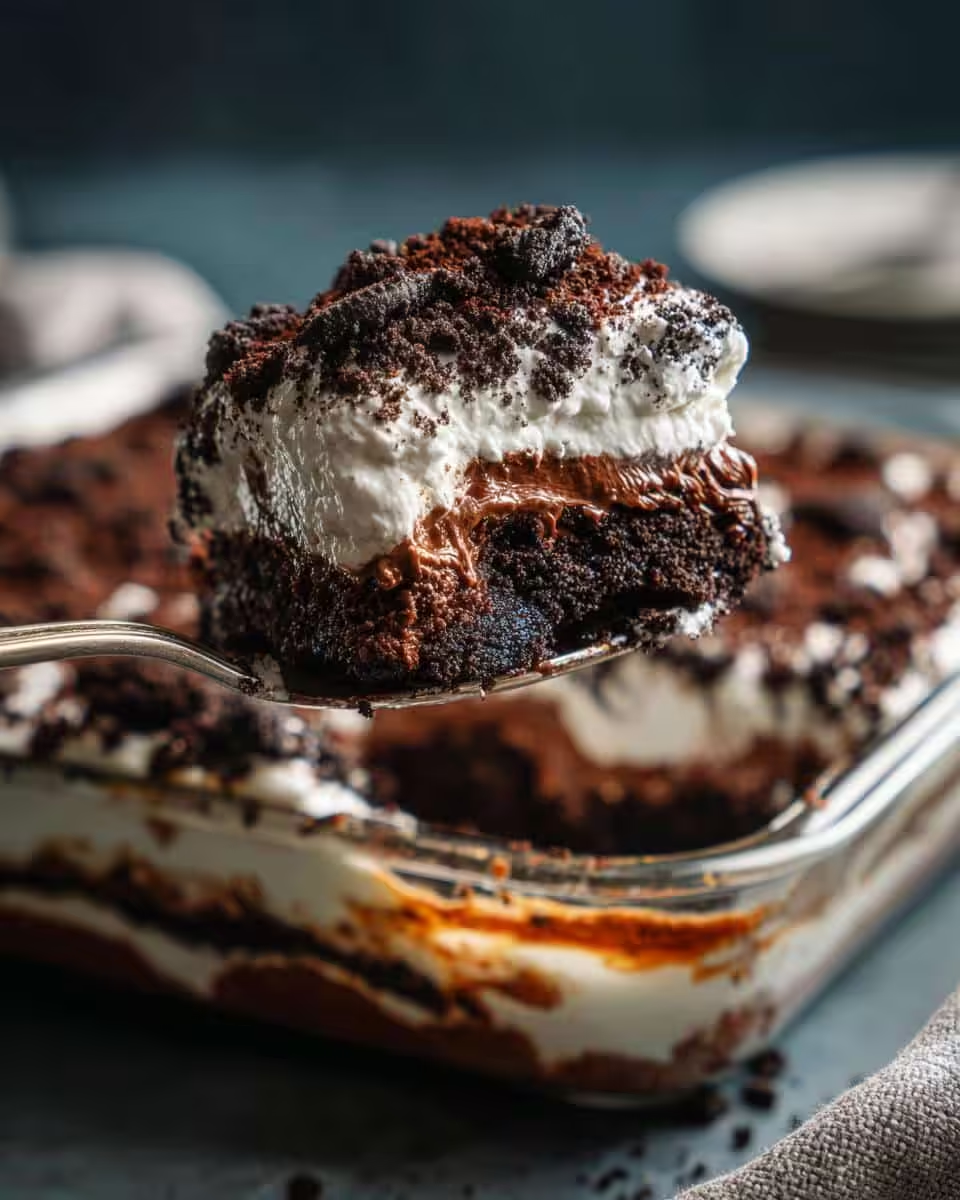
- **Pudding Power!** Don’t limit yourself to vanilla! Chocolate pudding, butterscotch pudding, even pistachio pudding would be delish! Just imagine a chocolate dirt cake – yum!
- Berry Good! Add a layer of fresh berries (strawberries, blueberries, raspberries – whatever you love!) for a burst of freshness and a pop of color. Just toss ’em with a little sugar first to draw out the juices – that way, they won’t make your dirt cake soggy.
Make-Ahead and Storage Tips for Your Ultimate No-Bake Dirt Cake
The beauty of this *Ultimate No-Bake Dirt Cake* is that it’s PERFECT for making ahead! Seriously, it tastes even better the next day (or two!) after the flavors have had a chance to meld.
To make ahead, just assemble the dirt cake as directed, cover it tightly with plastic wrap, and store it in the refrigerator for up to 2-3 days. When you’re ready to serve, just add the gummy worm garnish. If you have any leftovers (though I doubt you will!), store them in an airtight container in the fridge for up to 3 days. But, fair warning, the cookies will get softer the longer it sits!
Frequently Asked Questions About the Ultimate No-Bake Dirt Cake
Got questions about making the *Ultimate No-Bake Dirt Cake*? Don’t sweat it! I’ve got answers to the most common head-scratchers right here:
Can I use sugar-free pudding in this recipe?
Yep, absolutely! Sugar-free pudding works just fine in this no-bake dessert. Just keep in mind that it might affect the overall sweetness of the cake, so you might want to adjust the amount of powdered sugar in the cream cheese layer if you’re watching your sugar intake. But honestly, it’s still gonna be amazing!
What’s the best way to crush the cookies?
Okay, so there are a few ways to tackle this. My go-to is tossing the cookies into a zip-top bag and whacking them with a rolling pin. It’s therapeutic AND effective! You can also use a food processor for a finer crumb, but be careful not to over-process them into a powder. And hey, if you’re feeling lazy, you can totally buy pre-crushed cookie crumbs! We won’t tell. 😉
Can I make this dirt cake vegan?
You betcha! To make this *Ultimate No-Bake Dirt Cake* vegan, you’ll need to swap out a few ingredients. Use vegan cream cheese, a plant-based butter alternative, non-dairy milk, and a vegan whipped topping. Also, make sure your cookies are vegan-friendly (some Oreos are, but always double-check the label!). There are so many great alternatives out these days!
How long does it take for the cookies to soften?
The cookies usually soften up nicely after chilling in the fridge for at least 4 hours, but I find they’re even better if you let it sit overnight. The longer it chills, the softer the cookies get and the more the flavors meld together, so patience is KEY!
Nutritional Information Disclaimer
Please keep in mind that the nutritional information provided for this *Ultimate No-Bake Dirt Cake* is an estimate. It can vary depending on the specific brands and ingredients you use. So, it’s best to consider it a general guide, not a precise measurement!
Enjoyed This Ultimate No-Bake Dirt Cake Recipe?
Woohoo! I’m so glad you gave my *Ultimate No-Bake Dirt Cake* a whirl. Now that you know how easy this is why not share it with your friends? And, hey, if you loved it, leave a comment below or give it a rating! Sharing is caring… and maybe check out my killer chocolate chip cookies, too!
Print
Crispy Oven Roasted Potatoes and Onions
- Total Time: 65 min
- Yield: 6 servings 1x
- Diet: Vegan
Description
Simple oven roasted potatoes and onions.
Ingredients
- 2 lbs potatoes, peeled and cubed
- 2 large onions, sliced
- 1/4 cup olive oil
- 1 teaspoon salt
- 1/2 teaspoon black pepper
- 1 teaspoon dried oregano
Instructions
- Preheat oven to 400°F (200°C).
- In a large bowl, combine potatoes, onions, olive oil, salt, pepper, and oregano.
- Spread the mixture in a single layer on a baking sheet.
- Roast for 45-50 minutes, or until potatoes are tender and golden brown, flipping halfway through.
- Serve hot.
Notes
- For extra crispiness, parboil the potatoes for 5 minutes before roasting.
- Prep Time: 15 min
- Cook Time: 50 min
- Category: Side Dish
- Method: Roasting
- Cuisine: Mediterranean
Nutrition
- Serving Size: 1 serving
- Calories: 250
- Sugar: 5g
- Sodium: 300mg
- Fat: 12g
- Saturated Fat: 2g
- Unsaturated Fat: 10g
- Trans Fat: 0g
- Carbohydrates: 35g
- Fiber: 4g
- Protein: 4g
- Cholesterol: 0mg